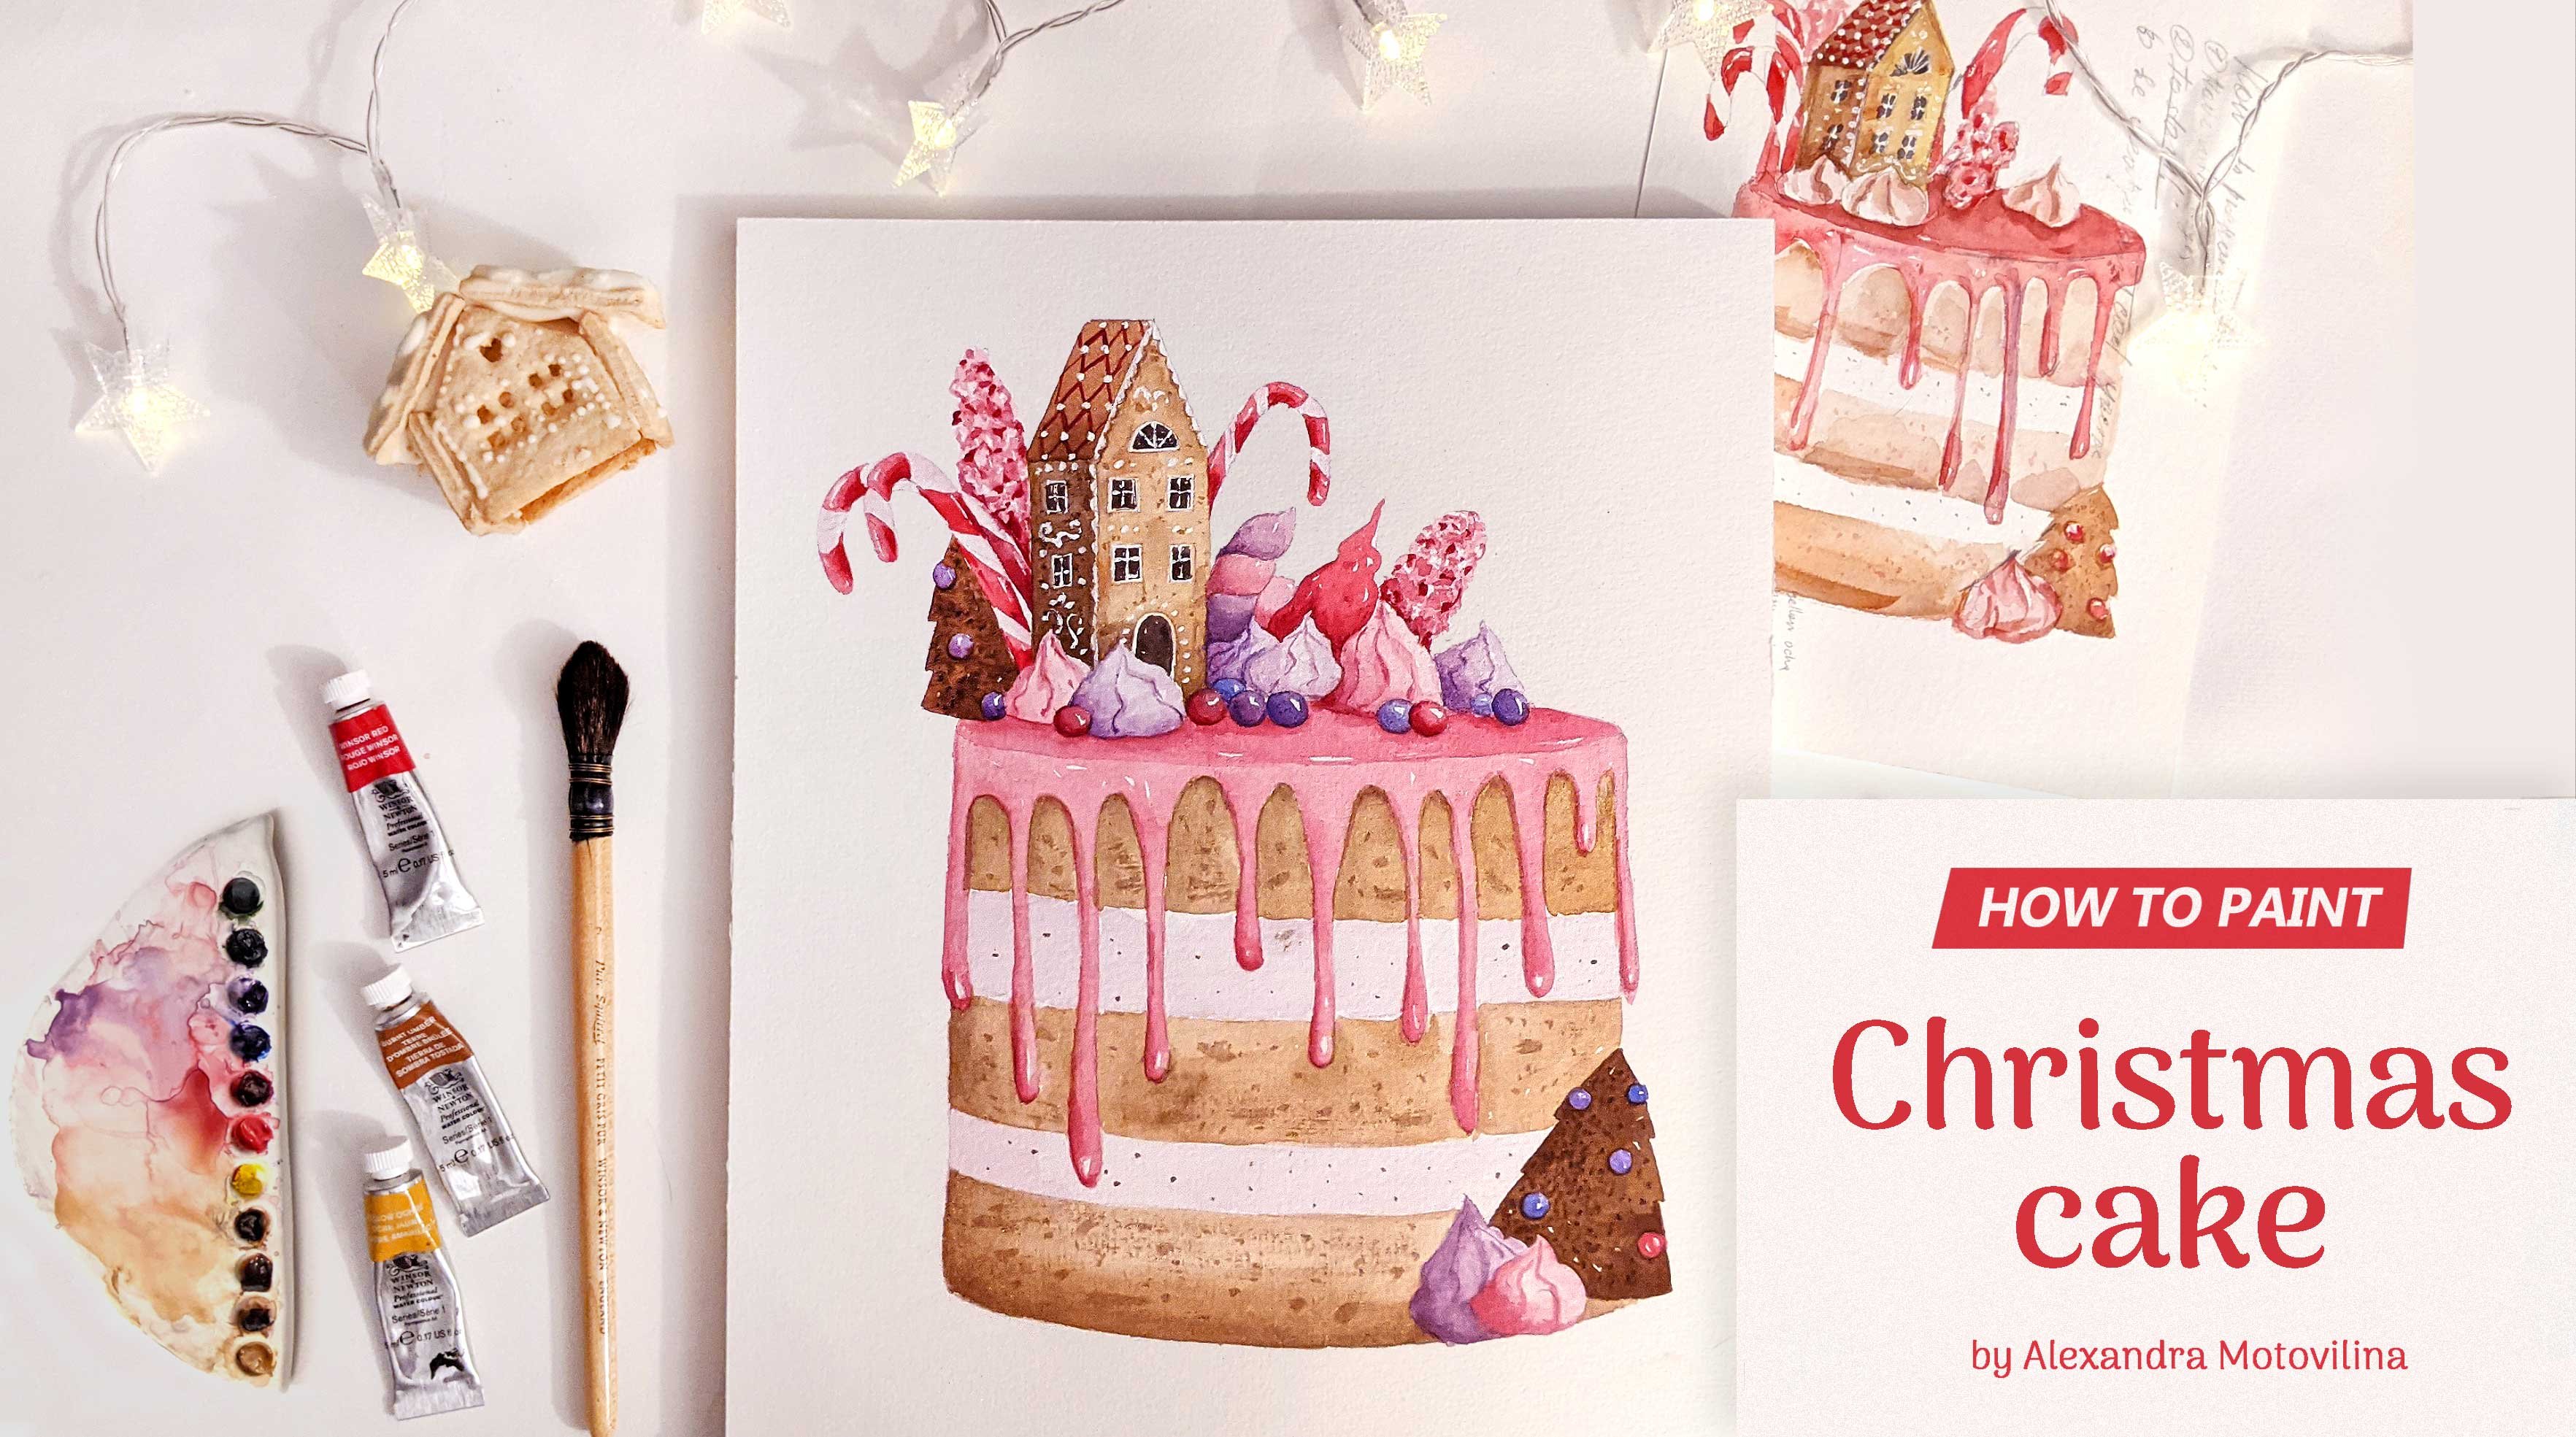
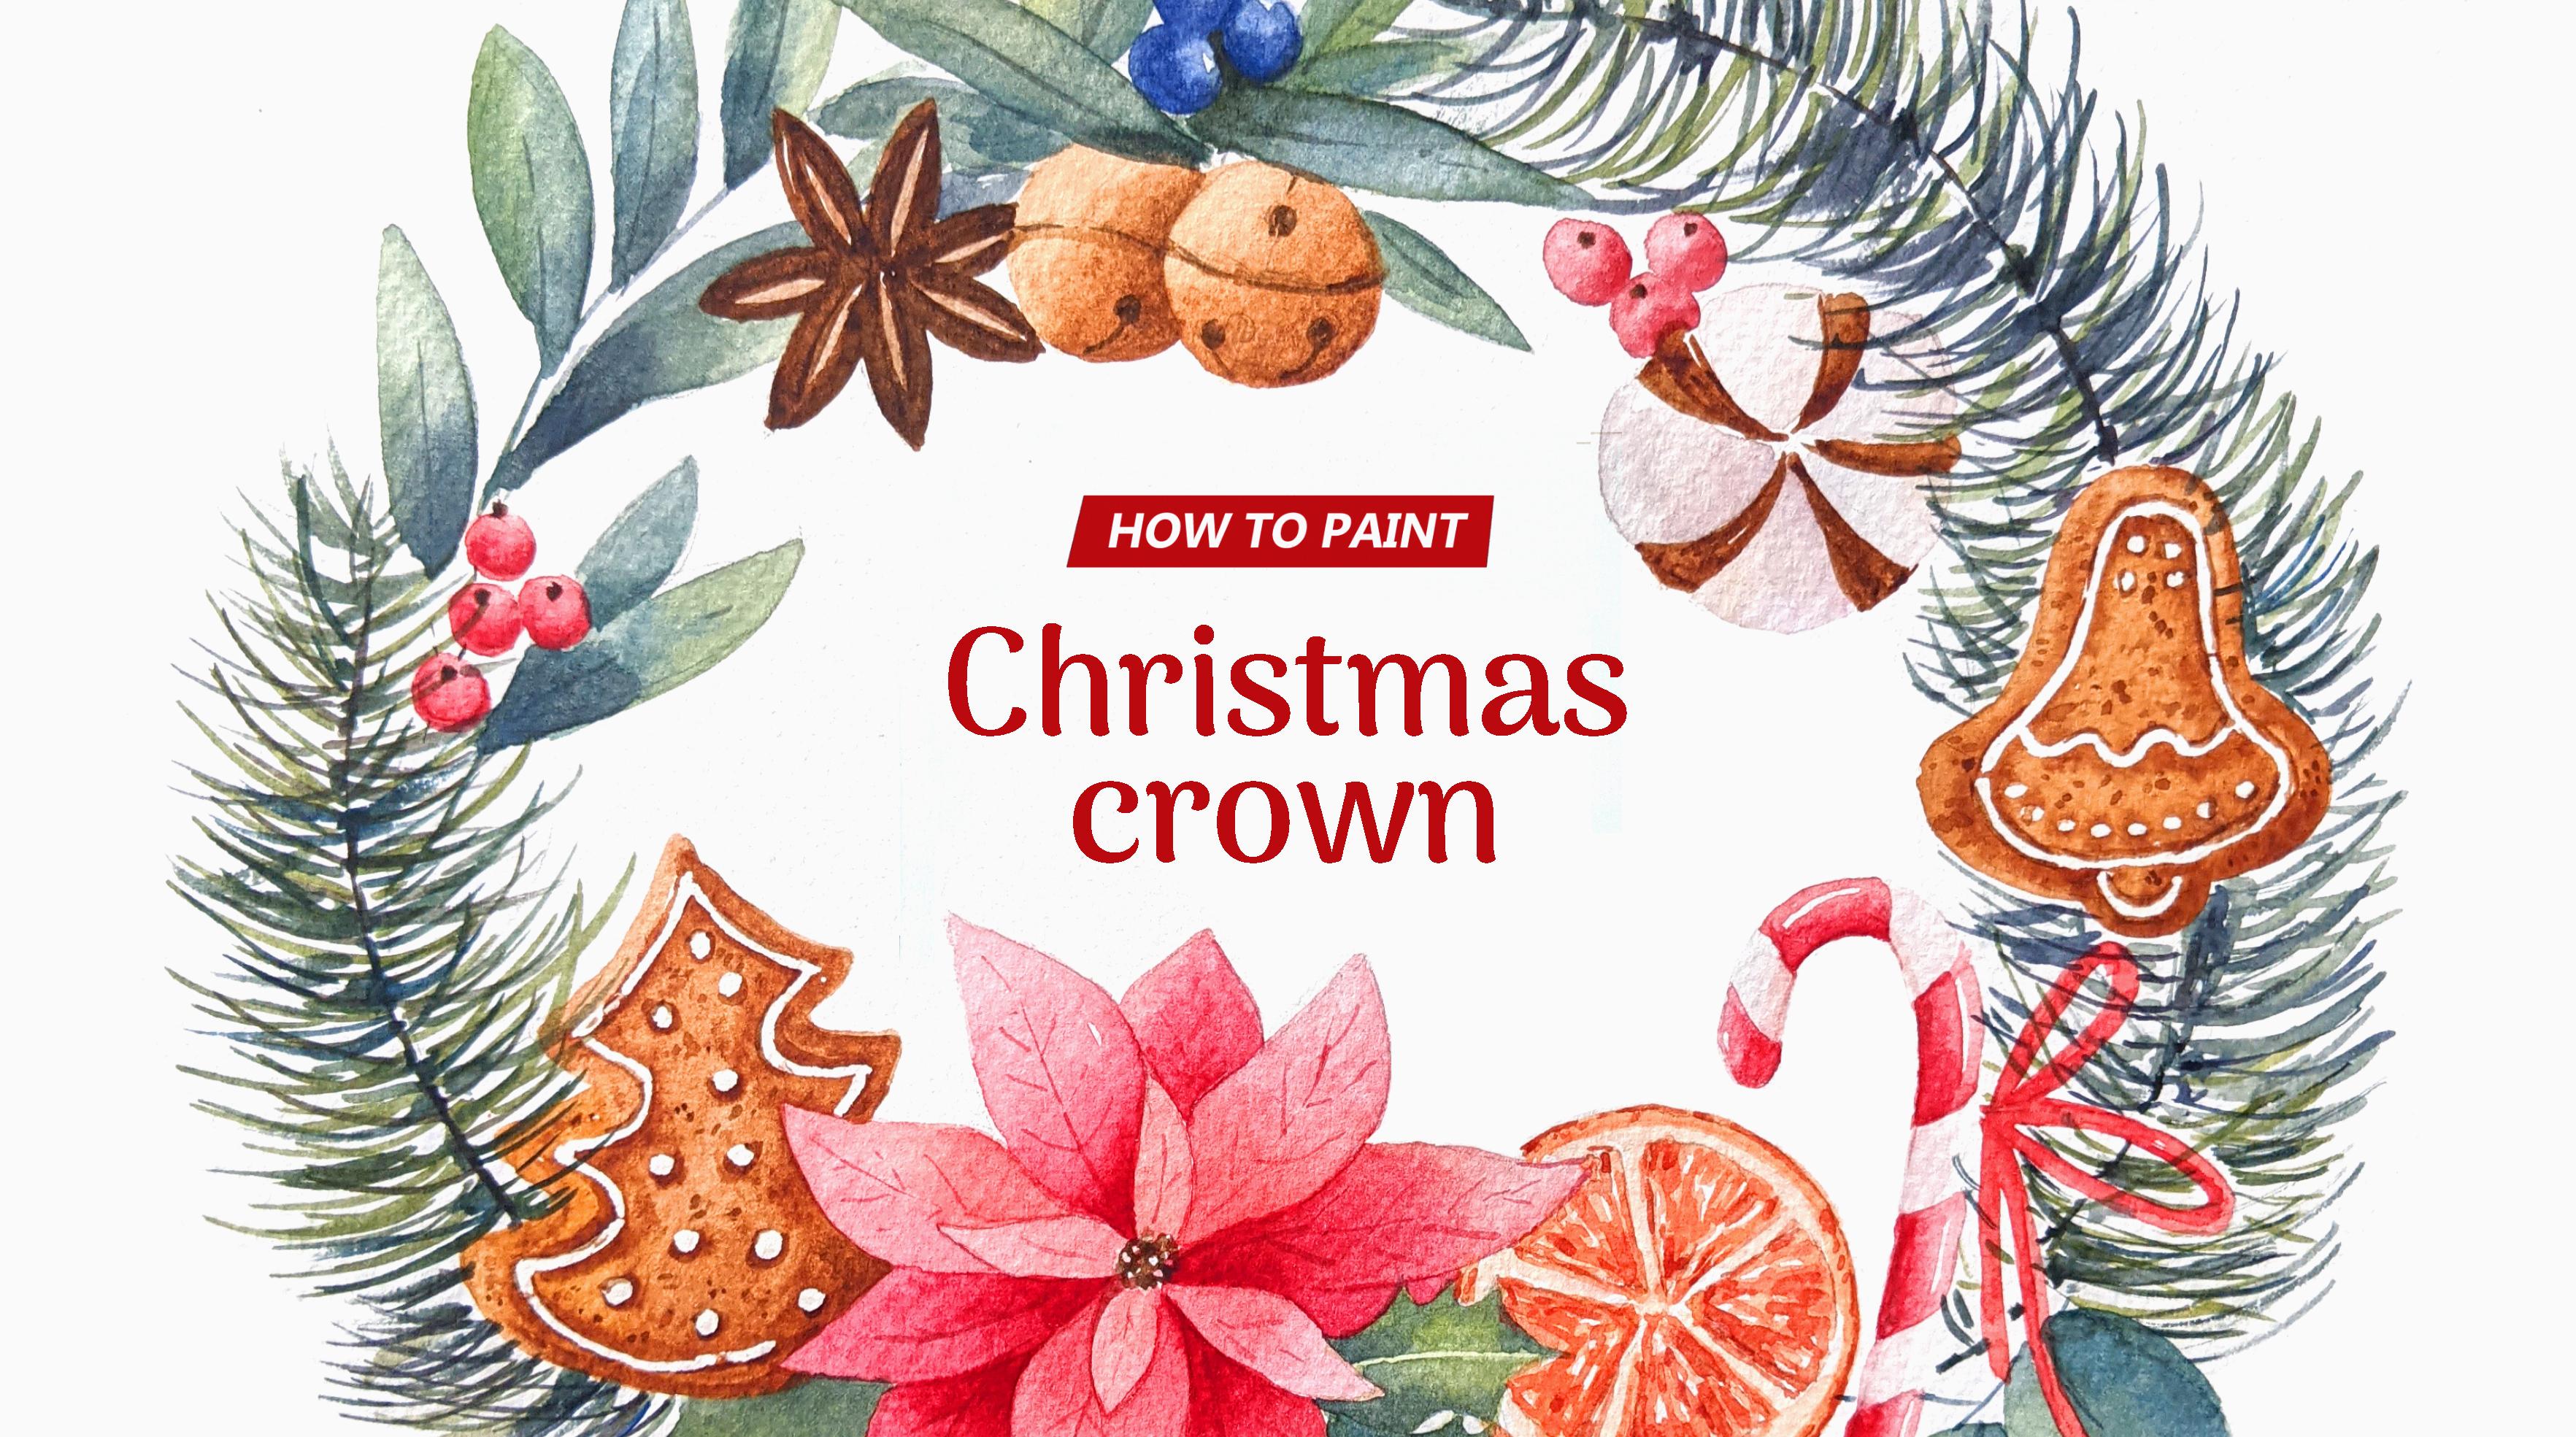
How to paint a Christmas Crown
 Alexandra Motovilina, Watercolor artist
Watch this class and thousands more
Watch this class and thousands more
Lessons in This Class
-
-
1.
Intro and class project
0:47
-
2.
My watercolor palette
0:46
-
3.
Christmas flower
7:47
-
4.
Orange
3:38
-
5.
Sugar stick
4:49
-
6.
Bell cookie and cotton flower
6:18
-
7.
Berries and anise
2:30
-
8.
Finishing anise, cookies, sugar stick
6:35
-
9.
Holly leaves
4:54
-
10.
Christmas tree branches
7:09
-
11.
Green leaves
2:59
-
12.
Final words
0:35
-
-
- --
- Beginner level
- Intermediate level
- Advanced level
- All levels
Community Generated
The level is determined by a majority opinion of students who have reviewed this class. The teacher's recommendation is shown until at least 5 student responses are collected.
79
Students
1
Project
About This Class
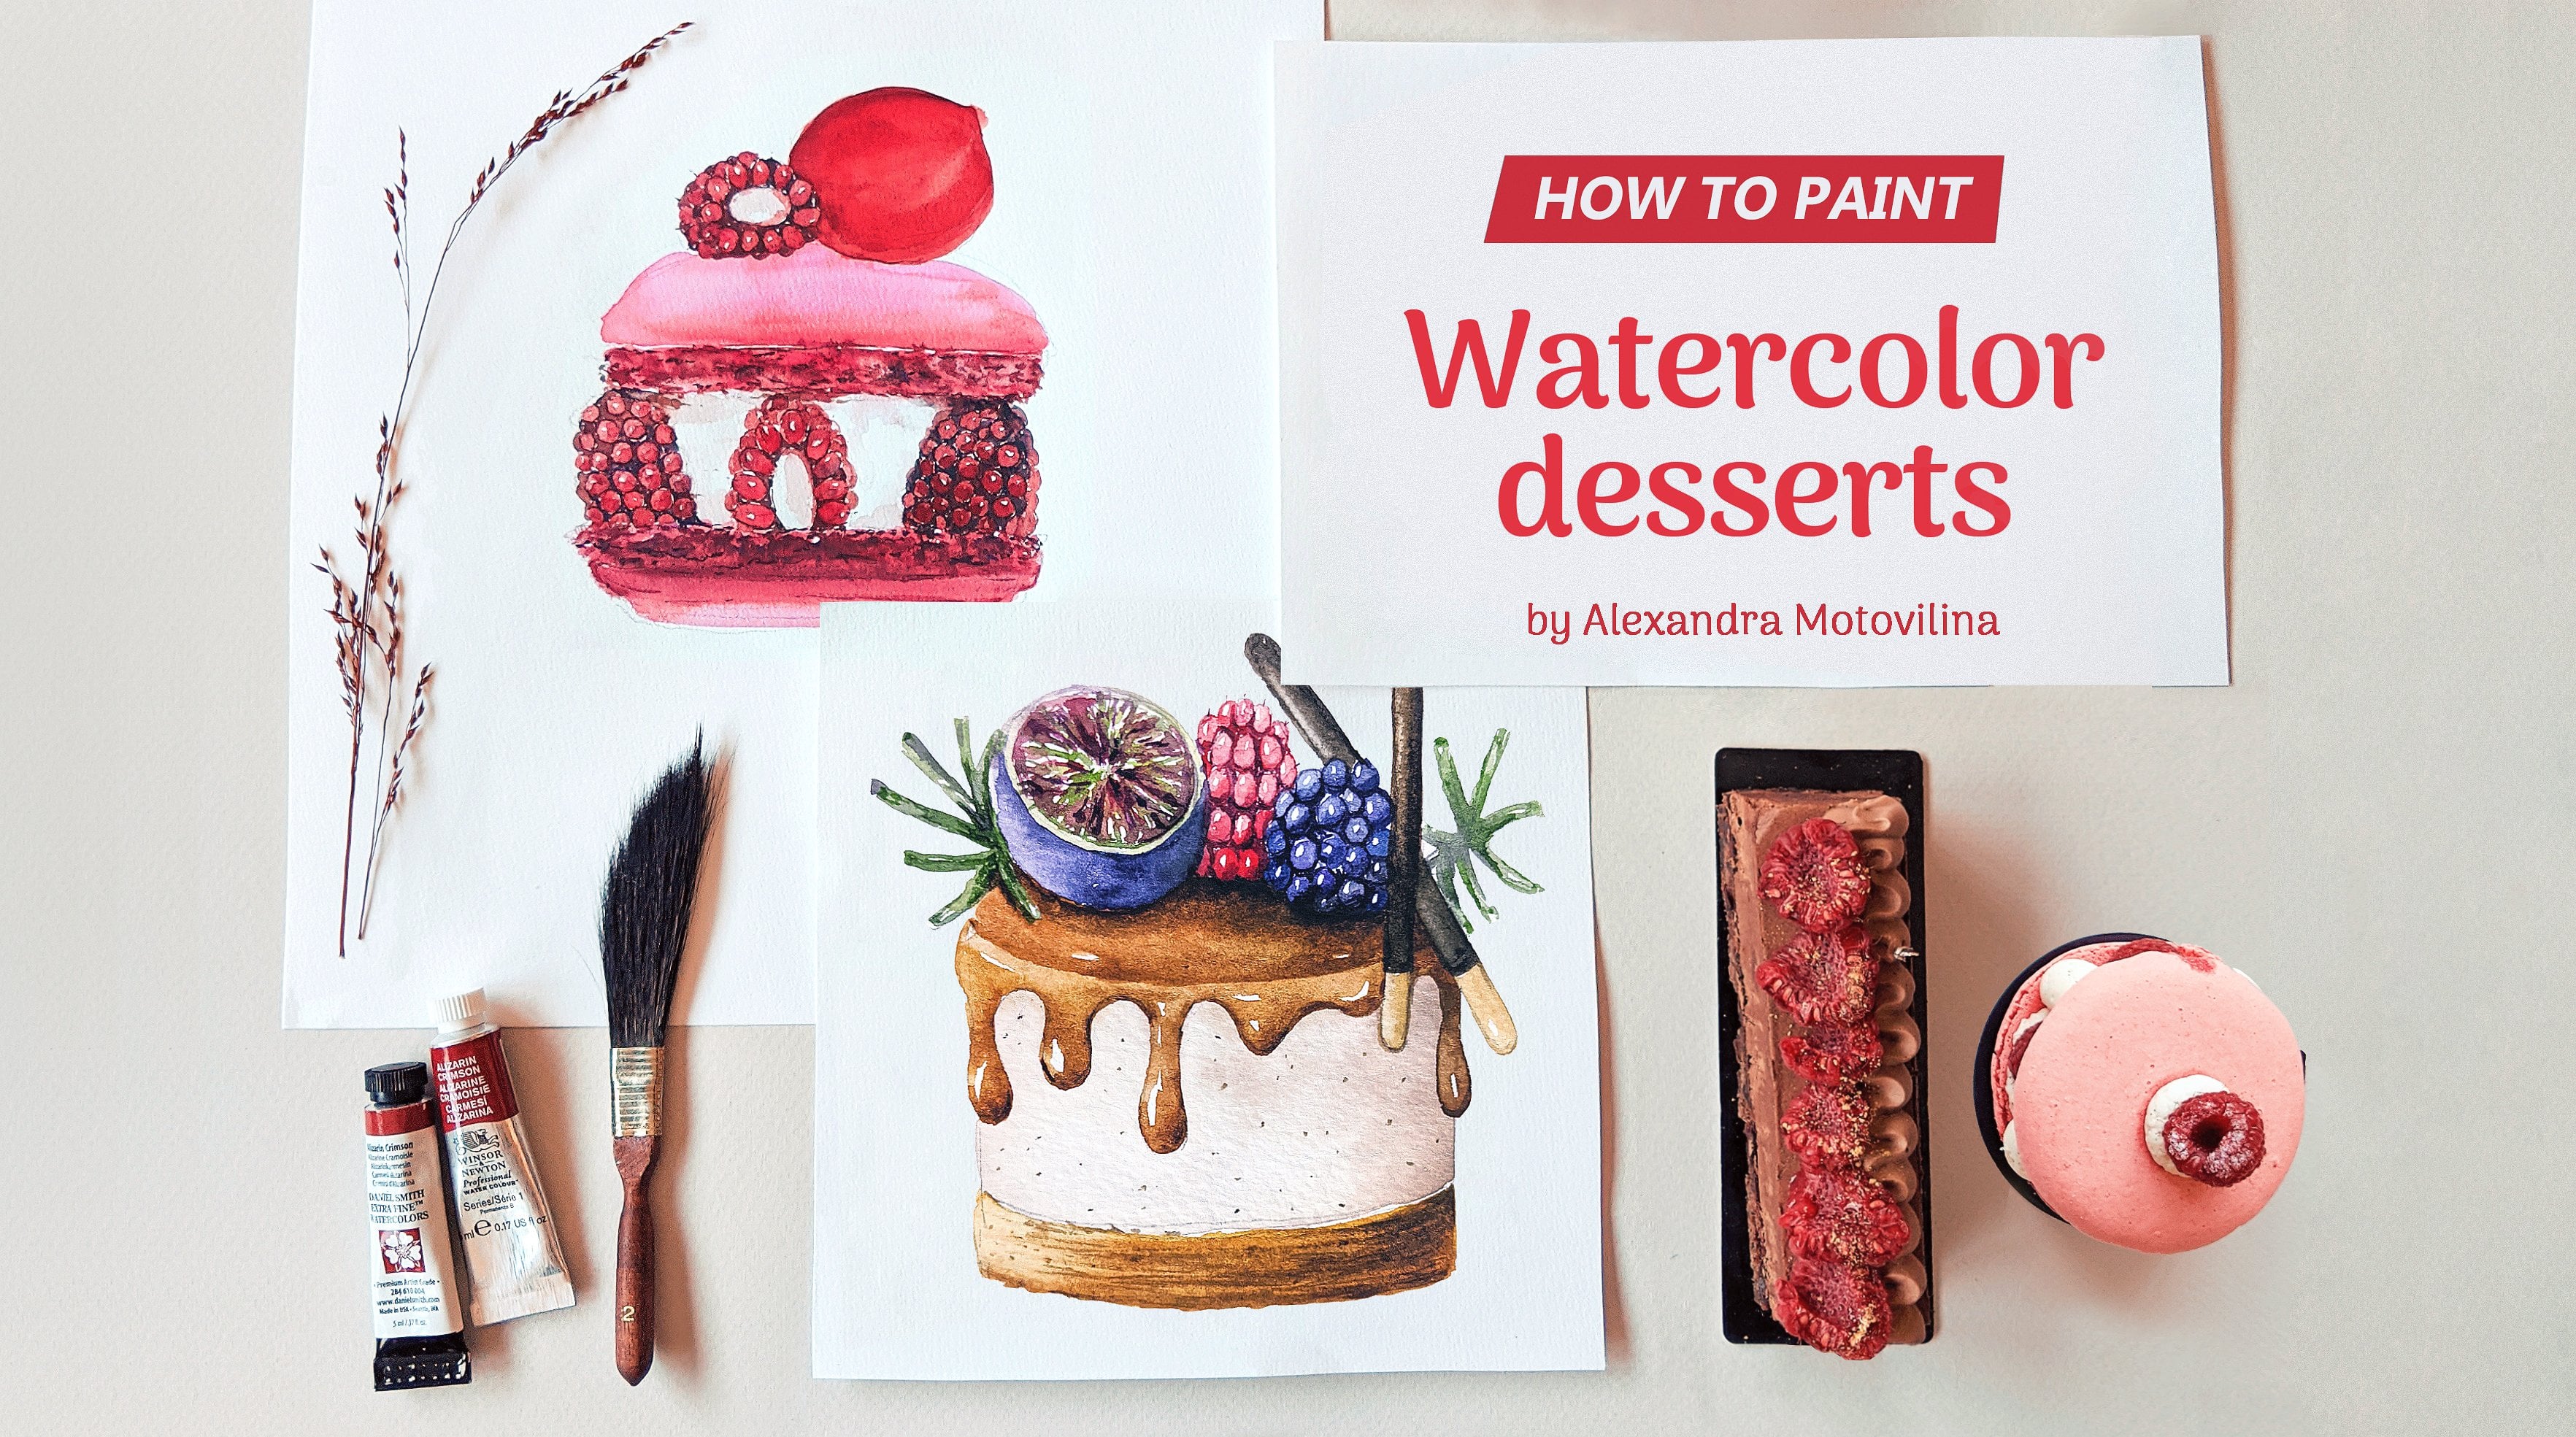
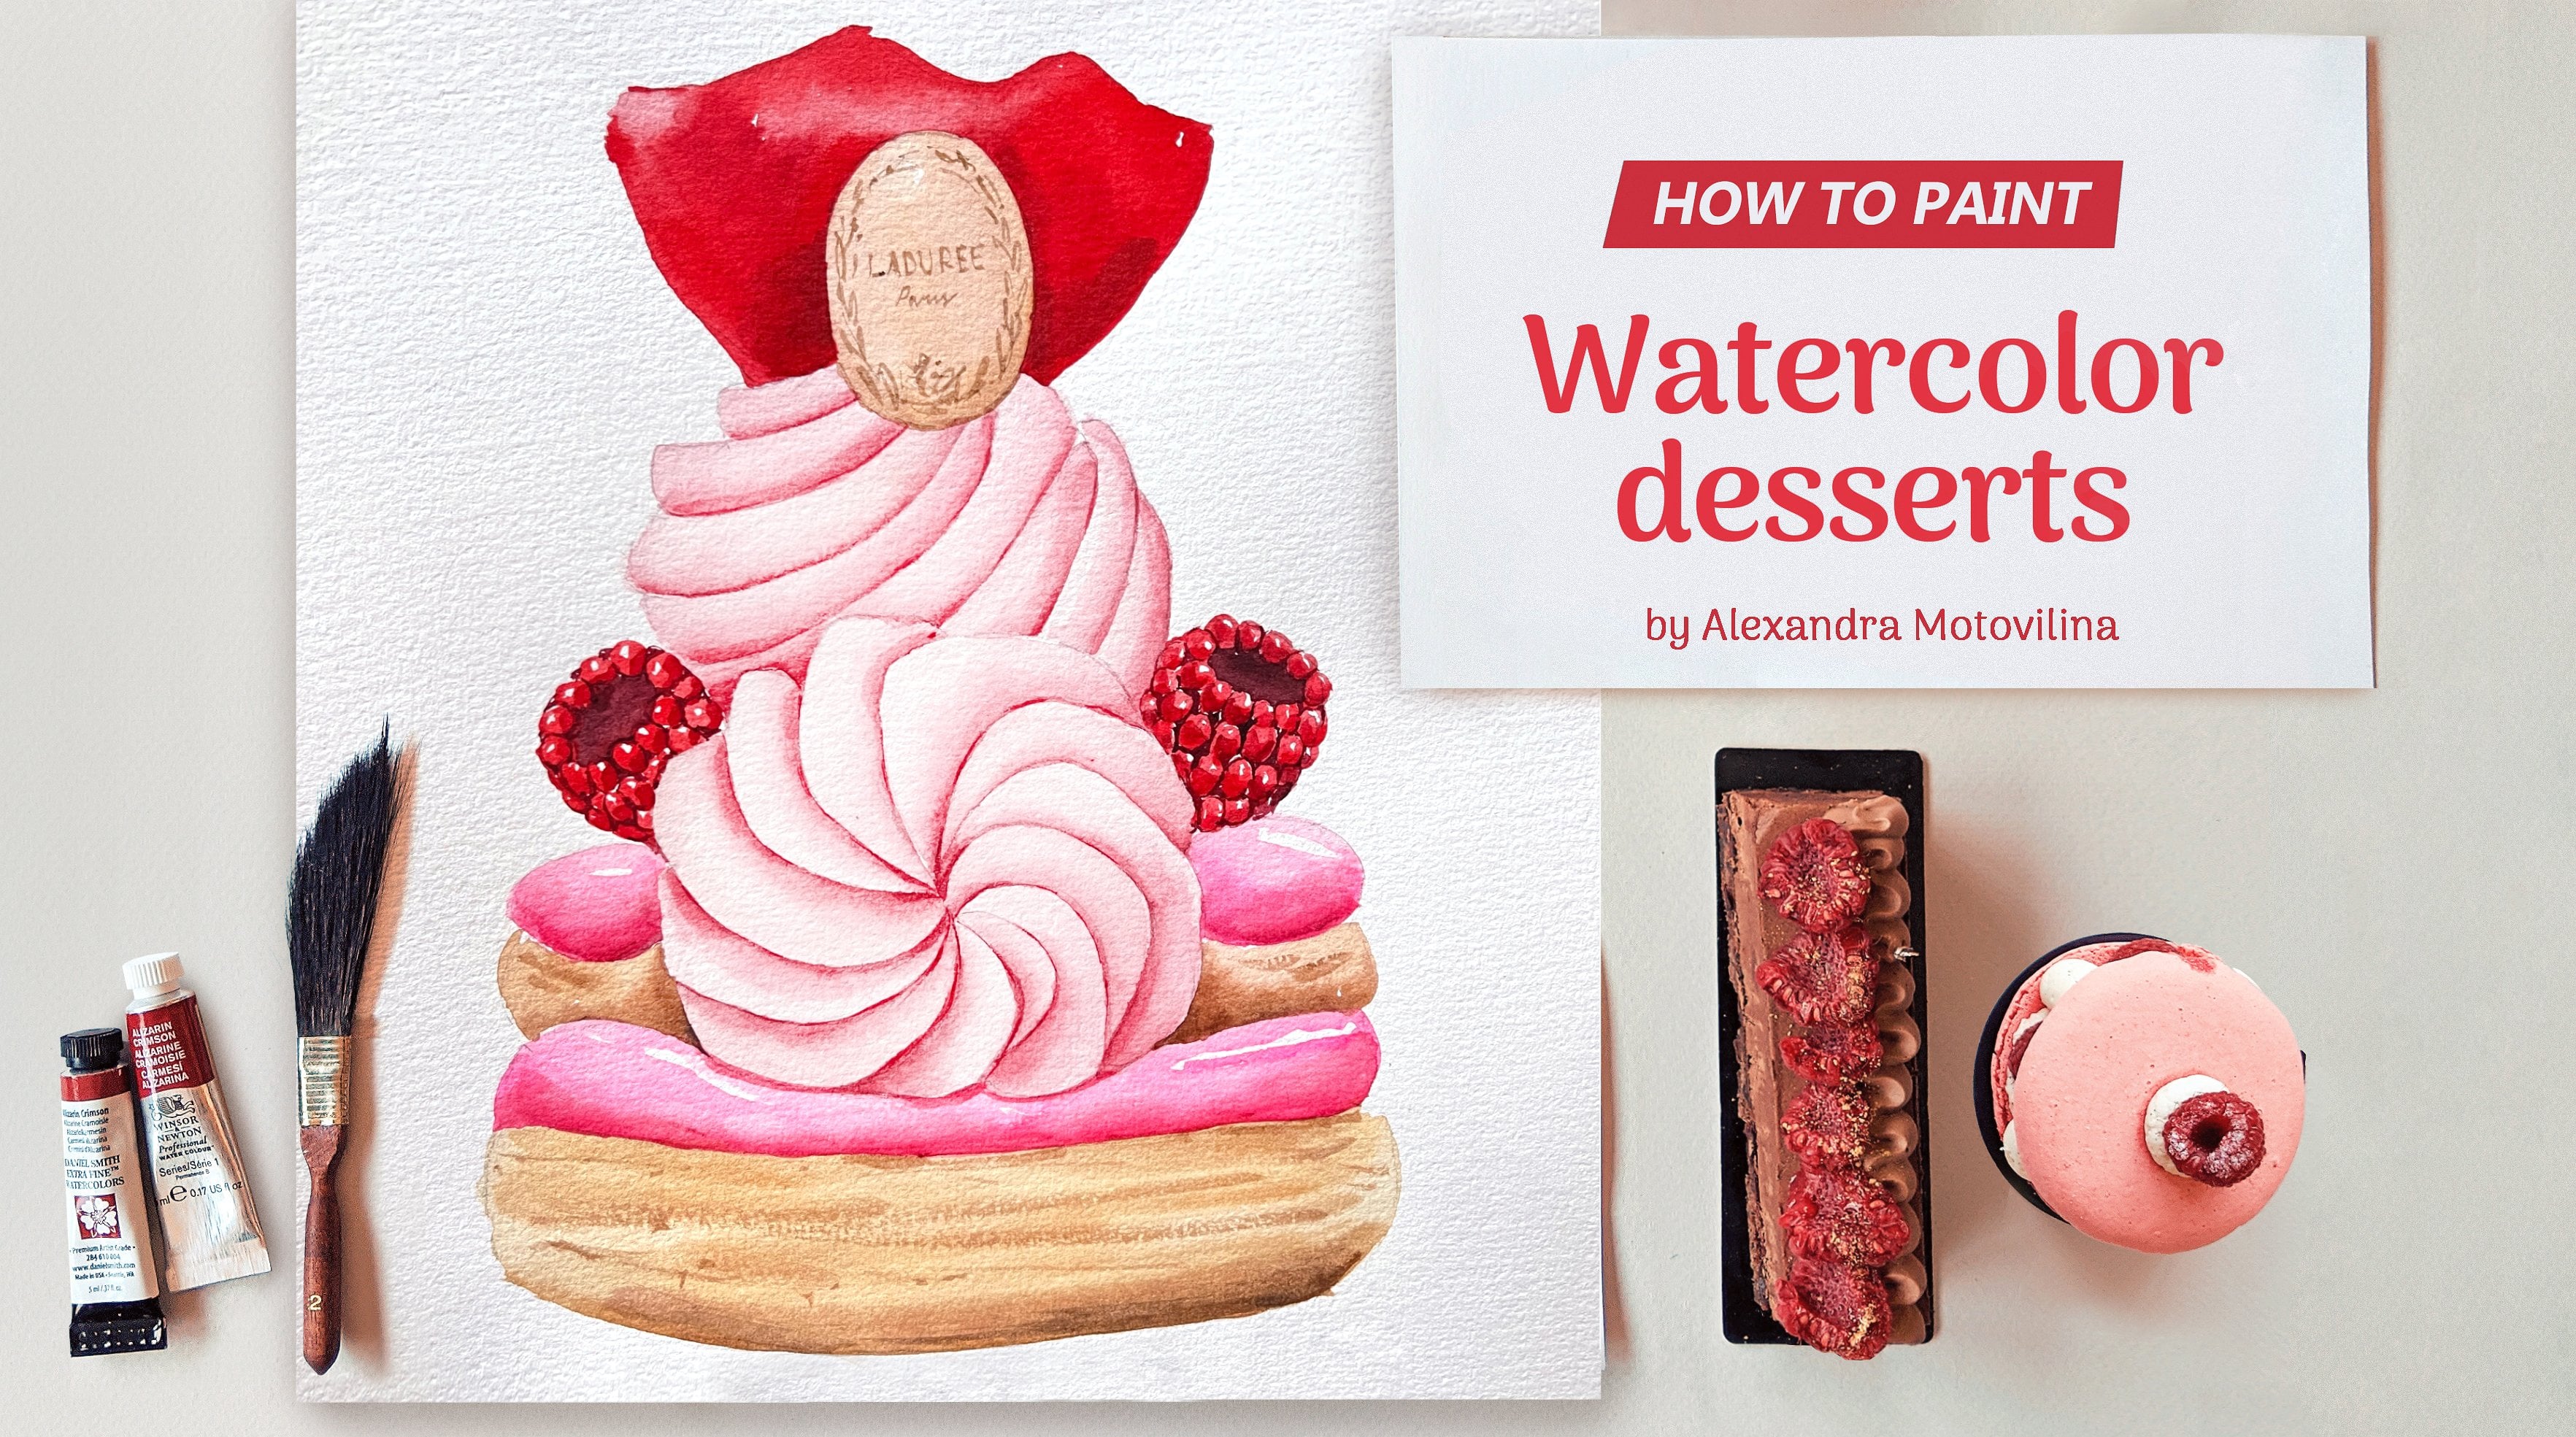
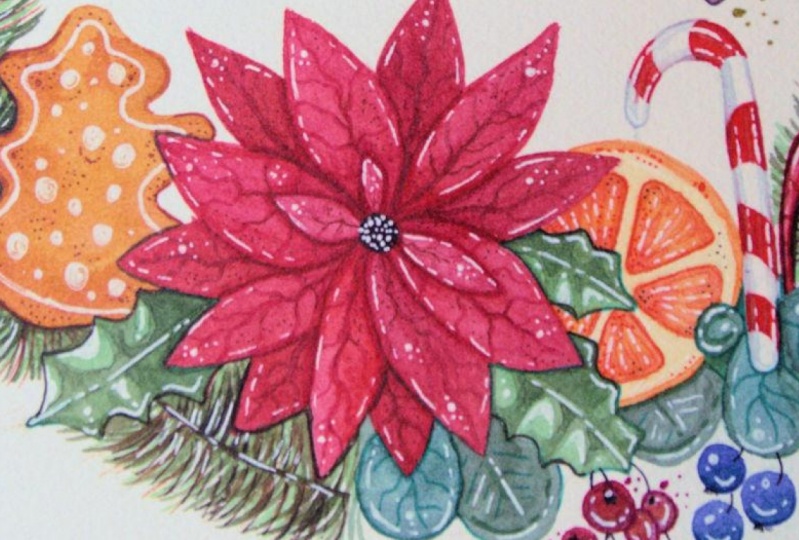
In this class I propose you to paint a Christmas Crown which has a lot of different decor elements, such a Christmas flower, cotton, sugar stick, gold bells and many others. So you will have fun painting all of them and also learn some tips about my watercolor technique.
So welcome to my class and let's learn how to paint the delicious food illustrations!
Follow me to see more of my works and lessons:
Meet Your Teacher

Hello! My name is Alexandra Motovilina, and I'm a watercolor illustrator.
I specialized in food watercolor illustrations and work as an illustrator to create illustrations for the cafe, restaurants, and food brands. Most of all, I love to draw french desserts because they look for me like small pieces of art. You could find my illustrations in the Paris Pastry Guide, which I illustrated recently.
Watercolor is my pure passion. I adore painting since my childhood and luckily it became my profession. But I started to do it consciously only in 2013. I really would like to share my experience because sharing is caring!
Last year I started to host my ... See full profile
Hands-on Class Project
In this class, I will show you how to paint a watercolor Christmas Crown. I'll cover how to draw different kinds of texture - such a Christmas flower, holly leaves, gold bells, lollipops, and tree branches.
Materials:
- Watercolor - it will be great if you will have red, brown, blue, pink, violet.
- Brushes - medium and small size.
- Watercolor paper, cotton is the better option.
- Paper tissue.
- Hard pencil, eraser.
- White gouache/acrylique.
To finish this project you should paint your Christmas crown. It will allow you to practice different kinds of texture and most important you will express yourself. Later with this illustration you can create a poster and frame it on the wall or make a lovely postcard.
Follow me to see more of my works and lessons:
www.skillshare.com/browse/illustration
Class Ratings
Why Join Skillshare?
Take award-winning Skillshare Original Classes
Each class has short lessons, hands-on projects
Your membership supports Skillshare teachers
Learn From Anywhere
Take classes on the go with the Skillshare app. Stream or download to watch on the plane, the subway, or wherever you learn best.