Transcripts
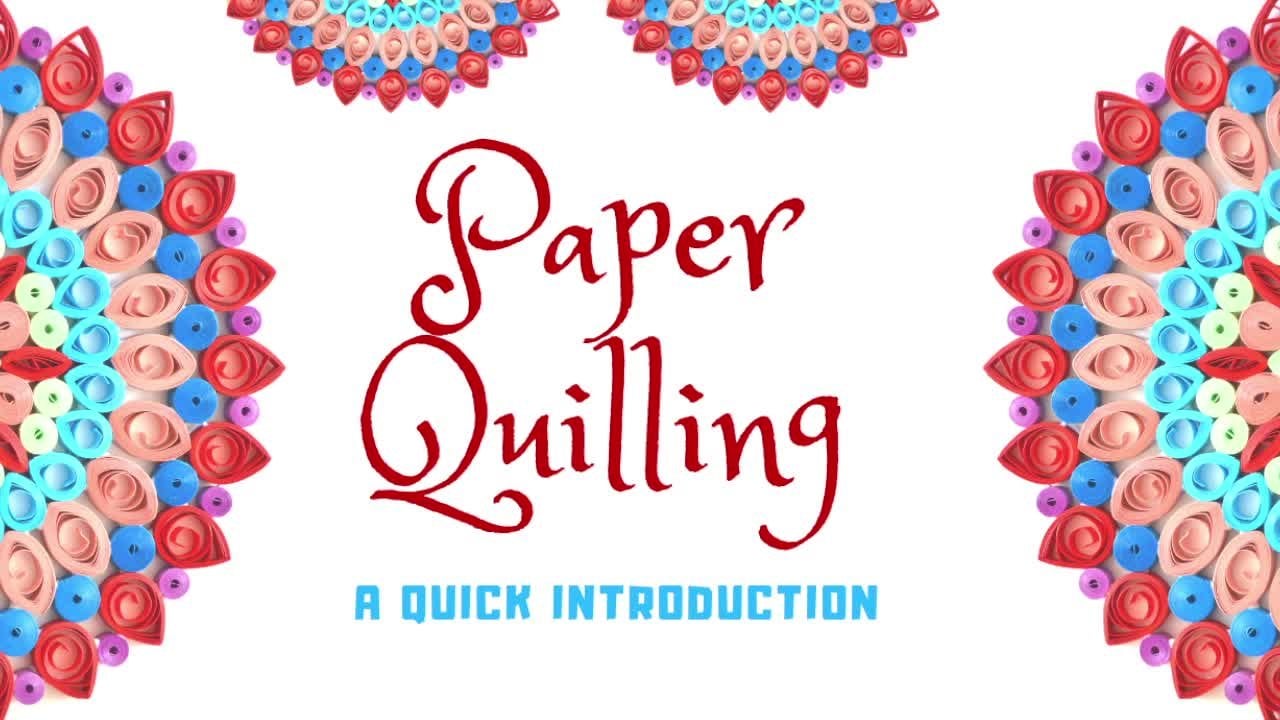
1. Introduction: Hello. I'm Anusha. Thank you very much for
choosing this course. I'm very happy to
welcome you here. This course is all
about how to make a beautiful paper
quilt mand art. This is a very
interesting project wherein you will
get to learn how to make intricate patterns with just thin strips of paper. You will get introduced to
the tools and supplies, and then we will get started
with the mandela making, where you've been shown
how to start iling the mandela from scratch with clear step by
step instructions. I'll also be sharing some
tips and techniques to make similar sized quilt shades. Towards the end of the course, you will also learn how to mount and frame the
finished mandela. Come on, let's get started.
2. Tools and supplies: In this section,
let's see the tools and supplies that are
required for this project. The very first one
is a basic tool. It's called a slot
a ailing tool. It has a slit at the top wherein the paper has to be
inserted and rolled, and it also has a handle to hold and roll
the paper strip. This is the basic tool
which you will be using for almost all
the ailing projects. Next one is a pair
of angle tweezers. This is for holding
lifting and holding the shapes to place
in the project. You would also need a
pair of sharp scissors. The next one is a fine
tip glue applicator. You can fill in your
craft glue in this bottle and it lets a very little
bit of glue at a time, so it's very helpful for
all the coiling projects. This is called a template board. It has circles of
different sizes, and in each site, you
have multiple slots. This is very helpful, especially for creating
identical sized coils. The template boards
are available in different sizes and shapes. You can choose the
one that you prefer, and you would also need a ruler. Next one is the ailing strips. For this project, I've chosen three MM white ailing
strip in three colors. However, you can choose colors
based on your preference, and also you have
an option to go for extra wide ailing strips
like five MM or seven MM. If you are a beginner,
I would suggest you to go for five MM or seven
MM white ailing strips, which will be easy to handle. Finally, you would
also meet a pencil. These are all the
tools and supplies that you would be using
for this project. Let's move on to
the next section.
3. Mandala Part 1: In this section, let's start
making our beautiful mandla. For this, I have taken
three p, te, and cream. All three MM ing strips. Feel free to choose
colors of your choice. First, I'm going to take
a pink color strip. Insert the edge of the
strip into the slit at the top of the ailing
to and start rolling. Hold the strip like
this and continue to roll till you reach the
other end of the strip. Take it out from the
tool and hold it firmly. Now we have to apply
a tiny bit of glue to the other end and seal the edge. Hold it for a few seconds
and it'll be all that. Now you have a tight coil. This is going to be the
center part of the mandla. Let's move on to round two. For this, I'm going to use
the cream color strip. I've taken one strip and I'm
going to cut it into half. Just fold it like this. Mark the center point
and make a cut. So insert the tip of the coiling strip into the
tool and start rolling. Take it out from the tool and now we have to use
the template board. I'm going to place it
in the size two slot of the template board and allowing it to unwind and using
a tweezes carefully, take it out and we have to apply a little bit
of glue to the end. Just hold it and sal the. You have a loose coil now. Hold it like this and pinch at the corner to get
a tear drop shape. The round two of the mandela is going to be tear drop shapes. You'll be needing multiple
tear drop shapes of same size. Let's start gluing it to
the center of the mandela. Apply a little bit of glue
to the pointed edge of the tier drop and glue it to the tight
coil at the center. For the next one,
I'm going to apply glue at the tip
and also to one of the sides so that
it gets attached to the previous tier drop shape. Repeat the process
and continue to glue all the tear drop shapes a
tight coil at the center. You can either use
greases or you can use just your hands to arrange
and glue the shapes. Making identical sizes is very important to have
a beautiful finish. Make sure you use
the same size of the template board for
each of these shapes. For the final one, you need to apply glue to the center and also on both the sides like
this and just place it. Just reposition it if you want
to when the glue is still wet and leave it to rest for some time so
that it gets dried. Round two is complete now. I'm just going to rest
it for a few minutes. For the next round, I'm going to take a pink color coiling strip. I've taken two of them
and I'm just going to connect the ends of both
the strips together. Just apply a little
bit of blue to one of the ends of the coiling strip
and attach the other one. Just press it a bit and
it's all ready to roll. Apply a little bit of
glue to the edge of the strip and place it to one of the tea drop shapes
and leave it to rest for a few seconds for the
glue to just get set, and I'm just applying
a tiny bit of glue to the end of each
of the to drop shapes. And holding the edge of the
paper strip in one hand, start rolling it
around the shape. Apply glue wherever it's
required and continue to roll. I'm just applying even more glue here all around
and start rolling. Repeat this process
of applying glue and rolling until you reach the
end of the paper strip. You've almost reached the end and just applying a
little bit of glue. The last portion of
it and seal the edge. Just hold it for a couple of
seconds and it'll be done. Round three is completed,
leave it for some time. The meantime, we'll move
on to the round four. I'm using a real color strip. I've taken one paper strip and I'm just folding
it into half. Make a c in the center. Inside the tip of this
tail colored strip into the slotted coiling tool, and we have to make a tight co. Roll till you reach
the other end. Take it out and apply glue to the end of this
strip and seal the edge. You've got a tiny t coil. Round four is all of
these type coils. You'd be needing quite a
few similar sized coils for making round four. You can either apply glue to this ty coil and stick it ad or the easiest way is applying a little bit of glue all
around the pink color strip. Just apply it everywhere around the pink color strip and place it flat and start fixing the tight
coils around here. This way, it will be
easier and quicker. Place it one after the other. I think we'll be
needing a couple of more of these tight coils. I'm just going to make two more and I'm going to complete
round four with this. A so that you don't see space
between these tight coils. It has to look uniform. We'll move on to next
round in the next section.
4. Mandala Part 2: In this section, let's start making round five of the mandla. In the previous section, we have completed till round four. Now I've taken a
pink color strip and I'm folding it into half. I mark the center
and make a cut. Start rolling the pink
strip into a tight coil. Take it out and we
have to glue the end. Just a little bit will do. Hold it for a few seconds and
you have a tight coil now. Just pinch at the top to get a. This is a pink shape. Round five is going
to be all pink drops, you have to make as
many as you want. Apply glue on both the sides of the pointed side
of the tier drop and place it in the gap between the two tight coils
in the previous round. It's just the same process. Just apply glue on both
sides of the tier drop and just place it in the gap
between the tight coils. Stick this tear drop
shape all around. The complete round five. Here goes the last two. With this, round
five is completed. Need to give some time
for it to get right. For the next round, I'm going to take three teal color coiling. We have to join them together by gluing the ends of
each of the strips. Again, a little bit of blue
here and at the last one. Now we have to wrap it
around the round five. For this, I'm going to apply glue to each of the
teardrop shapes. First attach the strip to one of the theo drop shapes
and hold it for some time for it to get stuck. Now, start applying glue
to each of the theo drops. And gently wrap it around. Before doing this, make sure the previous round shapes
that we have stuck, all the pink tear drops
is all completely, so that it will be easy
for you to handle. Slowly w it around. Now, apply glue all around
and start wrapping it. In the same way, apply
glue and continue to roll till you reach the
other end of the strip. S. Almost towards the end, line some glue here. A little more here and glue it. This is round six. Now for the next round, I've taken a cream color
coiling strip, half of it. Start rolling it. Take it out. Now you have a tight
coil. Glue the end. Place it between the fingers
of both your hands and press it and the opposite
ends to get an eye shape. This is how it looks. This round is completely going
to be off this eye shape. I'm going to apply glue all
around this til color strip. Once it's done, place it
on the flat surface and start sticking this eye
shape one after the other. As the round gets
bigger and bigger, you're going to be needing of
similar size shapes because the circumference
will get and you'll be needing more number
of pieces to finish it. When the glue gets d, apply a little bit more glue
and start sticking the ad. L at with this round
seven is completed. In the next section, we'll
continue with the next rounds.
5. Mandala Part 3: In this section, let's
complete the mandil by finishing the
last few rounds. This is round eight
for this I've taken. The green color coiling strips. I'm just going to join them
together by gluing the ends. And join the third one here. I'm just going to
w this all around. For this, I'm applying glue
to each of this eye shape. Start fixing the strip and just hold it for some time
and gently wrap it around. When you start to
roll the next round, apply glue and continue with it. Continue the same way till
you reach the other end. Little bit of glue to
the end and secure it. Round eight is completed. For round nine, I have taken a pink color strip and I'm
going to cut it into half. Roll this into a tight coil. Now place it on the size two
slot on the template board. Allow it to unwind
and take it out, and now you have
to glow the end. Bake for it to get
stuck and then hold it like this and pinch at the top to get a
tear drop shape. You have a tear drop now, and you have to make the
seized tear drop again. I'm just going to roll it
into a tight coil first. Place it in the same slot on the template board. Size two. Once it's unwinds, take
it out. Glue the end. Pass it for a few seconds and then start making the
shape by pinching the top. You have a tier rob now. Apply glue to one
of the sides of the tier robs and
attach the other one. Now you have a beautiful,
little heart shaped. We are going to stick this heart shapes around round eight. To complete this round nine, you're going to need quite
many similar heart shapes. Now I've taken one of the
heart shape and the applying a little bit of glue to the tip and I'm just securing it here. For the second one,
I'm going to apply glue to the tip and also
to one of the sides, and I'm just positioning
it here like this. Adding glue to the
tip under the sides makes it secure even bit more. Continue the same
way and we have to glue all the hearts
around round eight. It's more than
halfway through now. Continue to do the same. We have just got a couple
of more hearts left. For the last one,
apply glue to the tip and also to both the sides and let it remind without getting disturbed for some time till
let's get completely dried. Now it's been dried
for around 30 minutes. Around nine is complete. Let's move on to round ten, which is going to be
again a pink color one. I've taken one strip
and I'm applying glue to the end and I'm
attaching the other one. I'm going to attach one more here to the end of
the second strip. Glue it like this and fix it. We have attached three pink
color strips together. Now we have to wrap this
around around nine for this. I'm applying glue to the top of each of the hearts all around and attach the coiling
strip like this and hold one end
of the strip for it to get stuck and then gently wrap the pink color
strip around the heart shape. This is going to
be our round pen. Make sure that you're
applying glue to all the hard shapes before
wrapping the pink color strip. Continue to wrap it
slowly and carefully. As the size of the mandela
gets bigger and bigger, you have to be very
gentle in handling the mandela because these
are all delicate parts, it might get distorted. Be careful when you handle it. Almost towards the end
of the first round. Continue to apply glue
and then wrap it around. Repeat the process till you reach the end of
the coiling strip. You might need to do like
three or four rounds around. When you reach the
end of the strip, make sure you apply glue to the end of the
strip and stick it. The round ten is now completed.
This is how it looks. The next is going
to be a round 11. This will be the final round. For this round, we are
going to use two colors. One is steel color. I'm cutting the coiling strip into half and I'm
going to roll it. First roll it into a tight coil. Slide it out and I'm going to
use the template board now. Place the coil in size two
of the template board. Once it unwinds, use the
tweezers to take it out. I apply some glue to the end. Stick it. Now, we have to
convert this into a tier drop shape for this
hold it and paint at the top. Now you have a tier drop shape. Hold the pointed end of the
tier drop shape and use the iling tool and push the flat end of the
tier drop shape. That is the curve part of
the tier drop shape inside, and now you have
the arrow shape. The second color is
pink and I've taken half pink color strip and I'm going to cut it
into half again. You just need one quarter
of the paper strip. I'm just going to roll
it into a tight coil. Glue the end. Hold it for some time
for it to get stuck. Now you have the tight coil. I'm going to fix this tight
coil to the arrow shape. For this, I'm applying
a little bit of blue and just stick the
tight coil like this. Now you have this shape. This is the shape that we are
going to use for round 11, that is the final
round of a manda. This is going to be
the biggest round, so you would need
number of shapes. Now let's complete the
final round of a mandela. I'm just taking one of the
shapes and applying glue to the pointed end of the
shape and fix it like this. For the second one,
I'm applying glue to the tip and also to
one of the sides. And fix it like
this, make sure it gets stuck to the
previous one as well. And continue the same and fix all these shapes
around around ten. You can always starve the
mandla in any of the rounds. If you want a smaller one, you can just finish your mandela in round
eight round mine, or if you want a bigger one, you can just continue to make
a bigger one as well like repeating the shades
and making rounds. It's all completely
up to your reference. The final round is getting
closer to completion. Instead of using three colors, you can just use a single
color or even two colors. Or else you can also try making a vibrant looking mandela with different colored
steps for each round. Now we are just left with
the last two pieces. I'm now sticking
the final piece. Once it's completely done, allow it to rest for some time so that it gets
dried completely. It's been around and hard now. The mandela got dried completely and it's all ready to
be mounted and framed. In the next section, I'll share some ideas for
mounting and framing.
6. Framing: In this section, let's see how to frame the finished mandla. It's very easy process for this, I've taken a square
shape white cardstock. This is going to be the
mounting boat for the mandela. It measures 18 centimeter
by 18 centimeter. You have to choose the
mounting boat based on the size of the frame
that you're going to use. First, I'm going to mark the center point of
all the four sides. I'm going to make a mark at nine centimeter on
the opposite sides. And place the ruler between
these two marked points, and I'm going to mark two centimeter from
the end of each sides, and I'm going to
repeat the same for the remaining two sides. Again, here, I'm going to mark two centimeter gap from the
ends of both the sides. These four points will
act as a guide for positioning the mandelaly at
the center of the cardstock. Now let me measure and
show you the dimension of the mandela It measures
exactly 14 centimeter. That is the reason why I have marked two centimeter gap on all the four sides so that the mandela will stay
exactly in the center. Carefully take it
out, make sure it's completely dried before
mounting it to the card stock. I'm just going to apply
some glue to the center and at random points
on each of the rounds. Make sure you apply
a little bit of glue. This much is enough. I just applying glue all around. We have to be a little bit quick so that the glue
doesn't get dried. Applying a little
bit of glues enough. If you apply more, there are chances for it
to get smashed. So be careful with the quantity
of glue that you apply. Now I'm just applying
to the final round. Since these have of tiny coils, it's better to apply glue to each one of them so
that it stays in place. It's all done now, ready
to glue to the card stuck. Carefully position the mandela between the marks
that we have made. Before pressing it
down, make sure it's all completely aligned. Once you're, you can press
it gently on all the sits. Just cover the entire
manda and press it. Once it's all done, let it rest for some time till
it gets completely dried. It's been a couple of hours now and it's all
completely dried, all set for framing. Let me show you how to
frame this mandela. For this, you would need
a shadow box frame. This comes in different
colors and sizes, choose the one that fits
exactly for your requirement. I'm just going to remove the
back board of the frame and then I'm just going to place the mounted mande inside this. Place the board again and then
secure all the four sides. I've already
measured the size of the frame and made the
mounting board accordingly. Based on the size of the
frame that you're choosing, you have to choose
the mounting card of the same dimension. Now this Mundla art
project is complete and it looks beautiful
as a home decord, or even you can
gift it to someone, and I hope you like it too.
7. Conclusion: Thank you so much for
joining me in here. I hope you enjoyed making
this Mandla project. And if you have any questions, please feel free to ask. It would be great if you
could leave a review. And happy Qiling,
we'll see you all again with another
interesting Qiling project. Till then take care bye.
 Anusha Rajendran