Transcripts
1. Introduction: Hi, I'm Sarah. I run a vinyl decal business and I love to teach people how to make and sell decals too.
Check out my other courses, if you would like to learn
how to make decals from scratch or start your own
vinyl or SVG business. In this course, I'm
gonna be showing you how to make a vinyl
suncatcher. You can put these on
your window and in direct sunlight they will catch the sun and create a rainbow. They also just look super
cute on a window and you can make all sorts of different
varieties and designs. Whether you just want
to make them for yourself or you want
to make them to sell. They are static
cling and they don't use any adhesives so they can be removed and reused time and
time again. To make vinyl sun catchers you will need a cutting machine such
as a Cricut or a cameo. And I will tell you
where to get the rest of the materials
within the course. I will be demonstrating how
to create the design in Cricut design space and
cut on a Cricut Air 2. But other design software and other machines can just
as easily be used. I will add all of
the links you will need in the resources section. So don't forget to
download that document. And for your project,
you will make your very own vinyl sun catcher. I would love to see
a picture of it in the discussion section.
Once you're finished.
2. What you need: So to start, let's
just go over what you need in order to make
your vinyl suncatchers. So first you will need a
cutting machine that can cut material that is
slightly thicker than vinyl. Because the secret to making these suncatchers
is this stuff. It is window privacy film. The stuff that you put up to block people from
seeing through. And it's specifically
the rainbow type. I will add a link of where you can find it in
the resources section. Then as well as that you
will also need some vinyl, any type of permanent
vinyl will be fine. I will also put a link to
a list of vinyl suppliers, in the resources so that
you can make sure you're getting the best deal
Wherever you are based. Just a note to say
that you can also make suncatchers with
printable clear. sticker vinyl or
sticker paper as well. Or you can just make shapes
out of the window film. You don't necessarily need
to add a design on top, but if you want to make one like mine and follow
along in the course, I'm making it with vinyl. Therefore, you will also need some transfer tape to be able
to apply the vinyl as well. Then you'll also
need scissors to, then that is really
all you need. But there are some other
tools that can help you, such as a weeding tool, a vinyl scrap collector
and a squeegee. Although these are not
requirements, again, I'll add links to
everything I use in the document in the
resources section. So don't forget
to download that. And then we can get on
with making the design.
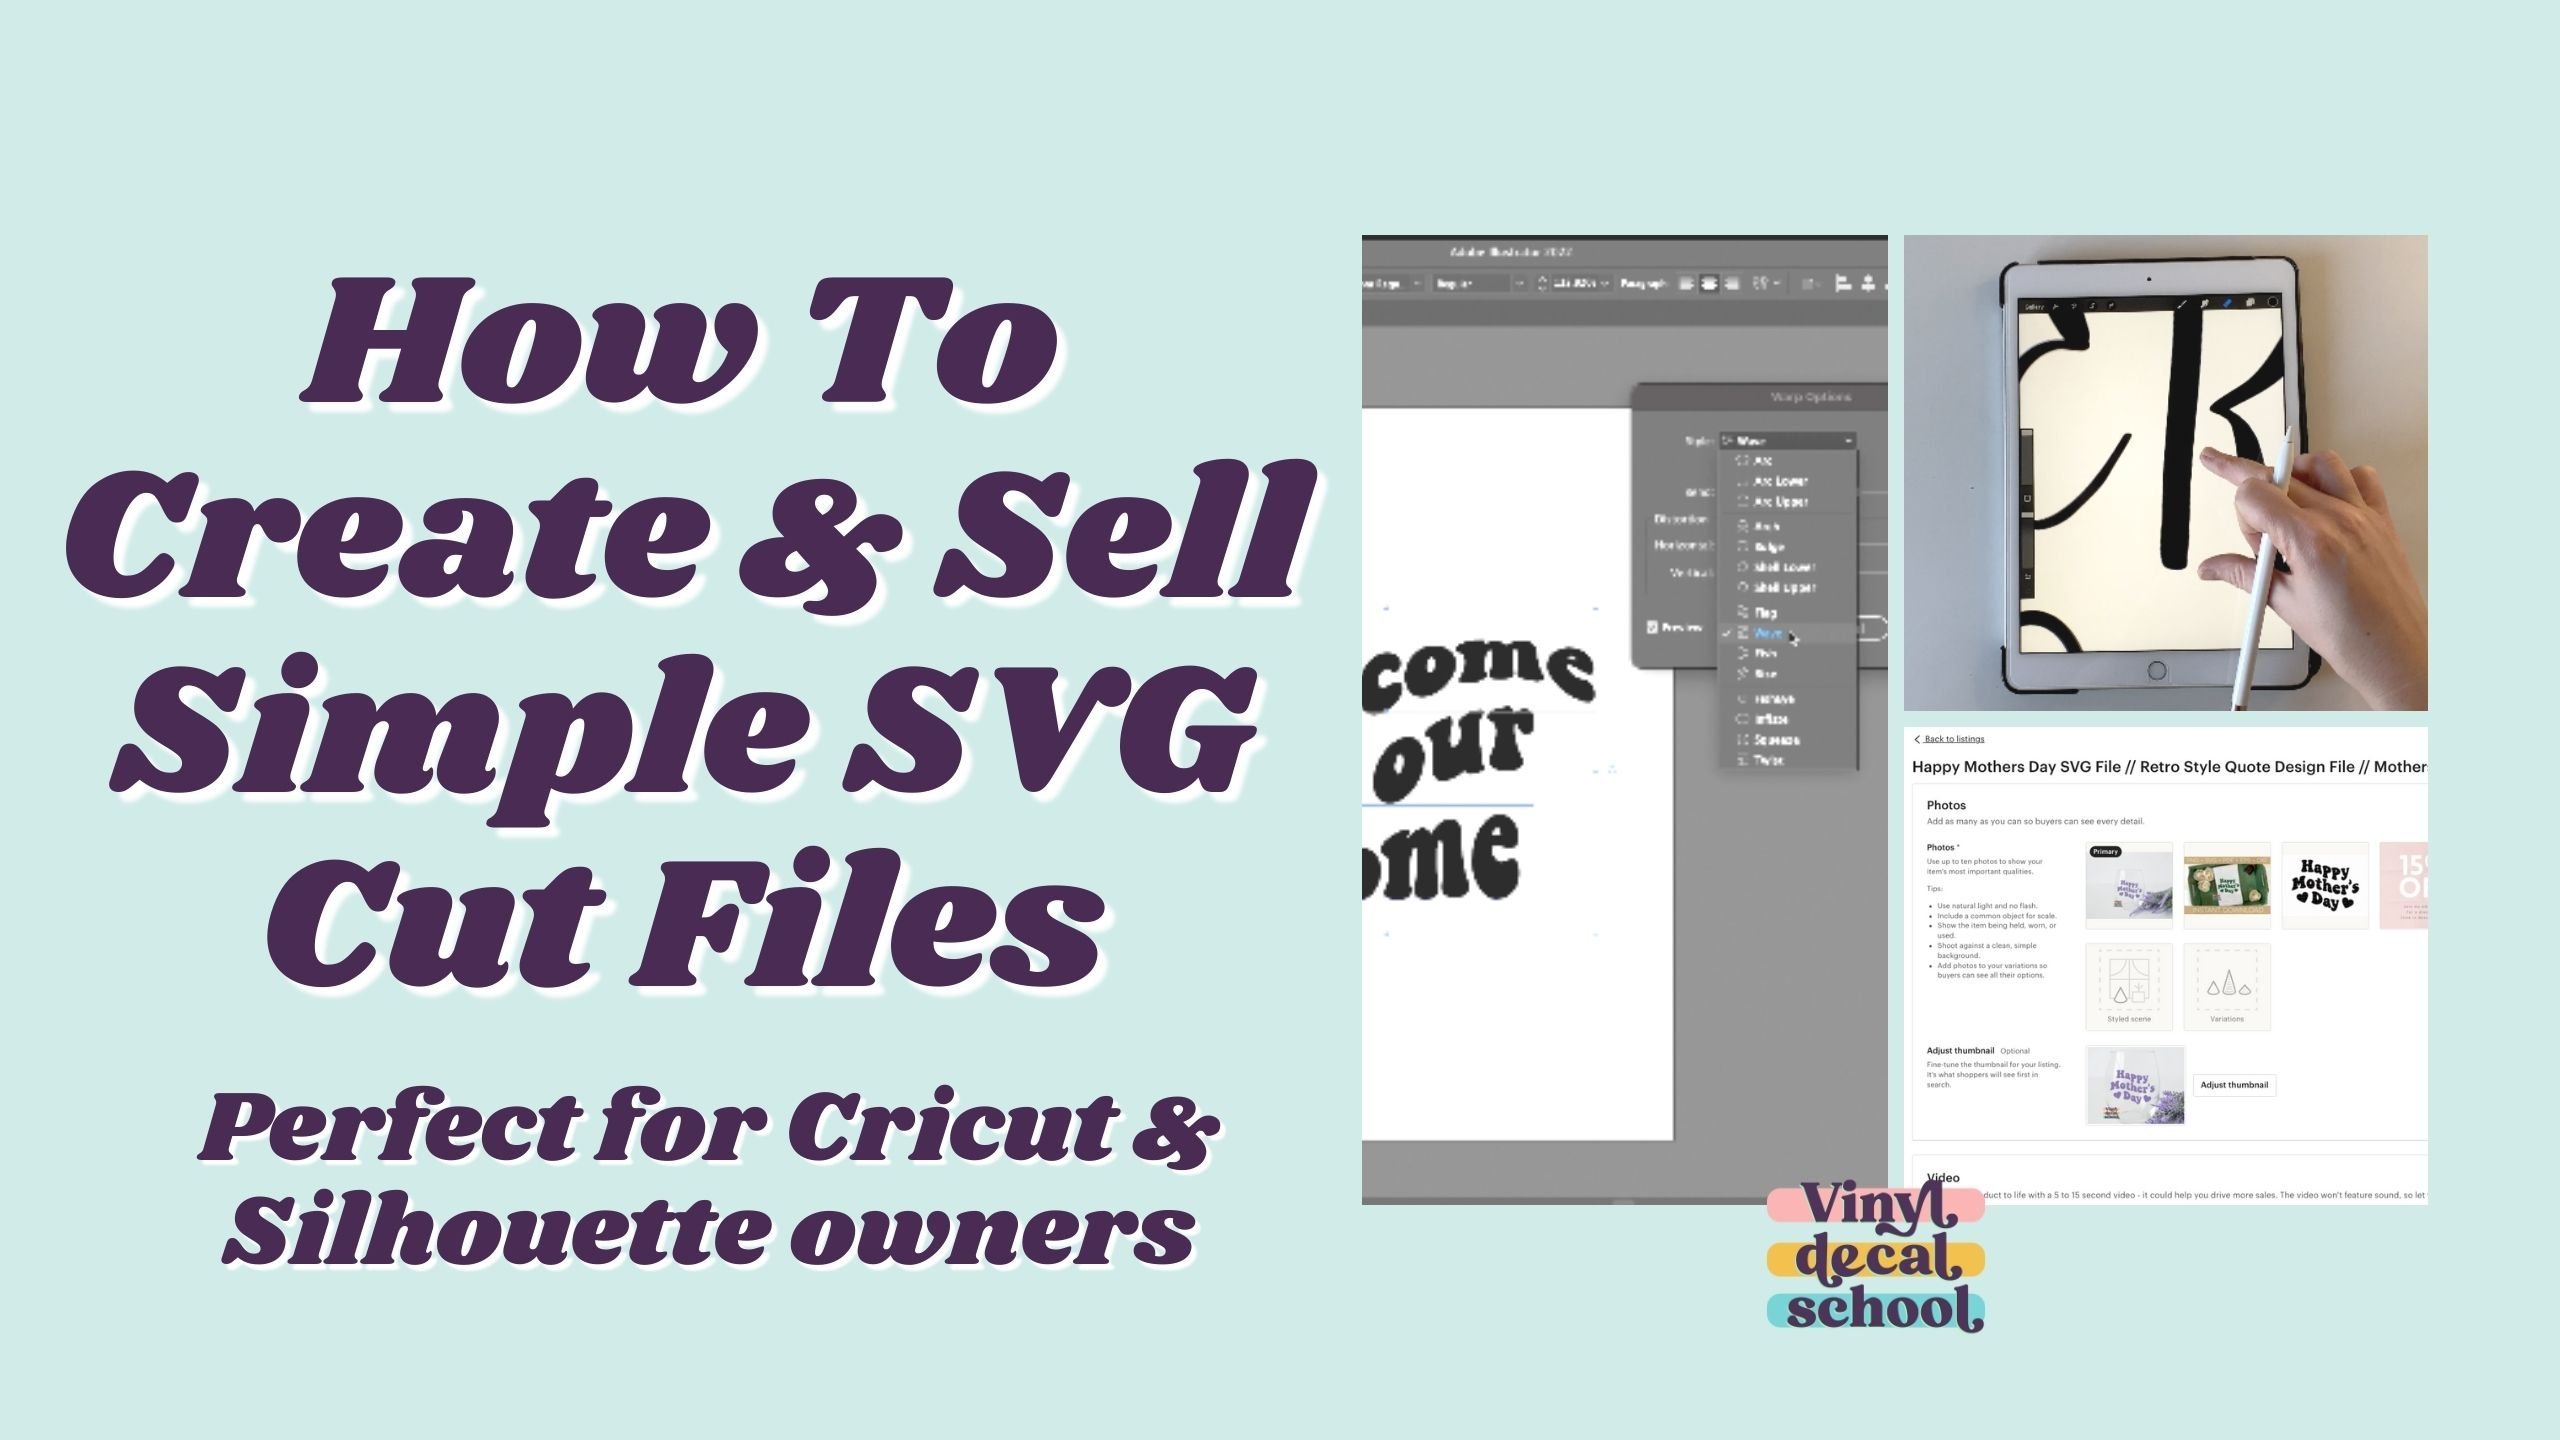
3. Create Your Design: In this lesson, I will
show you how to create basic design on cricket design
space feel some catch-up. Although you can also do
this on silhouette studio, on Procreate or any
other design software that you're confident with. And then you can just
upload your design into your coding
software to cut. The first thing to consider
is the size of your design. I tried a few different
sizes just as a test. This one was way too small. It wasn't really catching
much of the light, so it wasn't making
rainbows very well. And then this one just look too big on my window to be honest, it took up to material. So I decided to go with a size kind of
in-between those two. But you may want to
do a little bit of experimenting yourself to
see what works for you. Once you decide on that, then you can either make
the design from scratch or upload a ready-made
SVG or design. You want a design
that has a lot of negative space so that it
lets sunlight through. But obviously you don't
want anything too intricate either as that will make it difficult to apply
onto the window film. I think the more simplistic
the design the buret looks. To be honest, you don't
really need to go overboard. Again, I have a list of lots
of different places you can find SVGs elements and fonts. I will link to that in the document in the
resources section. I'm gonna make my own
design from scratch using pre bought
fonts and elements. So I'll just open up
cricket design space. I'm just gonna do a quote
with some lines around it. So I'm gonna do
let this on China and I'm just using
my system funds. I will link to
both of the funds. So I'm going to use in the resources section
if you want to use those to have that
as the center. Do the other bits of
wording around it. This is obviously just
a really quick design. I'm sure you can come up with something a lot more creative, but it is just a case
of playing around with things until you are
happy with them, then I'm just going
to add some lines. To do that. I usually
add a square, unlock it, and then
make it thinner. I'm just going to add those
as beams around the outside. Just duplicate it a
few times until I get a design how I want it and fill up all of the extra space. As I said, you want a design with as much negative
space as possible. But obviously you also want
to be able to read what it says and have a fun
design on there as well. I'm just getting all
the sizing right. Donald, make it
too small either. It's too intricate to cut there. Once I'm happy with that, I'm
gonna select all and touch. Then you want to put
a shape around it. You could either do an oval or a square or any
other kind of shape. You won't really,
that's going to cover the whole design and
you think will work. Just move it
underneath and change the color to see what
that looks like. I do quite like that. I do think it works quite well. But actually, I am going to use the offset feature to do something that is the
same shape as that designed. The offset. Just pull it up and
tell us all connected, there's no gaps in
the shape behind. Once you're happy
with the outline, how big it is around the design. And you just press Apply again, change the color so you can see you won't have this
feature in the app, unfortunately, you will need to do it on a separate program. You have between the
two. I think I liked the offset the best. Assuming though just
as the last check, the letters on all joined up. So I will actually need to weld the design now I'm
completely happy with it. That's fine. I'll be stuck together. When I did, when I cut it, I'm gonna make it the
size it's going to be, which is around
four inches wide, I think is a good size. Then I'm gonna press make it, send it to the mat. And it will separate
into two maths.
4. Cut And Make Your Suncatcher: Once your designers created, the next step is to cut both your vinyl and
your window film. So let me show you how to
do that in this lesson, we're just going to
start where we left off with the design. I'm going to cut
that out of pink holographic vinyl by Tech Craft. I'll leave a link to
that in the document. Just using premium vinyl
holographic 3D texture to cover. Then I'm going to
cut the window film. So I didn't want to waste any, so I just cut the right
size that I need. But to waste even less, you probably want to
do multiple designs at the same time. And then you can fit
them in close together. Minimize the wastage, make sure that it's fully
secure on the mat. You want to stick it down with the like a
plastic backing on it. So I stick it down
with that at the back. And then you're not gonna
leave any adhesive off your mat on the
window film itself. It'll just be on that cover. Also maybe use a brayer roller to make sure it's fully
stocked out if you have one or just press down
with a squeegee or your hand. And then to cut this, make sure you're on
the right number. To call it, I use
medium card stock, the 80 pounds one. I also press more as well just to make sure it
definitely goes through. And then set that cutting, make sure it doesn't fold up when it's gone into
the rollers and your machine because it
is quite thick material. Then peel that off. You want it to have cut
all the way through, then take the film off the mat. You may need to peel them
out away from the film. If it's sticking a lot, then it's just a case of
weeding your final design. Make sure you don't lose any of your little dots or
the design around it. And get rid of the
in-betweens of the letters. Add some transfer tape. I'm using grid
transferred table. It really doesn't
need to be graded because you can align
it up with the shape behind pillar backing off. Make sure you are sticking it to the right side so you
don't want to stick it to the side with
the cover on it, stick it on the front. And then it's just a
case of lining up. I did have to fold it back a
bit to help him Straighten. Lining it up. With the
edges of the design. It should be fairly
easy if you've used the offset feature because
it's the same shape, it's quite easy to line up. And then once you're
happy with it, use your squeegee to
push down the vinyl onto your window film and then just peel the
transfer tape off. It might need to do
this really slowly and carefully because it
may pull up the vinyl, but this did stick quite well. And it wasn't too
much of an issue. There it is. There's
your sun catcher done. You just peel the backing
off, done with it. Then you can just use
a little bit of water, these water sprayer, but
some water on the back of it to stick it to your window. And it should just take
on really easily like so. And then when the sun
shines through directly, you'll get a lovely
rainbow pattern like this. Is it done? These will be grateful
kids rooms in particular classrooms. Anywhere you wanted to make a bit more
colorful, basically.
5. Start selling: Maybe you just want to create these some catches for yourself and for friends and family. However, if you want to sell
them and let me just go over a few tips and ideas
for you in this lesson. The first is to
give your customers store instructions of how
to apply their sun catcher. You could either make a
video of how to apply them or write out simple
step-by-step instructions. They really aren't too
difficult to add to a window. So hopefully most customers
should be fine this to preempt any questions and
will save you so much time. Also make them aware that it won't always create a rainbow. It does need to be
somewhere that gets direct sunlight and it won't
work when there are clouds. I would make this clear in
a few different places on your selling page
so that you can try and avoid negative reviews. When pricing your
son catches take into account not only the
cost of your materials, but also the time it is taken
you to layer your sticker, as well as any extra
packaging costs. I would recommend these types of plastic packaging bags
for items like this with a back-end card in there
to maybe your instructions. If you're adding them, have a look at competitors
to see what they're charging for there
so that you're not undercutting or overpricing. But don't just copy what
they're selling those for. When you're creating designs and make sure you're
looking for designs that are trending or that customers
are actually looking for. Use tools like Google Trends, etsy search or E
rank to do this. But avoid anything
that is copyrighted. Hopefully that gives
you lots of ideas and inspiration and plenty
to think about. If you do one to start
selling your creations.
6. Congratulations! What's Next?: Congratulations,
you have completed the course and have
hopefully made a vinyl, suncatcher of your very own. Be sure to add a picture of your creation in the
discussion section. I can't wait to see
what you've made. Bonus points to
anyone who shares a picture of the rainbow it
makes in their room as well. If you do want to sell
these alongside decals, but you don't already
have a business, then you may want to
check out my course how to start a vinyl
business next. Or if you do already
have a business, but you're not quite
sure that you are charging the right prices. Then do also check out my how to price your vinyl decals and handmade crafts course as well. If you enjoyed the
course, I will be forever grateful if you
could leave a review. Please also follow me here
on Skillshare as well as on Tiktok on YouTube for even more detail tutorials
and inspiration. Thanks so much for watching.
 Sarah Bradley, Making & Selling Vinyl Decal Classes