Transcripts
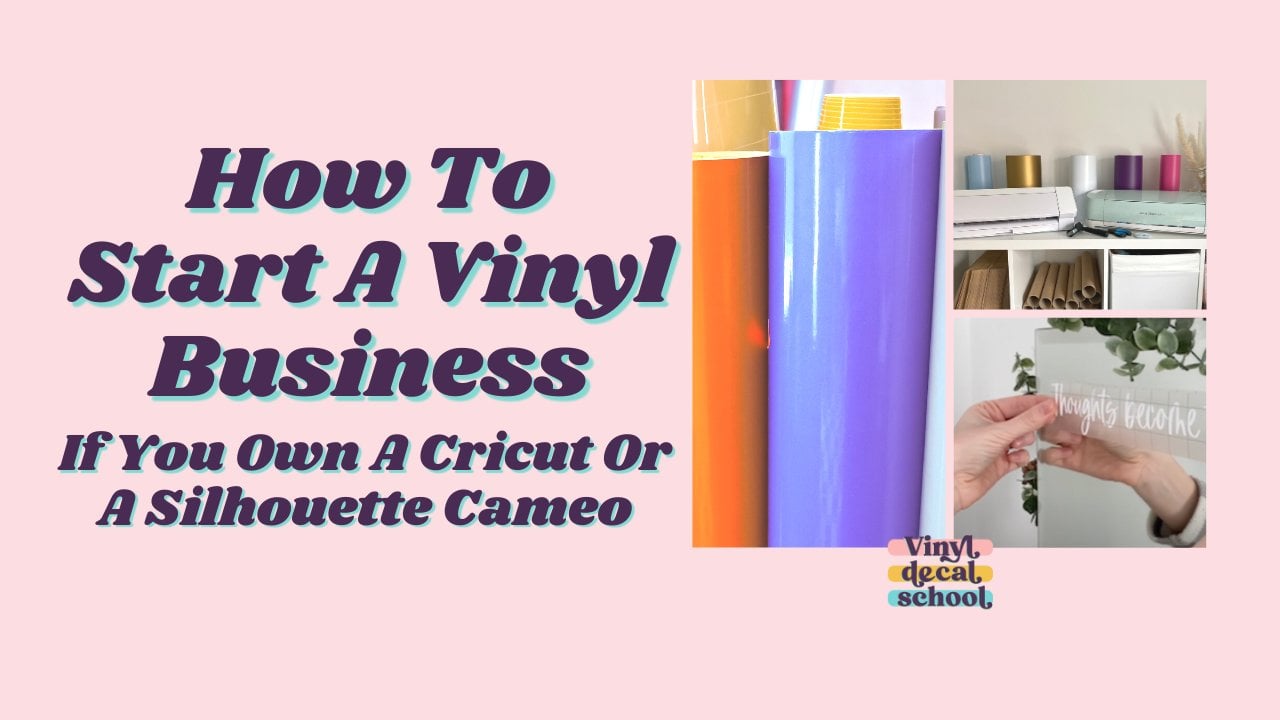
1. Introduction To The Course: Hi and welcome to Vinyl Decal School on skill share. I'm Sarah and I've been running a vinyl decal business on Etsy for a few years now. It's my main job and my main source of income. When I first started, I had absolutely no idea how much went into running a vinyl business. And that it wasn't just as simple as cutting out pretty things on my Cricut machine and then popping them online for people to buy. I've learnt a lot over the years and have some good practices and processes in place. So I thought I would share them with all of you lovely creative lot on skill share in a series of short courses. So this course is for those of you who already have a business name, a brand, and know exactly the type of audience that you are targeting. If you don't know that yet, please go back and take my first course How to Start a vinyl business. But if you already have that stuff in place in this course, you will learn how to create your first design that is ready to be sold on, and shipped out to your first customer. We'll walk through how to choose the products that will be the base for your decal designs, where to find commercially licensed fonts and elements, the best places to create your designs. How to create mock-ups, for your products so that they are appealing to customers. The best ways to provide instructions for your decals and packaging that you can use to ship them in. Please download the attached workbook in the resources section to fill in as you go along, as it also includes some important resource links as well. And then your project at the end is to complete your first design mockup and share it with all of us. in the discussion section, I won't be showing you how to make or apply vinyl decals in this course, please check out my YouTube channel, Vinyl Decal School for more videos along those lines or lookout for future courses by following my teacher page. So if you own a cutting machine like a Cricut or silhouette and would like to start making money with that. Please join me and by the time you have finished, you will have created your first design that is ready to be sold and sent out to customers.
2. Do Your Research: If you've take my first course or if you've already started your business and brand and know who your target audience is. The next step is to do a bit of research about what items are popular in your niche. But remember, don't copy, just get inspiration. Use Instagram, Pinterest, Facebook, Blogs, YouTube, tick tock. All of those places to decide what kind of products are popular in your niche. For example, if your target customer is a couple who are planning their wedding, then wooden signs, perspex signs, mirrors, champagne flutes, gift boxes, favor boxes, guess books, banners. Koozies... these are all items that you could use as a base for your decal designs. Or if you're targeting new parents than maybe nursery walls. Toy boxes, bookshelves, onesies, or nappy storage boxes could be your base. Use page three of the provided workbook to make a list of all of the items your target audience either already has or would be willing to buy, and that you could provide them with the decals for.
3. Decide Which Products To Start With: If you managed to come up with quite a lot of items in the last lesson, then it's time to now narrow them down. The easiest way to do that is to choose things that you already have in the house, or that you can borrow off someone, basically stuff that you can easily get a hold of, and ideally, it will be blank and won't have any wording or decals on it already. Failing that, just make sure it's something that you can get clear measurements of and also get a clear picture of as well. Even if you can't kind of by or if you don't already own it. Also make sure that the items you're choosing are things that your customers can easily get hold of and are quite common, like champagne glasses and generic size storage boxes, for example. When I started out, I think I chose clothes hangers, a champagne flute, the bottom of shoes, like wedding shoes. And then I did like a few different generic sizes of signs, but I kept it really simple. I didn't try and focus on too many different things because then I would have had to measure and take pictures of loads of different items when it was much easier to just keep it simple and small and more focused. Once your list of items is narrowed down to the few that you're gonna be choosing. Make a note of them on page four of the workbook and also measure the area of the surface you are going to be placing the decal on so you don't need to measure the whole thing necessarily. But say, I was going to be doing one for this candle, I would just kinda measure around where I was going to be putting the decal and take a note of the area. And that's so that you know how big to do your designs when you come to make them in the next few lessons.
4. Where To Find Designs And Fonts: Now you've decided what products you're going to be creating your decals for, it's time to actually create the designs for them. For some item says might be as simple as just finding some nice fonts if you're creating names or labels, for example. But if you want to create something more elaborate than you might want to look into buying ready-made designs or making your own with a variety of elements and fonts. If you want to buy a ready-made designs and the best places to find those on places like Creative Market, love, SVG, and Etsy, or design bundles. And there are ton of others. It's just always make sure that anything your buying in order to make things and sell with that it has a commercial license and that you're allowed to use other people's designs in order to sell your own things. Most of those sites are quite clear on what kind of license you get when you purchase or if you download something for free, they'll often tell you what you what they can and can't copy used for. But I've added a page on a workbook with a list of different sites. You can get funds, SVG files, that kind of thing. But then I've also put a link to a video where I've explained a bit more about wedge fine funds and how it figured out commercial licenses, because I couldn't quite fit all of that into this one lesson, as well as being aware of making sure you are using only commercially licensed funds and designs. You also need to make sure you're not creating any copyrighted items. Even if someone says you can use them. Very well-known cartoon character SVG file to create things to sell with all their selling another company's logo. As a design, you definitely can use those to sell unless you have a license to sell those products because you can get in a lot of trouble. And I've hit some absolute horror stories about what happens when these huge companies come after small businesses because they've been using copyrighted and trademarked characters in things like GPA. And so copyright is exactly why I create all of my designs from scratch. And I mostly do customer waiting, so it's really easy for me to do that. I just always make sure that any font or outline of something, anything I use, make sure I've got commercial license and I'm allowed to sell it. So if you want to do the same as me and just create custom wording, then the best thing to do is find a few really good fonts. So you, some of the companies I've listed in the workbook, Have a look through, say what you like and maybe you want to find some other elements as well. If you want to add pictures or like floral additions to your designs, can have a look for those on there too. So when choosing funds, I like to look at what's popular in my niche first. So thinking back to the research that you did before, if you see in a certain style that has come up quite a lot when you've been looking at things bad in mind, but don't copy the exact funds, just trying get kind of similar five 1s. So for example, because I didn't love wedding stuff, if I've noticed that there's a lot of people with very fancy calligraphy funds and a lot of people using the same font and not go for that exact one, but I'll look at ones that also have a fancy calligraphy vibe. However, I do have to bear in mind that I've got on my machine. And if you final, too small and too thin, it can't just read it and it becomes a nightmare to pi. So bear that in mind as well. I don't, I try not to choose anything too thin. Triangle with thicker script funds effect can find them. So I'm not note, maybe get a few or you could even try them out on if you look on different, try and get them for free to try them out and maybe cut something with them. And as soon as you've decided, I really loved that one, then you can buy the license, commercial license for, and do check out places like fun bundles as they do actually have some free fund side, these ones that also include commercial licenses and limbic way. And if you've never added new funds to your computer before, I'll add a link in the workbook with a resource. Just to give you some step-by-step guideline guidelines on how I do that as well.
5. Where & How To Create Your Designs: So you've got your measurements. of your items. You've got your fonts, you've got any elements you need. Now it's time to actually create your designs. But if you're just using ready-made design files, either an SVG or png file. Then you can just go ahead and add those straight into design space or silhouette studio. Just make sure you're making a note of the size of each one and that you make it in the correct size for the item it's going to go on before you save it as a project. And if you're just starting with names and labels, again, they're really simple. All you need to do is make sure your fonts are uploaded and coming up in studio or design space, go straight into there and create your names and make them. However, one of the biggest mistakes I see from new Cricut users is not joining up letters on script type fonts. So this is how you do that. If you are a beginner and you want to make your wording and names look a lot neater and more presentable. I personally wouldn't use design space to do anything other than just simple names and labels because it doesn't have a lot of features. But if you have a silhouette machine, then studio does have a lot more options for creating designs from scratch and has a lot more advanced features. And then the same goes for other cutting machines. I think but I'm only versed in design space and studio. Even so, I don't create on either of those. So this is how I do it. So I use Photoshop and I have a number of pre-made templates. These are the things that go on my Etsy shop and when a customer buys them. I will open up each one on and amend the details and add them to the blank canvas. So for Cricut, I'll do 23.5 by 11.5 inches as that is as big as I can cut. But if I'm using my silhouette I'll usually, do it a bit bigger. So I just kind of add in the names on the date or any little bits that need changing. I'm just going to pretend for this example, the same customer has ordered two of a similar type of design and some table numbers as well. But usually this is all different customers in different types of fonts because I'll try and do as many different designs at the same time to save vinyl and to save time. So yeah, it's just about fitting them into that blank canvas. This one's probably more straightforward than I usually do. I just try and fill up as much as the whitespace as I can. And I know that I'll send a lot of this stuff in sections rather than all as one big design. So it doesn't matter if I kind of move the spacing around a bit like that. And that's about as much space as I can take up on that one. So once I've done that, I'll get rid of the background. And then I'll save as a Photoshop first, I always save as the day and then the color. I'm gonna be cutting it in. And then it's easy to refer back to. So Save As that... so I can amend it if I need to. And then I also save as a transparent PNG file. So I can transfer to design space here. So it's as easy as just saving it in there selecting the save as a cut image and uploading to design space. The only problem with this is, it doesn't upload it at the right size. So unless I've done a morker, sometimes I'll put a marker so it's easier to tell what size is. But here I've just kind of got to estimate it because I haven't done that. And I usually just find one marker that's in a good place, so that one kind of finishes at 16.5. I know roughly it's about 22.75. So just double check that the end of the one, make sure that's at 16.5 and make it. And then for silhouette studio, it's way easier, you just pull in the PNG file. And that tends to make it exactly the right size so you don't have to move it about all. And then yeah, as you can see, you can make stuff on cameo 4 a lot wider. This is how I've always done it since I started, because I'm most comfortable with Photoshop and I do a lot of pretty straightforward wording designs, although I do sometimes use Adobe Illustrator if I wanna do something a bit more complex. And that is another really good software to use if you're creating lots of different designs. If you don't want to pay for the Adobe products, as they are quite pricey, especially if you're just starting out, then there is Inkscape which is completely free and has some similar elements to illustrator and is good for creating designs. Or there is Picmonkey, which I think is more similar to Photoshop, but is a lot cheaper than Adobe. Or if you want to use your iPad to design then you could get a program like procreate or similar. And in that you can do your own handlettered wording or do drawings like this one. Obviously that will take more time than just using preloaded fonts and pre-loaded designs. But if you're already skilled then that could make you stand out from the crowd. Just save them as a transparent PNG and export to design space or silhouette studio. via your iPad. Or you could use your phone as well, there's various different design programs and stuff, like that on the App Store. So just have a look on there. But the moral of the story is just use what you're comfortable with. So if you're just a beginner and you're still getting your head around kind of designing things and fonts and stuff like that then you might just be better off staying with design space or studio. Starting off with simple designs and names and labels, or even using ready-made designs. And then once you get a bit more confident, maybe look at the other software, kind of learn more design skills from there and build it up as your business grows. You can use page six of the workbook. If you want to sketch out or make a note of any design ideas you've had. And that you're going to create in your chosen design software.
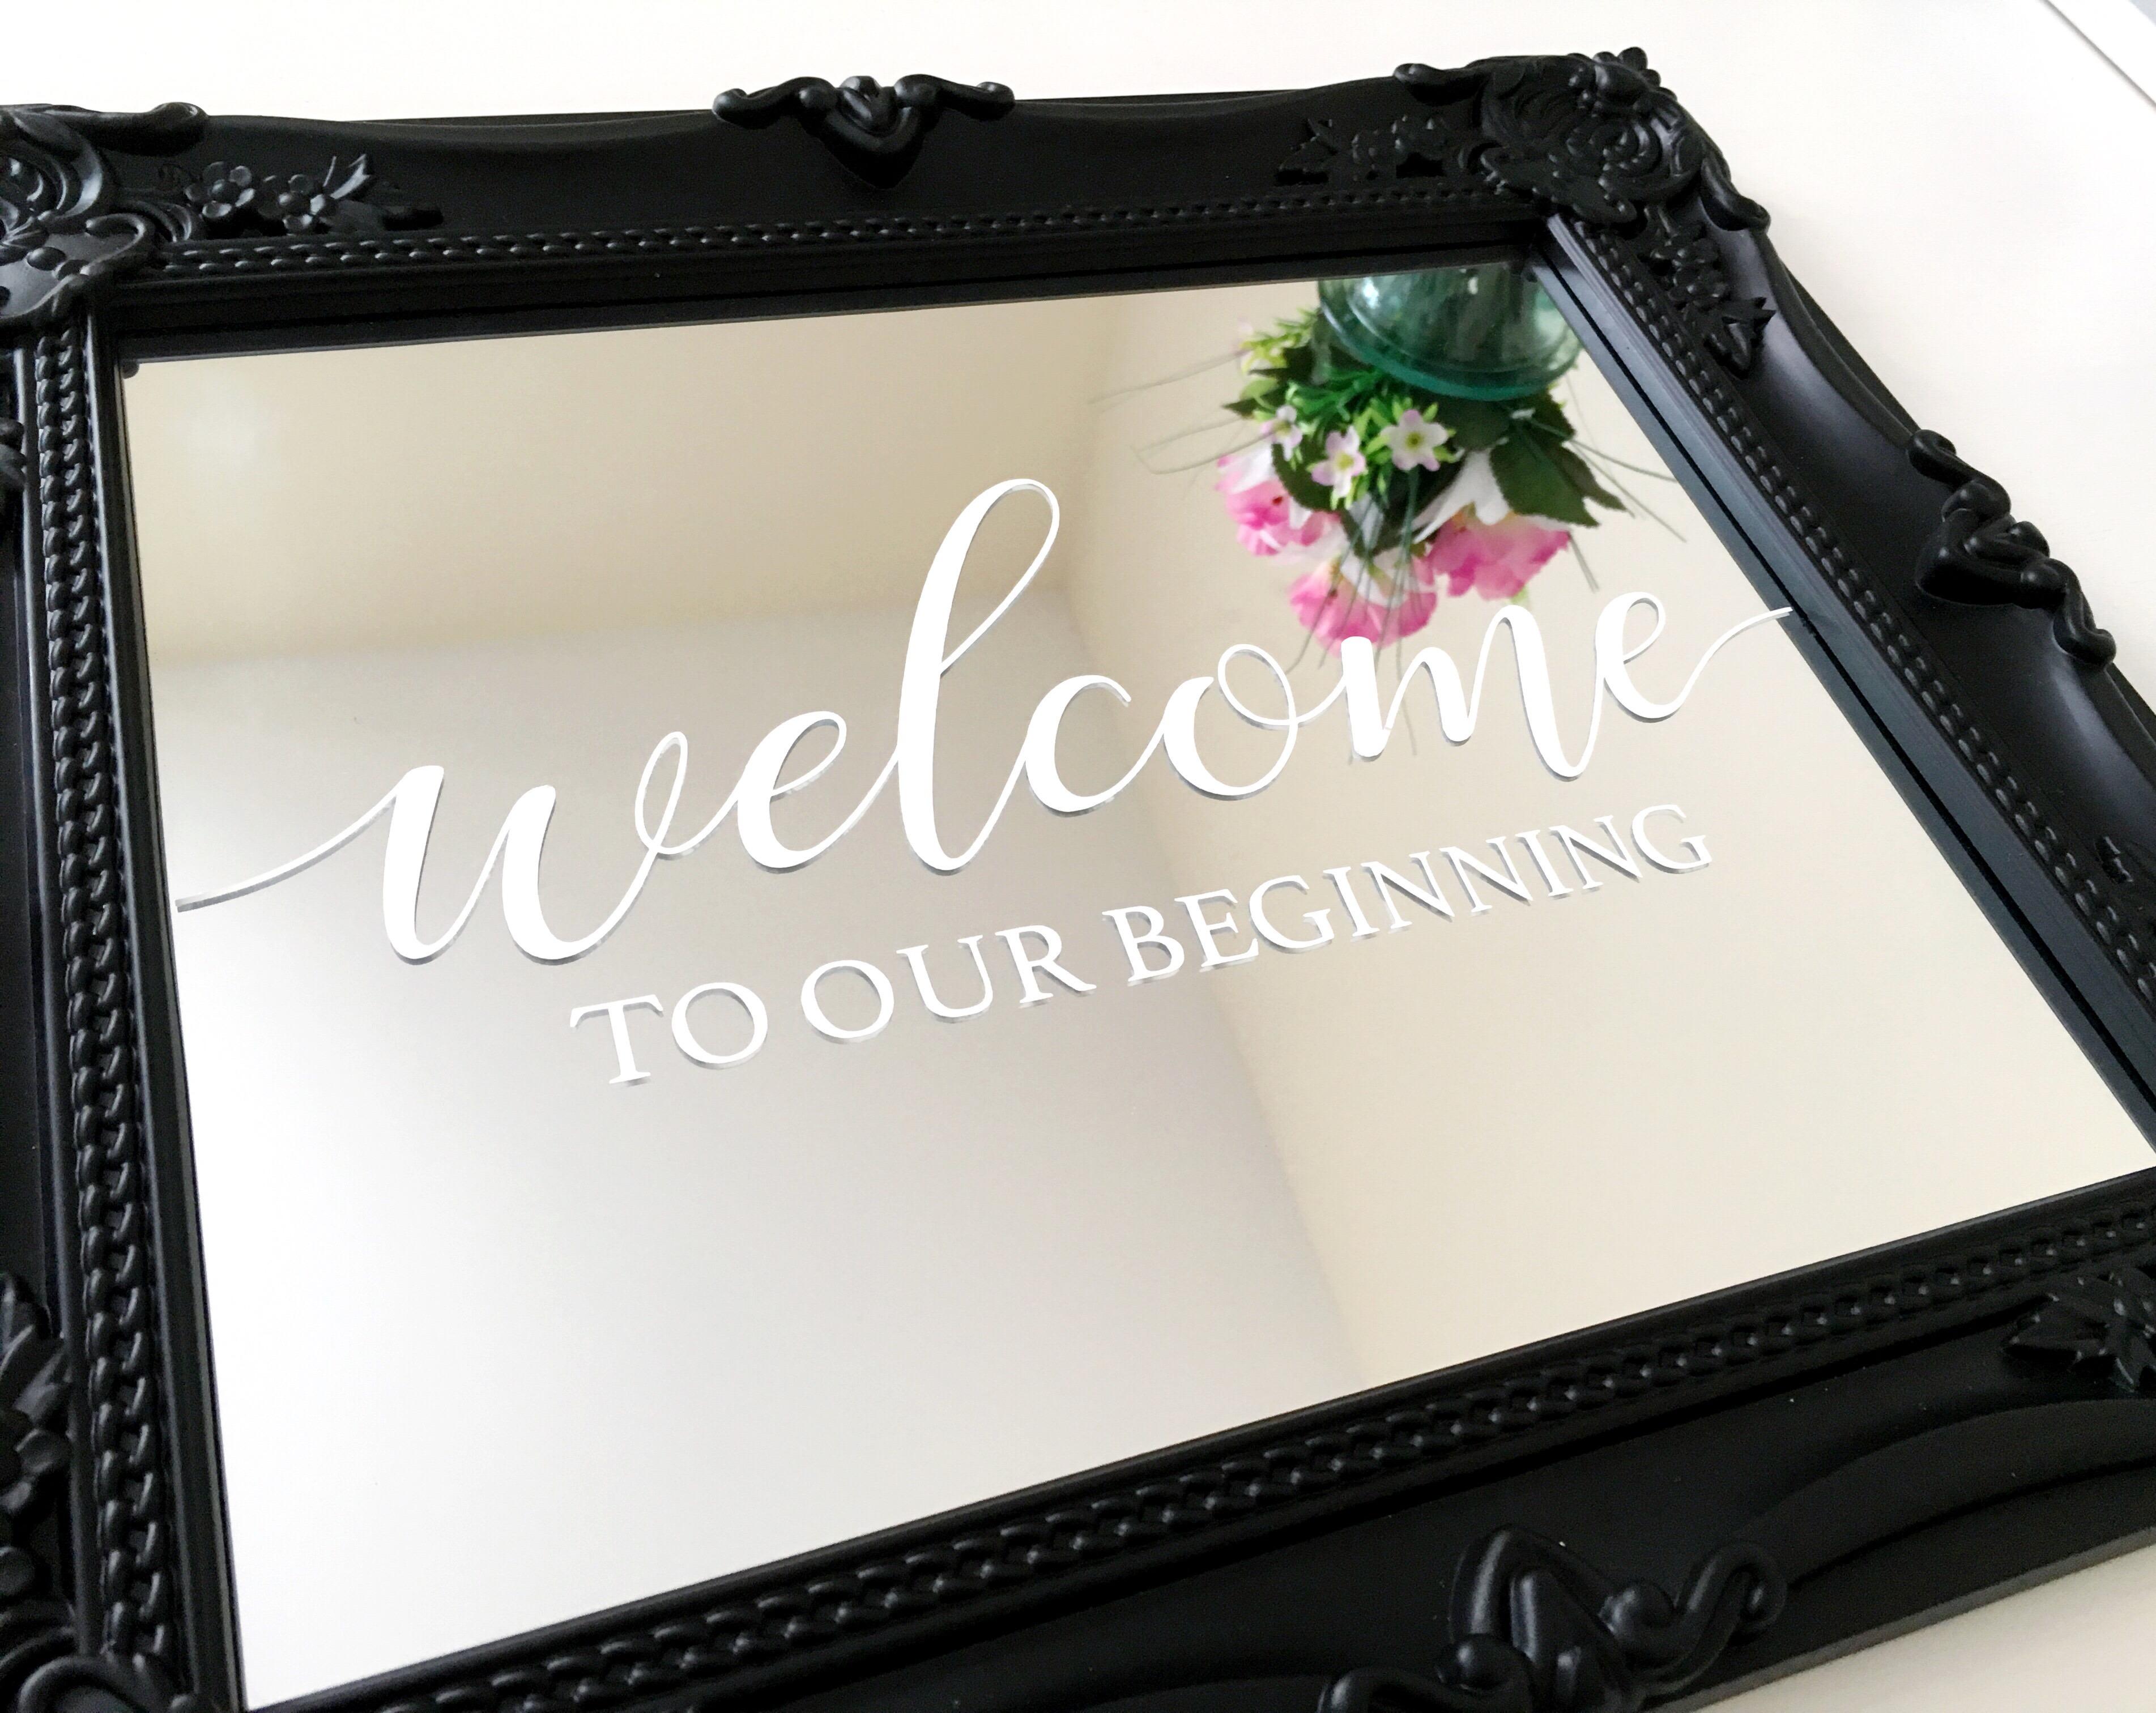
6. How To Mock Up Your Decals (+Free Mockup Photos): Although a lot of decals sellers like to just take a picture of that decals on its backing paper, just flat on a surface and sell from there. I honestly think part of my success has been just to have a clear mockups of products with decals on so that my customers could picture exactly what would look like once the decals have been applied. It's also a way to stand out from other sellers and show that you're willing to go the extra mile with your products. So for mock-ups, you've got three options. You can either physically use a blank product like we were talking about before, add a decal to it and then take pictures of it. This is probably the best option, as then you can double-check your decal actually cuts out properly. Looks good on the product that you've got the right measurements for it. And also means you can get a picture of it from different angles as well. And it's always a great idea to get as many pictures as possible. And if you do it this way, it's also really helpful to film yourself applying the decal to the item. But I'll get more into why that is in the next lesson. So your second option is to just take a picture of the blank item. Don't apply decals to them. This is really helpful if you want to sell multiple styles of the same type of decal. Say you want to use a wooden sign as the base, but you wanna do lots of different versions of a welcome sign, for example. You don't want to have to make the same thing every time. So the easiest thing to do is to take a picture of that blank wooden sign, preferably with like a nice background. And then you can digitally add your wording, or whatever the design is, over the top of that. And so I often do this, for my products, and this is how I do it. So this is a product that I had already applied, a decal to and photographed, but I'm going to reuse it as a blank book. I'm just going to do it on Photoshop. So here I am just using some props from around the house. This was before Christmas. So I am using just some little Christmas bits and pieces. And taking a photo from above just to get a flat lay picture of the book. And there it is as a picture. So I've pulled it into Photoshop and I'm just going to use the lasso tool, to get rid of the wording. And if you've got Photoshop, and want to do this too, you select all the stuff you want to get rid of and right-click. And use the Content Aware fill to get rid of it. So once you've done that you can pull in your pre-made design, you should have done in the previous lesson. I am just improving the photo here though. I'm just making bringing up the saturation a bit, making it a bit of a lighter. And I usually just play around with these things until it looks good to me. And then rather than pulling a design in I'm just going to put some wording on the top. And you can see it really is just as easy as that. Just pull it over. That's why it's important as well to try and get a clear mockup of of your item and make sure nothing is lying of the top of where the wording goes. Or if you're not confident with your photography skills yet, this is your third option. And that is buying pre-made mock-up files from places like design bundles and Creative Market. And they're really easy to use. You just find the one you want, purchase it, download it to your computer or tablet, and upload them to your design software of choice. And then you can add the wording over the top. Again, similar to how I did it with the photo I took and added wording over the top of that. However, I would try to at least make a few of your own mockups. This is just because it's harder to stand out if you're potentially going to be using the same mockup file as another seller who you're trying to compete against. If you do want to improve your product photography skills then there are courses here on Skillshare. And also lots of short instructional videos on YouTube as well that can help you just make your products look a little bit sharper and tell you how we get the best light. So you kind of course have a mix of all three of the mock-ups that I've just mentioned. But it might also be useful to take pictures of the decals before they've been applied, just kind of lying flat on a white surface. This is for when your customer has clicked-through onto your listing. They've come to your shop because they've seen the lovely picture of your decal on a mirror or whatever. But they also wanted to see what it will look like when it arrives in the post. So in which case you can have a second picture of the decal and what it will look like before it's applied. Whatever you decide on, just make sure the pictures are clear and bright and that customers will be able to see what they're looking at. The key here is standing out from the crowd. So be as fun and creative as possible. I've added some free mock-up photos for you in the workbook and in the resources section. so you've got something to practice with.
7. Your Instruction Options: So it's all very well, having a lovingly crafted design and clear pictures so that your customers know what they're getting, but they also need to know how to apply the decal once it reaches them. And the key to selling vinyl decals successfully is providing clear instructions with each order. And there are multiple ways you could do this. Either gave printed instructions inside each envelope, send your customer a link to a blog post or a Facebook page or something with written clear instructions that they can refer to online or send them to a YouTube tutorial, either someone else's or one that you filmed yourself. This is how I do it. So I've got a mount like this that holds my phone and clamps onto my desk. And it makes it really easy to film over the top of your hands when you're making things. It's really easy to use. And I found it for quite cheap on Amazon, they do lots of different types of them. So basically just find items that I'm going to be selling decals for. And go through the step-by-step process of how basically the best way to take the transfer tape off and apply the decals to the item in question. I don't do a tonne of these, but it is good that once you do it once for each of the items, that's it. You don't have to do it again. And it doesn't have to be really fancy either. It can just be really simply edited. You'd even just film it on a phone and talk over the top and have that as your video. Doesn't need to be anything too elaborate. So that goes onto a YouTube channel and then I copy the link into a blog post. This is just kind of a really simple blog about wedding stuff that goes along my, with my wedding shop. And these are the step-by-step instructions. And once I've sent an order to a customer, I'll send them a follow-up message and add the link to that blog post with the video on. And they can go through that from the. And then it also means that anyone on YouTube can link back to my shop and buy decals if they've seen them in the video and want to buy them. And so it is like a bit of added marketing value as well. So whichever route you decide to go down, basically just assume that customers have never even seen a decal before. And that you literally need to walk them through every single step and be as clear as possible. I also found it really helpful to put a blog post together with loads of tips and tricks to help my customers if anything goes wrong. And since I've done that, I've had a lot less people kind of complain that things haven't stuck properly. And I also got a lot less messages asking me for help. So it saved me a lot of time just doing that one post that they can click through different videos. Whatever issue having, they can kinda troubleshoot it. On that page. In the workbook, I've added some simple instructions that you can copy and edit and use as you please, just to get you started.
8. Decide On Packaging: So our last step before sending any of your designs out to your customer is finding packaging that fits. And thankfully, this is quite easy with decals because they usually go flat. Or you can roll them up and you don't need to add a lot of like stuffing in there. Say if you were selling mugs, or gasses, there would be a lot more to think about. So these are the different sizes that I use. So the first one I use is this small pink one. So in the UK we have standard sizes which are A6, A5, A4. This is an A6 one. I know there's different standard sizes in the US and around the world. But I think this is probably roughly about four inches by six inches. But I'm sure you can find a similar standard small letter size. So yeah, this goes as a small letter in the UK and it's the cheapest one you can send. I don't have this cardboard backed because usually it has an order paper in there which I've folded up and that makes it quite thick and it doesn't bend. But I do also have the smaller Please do not bend one as well. If there's anything I've sent that cannot get bent. And I want to be a bit more careful with. So they are quite good to have if you're doing labels, smaller names, the stuff that'll go on glaases or jars, that type of thing. Then there's a slightly larger version which this also goes as a small. Letter usually and this is A5, I believe. And I guess I'd say that's about six by eight inches. Should have really looked at the exact sizes. But when you're looking online at different types of envelopes, they always put the measurements beside the standard sizes, so you'll know which one you're buying and what size will be best for your decal. I use these for my smaller scrapbook decals so they fit like a six by six square in them. And that is quite handy for the things that are in between small and large. And the next one I use, I definitely use these the most. This is an A4 cardboard envelope and I put a lot of my signs in, the welcome signs that I do, in these ones. And how I do it is I have 11. So I think this A4 is about 8 by 11.5 inches roughly. So I have some welcome decals that are about 11 inches wide and they fit in these perfectly. But I also have some welcome decals that are 14.5 inches wide because that fits well on an a2 size sign. Sorry, I'm just throwing these A2s and A4s at you, but for the 14.5 wide sign, I'm actually able to cut that into sections. So what I do is I cut the w off the welcome. So I have the W and the elcome. And then the 'to our wedding' fits on a diagonal. You can cut the two names in two so they fit well in that. And then the dates usually smaller. And that is how I keep my postage costs down by cutting them. into sections and it still works perfectly well because the w doesn't need to be perfectly lined up with the elcome. And yeah, that's how I do a lot of my stuff. Is trying to get it into sections that will still work for the customer and still be easy to apply. But that will also fit in this envelope because this goes as a large letter and that is cheaper than sending in a roll. So my last one, anything larger, anything that won't fit into this one goes into cardboard roll. So when, if you're doing anything in a roll, you need to remember to roll it so that the vinyl is facing outwards. And that means that it won't get creased or come off the backing paper. I actually for a long time did it the opposite way. And I had barely any complaints to be honest, but I actually just read recently that if you do it the other way around with vinyl facing out, then it's a lot easier. And that's obviously after it's had its tranfer tape applied as well. With all of my decals, I weed them and apply the transfer tape before I ever send any of them out. And so this is really good for cricut and silhouettes as well because you can never do anything taller than 11.5 inches and that fits perfectly within here. If you do have like a bigger machine like the Cameo Pro, you would probably need to look at bigger tube sizes if you're gonna do anything that's taller than 12 inches. So after this step, you might actually go back and change your design slightly so that they can fit in certain size envelopes. And it's also worth checking the postal prices in your area to check the costs for each size of envelope as if you can tweak something to make it a little bit smaller so you can fit it in a smaller envelope or even tweak it so you can cut it up into smaller sections, then it's definitely worth it. If it's going to mean you can cut the costs on your postage a little bit. I will be going further into costs and finding suppliers in a future course though. Also, as you start selling more, this will probably change and you may be able to see where you can make more tweaks to kind of fit in with the different envelope sizes as you go along and start to sell more I'll make a note of the different envelope sizes that I use in the workbook so that you've got a reference to work from. And you can see if your decals would fit in similar sized envelopes as well.
9. Your Project: So hopefully you downloaded the workbook at the beginning of the course and have made your weight to each section. When you've had every lesson on and you've ticked off all of the different things you've learned and achieved as you went along. Filled in all of the sections with blank bits. Make sure you haven't missed any of the clickable links. I did quite a few different resources on the pages. So do go back and have a look at those if you haven't already. And please do follow my YouTube page, final Descartes school for more tips and tutorials and join my email list by clicking this button here for feature updates. And your project for this course is to complete a design and mock it up either on your own product by taking a photograph of it, or using one of my free mockups and put in your design in there. Take a screenshot on sharing in discussion sections so we can all say and congratulate you on your success.
 Sarah Bradley, Making & Selling Vinyl Decal Classes