How To Make A Byzantine Necklace | Huiyi Tan | Skillshare

Playback Speed


1.0x


  • 0.5x
  • 0.75x
  • 1x (Normal)
  • 1.25x
  • 1.5x
  • 1.75x
  • 2x

How To Make A Byzantine Necklace

teacher avatar Huiyi Tan, Gemmologist, Diamond Setter, Jeweler

Watch this class and thousands more

Get unlimited access to every class
Taught by industry leaders & working professionals
Topics include illustration, design, photography, and more

Watch this class and thousands more

Get unlimited access to every class
Taught by industry leaders & working professionals
Topics include illustration, design, photography, and more

Lessons in This Class

    • 1.

      Introduction

      0:22

    • 2.

      Project

      0:19

    • 3.

      Saftey

      1:00

    • 4.

      Class 01

      1:54

    • 5.

      Class 02

      3:37

    • 6.

      Class 03

      2:21

    • 7.

      Final Thoughts

      0:37

  • --
  • Beginner level
  • Intermediate level
  • Advanced level
  • All levels

Community Generated

The level is determined by a majority opinion of students who have reviewed this class. The teacher's recommendation is shown until at least 5 student responses are collected.

24

Students

1

Project

About This Class

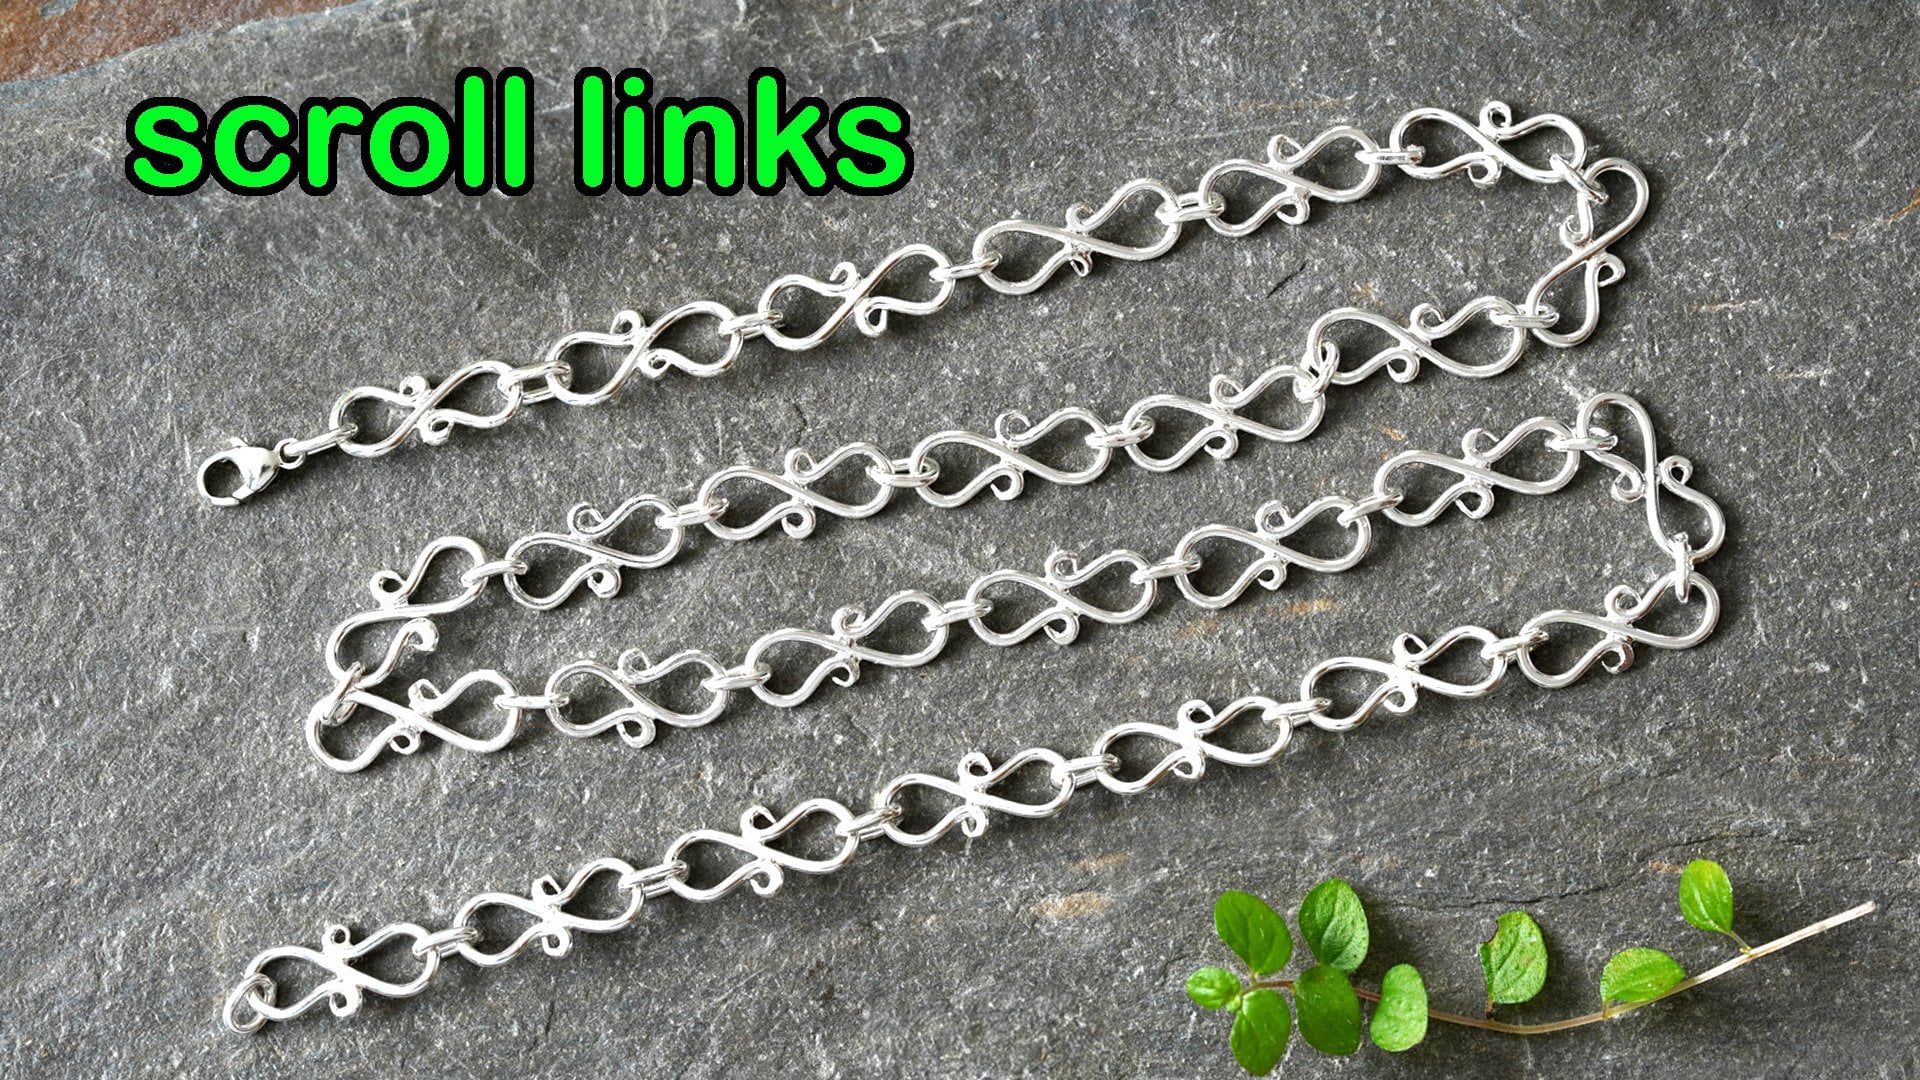
Building upon the skills learnt in 'How To Make A Scroll Link Necklace' https://skl.sh/3MkJeJw

and 'Step by Step Making A Foxtail Bracelet' https://skl.sh/3PCMJgA

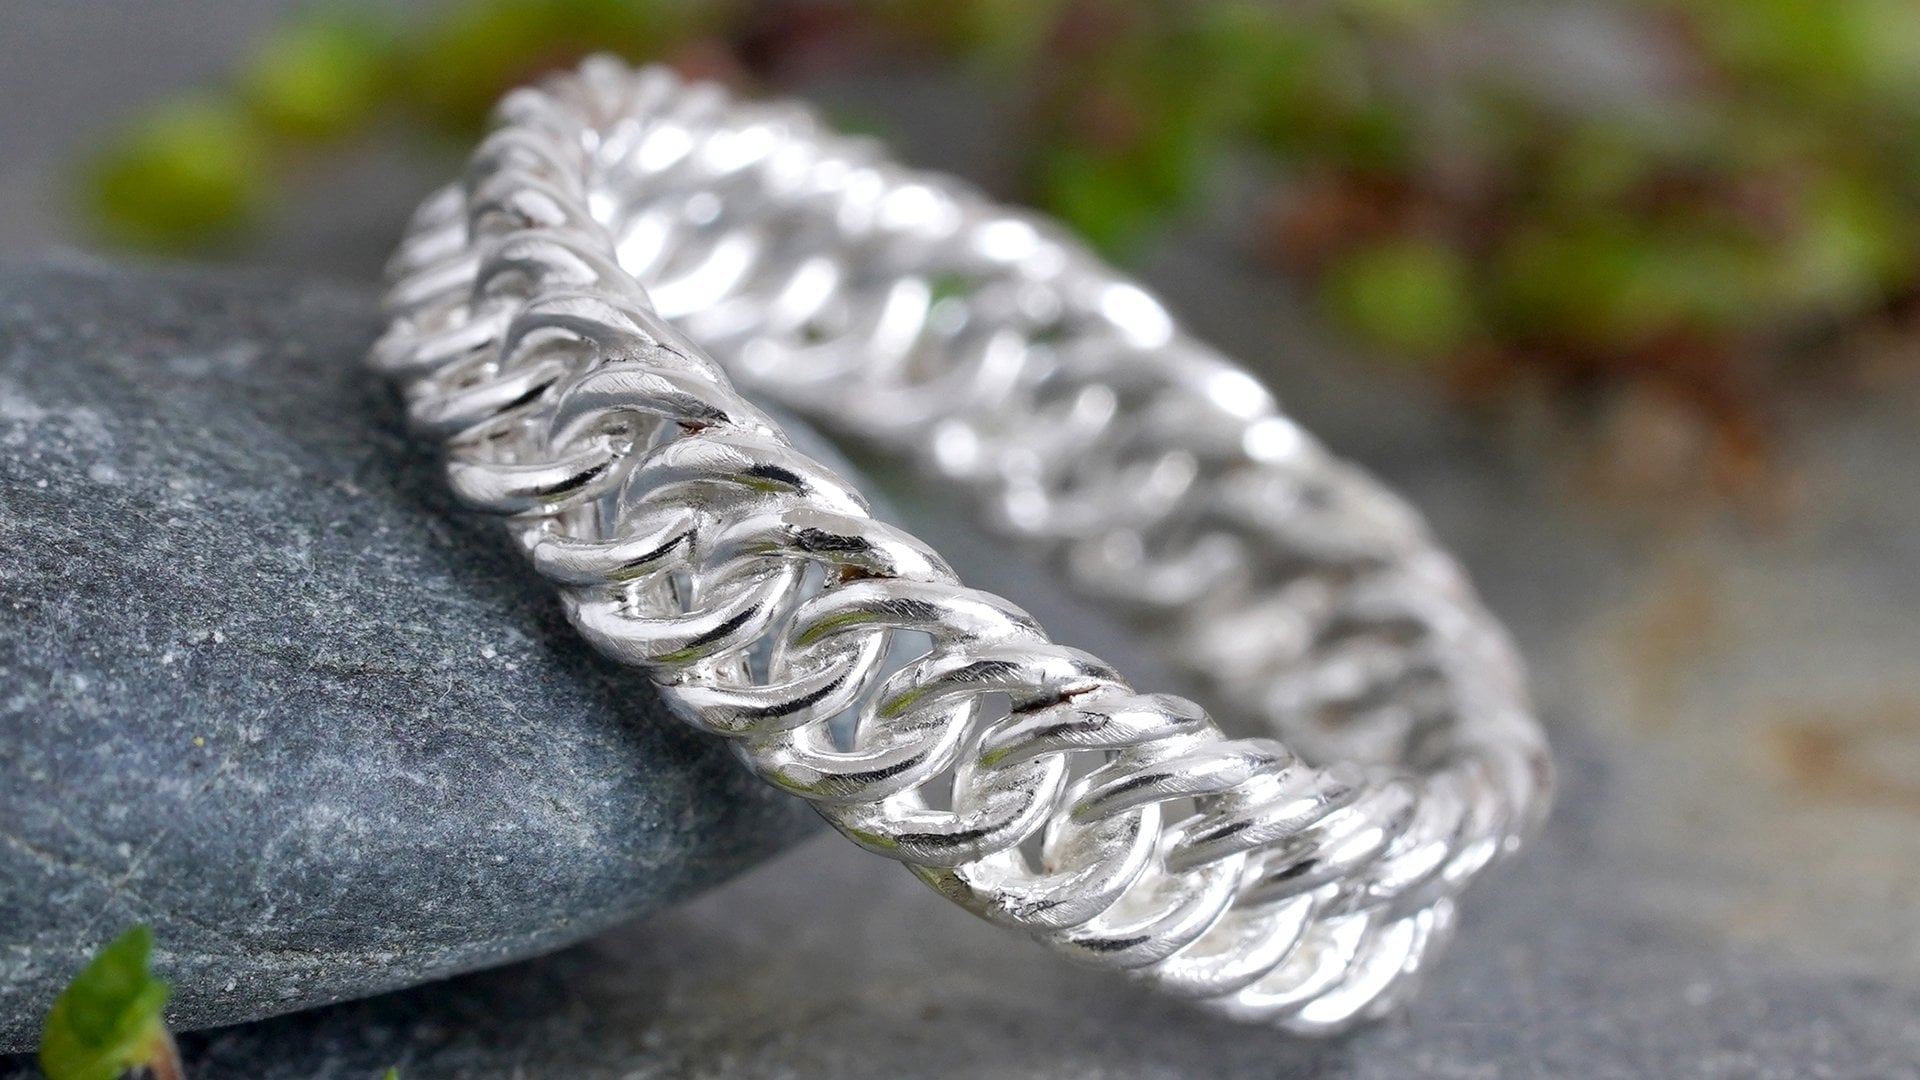
This class will teach you the technique of making this complex and sophisticated chain, a design that dates back centuries to the Byzantine Empire.

Who is this class for?

This class is for anyone who wants to make a Byzantine style chain.

In this class, skills you will learn:

  1. How to calculate the number of links required per inch of chain.
  2. How to add the chain links in pairs.
  3. How to manipulate the pairs of links to create the Byzantine construction.
  4. Where to add new pairs of links to grow the chain.
  5. How to finish the chain.
  6. Polishing options.
  7. How to give your chain an antique finish.

Why is this class useful?

All the skills you learn in this class can be universally applied to other jewelry making projects.

Reasons to learn from me:

  • I provide simple and easy to follow step by step instructions throughout the entire project with trouble shooting solutions.
  • Learn first-hand problem solving skills from an experienced bench jeweler.

Safety note:

Always wear safety goggles, ear defenders to protect yourself. Make sure the area is well ventilated and wear gloves to protect your hands when dealing with chemicals and dust. Use a full face shield when needed. Use heat-proof tweezers to pick up hot items, etc. In any situation, always read, understand and follow your manufacturers guidelines and seek help if in doubt.

Health hazard for jewelry making: https://youtu.be/gMdplaJaLT0

Meet Your Teacher

Teacher Profile Image

Huiyi Tan

Gemmologist, Diamond Setter, Jeweler

Teacher

I have been working on the jewellery making bench since 2003, and have since become internationally qualified with the following professional boards:
GIA Graduate Gemmologist (US) with GIA scholarship
GIA Accredited jewellery Professional (US)
Professional Optical Diamond Setter (Belgium)
MA in jewellery Design (UK)?
GIA Graduate Pearls (US).

I combine both traditional methods and modern technology to create jewellery at my well-equipped studio, which is located in the beautiful Cornish countryside in the UK. My handmade jewellery has been delivered to over 53 countries around the world.

You can see my handmade jewellery on My Website or Etsy.
For behind the scenes, you can find me on YouTube or Instagram.

After working on the bench for tw... See full profile

Level: Intermediate

Class Ratings

Expectations Met?
    Exceeded!
  • 0%
  • Yes
  • 0%
  • Somewhat
  • 0%
  • Not really
  • 0%

Why Join Skillshare?

Take award-winning Skillshare Original Classes

Each class has short lessons, hands-on projects

Your membership supports Skillshare teachers

Learn From Anywhere

Take classes on the go with the Skillshare app. Stream or download to watch on the plane, the subway, or wherever you learn best.

Transcripts

1. Introduction: In this class, I'm going to show you how to make a chunky Byzantine necklace in styling silver. 2. Project: The class project is to make a bicenti necklace yourself. 3. Saftey: Before we start the class, I want to quickly run through some safety precautions. First, never touch any of the heated metal with your bare hand. Always handle them with tweets. Second, always work in a well ventilated area. Third, always wear safety goggles to protect your eyes. Fourth, if you have sensitive skin, always wear a pair of rubber gloves when handling any chemicals. Now, with these basic safety issues addressed, let's get started. 4. Class 01: In this class, I explain the materials that I use. At the end of this class, you will know what you will need to get started. The material I use here is solid sterling silver. You can use other metal to make yours. Start a project from some 16 gauge jumprns I have made. Each of these measures 7.2 M diameter. They are not a standard size jumping that you can get from a supplier. I make them myself. Obviously, you can use other sizes of jumpings to make yours as well. But if you want to make the links as tight as the one I have here, this is the size you will need. If you use these size of jumpings, you will need 20 dumpings to make 1 " of chain. So you can calculate how many dumprints you need to make the length you want. If you're not familiar with making drumprints, I have another course here on Skillshare, called step by step making a foxtail bracelet in sterling silver. In that class, I show the entire process of making silver wire from scrap silver and the process of making drawprints from a wire and soldering them close. The wire could be one you have made or one you have bought from your supplier. With the drawprints ready, I'm going to move straight on to weaving the Byzantine necklace in the next class. Oh 5. Class 02: In this class, let's join the rumprints together to make some chains. The first step is very simple. Put four umprints together. One pair of umprints linked to the next pair like this. In order to strengthen the chain, I sold the joint closed. This is not a requirement. You can rely on the tangent strength of the metal to hold the omprns together. But for extra strength and for the sake of completeness, I like to solder as I go. Repeat this step, linking another pair of umprnts through the last pair. Soldering as you go, if you choose to solder the links. You can find all the jumping soldering instructions and tips. In my other two chainmking classes, call how to make a scroll in necklace in sterling silver and step by step, making a foxtail bracelet in sterling silver. We now have six drumprints linked in pairs. Two rings linked to two rings, linked to two rings like this. Now, I fear a piece of wire through the end pair of my drumprints. This will act as a marker so that I know that this will be one end of my chain. I will continue adding links to the other end. Now we move on to the next step. This is where the magic starts. Here's the trick that gives this chain its unique character. Take the last two drumprns in the chain and open that out so that they swing back towards the start of the chain. Now, this is a tricky bit. Using the pick, I open up the middle pair of drumprns so that I can feed the pick through the end pair of drumprns within the gap I have opened and pull them through the gap. It's a bit like knitting. Now, I can add the next two pairs of trumpings onto this. Soldering each pair in turn and then repeat the process. You will always need two pairs of jump prints for this step. Opening the end pair and flip them upwards and backwards toward the start of the chain. Open the middle pair and feed the pick behind the end pair and pull them through the gap. In this way, you weave the unique structure of the chain. It might seem tricky at first, but repeating this step over and over as you add to the length of the chain, you will soon be knitting the chain without a second thought. In this class, you have learned how to make your Bzantine lens. In the next one, we will have a look at making the chain wearable. 6. Class 03: Once you have reached the desired length of the chain, allowing the length of your clasp, of course, it's now simply a matter of attaching the clasp to the end of the chain. Whether that be a simple spring ring and jumping combination or something more sophisticated like a box or tube clasp. Here I have gone for a handmade box clasp. Look out for future classes to make that one. But there are a variety of pre manufactured clasps that you can get from any jewelry supplier. To attach a pre manufactured clasp, please refer to my other class called How To Make a scrolling necklace in silver. If you want to make a simple S shaped clasp, check out my class course step by step making a foxtail bracelet in sterling silver. Both courses are available here on Skillshare. Once the clasp is attached onto the chain, then it's simply a matter of giving your chain a bath in the pickle and polish to bring out the sparkling beauty of this unique weave. If you want to give it an antique look, here I choose to blacken the entire chain before polishing it. I have covered the entire finishing processes in both my scrolling necklace and foxtail bracelet courses. So if you haven't seen them already, make sure to check them out for finishing tips and procedures to transform your chain from a burn stained met grain into a sparkling shiny piece, fit for a Jewish showroom. Here's what the finished piece looks like. The Byzantine chain has a rich, far more complex and sophisticated link pattern than your everyday chains. A beautiful piece of history that has come down to us from a once great empire. 7. Final Thoughts: Now you know how to make your own Byzantine necklace in sterling silver. Don't be shy to show your progress pictures and the finish piece either here on Skillshare or on any social media. Outside Skillshare, you can find me on my YouTube channel at Hui ten. I will see you in the next fun jewelry making class.