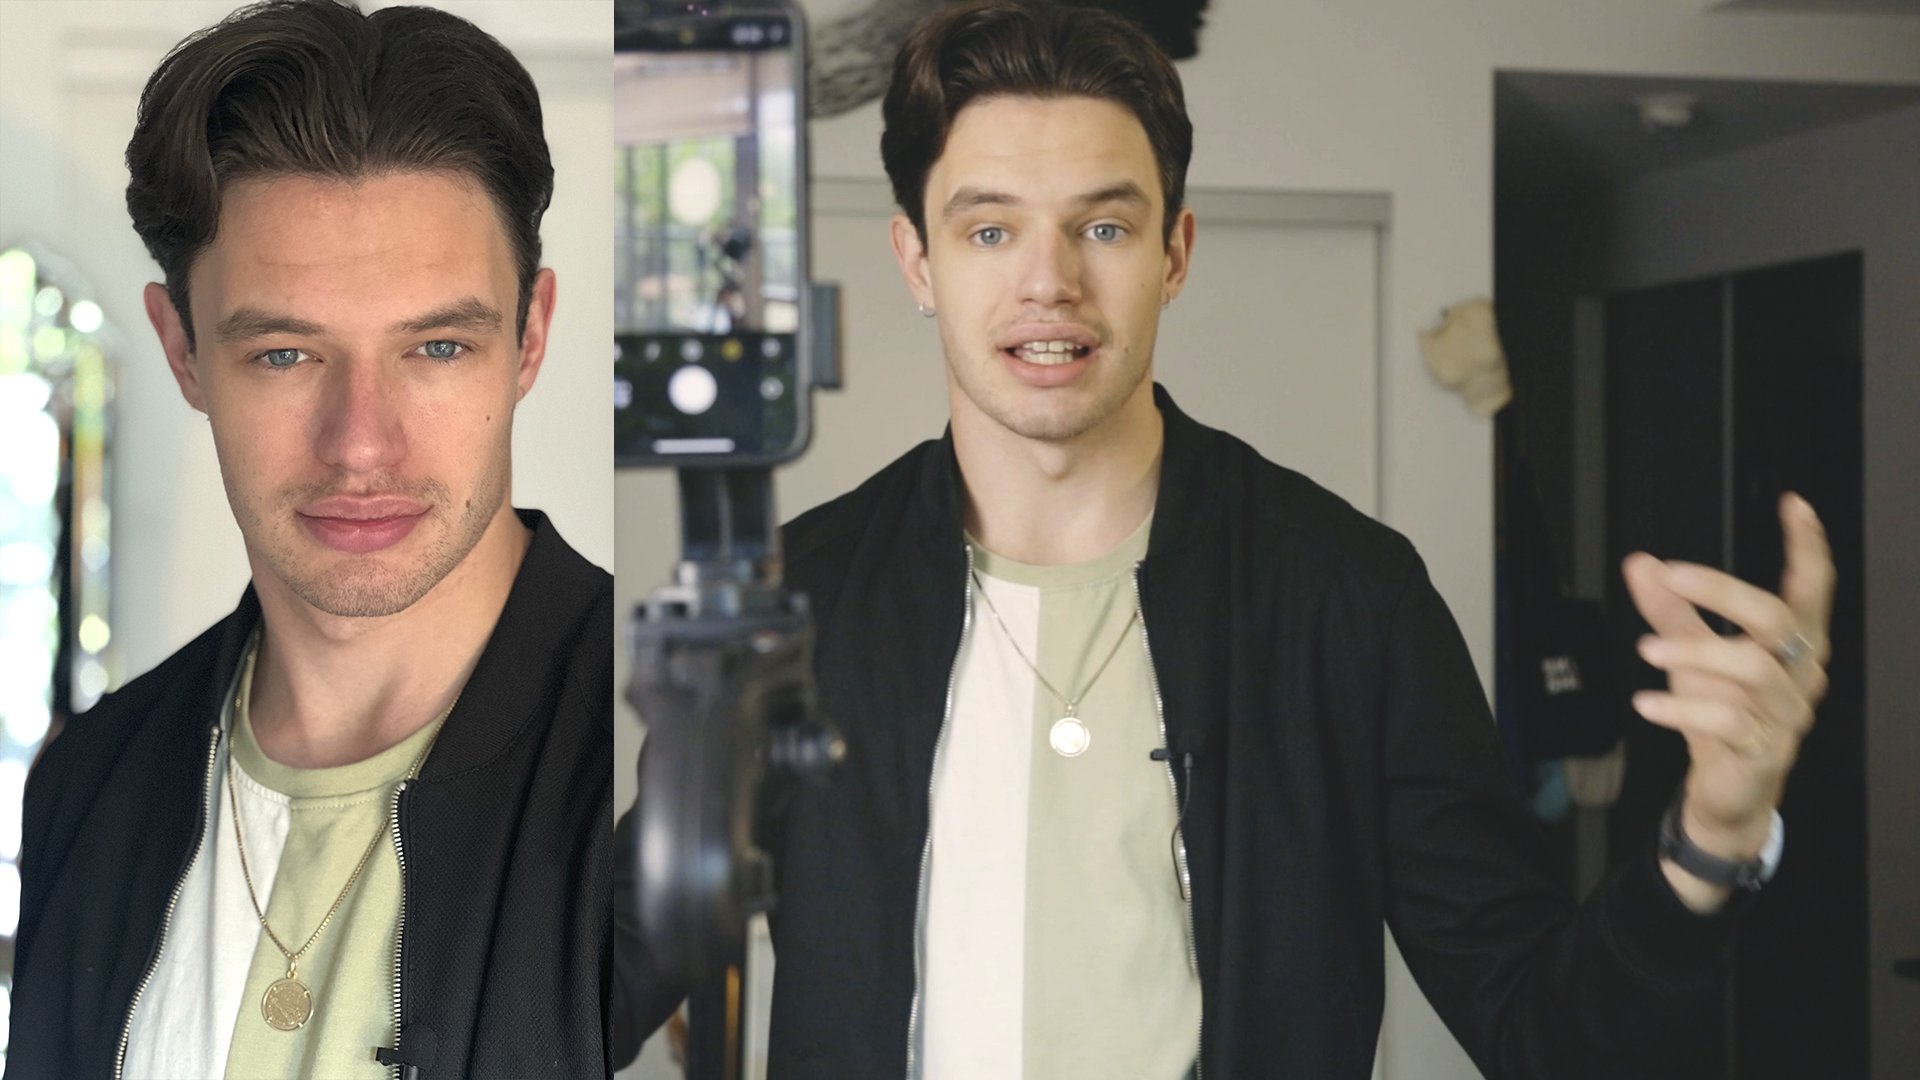
Transcripts
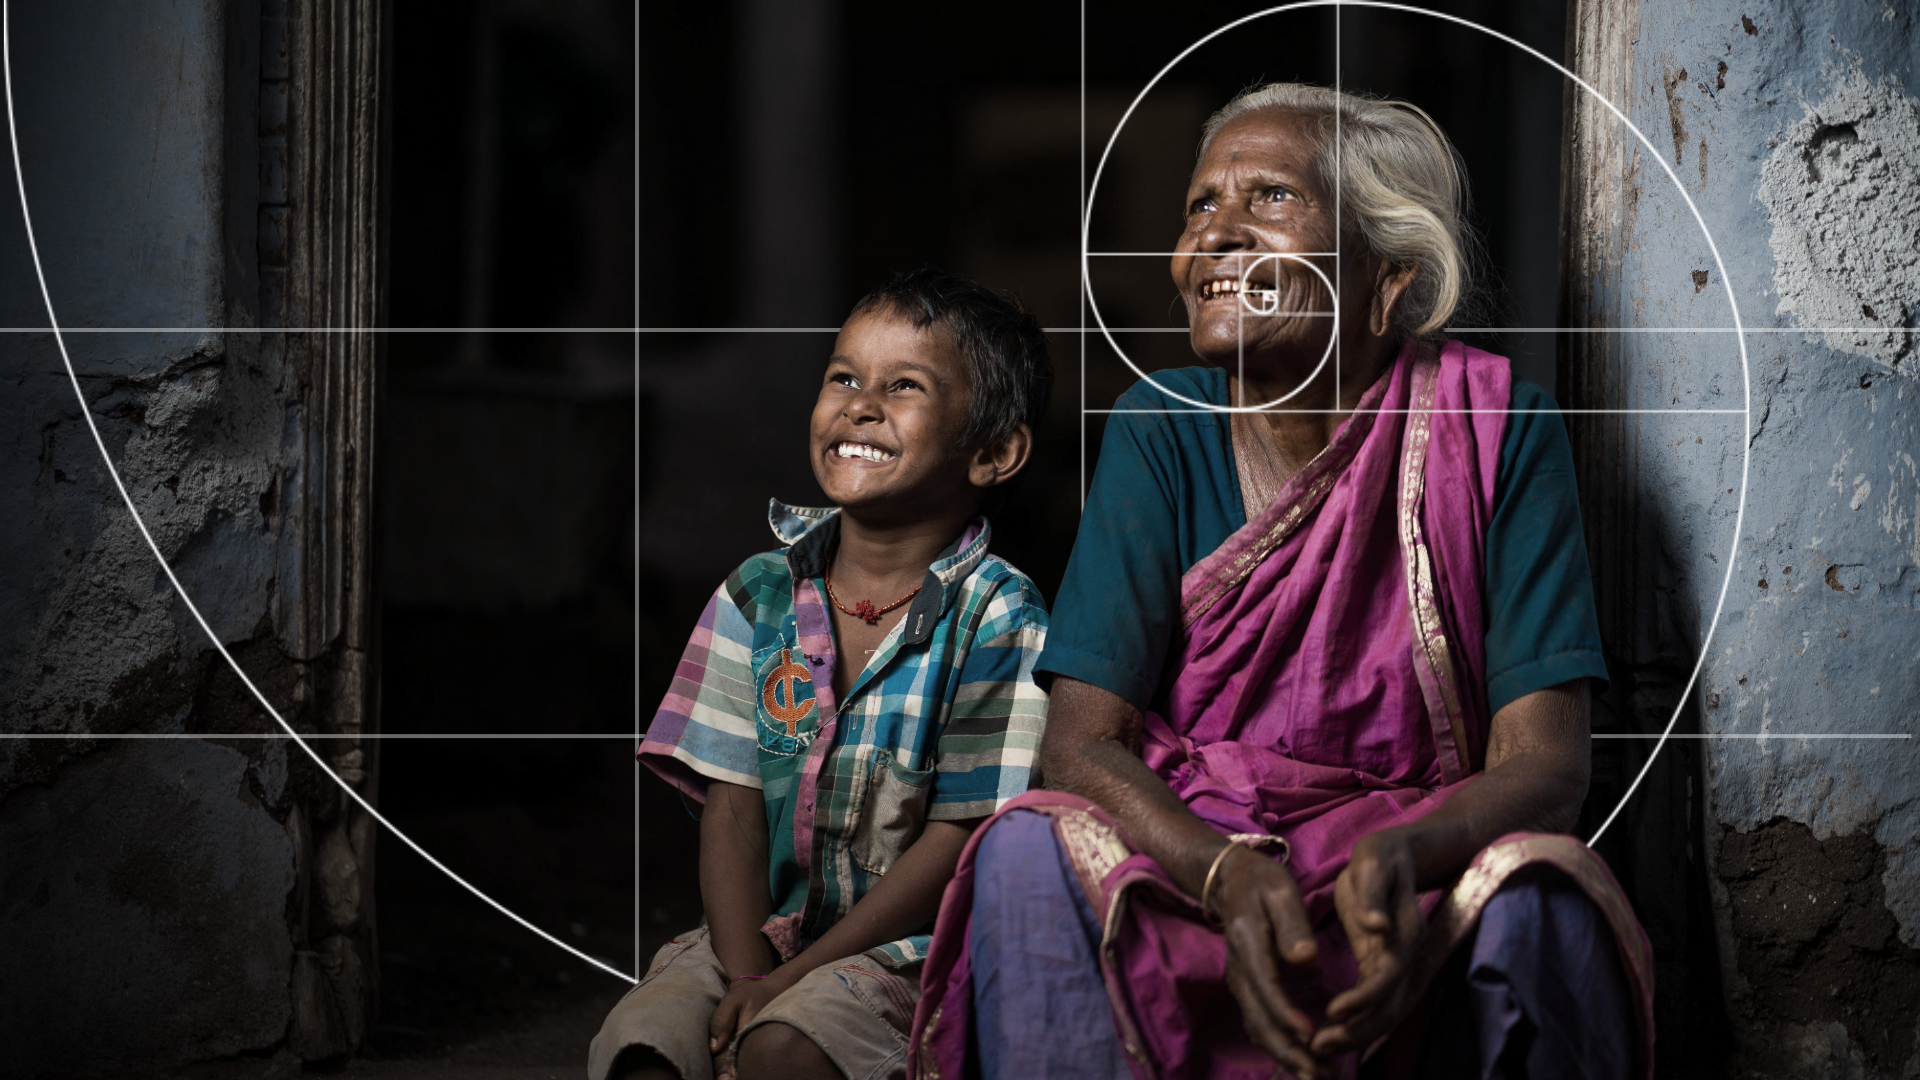
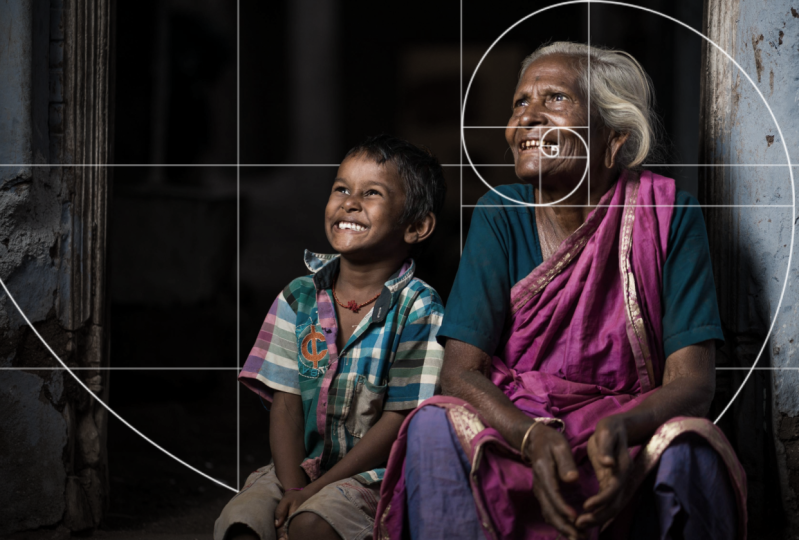
1. Introduction : Street photography is
a thrilling adventure. You will never know
what you will find when you step out
into a busy streets. You might feel nervous
or intimidated, but don't let that stop you
from pursuing your passion. I know how it feels because
I have been there too. But I also know the joy and
satisfaction of capturing those candid moments that reveals the essence of ban life. Hi, I'm Na Bara Silva, a visual artist from India, who loves photography, illustration, and
video productions. I have worked with
various brands and won awards for my films. Some of my photos
have been showcased in prestigious publication
and galleries. But what really motivates me is my love for photography,
especially street photography. I'm eager to share my
insights with you. In this class, we will learn the basics of
street photography. We will discuss
important topics such as understanding the
exposure triangle, aperture, shutter
speed, and ISO. Exploding the depth of field, mastering and composing
the layering techniques, selecting the right lens
for straight photography, valuable tapes to enhance your
street photographic skill. I will provide you the
knowledge and techniques needed to take a stunning shot straight out of your camera. You will also get to the
practice these skills with a fun exercise that will challenge your
creativity and vision. Plus, you will see me in action, as I take you on a real
street photography shoot and share my tips and
tricks along the way. This class will help you to develop your confidence
and style as a street photographer and make most of your
ban surroundings. This class is suitable for
anyone who wants to improve their street
photographic skills and discover the beauty and the
magic of everyday life. You don't need any fancy
equipment or software, just a camera and
passion for photography. Are you excited to join me on the street
photography adventure? Let's go.
2. Class Overview: Welcome to this class
on street photography, where you will learn how to take amazing photos with any camera. Street photography is a
fun and creative way to capture the beauty and
diversity of everyday life. You will discover how to
use composition, lighting, and observational
skills to create a standing image
that tells a story. Your project for this
class is to practice your street photography
skills on Street. Find interesting scene,
people, and moments, and snap some photos, edit them, if you need, and upload your best photos on
the project gallery. Try to share at least
three to five photos here. This will help you to improve your techniques and get
feedback from others. Street photography is a
great genre for beginners because you don't need any special equipment or experience. You just need a camera, whether it's a digital camera or a smartphone or
even a film camera. Make sure your battery is full and you have enough
space on a memory card. It is also good to know the
basics of camera settings, but it is not essential. The most important
thing is your vision, your creativity,
and your passion. Learn the fundamentals of street photography and unleash
your artistic potential. I can't wait to see your
photos in the project gallery. Follow me on Instagram
at Navara Silva for more inspiration. Let's start and have fun
with the street photography.
3. Aperture: If you're new to
street photography, you might be wondering
how to adjust your camera settings to
capture the best shot. One of the most important
setting is the aperture, which is the opening in the lens that controls how much
light enters the camera. The aperture also affects
the depth of field, which is the range of distance that appear sharp in your photo. In this class, I will
explain and demonstrate how aperture works in a camera
for street photography. The aperture is
measured in F stop, which are the numbers that
indicate the size of opening. The smaller the F stop number, the larger the
opening, and versa. For example, F 2.8 is
a larger aperture, while F 16 is a
smaller aperture. A larger aperture
lets more light, which is useful in
low light situation. But also, it creates a
shallow depth of field, which means that
only a small part of your photo will be in focus, and a smaller aperture
lets lesser light, which requires a slower shutter
of speed or higher ISO. But it also creates a
deeper depth of field, which means that more of your
photos will be in focus. To illustrate how aperture affects your straight
photography, I have a small
demonstration for you. First, let's see how aperture
controls your exposure. Now, I'm increasing
the aperture value to balance the exposure. At F ten, the scene seems
to be well exposed. But when we decrease
the aperture value, overall scene gets over exposed. Next, we shall see how aperture
affects depth of field. I'm setting up the
scene at F two, which is a wide open aperture. This in turn creates a
shallow depth of field. Now, if I narrow down the
aperture value to F eight, it creates more deeper
depth of field. I'm further narrowing the
aperture value to F 16, which creates a hyper
depth of field. As you see, changing
in the aperture can dramatically alter the mood and message of your
street photography. A larger aperture can create a sense of intimacy
and isolation, while a small
aperture can create a sense of context
and connection. There is no right
or wrong aperture for street photography. It depends upon your
creative vision and what you want to
emphasize in your photo. Eplement with different aperture and see how they
affect your results.
4. Shutter Speed: Shutter speed is one of the most important
setting in photography. It controls how long the camera sensor is
exposed to the light, and therefore, how much motion
is captured in the image. In street photography, where
you often have to deal with fast moving subjects, an
unpredictable situation. Choosing the right
shutter speed can make a big difference in the
outcome of your photo. There are two main ways to use shutter speed in
street photography, freezing or blurring motion. Freezing motion means using
a faster shutter speed, such as one by 500
or faster to capture a sharp crisp image of moving
people, vehicle or animals. This creates a sense of
immediacy and realism, as well as highlighting interesting detail
and expressions. Blurring motion means using
a slower shutter speed, such as one by 30 or slower, to create a sense of movement and dynamics
in your photos. This can convey a
feeling of speed, energy or chaos,
as well as create artistic effect such as
light trails and panning. Let's see how
shutter speed works in street photography
with this demonstration. Here, I'm increasing the
shutter speed to one by 2000 to freeze
the fast moving car. As you see, the fast moving
car is frozen in the action. Whereas when I'm reducing
the shutter speed, the overall scene
gets over exposed. To balance the exposure, I'm reducing the
ISO value to 125, but the scene is
still over exposed. So I am now balancing the exposure with the
help of aperture. Now, the exposure seems
to be well balanced, and let's try to freeze the car in the action with
low shtter speed. Low shutter speed
creates a blur in the motion while the
higher shutter speed will freeze the motion. As you see, a shutter
speed can have a big impact how you
capture street photography. By experimenting with
different settings, you can create a different
effect and mood in your photo. The best way to learn
is to practice and see what works for
you. Happy shooting.
5. ISO: The next most important
setting is ISO, which controls how sensitive your camera sensor is to light. In this class, I will
explain what ISO is, how it affect your images, and how to use it in
your street photography. ISO stands for in organization
for standardization, and it measure how much light
your camera can capture. The higher the ISO, the more light your
camera can collect, but also the more noise or
grain your image will have. Noise is a random spec or dot
that appears in your photo, especially in darker area. Lower the ISO. Less light your
camera can collect, but also less noise
in your image. The ISO you choose depends on the lighting condition and the effect you want to achieve. For straight photography,
you often have to deal with changing or low light
situation such as cloudy day, shadow or night scene. In these cases, you
might want to use a higher ISO to avoid blurry
or under exposed image. However, you also
have to consider the trade off between
the noise and sharpness. If you use a very high ISO, your photo might look too
grainy or low detailed. A good thumb rule is to
use a low ISO possible for a given light level and then adjust your aperture and the
shutter speed accordingly. Aperture is opening
for your lens that controls how much light
enters your camera, and shutter speed
is the duration of time that your camera sensor
is exposed to the light. These two settings also affect the depth of field and
motion blur of your photos, which are other creative aspect of your straight photography. To demonstrate how ISO work in your camera for
street photography, I have a small
demonstration for you. Let's now try with
a lower ISO of 160. As you see, the photo
is well exposed and shut without any
noise in the image. L et's try increasing the
IS of value to 1,600. As the scene is
getting over exposed, I'm balancing the exposure by increasing the shutter speed. Can you see now the
scene is well exposed, but when you pixel peep, you will start
seeing the noise in the darker area due to the
increase in IS of value. Though, in my opinion, the photo is very well usable. I am now experimenting
with a higher ISO value of 6,400 and the scene gets
over exposed as you see. Again, I'm balancing
the exposure with help of shutter speed. Clearly, the higher ISO is affecting the photo
with more noise, which, in turn, is affecting the overall sharpness
of the photo. As you see, ISO is a
crucial setting for street photography
that can help you to capture a different
moods and atmosphere. By experimenting with
different ISO values and absorbing the
effect on your image, you can improve your skills and creativity as a
street photographer.
6. Composition & Layering: Composition and layering
are important aspects of street photography that can
help to create a visual, interesting and dynamic images. Here are some tips
and how to use composition and layering in street photography.
Rule of thirds. The rule of thirds is the basic principle of
composition that involves dividing your image into thirds both horizontally
and vertically. And placing your
subject along one of these lines or at the
intersection of these lines. This can help to create a dynamic composition and draw the viewer's
eye to the subject. Framing, framing
involves, using elements within the scene to create a
frame around your subject. This can be a window doorway or any other
architectural element. Framing can add depth to
your image and create a scene of context for a
subject. Leading lines. Leading lines are the
lines within your image that draws the viewer's
eye towards your subject. This can be a street or
a row of building or any other element that create
a line within your image. Leading lines can add depth to your image and help you to
create a sense of movement. Yering. Layering
involves capturing multiple elements
within your image that create a depth
and interest. This can be achieved
by photographing a subject in front of a background with a multiple
layers such as people, building or other elements. Layering can add complexity to your image and create
a sense of death. Contrast. Contrast involves
capturing elements within your image that are visually different
from each other. This can be achieved by
capturing a subject with a contrasting color,
texture, or patterns. Contrast can add a
visual interest to your image and help to
create a sense of drama. These are some examples
how composition and layering works in a camera
for a street photography. Of course, there are
many other way to use these technique depending on
your style and preferences. The best way to
learn is to practice and experiment with different
settings and angles. Remember that there is no right or wrong way
to street photograph. This is all about
expressing yourself and capturing what
you see and feel.
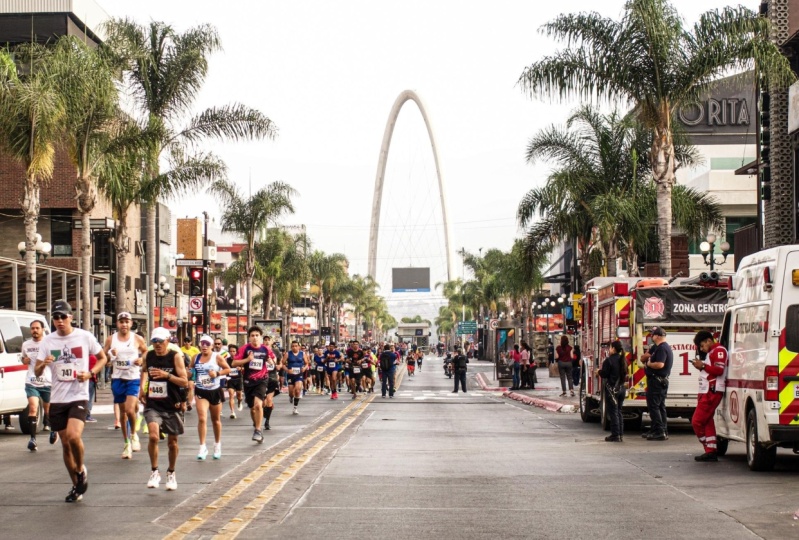
7. Live Hands - On Street Photowalk: Let's see a live demonstration
applying all the basics of photography on the
street that we learned in the class.
Come, let's go out. So we have come to this
market in Bengaluru City, and my wife is
assisting me here. Lighting this morning
looks interesting, and I hope we could capture
some beautiful moments. I have come here before once, and I found some really
interesting subjects and moments. Hence I chose this
place for this class. I find this fish seller
interesting in this lighting. I'm trying to compose Yes, so be aware of your surrounding, make way for the
public. All right. Here we are with
our first photo. This is a good example
to make use of our backlit condition to isolate your subject
from the background. Also, you can
observe that I have placed the subject
evenly on thirds. Also, we can notice the line that is leading
to our next subject, who's sitting on the cotton. Let's move forward with the hope of finding some
interesting subjects. I think women selling lemon on my right side will be
an interesting subject. One, because of the colors, the RGB here is the play, two the harmony in the shapes. Let's try to get some
interesting composition. I'm just trying to
simply frame her at the center having the
lemons in the foreground. You can find circles and triangle that gives the
depth to this photo. But the wires on the stick
is quite distracting, so I'm trying to recompose
slightly away from it while she's still at
the center of my frame. You can choose to crop such distraction to
make it more impactful. As I said, our GB, her red say that has
a very strong hue, helping us to emphasize
her in the photo. And to complete the story, I'm also taking an overhead
shot of this lemons. You can observe the
harmony in the shapes and different hues of the same
colors from yellow to green. I walked in, saw
this lighting and was curious to know
where he's coming from. Through this vent. Nice lighting. I'm trying
to get the star burst here. To get it with more streaks, I'm increasing the
aperture value to F eight. You can further increase
it to get more streaks, but F eight works for me here. I'm waiting to see if I get some subject to make it more
interesting in this frame, and here we have him. You can observe the
light speak here. It can be achieved only
through a narrow aperture. You can apply the same in your street photography or even in your landscape
photography. I'm back to the same
place where I noticed this lighting with this
interesting pattern diagonally. I also like the texture of
the wall and the woods. Let's see. I'm increasing
the aperture to get more detail of the
texture. Nice one. I'm moving further
into the wood. By the way, I'm using
a 16 m prime lens, a macro lens works even better for such
ttecture in this scene. This is our first
photo we took here. If you notice, you can see our second frame within
this one and the third one. Basically, I have manually
moved closer to get the texture instead of cropping them from
the first photo. This light on the ground
looks interesting here. There's a cat on my right side. I'm anticipating him to
walk through the light. That is a dog as well. Oh, my bad. I missed it. I should have kept my camera
on a continuous burst. Mr. Cat, please be my model. I'm changing it now
to continuous burst. And there you go. I'm pretty sure this is one
of my best shot of the day. The dramatic lighting on
both ground and on the cat, the directional perspective,
due to the cat's movement, make it worth my hype
of anticipation. I think I can get a frame
within frame shot here. Again, I'm waiting
for a subject. Yes, here we have I find
this interesting because of the perspective and the
repetitive patterns as in the line shape and the color in the
building behind, as well as the ice box, even the water tank, also the subject
within the vent ferns that is making it a
frame within frame shot. I see the one I missed? Let's strike now. This feels surreal. He also gives the cute poses. They are feeling more
comfortable now with me. Let me show you an
interesting photo. I'm getting down to their eye level straight
into their eyes. Means straight into your heart. I'm actually doing a
personal project where I am documenting straight dogs,
specifically sleeping ones. I always admire their resilience
of exhibiting calmness, irrespective of the chaos
happening around them. I have named it a stray of hope, which you can check
on my Instagram. These are a few of
them from the series, and the NDA series will
be in a monochrome. And I love to get
your feedbacks on it. If you have any ideas for
your personal project, feel free to post it
in discussion tab. I love to have a discussion
and give you my insights. That's all for this lesson. Let's catch up with some
tips in the next class.
8. Tips & Tricks: Street photography is a
fun and rewarding way to capture the life and
the culture of a place. To make the most of your time, here are some tips to help
you to plan and prepare for street photography
session. Do some research. Find out what makes
the location you want to shoot is unique
and interesting. Look for places, events and people that you
want to photograph. This will help you
to plan your route and know where to
look for good shots. Study the work of
other photographers. Look at the work of
other photographers who are specialized in
street photography. Analyze their technique,
composition, and style. This can help you to learn new idea and approach
to street photography. Choose a right gear.
Pick the camera and the lens that suits
your style and that type of photography
you want to do. Understanding your
camera settings is essential for
street photography. Use of a fast shutter speed
to freeze the motion and set your ISO and aperture accordingly to get
the right exposure. A wide aperture can
help you to create a shallow depth of field
and blur background. Making your subject
to stand out, this is a particular effect
for street portraits. Also, bring some accessories
such as extra batteries, memory, and tripod, if we
needed. L earn to observe. To be a good street
photographer, you need to be able to
absorb your surroundings and anticipate the moments that
will make a great photo. Pay attention to the people, lighting and
composition around you. Look for interesting lighting. C heck the weather.
The weather can affect your street
photography in many ways. Good lighting can make a huge difference in
street photography. Look for interesting
shadow, reflection, and light patterns that can add depth and interest
to your photos. Practice patience. Street photography
requires patience. As you may need to wait for the right moment and
opportunity to present itself. Be prepared to take
your time and wait for the right shot.
Be respectful. Be respectful for your
subject and your surrounding. Don't invite people's privacy or make them to
feel uncomfortable. Be aware of the environment
and the social and the culture norms of the area
you are photographing in. Lastly, always put
yourself safe first. Wear a cloth that let you move easily and blend
with the crowd. Be aware of your surroundings
and avoid risky situation. Keep your gear close and be careful with a
potential theft. Practicing these tips, you can improve street
photographic skills and create a compiling image that captures the essence of
the world around you. Remember, street photography
is all about observation, anticipation, and story telling. With a practice and dedication, you can develop your
skill and capture a powerful image that tell a story about the
world we live in. Now it's your turn.
Go on your shot and share three to five photos from it in the project gallery.
9. Conclusion: Congratulation on
completing this course. I hope you enjoyed
it as much I did, and that you found it helpful in advancing your
street photographic skill. I'm really excited
to see your work. Please make sure to post your photos in the
project Gal Blow. I can't wait to take a look. You can also follow me on
Instagram at Navarra Silva. Thank you once again
for joining me in this journey and have
a wonderful day.
 Nava Bharat Selva, Visual Artist