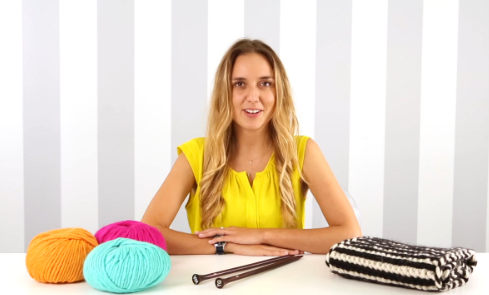
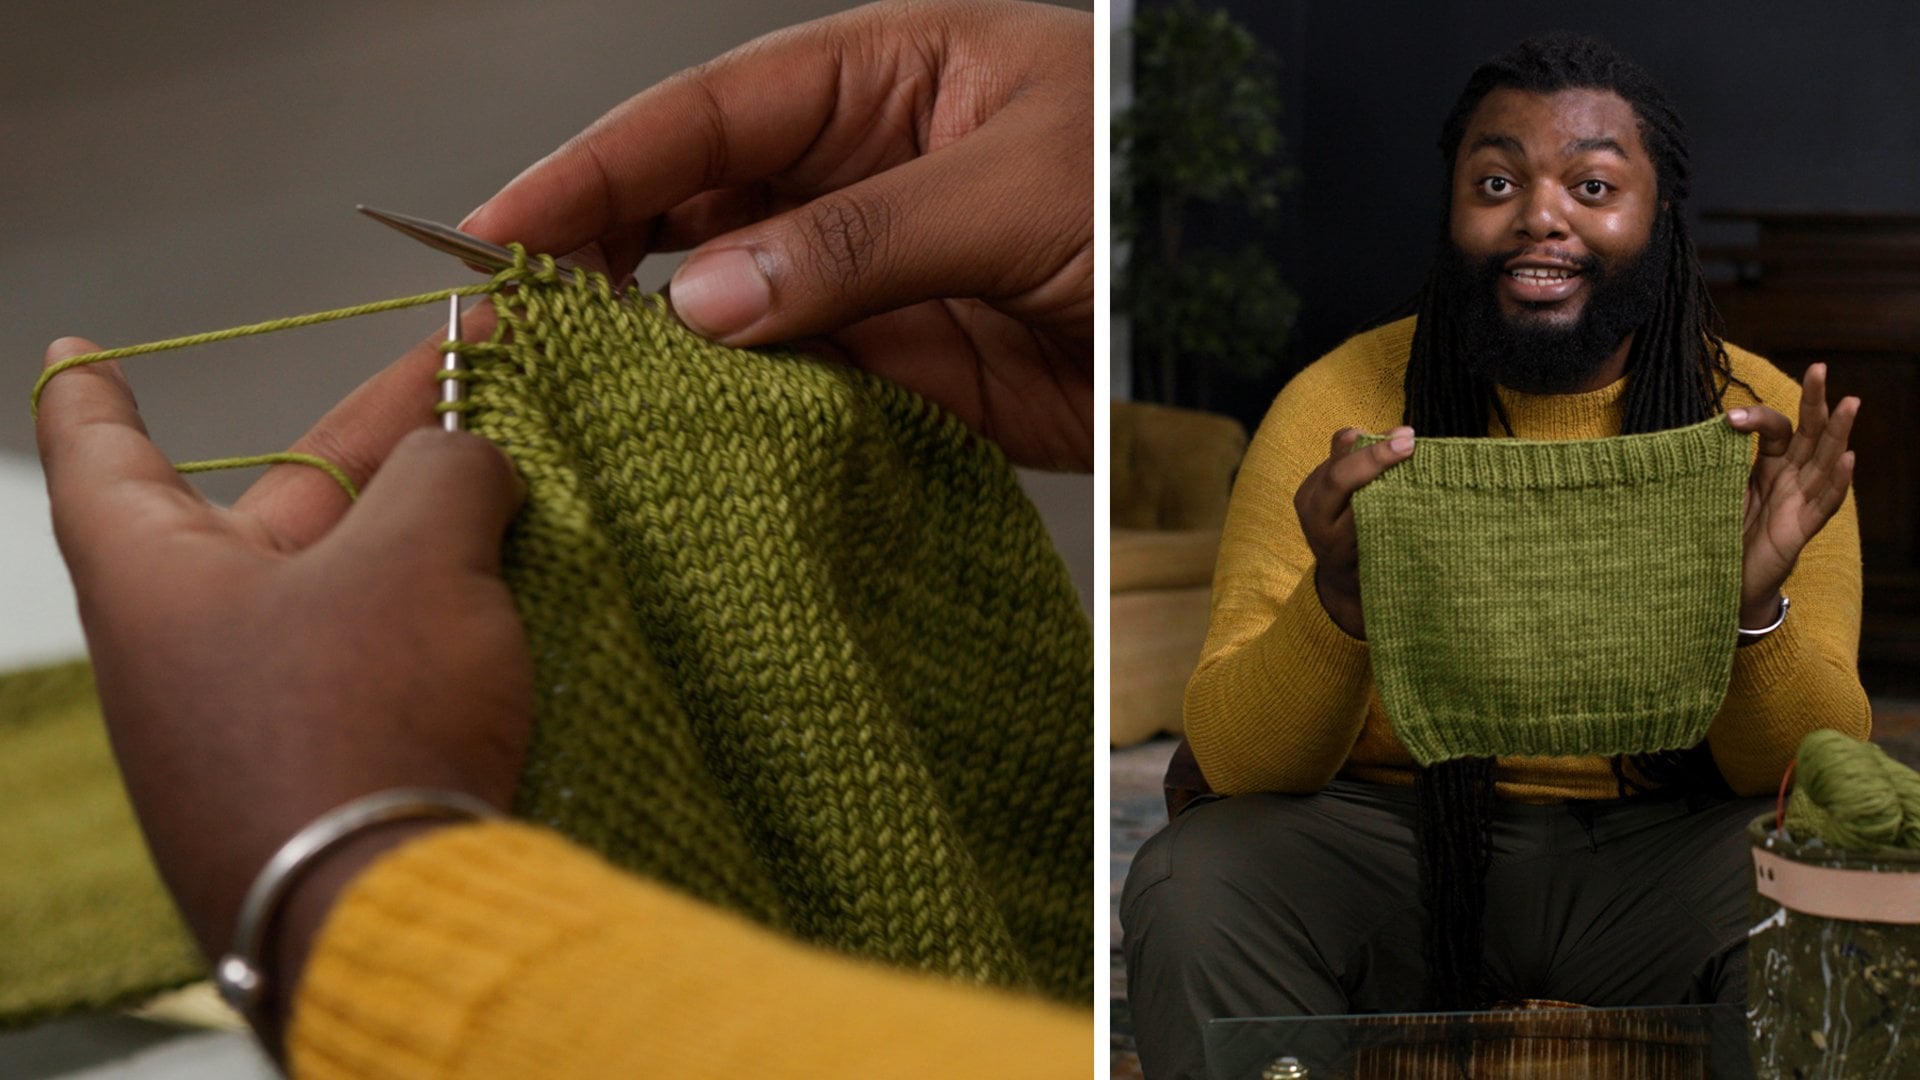
How to Finger Knit a Bracelet
 Samantha Locking, Horticulturist
Watch this class and thousands more
Watch this class and thousands more
Lessons in This Class
-
-
1.
Introduction
0:51
-
2.
Materials Required
1:10
-
3.
Finger Knitting
6:39
-
4.
Class Project
0:56
-
-
- --
- Beginner level
- Intermediate level
- Advanced level
- All levels
Community Generated
The level is determined by a majority opinion of students who have reviewed this class. The teacher's recommendation is shown until at least 5 student responses are collected.
139
Students
1
Project
About This Class
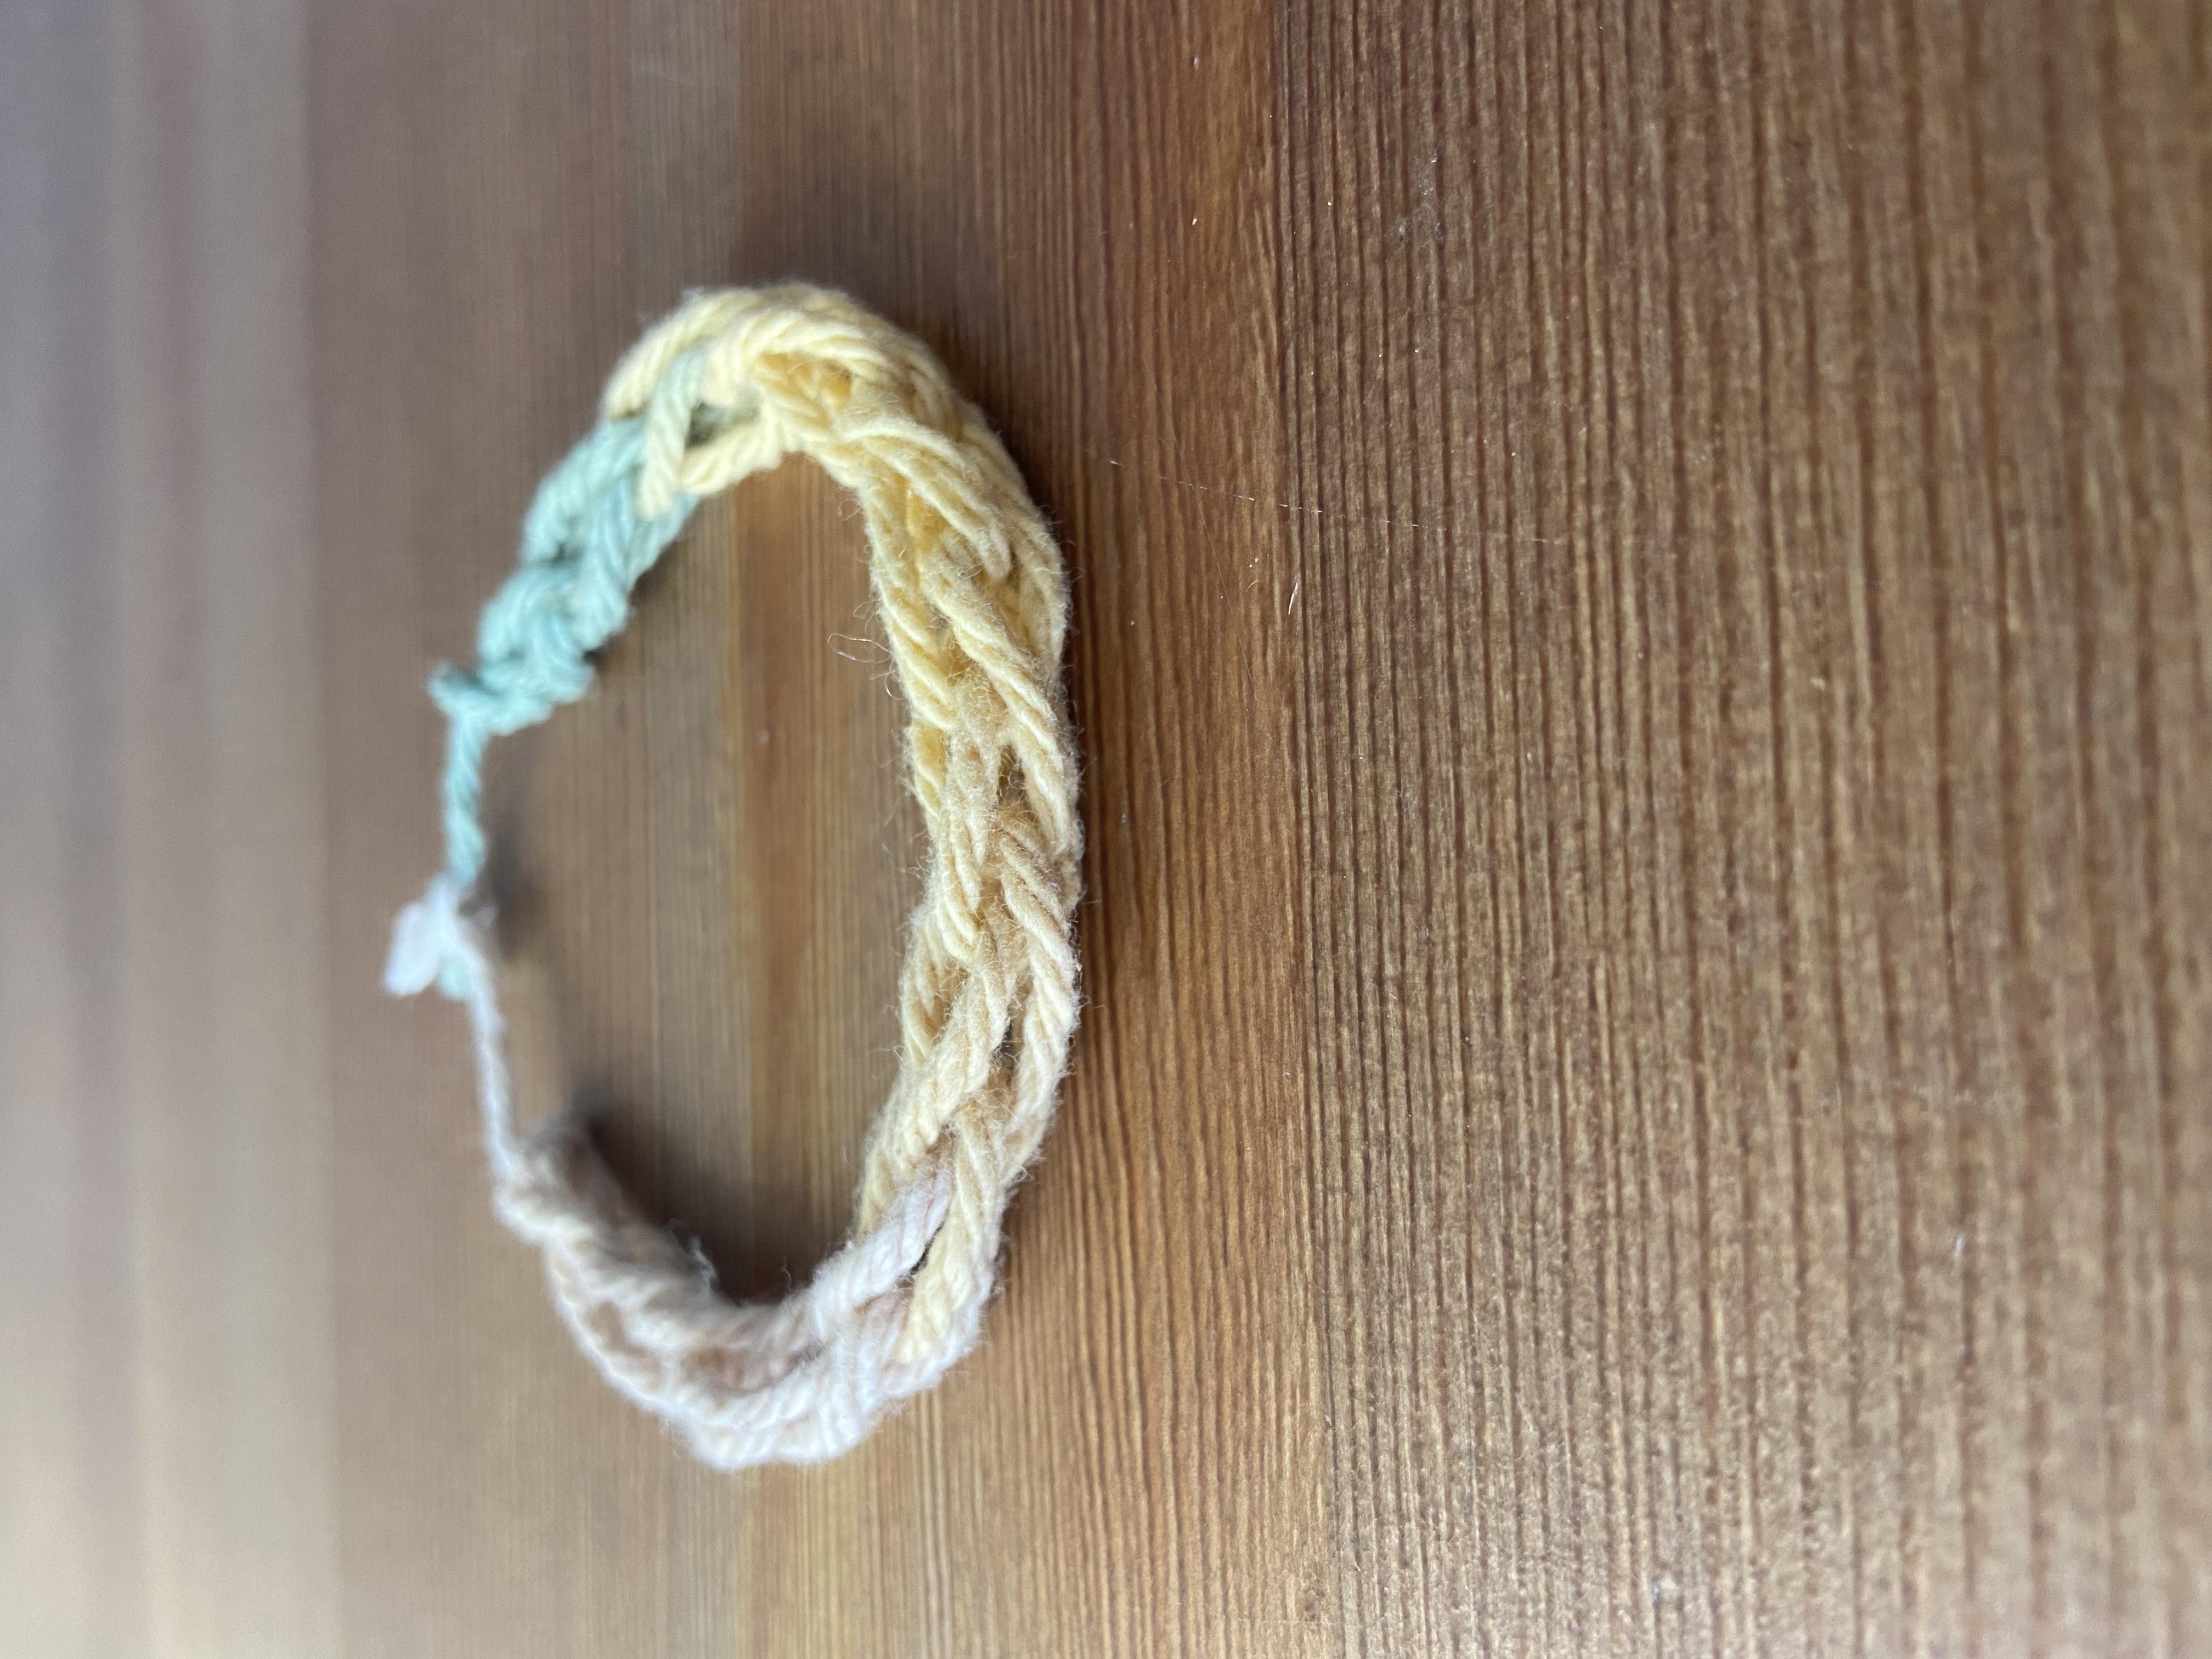
In this class you will learn a simple pattern to finger knit a bracelet. This is a great project for beginners, to do with kids or to keep busy in between big projects.
For this class you will only really need 2 things and they are:
1. Yarn (preferably cotton)
2. Scissors
Meet Your Teacher

My name is Sam, I'm a horticulturist from Ontario, Canada.
I love working with plants especially when it comes to propagation! Which is why the majority of my classes focus on that.
However, I also have many interests outside of plants (business, knitting, building things) so, you never know what class might come up with next!
Reach Out!
If there are any plants you'd like to learn how to propagate or care for please let me know :)
The easiest way to contact would be through class discussions or by commenting on past discussions I've created (at the bottom of this page)
I look forward to hearing from you!
See full profileHands-on Class Project
For your class project you will create your finger knitted bracelets using the technique show in the class. Once you have created your own you can snap a picture of your creation and upload it to the project section.
I look forward to seeing your projects!
Class Ratings
Why Join Skillshare?
Take award-winning Skillshare Original Classes
Each class has short lessons, hands-on projects
Your membership supports Skillshare teachers
Learn From Anywhere
Take classes on the go with the Skillshare app. Stream or download to watch on the plane, the subway, or wherever you learn best.


Related Classes