Transcripts
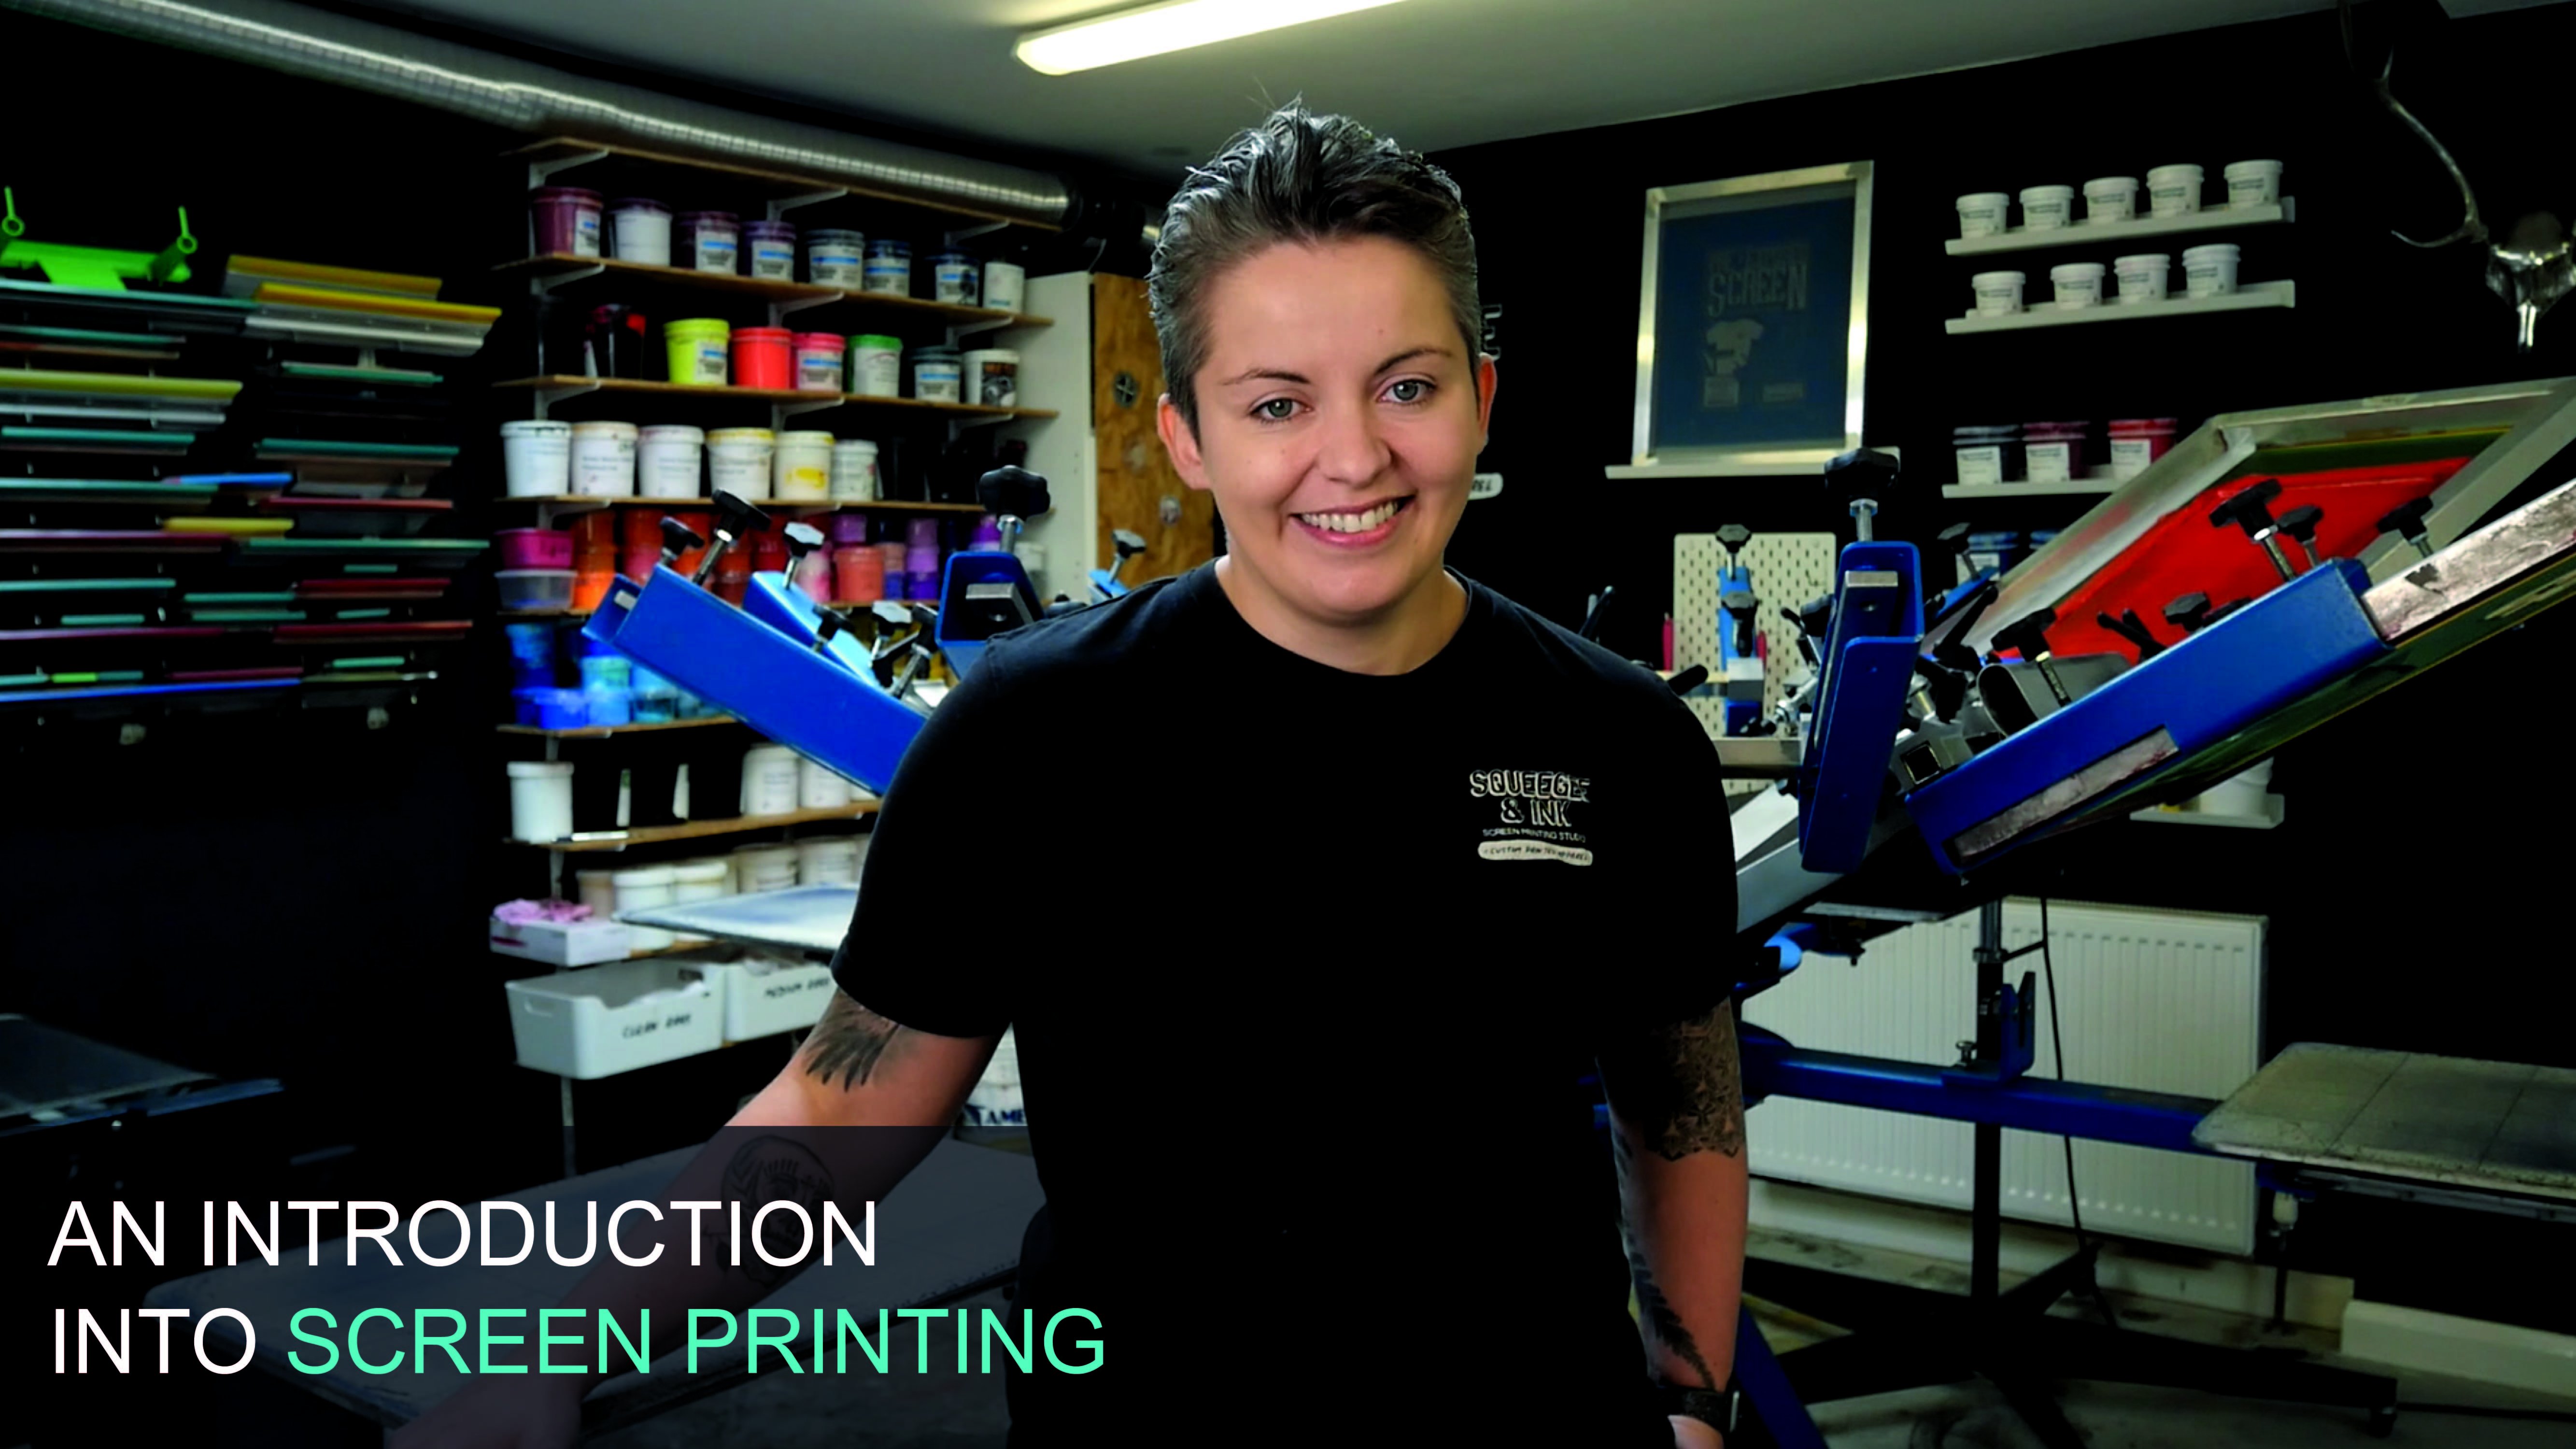
1. Introduction: Hey, it's Chessie
from Squeegee & Ink. And in this course I'm going to demonstrate how to expose screens with photosensitive
emulsion and film positives. I'm also going to
help you determine your own personal
exposure times and walk you through
any troubleshooting you might have when it comes
to exposing screens. In this course, we'll cover preparing your
artwork for exposure, coating and drying your screens. The method of exposing
the screens with photosensitive emulsion,
exposure unit types. How to find your exposure time, washing out your design, how to know if your
exposure is perfect. And lastly, troubleshooting
poorly exposed screens when taking this course, you have full access to
our exposure calculator, which you can print at home and helps you determine
your exposure times. By the end of this course, you'll have all the
knowledge you need to get screen printing and have
perfectly exposed screens.
2. Preparing your artwork for exposure: A good quality exposure
starts with quality films. And they need to
be a 100% black. And not only black, but they need to be opaque. They need to stop the light from reaching the
photosensitive emulsion. So even though these
two are black, there's only one of these
that's actually going to work as a good exposure
for screen printing. The first positive I have here
is printed with black ink, but there's not
enough deposit of the black ink to be able
to block the light. And easy way for you to see whether your
positives are strong enough is if you were to
hold your hand behind them, you can see the profile of your hand and
moving, buying them. So the light is still
getting through and your hand is casting
a shadow through that. So that's just an
easy indication to see her. That's
not very good. Whereas this one, I can
move my hand behind it and I can't see it at all. This one is very likely
to be strong enough to block the light from reaching the screen during the exposure. In order to obtain this
nice rich film positive, I'm using an inkjet,
Epson printer. I'm also using an old
black ink system. So by that I mean, technically this has five
different ink cartridges, and normally that would
be used for CMYK, lots of different colors. However, I filled all my
ink cartridges up with black ink that I'm just
laying black over black. And it's really dense. I'm also using something
called a RIP software. This is in-between the
computer and the printer, and it just tells the printer how much ink to
deposit onto the film. So there's very dense and I
can manipulate half tones and how black and how much ink is being
deposited on my film. So I can get the richest, most dense positive possible. Let's jump onto the computer to show you what I mean by that. Using Adobe Illustrator
to output my films. On this, I have my
blind market logo. The first thing I
need to check for, I output my films is that the color mode of the
document is CMYK. I can check that
by pressing file, going down to Document
Color Mode and making sure it's CMYK
color is checked. That just means that
it's going to output as CMYK printing and it's gonna
be ideal for optimum posted. The next thing I need to
check is that this is actually pure black and
not just a very dark gray. I can do that by selecting
a part of the image, going up and pressing select
same fill, color and stroke. Hopefully it selects all of your image with the same black. Then I can double-check in
the little swatch here, this little fellow swatch. Now I'll bring up
my color picker. Now identify the color that's
in the image at the moment, is all the zeros at the moment in this little hex
box, which is perfect. Often you'll get it where
it looks very dark and it looks it looks very black, but is in fact touchy,
just a dark gray. And that would be
a combination of letters and numbers
in the hex box. We just want to drag that all the way down on
the color picker, brought the way to all
the zeros and press Okay, to make sure that it's gonna be a very opaque Blackburn printed. We can also check the size of
the positive at this point, but it will look very
good. I'm ready to output. I'm actually going to be using a RIP software in between the
computer and the printer. That just makes just gives me the options to deposit more ink. It also allows me to apply
halftones if needed. But in this occasion
I just wanted to print a solid black color, like a press Command
pay or print. You can just see here
that the printer is running through the accurate. And then onto my EPS and inkjet, I'm ready to press, Print
and output my film.
3. Coating and drying your screens: In order to get good
exposure on your screens, it's important to decrease and have your screens
a 100% drug for coating way using a
jewel your emotion. And it happens to be
the Asacol set one. This has a di acid
mixture which we mix up with distilled
water and we add to the emulsion to
make it sensitized. We'd like to use this one
because it's resistant against lots of
different inks that you could choose some emotion
that's right for your setup when asking your supplier
which emotion to get for you. It's important for everyone
to have a good scoop coater. And this is the best one we've tried is called the prior angle. The reason that's
good is because it's got these extended lips here which pick up any of the extra beading along
the edge of your codes. That just means your
screens dry quicker. That the application of the motion on the mesh
is very nice and smooth. We like to call it
our screens once on each side and to drive
them nice and flat. That just means that the
emotion encapsulates the mesh. And it always gives us a really good clean level
exposure if we can trust. Another important thing when it comes to drawing
new screens off to them being connected is
that the screen lies flat. And by that I mean
with the print side down in Iraq and try and let it dry as long as
possible when you're enjoying your screen off to his
being coated with emotion, It's important to leave
it in a dark room.
4. The method of exposing with photosensitive emulsion: When the emotion is dry, and by dry, I just
mean touch dry. But typically you could leave
it overnight just to make sure now it's ready to expose. What happens to
photosensitive emulsion is when it comes into
contact with UV light, it undergoes a
chemical reaction. It creates more bonds
and it becomes hardened. Any of the photosensitive
emulsion that doesn't come into contact with UV light is still water-soluble and you'd
be able to rinse it away. The objective, exposing a screen with a film positive
is to block light from reaching certain parts
of the coated screen and then leave some areas so that light can reach
them and they can pardon? So in this case, we want the light
to be blocked away from the black of the
image in this film positive so that we can rinse out that
unsanitized motion. Then once it's all dry again, we'll be able to pass ink
through the open mesh. The Inquiry be able to
get through the blocks mesh where the
motion has hardened. In our setup, we have a
metal halide bulb and our exposure unit is very large fc you don't need
one just like this. But the fundamentals of all exposure units
are very similar. You're going to find is
you've got a light source. Then you've got maybe a piece of gauze just to hold the film. And the screen on. The film is going to be
blocking out the light. It goes light source glass. Though. Then you can do the flat
side of your screen. In lots of cases, you're
going to find some kind of exposure blanket
or piece of foam holding all those things in close contact
with each other. The reason for having something waited on top is to
keep it nice and close so that the light
doesn't get around and bend the round your lines
and make your line work appear kind of like
shady, old ghosted. We want a nice close contact. We're gonna put our
exposure blanket down. We're actually going
to go back home, which again helps the emulsion and really come close towards
the film and the goals.
5. Exposure unit types: In this course we're
using our exposure unit, which has a metal halide bulb. However, there's lots of
different types of methods and exposure units that you can use to express your screens. Here with five of the top most frequently used
methods of expression. The top one and the
most effective in our opinion is the metal
high bulk exposure unit. That's because the bulb moments and very rich source of UV. However, these units
are often very large and not accessible
to many people. The second method is LED
bulbs in an expression unit. That's a great
method because it's very easy to run, very
energy-efficient. However, the light is coming from lots of different angles. You might experience
some undercutting. But in most studios, That's not something that you're really going to notice
on the screens. So you find any
day exposure units and lots of
professional studios. A cheaper, more
accessible version of the LED experiencing
it is number three, and that's the fluorescent
tubes exposure unit. The good thing about these
is they often come in quite a compact size to expose screens for T-Shirt
Printing, especially. They often have in vacuum Blackett to hold your
screen in place. There are issues with them because the light is being
emitted from lots of different tubes
and the tubes can degrade and you can have dark
practicing your screens. However, it's still
an effective way to expose your screens. In fourth place, we've
got the overhanging lamp. So lots of people getting
into screen printing. We use a lamp which are
suspended over the screen. The problems meant
that might be that you actually can't
expose huge screens because the light
can only go so far and actually make the chemical
reaction on the screen. The benefits, those types
of overhung lamps are very cheap and they do technically
output some UV light, but it's not very rich. So you're gonna have to die
it in your exposure times. Very, very fine amount of time. Lastly, we've got the sun, so we don't recommend using the sun as an explosion method. And that's just because it's
so variable as to how much, how much time you're
going to have to leave your screen
out in the sun. So we probably don't
advise that for professional setups
or even really having any consistency
in your exposure times.
6. How to find your exposure time: You're going to find
that your exposure time is properly different
to somebody else's. This because everyone's got different variables
in there setup. These variables might be
the strength of their job, the mesh on the screen, the emotion they using, and lots of other
different things. So we will have
to find out or an exposure times independently
of each other. There's two main methods to
funny out your exposure time. The first being
trying to narrow, which might take quite a long
time and lots of screens. And I'm going to show you the
results of trial and error, the exposing later in the video. And the second one
is more efficient and that's by using an
exposure calculator. You can print your own
file of this at home. And as long as you're using a 100% dense inkjet
ink onto acetate film, you'll be able to produce
your own exposure calculator. I'm going to run through how to use the exposure calculator. Now, when we're using the exposure calculator,
we're basically doing, is doing ten mini exposures and then working back to see
which one works the best. So the way we can use it
as we can follow some of the maths at the bottom and it's explained on
how to do that. Then we can attach the
exposure calculator from the flat side of our screen
with the ink facing down. I'm just going to tape
it to the emulsion. This is because I don't
want them to shift as I'm blocking the light from reaching that part
of the emulsion. Now the exposure calculator
is securely in place. I can flip it around.
Then what I'm trying to do is block the
light from reaching certain parts of the
calculator in steps. So I have this handy
bit of black teflon. But you could use
some black card or something that's
very opaque and it's going to block
the light from reaching certain
parts of the screen. We're gonna do is we're
gonna hold the screen and block the light
from reaching most of the screen apart
from the first section, that's labeled number one
and it says homeroom, we're going to expose that to
light according to what you worked out in a
little bit of mass at the bottom of the
expression calculator. Then when that exposure is done, we're gonna move the black a longer channel to
reveal the second column. We're going to
expose that to light and just keep doing that
process all the way. Then we're going to expose
it to number three, all the way down to number ten. Where the last you've
got the whole screen exposed to light for a
short period of time, then we're ready to wash it
out and determine what is the best and most
ideal amount of time to expose our screens for. When you're looking
at the results, when your exposure calculator, when you're trying
to look out for is the zone on the calculator that is the clearest and has the finest detail
exposed onto the screen. In our case, we're actually
looking at number eight in this channel typically
lies around five or six. We now know that with this
particular message type being a yellow 7070 mesh, that if we did it for
a minute and a half, then we'd get a
good clean exposure on this particular combination. So again, it's very important
to do your own tests. And there are gonna be
variations between lower meshes and high meshes and even between
yellow and white meshes. Another thing to
note is that we've got a metal halide bulb, and that is actually something that takes a little while
to heat up and get going. So they will also
change our results. Again, you can't take our
results at face value. I'm just trying to
illustrate the kind of results and techniques
you can use to hone in your own
exposure times. Now I have determined
what my exposure time is. Ready to go ahead and
expose my real screen.
7. Washing out your design: For best results when you're
washing out your screen, It's good to use a PowerShell. What we do is we lightly missed this inside
of the screen first, and then we do the same
on the other side, just to wet them and let the loosened unexposed emulsion start falling away
from the mesh. And then once it's had about
30 seconds to loosen up, then we go and spray it
with the PowerShell to fully clear out all
the unexposed motion. Another method of
letting the screen SOC, which can be quite
handy when you've got lots of screens to wash out, is to leave the screen in a dip tank but full
of just water. That way the emotion can soak
off and then you can very, very quickly spray or any excess that's still in the mesh. It's also important
to wash your screen out properly from the flat side because this is the
side where the emotion is mainly set once you've dried, it says Actually President
on this side of the screen. So it's stronger and can
take some of that pressure. I'm really happy
with the results and it will stop really nicely. So I'm going to drive this screen off and get
it into production.
8. How to know if your exposure is perfect: I have gone ahead and
exposed to more screens. And that is to show you
the difference between an underexposed screen and
an overexposed screen. The first screen hit is
an underexposed screen. So I'm going to wash it out
and talk you through how you can determine if your
screen is underexposed too. There are two quite
subtle things about this screen that showed to me that this screen
is underexposed. The first thing that I can see really quite plainly is
the fact that I could see all the film outline around the image in like a rectangle
where the film was printed. I can see that impression
on the screen. That circuit really
quick indicator that the screen is underexposed. And the second thing is if
I turn the school ground, this a sliminess to it. If I touch this bit, it can almost see there's
under cured motion. It kind of like a film and you can feel it on
your hands as well. It's not just wet
like certain areas. There's like a a film of
underexposed motion which is going to leak into the open mesh areas
when I'm drawing it. That will give partial blockages and we'll probably break
down and press as well. So even though in first impressions it
doesn't look too bad, and I got the whole
outline of the image. Those two things are going to affect us when we're
in production. This second screen
is overexposed, so we cranked up the exposure
time and it's also got a weak positive so that all the light is getting
through prematurely. So at the moment I can
see a faint impression, but I'll wash it out and
show you what to look out for with an
overexposed scrape. This is a really good example
of an overexposed screen. As you can see, the
emotion didn't just fall out like with a
well exposed screen. And that means that the
UV light has got through the film positives where we're trying to
block the image out. It's got through that
and then started exposing and hardening
the emotional entity. Even though I can see
the faintest impression, I actually have to use the force of the power for
really quite close for awhile. Shade this and that open mesh there is the result of me putting a lot of
force on that motion. You can see that the
line edge has all from board off because I was putting so much pressure on
the emotion as well. That would take me probably
about three or four minutes, full pressure to get it out
and the lines and never, never, never gonna be nice and slick how they are intended. So that's really good at example of an
overexposed screen where the film positive
especially wasn't strong enough to block the light from reaching
their designs.
9. Troubleshooting | Weak Transparencies: There are lots of
reasons why your screen may not be exposing very well. We see lots of common issues
happen in the industry. So I'm just going to
run through a couple of the most common
problems and issues. The most common problem with exposures is weak
transparencies. So the effects on
the screen can look like even sliminess
at the emotion. It can look like you've got
an impression of the image. But then when you
go to wash it out, it's very difficult to wash out. It doesn't just fall
off after 30 seconds. You might find that the
line edge is Jacket. There's lots and lots of
different horrible effects that, that can have on your screen. That the only way
around that is to maintain a nice thick deposit of ink on your film positives. And it might even be the case
that in the initial stages of getting up and
running that you get your film posteriors
printed by a professional.
10. Troubleshooting | Image ghosting: The next most common
problem is imaged ghosting. That might mean that your image looks
like it's all there, but actually there's
a faint haziness around it or a doubling
up of your image. This can happen
because some people put two of the week
transparencies stuck together to try and make the effect of a very
strong transparency. And it might be the case that
the light isn't quite like, they're not lined up perfectly, so then it causes the
impression of ghosting. There's other reasons as well. So even if you have a
nice dense film positive, you don't have really close
contact between the glass, the film and the screen, then the light can
actually undercut the film positive and kind of like
make a blurry edge to design. The way to fix that
particular issue is to have dense film positives and have very close
contact between the film screen and the glass. Some people wait it down. And in my case, I use a vacuum blanket to keep
the contact nice and close.
11. Troubleshooting | Un even exposure: You might also have a
problem where you're fine details like half-tones, very fine lines
aren't coming out. This may just be that
your mesh count isn't high enough to achieve
that type of detail. You just need to up
your mesh count. Because the find that the mesh, the more detail that
screen can hold.
12. Troubleshooting | Fine lines not coming out: Another common problem
is uneven exposures. So you might even find
that half your screen is exposing well and the
other half has issues. Troubleshooting for
that would involve making sure that the coat
of emulsion is nice. And even. So by that I mean having an
even pressure when you're cutting and maybe coating just one time on each
side of the screen. You might also need
to make sure you have a high attention
mesh on your screen. So to avoid like
handmade screens and stapled screens so
the fascism or wobbly. And there's also
some other things that you can look out for
on your exposure unit. You might have an exposure unit with lots of different lights. And one of those lights
might be broken or it might be doubling and you've got dead patches
in your exposure. Check your light sources. Have your COVID
Martian nice and even, and tap your mesh
tight on your screen. And that should mean that you're getting even
consistent exposures.
13. Troubleshooting | Emulsion breaking down on press: Emulsion breaking down
on the press is one of the most annoying consequences of a poorly exposed screen. This can happen
because your emotion isn't suited to the
ink that you're using. So some are designed specifically
for water-based ink, some are designed for plastic. So that's the first
thing to check. Second thing is it's
very likely that your screen is underexposed and any moisture getting into the screen at this point is then having the consequences of
breaking it down further and moving around any
young kid emotion. Another reason why your screen
might break down on press is because the
emulsion wasn't dry enough when you expose that. There's a really easy
solution for that. Just let your screens drive, maybe overnight in a nice, warm, not humid environment. And that will allow your
emotion to really try out, get a really good
clean exposure.
14. Troubleshooting | Pinholes in exposure: Finally, a very common
thing is pinholes, these little dots in
the finished exposure. You can really
easily rectified by having a decrease of your screen before
you come to coat it. So use a degreaser, rinse off, dry it, and then you
can coat your screen. That's, that will get rid
of most of your greenhouse. And then one other thing
to look out for is little dots of dust and on your actual glass on
your exposure unit every day or just before you're about to
expose them screens, clean your glasses and
glass cleaner and Iraq. And that will
eliminate that issue for you when it
comes to printing, one more way to
avoid pinholes is to dry them in a dust
free environment. We do that in orange
studio by hoovering the exposure room,
often, frequently. And also, if you're aiming a fan directly at your screens, you might be blowing up dust
that you see as they're into the wet emulsion and just leaving it in
the wetter motion. You can dry your
dry your screens, but just try and put the fan
heater pointing away from the screen so that it's not blowing that dusk directly
into the screens.
15. Outro: Thank you so much for
watching this course. I really hope you found it
useful and I really wanted to see how your exposures came out as a result of watching it. So things to think about
with your project. How long you express
your screen for, what kind of emotions
did you end up using? And what kind of setup do you have to express your screens? Screen exposures can be tricky, but once you've mastered this, you're going to be a
much better printer and more consistent. And you're probably going
to have a better time. There's lots of variables
with IQ screen exposure. So please ask in the comments any queries that you have
along this process and I'm sure we'll be able to
help you and point you in the right direction to get your exposure is looking
perfect every single time.
 Chessie Rosier-Parker, Squeegee & Ink Screen Printing Studio