Transcripts
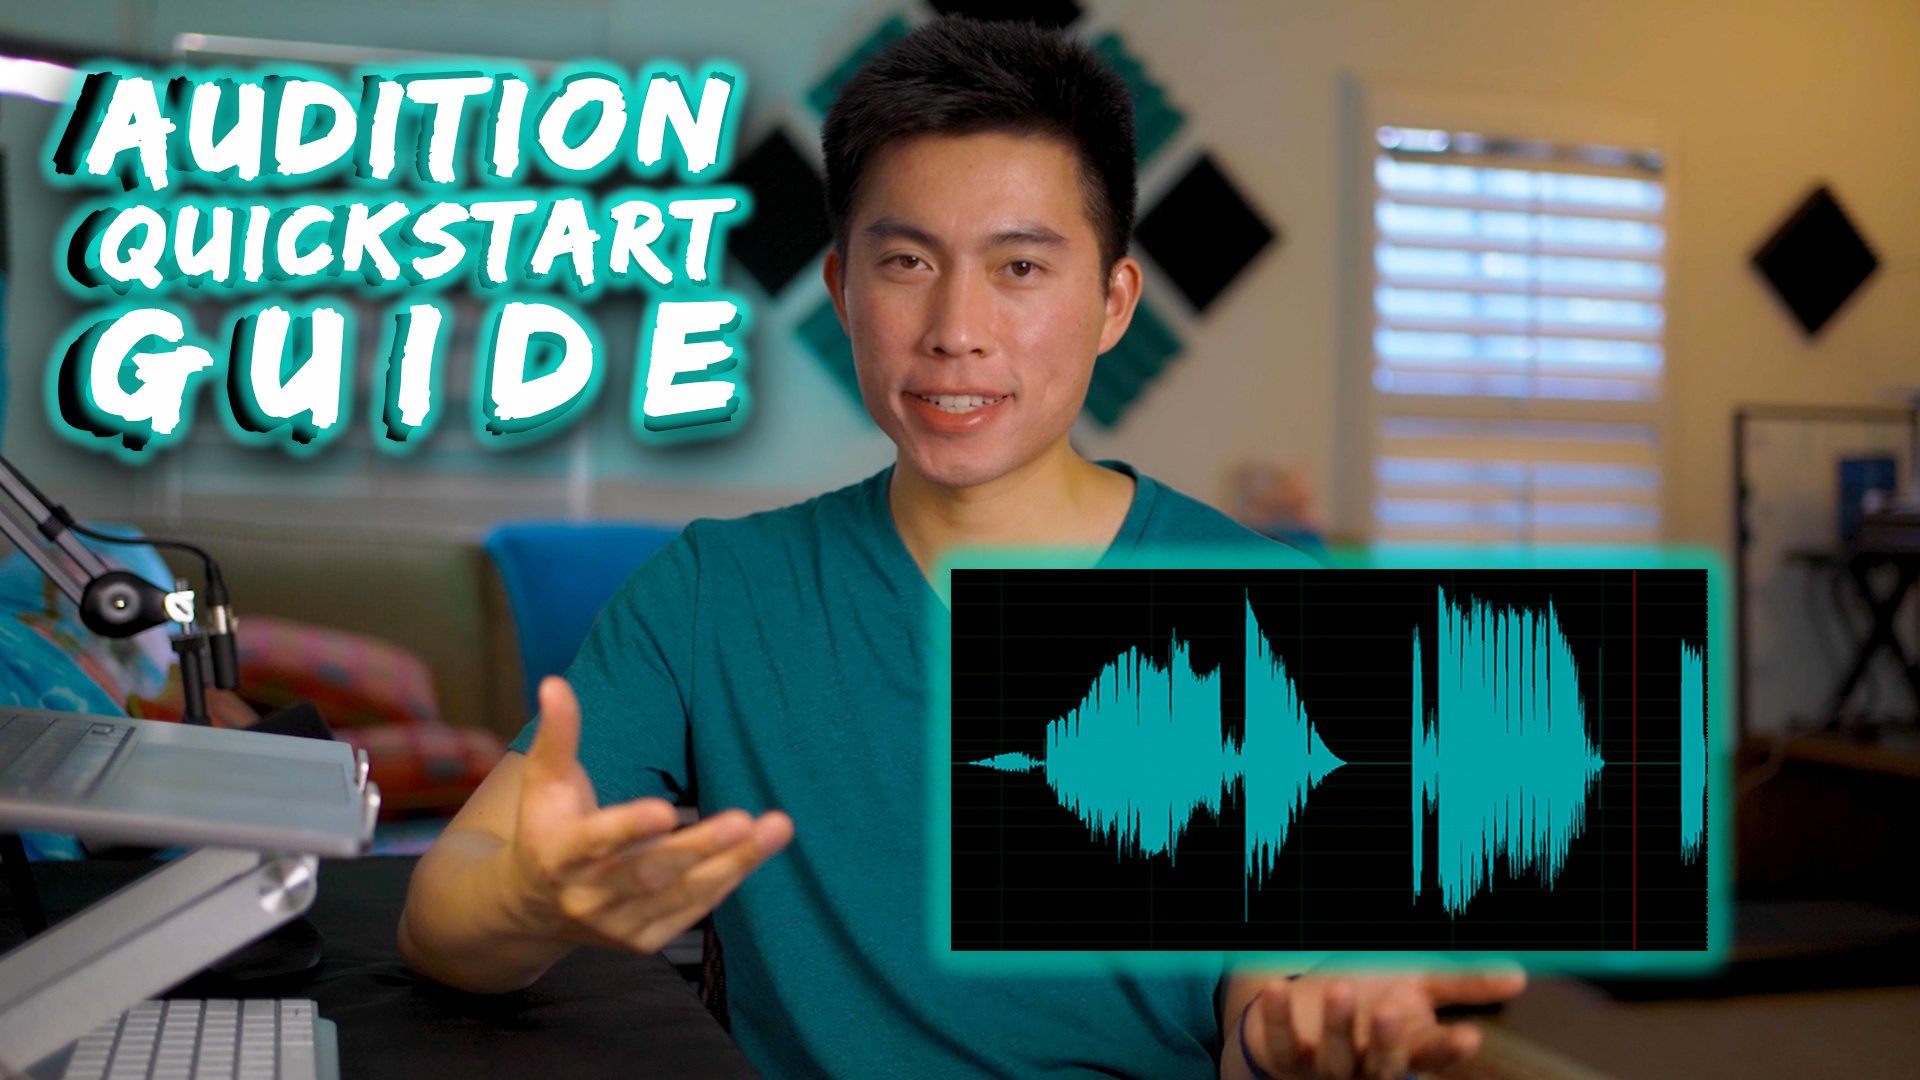
1. Class Introduction: If you're looking to edit podcasts audio efficiently and effectively, you've come to the right class. Audio is one of the most important aspects for video and can definitely make or break your podcast. I've personally been editing podcasts audio in Adobe's Multitrack Editor for over four years now, mainly for my own podcast as well as my team YouTube channel, which is called Imagine Blue. In that channel, I actually record with five different people, which is five different audio files. Unless I want to spend a whole lot of hours editing audio, I had no choice but to figure out the most efficient, yet still effective way of editing podcasts audio. In this class, what we're going to do is cover those methods on how I edit podcasts audio in Adobe Auditions Multitrack Editor, whether it's for video or just audio. Here's what you're going to learn. Firstly, how to set up your microphones with the Multitrack Editor, then how to position your microphones to optimize the sound. From there, we'll go over how to navigate the Multitrack Editor and how to optimize the space to your liking. Then we'll learn how to switch between the Multitrack Editor and Waveform Editor quickly. After that, we'll go over how to use the editing tools in the Multitrack Editor, how to save a lot of time using the shortened sounds tool, and how to deal with microphone lead. Finally, we'll cover how to finalize your audio by creating a mix down. Before we get started, I highly recommend that you guys watch my previous class, which is how to enhance voice-over and dialog audio in Adobe Audition. That class covers how to use the Waveform Editor and explains a lot of the effects that we'll be using in this class. If you ever feel a little lost about a certain effect or what I'm doing, it most likely was covered in the previous class. Lastly, for the class project, I want you guys to come out with a well-polished final mix down for your own podcast. Each lesson will have an action step that will get you one step closer to completing the class project. If you want to get the most out of the class, be sure to do those action steps right after finishing the lesson. Also, make sure that you download the [inaudible] attachment for this class. It'll have an overview of each assignment with each lesson. With that said, I'll see you guys in the first lesson.
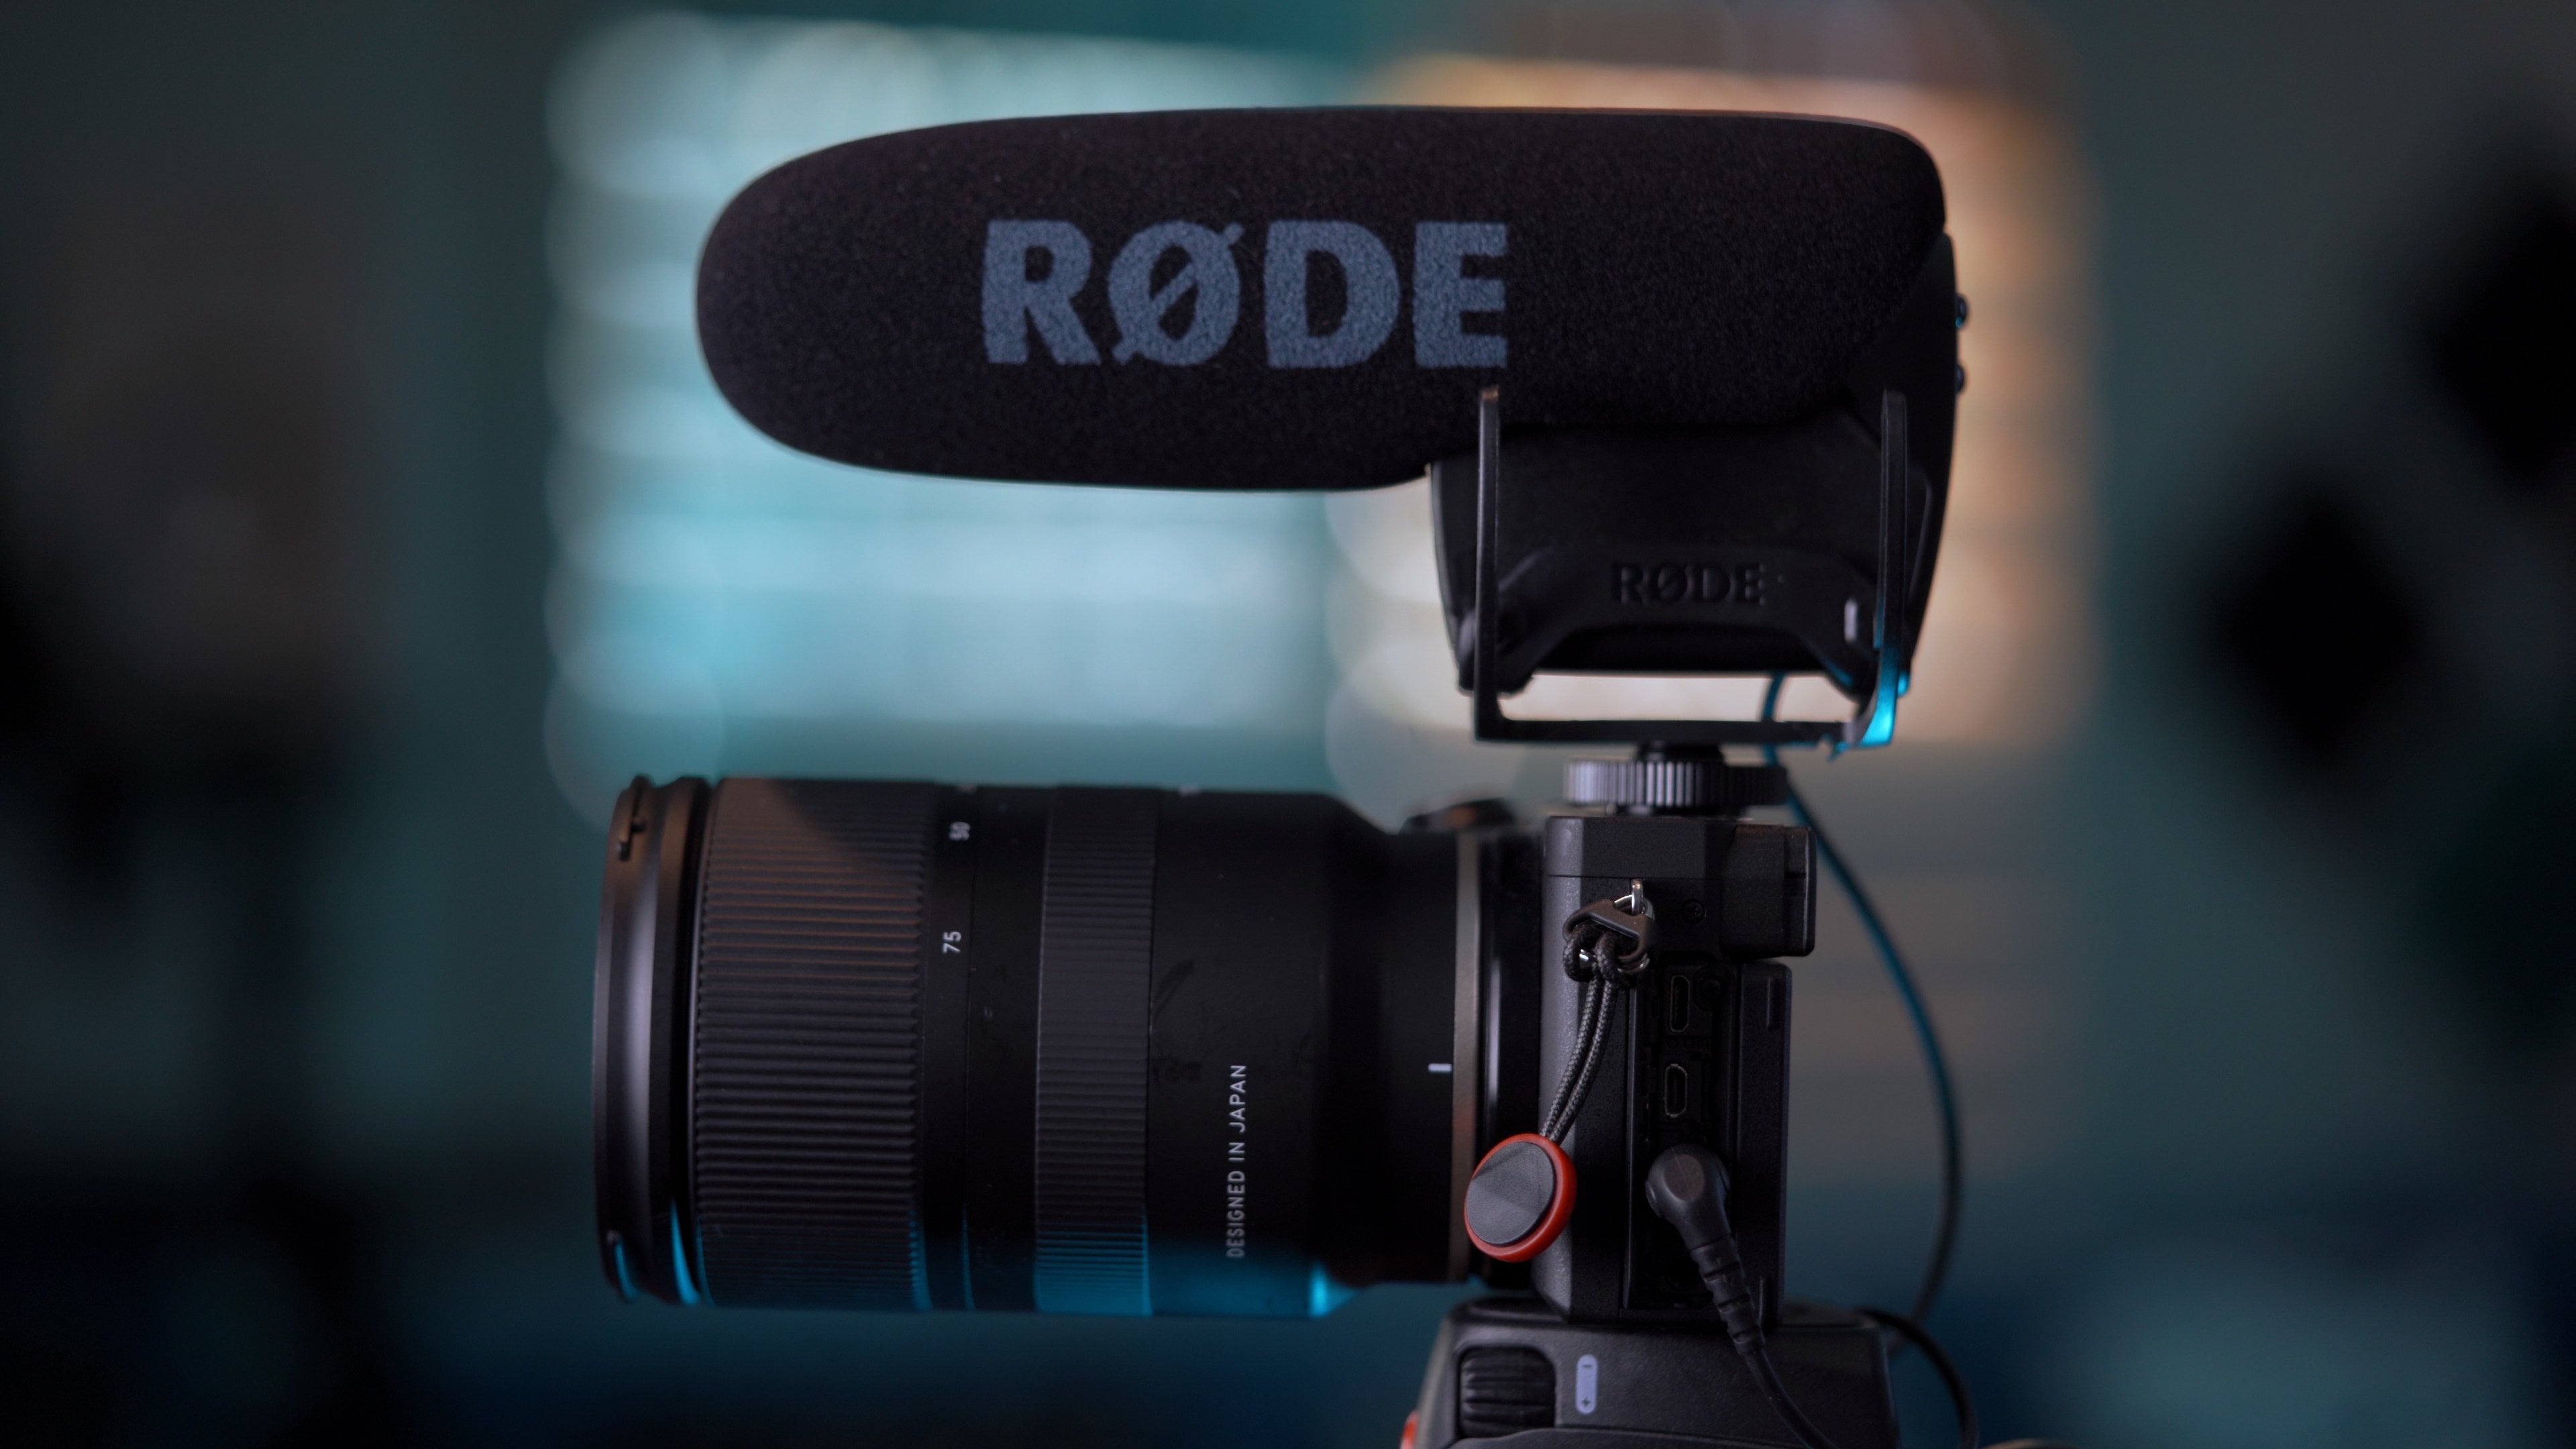
2. Recording in Multitrack: In this lesson, we're going to go over how to create a multitrack session, as well as how to connect your microphones to each track, and then how to record. First things first, you can start a new multitrack session by just clicking "Command N" or going up to File New and Multitrack Session. For the sample rate I use 48 kilohertz, and for the bit depth, I use 24 bits. It's up to you from here if you want your mix to be a stereo or mono. For multitrack sessions, I generally use stereo since I mainly edit for video and it gives you a lot more options for changing the sound stage and direction of the source. We'll look more into that later. But for podcasts, people generally use mono because it saves storage space since stereo files will always be larger. File size is pretty important when it comes to listeners of a podcast wanting to download episodes. If you're just doing a podcast, mono is perfectly good. After you click "Okay", the multitrack editor will pop up. At the moment, let's not worry about navigating the editor quite yet. That'll be for the next lesson. In this lesson, we're going to connect each microphone to a different track. This would be a case where you're recording with other people in the same space and are using an audio interface with multiple microphones. Each mic needs to be connected to a different track. I usually do this for five people for my team YouTube channel. I will show you how to connect up to five microphones. The first thing that you need to do is turn on your audio interface. In my case, that's the Zoom H6. You should know that this is not going to work with USB microphones, since all the inputs for the Zoom H6 is connected through XLR. If you have a USB microphone and want a record multiple people, your best option would be to gather around the microphone or pass it around. The Blue Yeti also has an omnidirectional setting, meaning that instead of just capturing audio primarily from the front, it'll capture it equally from all sides. I highly recommend that if you're recording multiple people, even if it's just two, use an audio interface or a mixer with XLR connections. You'll just get better sounding audio overall if people have dedicated microphones. Back to the Zoom H6. I have an attachment that makes it six inputs instead of just four. After all the microphones are connected, I go back to where it says default stereo input, click on it, choose mono, and then look for H6, and then look for the name of your audio interface and choose a different input for each track. From there the first thing you need to do is arm every single track by clicking the R button. After you do this, you see that the input from the microphones is now being shown. After that, you need to make sure that the gain levels on your audio interface for each microphone is adjusted to a good level and being heard. For me, I can see this on the H6 itself, but if you want, you can also check each track to see the levels. As long as you're not hitting the red zone and only peaking in the yellow zone, you should be good. If you're peeking around the red zone, which is negative 6 decibels, that's when you have a pretty big chance of clipping if someone laughs pretty hard. I've experienced this firsthand with my team while recording. Another way to safeguard against this is if your performers are going to laugh and they can take instruction, just tell them to laugh slightly off access from the microphone instead of directly in front of it. You might also want to tell them if they're going to look at someone else while they're talking, make sure that your mouth is still facing the microphone. After everything is set up, you can hit the record button and you'll see that audition creates individual audio files for every single track being recorded. I highly recommend testing each microphone while the recording, asking everyone to say a couple of sentences, and then listening back to make sure everyone sounds good. Be sure to listen carefully and really verify that everything is good. There's been plenty of times I rush this step and then somebody's microphone ended up sounding a bit weird because of either placement, wiring, or some other mishap that just wasn't anticipated. Assuming everything went well, all you need to do is hit that record button again and then perform. Take note that every time you hit record and stop, you'll be creating new individual audio files every time. This shouldn't be an issue as long as you keep all of the track files in the folder that Adobe Audition creates for you. I personally like to keep things running even if there is a pause because it makes it easier to edit in the end, and also it stays sync up with the video recording. But of course, that depends on your situation. If there's going to be a really long pause, then you can actually press the "Pause" button instead of the "Stop" button. That'll ensure that you're still recording to the same audio file for each track. By the way, here's an extra tip. While this session is recording, you can create markers by pressing the M key. Markers will help you keep track of moments of interest just in case something happened where you want to edit that part in particular or that part is just special. That is how you set up your audio interface with the multitrack editor. However, what if you're recording your podcasts remotely. In this situation, I know a lot of podcasters record their guests on Zoom, but if possible, asking them to use a dedicated microphone and DAW or digital audio workstation like audition to record themselves will always be better. There are a good amount of free DAWs out there like audacity, GarageBand, and voice memos. The reason I give this advice is because the Zoom generally degrades the audio by quite a lot. But if Zoom or another video conference app is your only option for recording their audio, my advice is to look into the settings to make sure that whatever you're using is optimized for audio recordings. On your side of things, what you can do is record using the waveform editor, which you can learn more about in my previous Skillshare class, how to enhance dialog audio. Just make sure you have a point where both of you clap to make it easier to sync up later. After you finish your video conference with your podcast guest, you can retrieve the audio file from them, import it into your audition, highlight both of them, and then "Right-Click" and click "New Multitrack Session". If you already have a multitrack session created, you can also just drag in the audio files. From there, you'll end up at the same point where we can start talking about how to edit the audio in the multitrack editor. That is how you connect your audio interface with the multitrack editor. For the assignment, try to set up each microphone on each track and try to practice adjusting the levels to make sure that they sound good before the recording. Also, don't forget to arm the track. That part was usually what stumped me when I was still a beginner, so good luck.
3. Navigating the Multitrack Editor: Now that you have your audio files ready to go, let's cover the essentials of what you need to know about the Multi-track editor to get started with your edits. The first thing that we're going to do is adjust the panels. The default panels look like this and again, if you've taken my previous course, you know that I don't really like it. What I do is, I move pretty much everything right under the Files Panel, by clicking and dragging and I also like having the levels meter to the right instead. You're going to have to adjust the size of it. I usually don't use this one, but I'll go ahead and put it here as well and that is the setup that I much prefer. After you finish adjusting your panels to your liking, you can click here and save it as a new workspace, but for me, I've already saved it as blue and I'm just going to have it like this from now on. This is just to make sure that you guys are working in the same space as me and not confused to why there are certain panels in different places. The first thing that we're going to do is, take a look at the left side of each track. They're pretty much all the same, so what I'm going to do is maximize or increase the size of this by just hovering over it and then scrolling up on my mouse. You can also drag this to make it bigger or smaller. Right now, since we're purely looking at it, I'm just going to go ahead and make it pretty big. Usually, the first thing that I do here on this side is rename it. You can rename the track by clicking here and what I rename it to is the person talking. In order to figure that out, what you have to do is toggle into the waveform editor. For me, I set this shortcut key to be F and in order to do that, you can go into Edit, Keyboard Shortcuts, then type in "Toggle editor", and as you can see for me, I set it up as F. You just have to click on any of these spots right here and then just basically hit whatever you want to set it to. I'm going to undo that since I've already have it set as F. There's probably something already there, but I never used it, so I just changed it to Toggle editor. Click "Okay" and then whichever track your highlighted on, you can click "F" and you'll go into the Waveform editor for that specific track. Because this was a test recording to make sure everything sounded good first, if I click to "F" there, I'm only going to go into that track, so it's whichever clip that you're highlighting. Let's go ahead and highlight this track again and what we're gonna do is listen back to the audio to see who's talking. [inaudible]. I can hear that it's my friend talking and I'm just going to go ahead and type part of his name just so that I have the indication. Then, let's go ahead and cover what else is on this track area. The symbol and knob right here stands for the gain. You can either increase the gain or lower the gain of the entire track. I usually don't really mess with this too much unless the entire track needs to be lifted up. But I usually do the edits inside the waveform editor, but I do occasionally adjust this sometimes. Just know that this is to either increase or decrease the gain of the entire track. The next option here is panning left and right. Addition calls, it's stereo balance and if you were to move it to the left side, you'll see that the value here has L and then 4.1. If you were to go all the way, it'd be L100, meaning it completely comes from the left side. I'll go ahead and solo this track for you guys so that you can hear it. [inaudible] As you could hear, the output was only on the left side. In most cases, you would never do that unless you're doing something like ASMR, so I'm going to go ahead and set this back to zero. Just know that the right side has R, so it's pretty easy to remember what this knob does. Next, we'll go to the area where I solo the track and that is what the S does. Basically, soloing means that this is going to be the only track that you hear. However, you can solo multiple tracks and listen to both of them. The M button stands for Mute and if you were to mute it, that's the only one you can't hear and again, you can mute to multiple tracks. As you've seen before, R is to arm the track. Right now, we're on a project that I previously recorded, so I don't want to have it connected to my H6 Zoom. What I'm going to do is go ahead and just connect one part and now, it pops up and you can arm it. The final button here is called the Monitor input button. You probably won't use it unless you have some advanced hardware that applies track effects, so we're not going to deal with this button in this class. Moving on to the drop-down menus, from the previous lesson, you know that this is how to set the input for this particular track. For the drop-down menu below, this is where you send the track output. Right now it's sending it to the mix, which is the very bottom. Finally, the last drop-down menu here is Read, Write, Latch and Touch. Again, these are more advanced tools that you won't really use very often. That's pretty much it for the left side of a single track. As an extra tip, if you want to solo tracks quickly, all you can do is add a keyboard shortcut to Toggle Solo Exclusively. Here's how it works in action, I set it to Option S and now I'm going to play the clip. [inaudible]. Now, what I'm going to do is make this soloed instead and then let's try this one. I mean, I also use [inaudible] Then going back to the beginning. This way you don't have to stop the playback and you can keep soloing different tracks, which is pretty cool. A few things that you can do with the tracks. Again, let's go ahead and scroll downwards this time to minimize them. You can move them around by just clicking here, dragging and then as you can see, they're being moved around. It's pretty useful to do that, just in case you want a certain clip at the top or a certain clip at the bottom. You can also change the track color if you want, in case you want certain people to be a certain color. Also take note that, if you were to minimize it as small as I just did, certain options will not be shown anymore, so you can see that the read-write is gone and also if I drag it all the way to the left, the panning is also gone, basically keeping only the essential elements. If this is all you see, you're going to have to just increase the size by a bit more. All right, the next thing that you can do is apply effects to a single track. You can either click here where it says effects, I'm going to go ahead and scroll up so you can see it, and now you can apply effects to the entire track. For instance, let's say that I want to apply a compression, I can click dynamics, have the compressor ready, and then just close it afterwards. Now, it's on the effects rack of this particular track. You can also do this in the regular setup by simply clicking on a track and then adding it on the effects rack or just hitting the shortcut for the effect. Now, as you can see, both tracks have the compressor applied. What I like to do personally is always have the final mix, include a hard limiter at negative three decibels. Basically, by adding the hard limiter on the mix, the final output will never go beyond negative three decibels, basically keeps the mix from clipping. If you ever want to remove the effect, all you have to do is click on it and then click "Delete" or "Backspace". Also, if you want to hear the audio or see the levels while you're scrubbing through like this, you will need to change the setting in Adobe Audition preferences and then playback and recording. You'll have to check the play audio while scrubbing and then click "Okay". With that, we have covered every option that you'll need to use to record and edit successfully in the multi-track editor For the assignment of this lesson, change the workspace to how you want to work with it and try adding effects on the effects rack for individual tracks or the final output which is the mix. It's also a good idea to go over every single button on the track so that you remember what was taught in this lesson.
4. Multitrack Editing Tools: In this lesson, we're going to cover how to edit efficiently in the Multitrack Editor. Let's jump into it. The method of editing I do is to go through each audio clip and edit it like you would a single audio file. This was taught in my how to enhance dialog audio class. However, there are other methods. I mentioned the effects rack before, which lets you choose how you want to apply the effects. It's either to the clip or the entire track. You can have multiple clips in a track, but a track is essentially one of the rows. If I already used this method, I would pretty much apply the effects to the entire track since it saves time. You can apply the usual stuff like dynamics, adding makeup gain this time because you can't normalize using the effects rack, then add EQ and finish off by limiting. This method is a lot less precise because you're guessing a bit where all the levels are. But it's also a non-destructive way to edit your audio versus what we're doing in the Waveform Editor, which is destructive editing, which means you can't change it back to the original after you close the file. There's also another method using essential sound, which I will talk about in a later lesson. Regardless of the method you chose after you finish editing everything and matching the loudness of each clip using the Match Loudness window, this is one you can apply any panning on each track making it come from the left or right a bit more. You should also check if anybody talked over each other by looking at the waveforms. If you see that waveforms are stacked on top of each other, then you know people either talked at the same time or laughed at the same time. What I would do in these situations is try to change the levels by adding gain level keyframes and making sure that the most important audio is heard. Just click on the line to make the keyframes and add multiple keyframes to fine-tune which parts you're lowering or increasing in gain. If you're planning on lowering an entire section, it might just be easier to make two cuts by clicking "R" using the Razor tool and then cutting out the in-point in which you want to lower it and then the outpoint in which you want the audio to go back to being normal. Then just drag the line of that clip down. To do this effectively, you'll have to determine which speaker is more important at which moments. Oftentimes, if I don't do this step, it will just sound like a big blurb of people talking at once and nobody will be understood. It's a good step to add in if you have a lot of speakers. Another way to just completely get rid of unwanted parts in your clip is to make cuts and then shrink the clip by dragging the ends of the clip afterwards. Again, you can click "R" to access the Razor tool to cut, and then click "V" to go back to your normal editing tool to drag the clips. If you want to delete an entire section from all of the clips while keeping everything in sync, an easy way to do that is to create in and out points. The default keyboard shortcuts are I and O for in-point and outpoint. Create an in-point at where you want to start the cut and then create an outpoint at where you want to end the cuts. From there you can right-click, click on Ripple Delete, and then choose Time Selection in All Tracks. I created a keyboard shortcut for this, which is Shift-Delete. Those are pretty much the basic editing techniques that you can do in the Multitrack session. For the assignment of this lesson, make sure that you know how to toggle in-between the Multitrack Editor and the Waveform Editor. From there practice making cuts in the Multitrack Editor, and also making keyframes to lower or increase the gain gradually.
5. The Essential Sound Panel: In this lesson, we're going to cover the Essential Sound panel in real-time. You're going to get to hear what the effect is too, and I'll tell you whether or not I would use certain effects. Let's go ahead and do this. In this case, I'm actually going to go ahead and bring this panel to the right side so that you guys can see it better. Let's go ahead and work with the first track right now with the Essential Sound panel. Like I said earlier, it's another way to enhance your audio that's similar to just applying effects on the Effects Rack right here. However, the Essential Sound panel is probably the easiest tool to use. But again, I prefer doing the individual waveform editor just because I have more control over everything. Let's go ahead and undo everything I've already done here so that we don't get a misrepresentation of how it's going to sound. Going back to open in the History window, and now let's go ahead and go back to the multi-track editor. Essential Sound gives you a few options. Since we're working with podcasts audio, we can go ahead and choose Dialogue. Also, be sure to do this in the beginning of your edits because if you already started cutting, what Essential Sound does is only apply these effects to a single clip. As you can see, these three clips right here in the beginning are not currently being affected in the same way as this one by Essential Sound. Let's go ahead and go from top to bottom. The first option we have is Loudness, and you can click this to auto-match the loudness. By default, the auto-match will target the loudness of negative 23 LUFs, which is the standard for a TV broadcast, I believe. However, I've mentioned this before in my previous class, for podcasts, the sender for mono is negative 19 LUFs, and the standard for stereo is negative 16 LUFs. You can go ahead and change the auto-match value to something like negative 99 LUFs, or you can just match everything to negative 23, LUFs. Then in the final mixdown, increase the volume of the whole thing to match it to negative 19 LUFs. Up to you which method you prefer. But if you wanted to change this to negative 19 LUFs, here's how you can do it. Click on the three lines next to a Essential Sound. From here you can go into Template View. Go ahead and click on ''Dialogue''. Then for loudness, you can go ahead and change it to negative 19 LUFs instead. Then it gives you a warning that it can invalidate existing user presets. That's not really something you have to worry about unless you're using the presets. Go ahead and click ''Yes''. Just note that you can also change some of the other settings in here. But we're going to go ahead and click "Back To Audio Type Selection, and then you're going to have to save it as a template. Now let's go back to User View. As you can see, now it has auto-matched it to negative 19 LUFs instead. However, I prefer using the other method of matching the loudness at the very end. What I'm going to do is change it back to the default. I auto-matched it back to negative 23 LUFs. Now let's go ahead and click on the ''Repair'' tab. From here, what you're going to see is every time we include another effect, the Effects Rack, which I'm going to open right here, will be changed in the Clip Effects. Let's go ahead and click ''Reduce Noise'', and you'll see that something called DeNoise is applied to this clip effect. Be sure to click ''Clip Effects'' instead of Track Effects. You can actually see exactly what this is doing by double-clicking here. These are the settings that it's using right now. If you were to change it, you'd actually change it on the Essential Sound panel as well. For reducing noise, I prefer to keep it at the lower end because if you do it too strong, it's not going to sound very good on the audio. As you can hear, it did not sound very good. Then let's go ahead and decrease that. It sounds a lot better. If you have a lot of rumble or a low-frequency sounds in your recording, you can go ahead and check "Reduce Rumble. " Again, I would not make these values very high because it will degrade your audio. For me, I'm actually not going to do this because there weren't really any low-frequency sounds. We also don't need the DeHum, which if you hover over the effect, you can see what it does. It reduces hum sounds caused by electrical interference, but we don't have that. If you were to apply it while there's no reason to apply it, your audio will most likely get worse because you're applying an effect that's completely unneeded. Let's go ahead and remove DeHum. We have the DeEsser. If someone had harsh s sounds, you can see that this is the DeEsser that they're using. Let's go ahead and hear what it sounds like if you were to increase the level by a lot. That's not too bad. These last two effects were actually covered in my previous class, so I'm not going to really go through them thoroughly here. As you can here, it doesn't actually sound very good when you include this effect. I just prefer not having it on. That's the Repair tab. Hopefully you recorded your audio in a good space and with good mic technique so you won't really have to use this unless your audio went wrong for whatever reason. Next we have Clarity. The first effect in the Clarity tab is Dynamics. This isn't the same Dynamics effect that we usually use. Instead, it's Dynamics Processing. A simple way to understand this is that basically anything above this decibel amount right here, which is the threshold, is going to be compressed by this ratio right here. If we increase the Dynamics effect to be more focused, you'll see that the ratio increases by a lot. If we decrease it to the natural side, then you'll see that the ratio is not as high. That's just a simple explanation of Dynamics Processing. Let's go ahead and close this. In order to make the changes, you will have to click ''Reanalyze''. Then from there, we have EQ. The ones that I would choose for this particular clip is either Subtle Boost for male or Vocal Presence. However, I do prefer the Subtle Boost instead. You can see that it increases a little bit at the two kilohertz area and the four kilohertz area and the one kilohertz area. It's not too big of a difference. The vocal presence instead changes a wide array of areas that I probably don't really want. Here's how it sounds. As you can hear, it sounds a little strange. Let's find a different spot, actually. Let's go ahead and test the vocal presence EQ on this part right here. First, I'll play it normally. You can tell that the Dynamics effect is also affecting it quite a lot, so I'm also going to uncheck that real quick. But it is softer that way, so I'm going to include some of it, but not as much more towards the natural side. Let's reanalyze this. Sounds better. Then here's how it sounds with the Vocal Presence EQ. Again, like I mentioned before, it's not as good. It makes it sound unnatural to me especially for a podcast where we're just chilling and chatting. I'm going to go ahead and do Subtle Boost instead. Now it sounds a lot more natural to me. The last effect is Enhance Speech. Let's go ahead and listen again to what it does. Heavy on the effects, so I'm going to uncheck it. The main two that I would use from the Essential Sound panel would probably be Dynamics and EQ, and that is it for the Clarity tab. For Creative, it's basically just Reverb. I'll go ahead and play it for you guys. Again, pretty heavy on the effects so I'm not going to use that. The last effect here for Clip Volume, if you check it, you'll see that a hard limiter pops up. From there, if you adjust this, you'll see that the Input Boost either goes up or down, and that essentially just increases the volume or decreases it. If you were to change it to negative three decibels, like how I usually do, you'll see that something pops up here and that tells you to either please revert the changes or go to the template view we had earlier and change the default value. That's something I probably would do is just change the default value to what I usually use. But for now, let's go ahead and ex that, and it basically goes back to the default from there. That is all of the Essential Sound panel. Again, I mainly use this for matching loudness and applying Clarity where it's Dynamics and EQ as the effects. The assignment for this lesson is to go through the Essential Sound panel with an audio track that you recorded yourself. By going through every single effect and seeing how it affects your track, you'll get a better understanding of whether or not to use those effects, and at what levels you should adjust those effects too.
6. Shorten Silences Before Editing: In this lesson, we're going to cover how to shorten silences before you edit your audio in your multi-track editor. We'll also cover how to do this after you've created a mixdown. One very powerful technique that will save you a lot of time editing is the shorten silence tool. It's a great way to handle long pauses in podcasts. You can either do this after you create a mixdown, which we'll go over later. It's basically like editing a single audio file in the waveform editor, but you can actually use this shorten silence tool before you edit in the multi-track editor. Shortening silences ahead of time before you actually edit in the multi-track editor just saves you a whole bunch of time. Here's the method for you guys. Say you had two audio files to work with that you've already synced up. You have it aligned in the multi-track and you're ready to edit it. What you can do to get rid of all the extra pauses and keep things in sync, is to create a new audio file and make it stereo. From there, toggle the right channel off, and then copy the entire file from one of the audio files and then paste it to the left channel only. After that, do the same for the other person's audio file and paste that to the right channel instead. Turn off the left channel. Now you have two different audio files on the left and right side of a single stereo file. From there, you can do the same thing with the shorten silences, and it'll basically have the same exact effect and only cut out silences that are shared between the files, which are moments where both people were silent. After you shorten the silences you can bring the audio files back to the multi-track by clicking the arrow next to the name of the stereo file we just edited. Then click on the multi-track session and drag in each file from that drop down. Then you have yourself a shortened silence version of the audio files that you wanted to work on from the beginning. This means that you'll be editing a shorter version instead of the longer version, saving you time. It's up to you which approach you want to do. Again, you can do this either after creating the mixdown, or you can do this before editing in the multi-track. Just make sure that if you're going to connect this to video, shortening silences is just not an option because it's going to make you out of sync with the video. This is mainly an audio-only tip. The assignment for this lesson is to do exactly what I did during this lesson. Create a stereo file then copy over two tracks, and then use delete silence to see for yourself how it works. From there, bring it back to the multi-track editor and do your multi-track editing.
7. Fixing Microphone Bleed: In this lesson, we're going to cover an issue that comes up when you have multiple people recording in the same room. It's called mic bleed. Let's say you have two people, each with a dedicated microphone. Mic bleed is when one person's voice gets captured by the wrong microphone and that creates a small phase issue depending on the placement of the microphones. Yeah. Unfortunately, especially shot. Yeah. I mean, I like. But he's always like. The more people you add, the worse it sounds. Because a single voice is now being picked up by, say, five different microphones, which are all slightly different distances from the sound source. The question is, how do you deal with mic bleed? The first way is to use good mic placement and make sure that you're setting the gain levels correctly. In the case where there's a lot of people, I recommend making sure each person is talking into their microphone from a close distance of four to six inches. The proximity effect is going to be a bit stronger, picking up more bass of the voice, but it's better than getting crappy quality audio because of mic bleed. With that rule established, seating arrangement will matter a lot. If possible, only ever have two people sitting next to each other so the microphones can be a fair distance away from the other speaker. Another factor is microphone choice. Dynamic microphones are ideal for podcasts because they are far less sensitive compared to condenser mics. If you're using a condenser mic, be prepared to edit that one a lot because mic bleed will be inevitable and loud. If you can use dynamic mics, as long as you remember to do these three things, you should be able to minimize mic bleed. Assuming you did your best during the setup and you still have some mic bleed to deal with, how do you fix it through editing? One thing you can try is the Autogate and Expander that are part of the Dynamic setting. You can either do this while you're doing the compression or before because it's a lot easier to get rid of them mic bleed before you compress. Let's start with the Autogate. What the Autogate does is basically prevent sound from coming through if it's quieter than the threshold that you set. If you make the threshold negative 10, you'll hear only the loudness of the sounds pass through the gate. You'll probably never set it that high. If you set it to negative 40 or so, most normal speech will get through, but any low hums or soft speech will not be able to get through the gate. I highly recommend caution when using the Autogate because there's a good chance that you're going to end up cutting off people's S's off of words like chickens or bears. You'll also probably cut off a lot of breaths and the ends of people sentences because they're usually more silent compared to normal speech levels. This can sometimes ruin the audio experience if you're listening closely. Whenever I use this, I stay at a safe threshold of somewhere near negative 50 decibels. But the trade-off is that it won't be as effective at eliminating mic bleed. The Expander, on the other hand, is like a reverse compressor. Instead of taking levels above the threshold and dividing it by the ratio, it takes levels below the threshold that you choose and divides that by the ratio, making it even lower in volume. This is safer to use than the Autogate, as long as the ratio you choose isn't really high. When I use the Expander, I tend to use a higher threshold of around negative 40 to negative 45 decibels. Again, the levels I'm indicating will be highly dependent on how you recorded your audio, as in your gain settings, and how loud you spoke into the microphone, and how loud the mic bleed is. Make sure you factor in those things and use the meter to assist you in determining the thresholds. Oftentimes, you have to just try the effect and then listen back to make sure it didn't wreck your audio. After you fine-tune the settings, the Autogate and Expander should have helped a lot with the mic bleed. But let's say you had really bad mic bleed and it didn't help all too much, in these cases, another way you can do it that might take a long time is to silence the mic bleed by highlighting it and then applying the effect. I recommend only ever doing this as a last resort. A better way would be to do this on the multitrack. There you can see that when someone is talking and you have a smaller wave form that aligns with the main speaker on a different track, that's mic bleed that you can remove. You can either eliminate that clip altogether by cutting and dragging, or you can create keyframes to lower the gain all the way down. The final way that you can manually silence things is by using something called the Strip Silence. In order to do this, you're basically using the Delete Silence tool from the Diagnostics window. You can set things up like before by defining your silence for the tracks. I'll just choose something like negative 45 decibels and then click "Scan". Audition will discover the sections that are considered silent based on my input, and then afterwards I hit "Strip All". You can see that those sections from all the tracks are now gone. By the way, for the delete silence settings, make sure that you're not only defining the silence as signal below, let's say, 50. You also have to define the audio as signals above negative 50 as well. Another way of doing this is to select a single track and apply the same effects. If you just want to strip away the silences from that track in particular, one downside of doing this is that it cuts off the sounds a little too soon and too quickly when the threshold is met. That sometimes means cutting off the beginning and ends of sentences. It's not too bad, but sometimes I like hearing the ends gradually get softer even if it's for less than a second. What I do is just drag it back in or alternatively, if Strip Silence is too harsh for you, you can use Split Silence. This way you can see the sections that are supposed to be silent, and then listen through and lower the gain to get rid of it. If you're mic bleed is really bad, Strip Silence probably won't help you that much with eliminating it automatically, but it'll make it easier to edit while you're listening through because certain sections are already gone, so you don't need to make that extra cut and you can just drag things away or delete sections outright. There's no perfect and fast way to get rid of mic bleed, unfortunately. If you use the fast methods, you risk destroying your audio and if you use the perfect method of silencing all of it, then you have no choice but to spend a lot of time. The best thing you can do is to make sure your setup is optimized for avoiding mic bleed, or in some situations, recording multiple people with one microphone might not be a bad thing. For instance, you can use a boom mic in-between two people to record both of them as long as the mic is equidistant from their mouths, assuming that each person talks at a similar volume. That's just an option to consider. Anyways, hopefully one of these is able to help you with your mic bleed. The assignment for this lesson is to go over the effects that we used to minimize mic bleed. First, is the Autogate, then the Expander, and then Strip Silence. One or a combination of these effects should help you with your mic bleed.
8. Buses: The Fastest Method to Apply Effects: In this lesson,
I'm going to cover a method that will
save you a ton of time if you want to optimize multiple
audio tracks at once. This method utilizes
something called buses. For our purposes, I'll
define buses very simply. You can think of
it as a place that your audio track goes before
reaching the final output. When the audio track
goes through this place, all of the effects
that are on the bus will be applied to
those audio tracks. The reason this is
useful is because we can send multiple
tracks to one bus and any effects on the bus
will be applied to all of those tracks that
get routed to the bus. Basically instead of going
through each audio file or each track and then applying
the same compression and EQ, we only need to add the
effects to the bus once. The downside to this is
that you're not going to be as precise with your edits compared to if you
were to go into each audio file and
optimize it one by one. But this method works
great if you have a lot of audio files to work with
and need to go fast. It will still produce
good results. Let me go ahead and
demonstrate this using four audio files
that I have with me that have not
been edited yet. They're [inaudible]
and ready to go. The first step is
to take all for audio files and place them in
the match loudness window, drag and drop all
four audio files into the match loudness window and wait for the files
to be analyzed. Most likely, the
audio files won't have the same exact
loudness for each of them, but will be somewhat close. For this method, we want
them to be exactly the same so that when the effects
in the bus are applied, they will result in the same
loudness from each file. I'm going to change
the settings of the match loudness
window to make each of the audio files
negative 28 LUFS. After it's done,
each file should now be adjusted to the
same loudness. Basically, all addition did was, increase or decrease
the entire audio file by a certain number of decibels
to reach that loudness. No effects have
been applied yet. With that done, you
can go back into the multi-track editor and create a bus by
going to track 1, clicking on ''Output'', and
then clicking on ''Bus''. From there, go
through the rest of the tracks and send them
to that bus as well. Next, click on the ''Bus''
and open the effects panel. Let's go ahead and add
the most important effect for optimizing levels,
which is dynamics. You can see how I
personally set things up. Basically I make sure that the auto-gate and the
expander are set to a low enough decibel value so that it doesn't
cut off any speech, but can get rid of
any background noise. Then from there we move on to
the most important setting, which is the compressor. I usually have the
threshold around negative 20 decibels and
the ratio around three. Then we have makeup gain, which is an absolutely
essential thing to set here, since you can't use the normalized effects in
the effects panel. Makeup gain is the way that you bring the levels back
up after compressing. I'm going to choose eight
decibels because the loudness is negative 28
LUFS for each file and increasing at eight decibels should bring the loudness of each file to around 20 LUFS. The reason I'm going
with negative 20 LUFS instead of negative 19 LUFS, is because sometimes people talk at the same
time and there's a lot more variability in
speech for conversations. It just gives the mixdown
more room to breathe. Either way, it's just
a rough estimate, but I find it to work
most of the time. That's basically all
you really need to do to optimize the levels. If you want to apply
noise reduction, you actually need to do that for each individual
file unfortunately, since the effects rack
doesn't have that. But again, the
auto-gate and expansion should have reduced background
noise by a good amount. You can also apply a low-pass
and high-pass filter using the parametric equalizer before dynamics in the bus,
if you'd like to. Just know that whatever
effect you add in the bus, it will be applied to all the tracks that are
being routed to that bus. You can always create
multiple buses as well if you have a lot of audio files
that are a certain way, and then another
group of audio files that need a slightly
different treatment. That is pretty much how
you can use buses to optimize a lot of audio
files really quickly. It's the method with
the greatest speed that still results in
good sounding audio.
9. Finalizing Your Mixdown: Now that we have our multi-track session edited, the last step is to create a mix down. Assuming that you are done editing, in order to create a mix-down, all you need to do is click Multitrack, Mixdown Session to New File, and then Entire Session. The first thing that you see after you create the mixdown, since I actually undid the hard limiter on the final mix, I did not include it this time, you will need to hard limit at negative three or before that, you can actually just do a compression around negative nine. Then I would probably hard limit afterwards somewhere around negative five. I'm just looking at the waveform to do this. You can see that most of the waveform is at a safe value. If I cut it at negative five, I'm undoing and redoing, so you can see that. Then I'm going to normalize it to negative three decibels. From here, I'm going to check out what the loudness value is for this stereo file. Negative 18, so we're pretty close to negative 16. It just needs to be boosted by two more. The easiest way to do that would be to just do another negative five, it will hit a lot of the top part of the audio but that's okay, it'll still sound good. Negative 17. What we're going to do actually is take out this beginning part since it's actually just us testing and then I'm going to retest it afterwards and now it's negative 16. Just know that your loudness is affected by other audio even if there's very silent audio in the beginning that you didn't edit, just be careful of that. From there, one important thing that you should probably do first is check that the waveform of this audio file looks even. For this one it's even but let's say if someone like, if this was a single person and there's a lot of like reoccurring, if you saw this on your waveform, and it's the same person talking each time when it's like this, like lower, then you need to go back to your multi-track. Find that person and probably increase their gain or fix up their waveform or if you did a central sound then fix it there. But just that person will need to be increased and then you're going to want to mix down the file again. But for our case, we were actually okay. Let's go ahead and just go back to that. That is pretty much it for how you export a mixdown. You would want to go through that entire process, match the loudness, and listen back to make sure it sounds good, and you're pretty much done. But let's say you want to upload to a podcast instead of for video, then you might want to change this to a mono file instead. In order to do that, let's go ahead and Save As first and you might want to call this Mono instead, then go ahead and save it. That way you keep the old file and the new one. Then the easiest way to change it to mono would be to go to Favorites and then Convert to Mono. Whenever you convert to mono, you might notice that the IUF's might not perfectly match what you want. We wanted negative 19 LUFs for mono. In order to do that, we can just either hard limit it to negative four, normalize it to negative three decibels, and then we have negative 99 LUFs. Just make sure if you switch between a mono and stereo that you are checking the loudness again because it does change, and that's pretty much it. You now have yourself a final mix ready to go. The assignment for this lesson is to finalize your audio by creating a mix down and making sure that you match the loudness to the podcast standards. After you've done this, you've now finished the class project.
10. Exporting to Premiere Pro: All right, so what if you didn't want to actually create a mixdown, and you wanted to export whatever you had in your multi-track session to Premiere Pro instead, here's how you do it. Instead of clicking the mixdown for the multi-track, what we're going to do is export to Adobe Premiere Pro. Premiere Pro will go ahead and open on its own afterwards, I'll go ahead and open a random project. I have the XML file that was created from audition. Now let's go ahead and place it in here. As you can see, what happened was it placed it in the current sequence that I had open. I'll go ahead and just maximize this, and you can hear it back. [inaudible]. See that this is the same audio that we had from audition. One thing to know is that if you were to do edits in the multi-track, like let's say for instance, I completely made this part silent, and then let's save. If you were to go back to Premiere and look at it, you could tell that this is where I did the gain keyframes, and as you can see, the audio is still there. That means even though you do some effects on the multi-track editor, it's not going to reflect on the actual sequence here. It also creates a sequence of the multi-track for you in case you want to, instead, not have this big chunk here and just add the sequence instead. This would be like the mixdown, and if you wanted to edit the individual tracks, you can go inside this sequence here, and that is how you can export a mixdown to a Premiere Pro project. Hopefully that can help you out in some situations where you're mainly working with Premiere, but you want some audio files to be sequenced and edited inside of Adobe addition first and then brought back into Premiere Pro as separate audio files.
11. Conclusion: Congratulations, you have made it to the end of this class. Hopefully, you were able to complete the class project, which was to come out with a well-polished final mix-down for your own podcast. Editing in the Multitrack Editor takes a bit of time to get used to. Let's cover all the lessons that you've learned one more time. In this class, you've learned how to set up your microphones with the Multitrack Editor. You learned about the track effects and how to start a good recording. Next, you learned how to navigate the Multitrack Editor and change the workspace to your liking. Then you learned about how to use the editing tools in the Multitrack Editor, how to save a lot of time using the shortened sounds tool, and how to deal with microphone bleed. Lastly, you learned how to finalize your audio by creating a mix-down and making sure that the loudness is good. If you feel like any of these areas are weak for you, just be sure to go back to those lessons, review them, and try them again until it becomes second nature. If you guys enjoyed this course, be sure to follow me on Skillshare since I do plan on making more creative tool-like courses. In the meantime, I do have a YouTube channel called Dreamlet that you guys can check out. On that channel I cover how I edit and shoot specific type of projects. I also cover the equipment that I use and general tips on video production, YouTube, and storytelling. You can also check out my team channel, which is called Imagine Blue. It's a channel I created for fun where me and my friends basically just talk about movies, TV shows, and anime and whatnot. Anyways, let me know what you guys thought of the course. If you have any suggestions for future courses, I'd love to hear from you guys. It's been fun. I'll see you guys around.
 Scott Luu, Video Creator