Transcripts
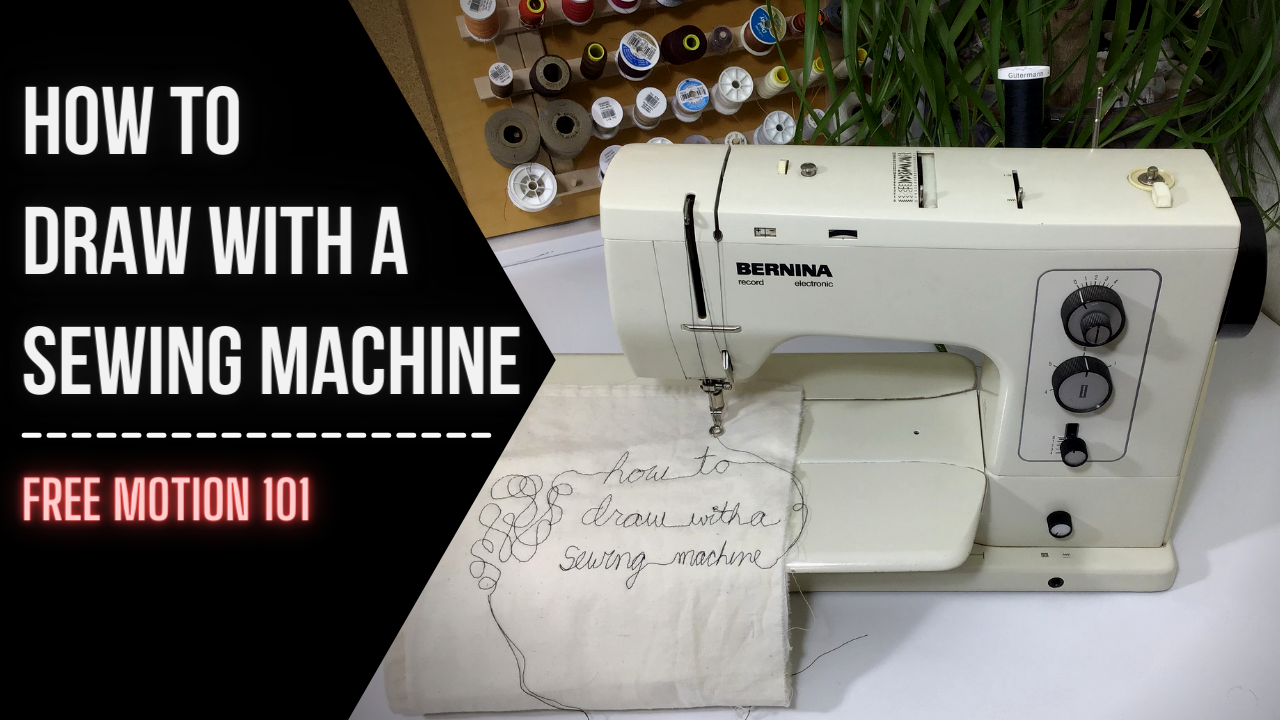
1. Intro: Hi, I'm Jordan, sewing artist and instructor in Kansas City, USA. If you're interested in learning to draw with your sewing machine, you are in the right place. For the past 10 years, I have owned and operated a sewing business and also taught sewing lessons. I've sewn almost anything and everything you can think of. But back in 2016, I was introduced to a new-to-me sewing technique called free-motion embroidery or free-motion sewing. I was so intrigued by the idea that you can use your sewing machine to draw with thread on fabric. I had to try it out. My first project was a mess, I didn't know what I was doing, but I was hooked. I spent the past five years experimenting with free-motion sewing and really learning everything I can about it. Now that I'm an artist selling works using this technique, I decided to compile all the tips and tricks I've learned through the years into this class so you can learn too. This class will walk you through the basics, from what supplies to gather to how to adjust your sewing machine to really give you a successful start with this. Together we're going to practice the technique by making postcards to document our learning process. Our first iterations are going to look a bit like doodling in the margins of our notebook. But before long, with a little bit of practice, you'll be making much more beautifully intentional works. If you have a sewing machine and a basic knowledge of how to use it, you can do this. All right, let's get started.
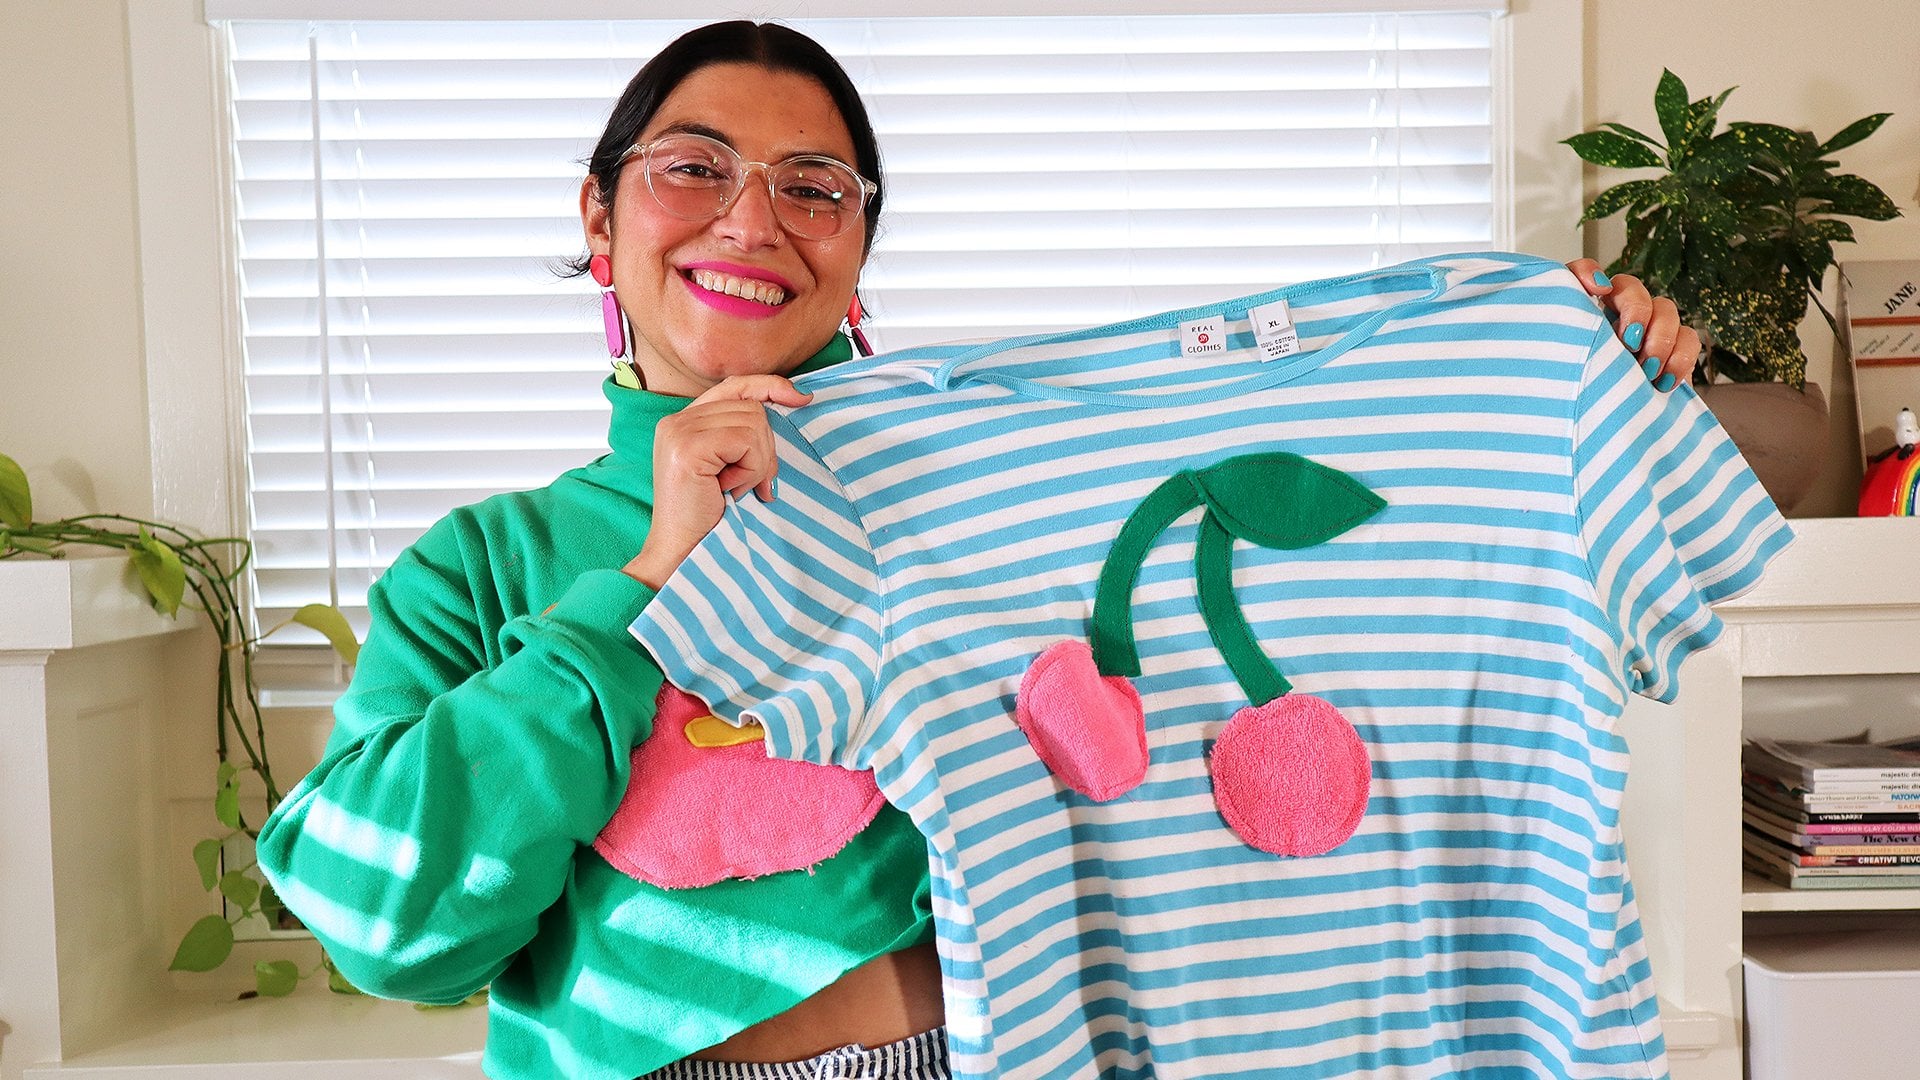
2. Class Project: Let's discuss our class project, postcards. By the end of this class together we will have made small postcard size works on fabric or paper, where we experiment and test out free-motion sewing. This project is incredibly free form, and more about the process than the final product. I do, however, encourage you to finish at least one of your works and mail it to a friend, just like you would a postcard, to give yourself that sense of accomplishment. Free-motion sewing is a technique best learned through trial and error. Small celebrations will help you get through the learning process. I suggest starting out incredibly simple with this project. Freely stitching or doodling on fabric and paper. Once you get the hang of that, you can move on to more experimentation, such as adding painted or collaged elements, playing with varying stitch widths. Who knows how far you'll take this sewing technique with your special touch. Let these postcard examples inspire you and also head to the project gallery to see what other students are making while they're learning this same skill. It's time to dust off your sewing machine and head to the next video. That's where I will explain to you a few handy tools and supplies to have that will make drawing with your sewing machine so much easier.
3. Recommended Supplies: Welcome back. Here are the supplies I recommend having to make your free motion sewing experience more enjoyable. Scissors, nippers, whatever you like to use to cut thread with, get yourself some of those. Fabric and/or paper, I suggest nonstretchy woven fabric. Think simple tablecloth or bed sheet material. Any paper will do but I prefer sturdier paper like watercolor paper. A darning foot and a screwdriver to attach it if needed. If you don't have this presser foot, don't worry. I'm going to discuss it in a later video. Sewing needles. I recommend starting out with your basic universal sewing needles that you already have in your sewing supplies. Sewing thread. Again, I recommend starting out with your basic all-purpose sewing thread that you probably already have in use. Your machine's owner's manual. Read it if you haven't, especially if it has a section on free motion. I tell every single one of my sewing students to read their manual. It is such a powerful sewing resource. Other supplies that I don't find necessary but are incredibly helpful; a separate bobbin case. I will also discuss this in a further video, so don't worry if you don't have it yet. Embroidery hoop, this helps hold your fabric tight if you're having trouble doing that yourself or if you're getting puckering. Fabric marking tools. I prefer water-soluble ones or heat erasable ones. Okay, now that you have your supplies list, gather it all up and get your sewing machine in front of you. In the next video, I'm going to guide you through making three simple adjustments to your machine. Let's go.
4. Adjusting Machine Settings: We're back. This is the part where I show you three simple adjustments to make to your sewing machine settings: lowering the feed dogs, setting stitch length to zero, and setting stitch width to zero. I'll demonstrate how to do these adjustments on my machines, and then I'll explain the why behind them. Right Right all you need in front of you is your sewing machine and your owner's manual. Feed dogs are the sharp rows of teeth that move under your presser foot. Lowering the feed dogs is the single most important aspect of free motion sewing that sets it apart from standard sewing. Every machine is different so check your manual for your machine specifics. Some have dials on the front, and others have hidden switches elsewhere. In standard sewing, the feed dogs are engaged and they are the mechanism pulling the fabric through the machine. When we drop the feed dogs or disengage them, we are now in control of where and how our fabric moves through the machine. That's the free in free motion, baby. Now for the stitch length. Adjusting the stitch length in standard sewing changes how quickly the feed dogs pull the fabric through the machine. But since our feed dogs are disengaged in free motion, it doesn't really do anything. How quickly you move the fabric under your presser foot dictates the stitch length. Though it doesn't do much, I still recommend setting the stitch length to zero. This is usually a dial found on the front of your machine. Now for stitch width. Later on, we are going to experiment with varying our stitch widths, but for now, I recommend setting it to zero just to start out with. This is also usually a dial found on the front of your machine. Now that our feed dogs are dropped, stitch length and width are both set to zero, our machine is almost ready for free motion sewing. Next up, we are going to discuss presser feet, presser foots, I don't know. Then we will get to sewing. See you soon.
5. The Darning Foot: I'll come right out and say it. I think presser feet are the unsung hero in the sewing world. Is having the proper presser foot necessary for each sewing activity? No. But can they make all the difference in getting better results? Yes. Here we have a few examples of the darning foot. There are so many other names for it, but I'm going to refer to it as the darning foot. This is the presser foot I recommend using while free-motion sewing. I recommend going to your local sewing supply store or doing a little internet search of darning foot followed by your machine model. If you're on a budget, you can absolutely try free-motion sewing with no presser foot attached to your machine. Most darning feet have three main parts: the toe, usually called open or closed, I bet you can guess why; A spring; and a metal arm poking out near the top. When attaching the daring foot remove the old foot first and make sure that arm goes over the screw clamp on your needle bar. This helps your presser foot to hop around with a needle and allows you to move the fabric underneath. There's still so much to learn about free motion, but since we've done all the basic necessary adjustments to our machine, it's now time to try it out without thread. No need to make it complicated so soon. Grab your paper or fabric, put it under your machine, presser foot down, and try it out. Really get a feel for being in control of the fabric and to get a feel for hand-eye coordination and speed control. Try stitching on fabric, on paper, do it until you get comfortable. If you're feeling brave, go ahead and thread your machine like usual and try stitching. If you get in a tangle, don't get discouraged. My next video is all about demystifying and troubleshooting thread tension while free-motion sewing, you do not want to miss out on these golden nuggets of information. See you in the next video. Bye.
6. TENSION Troubleshooting: Let's chat about thread tension. In free motion sewing, we're usually not looking for perfect tension or strength in our stitching like we would be if we're sewing a seam for a garment. Do not let imperfect tension stop you from having fun. Oftentimes, the backs of your works will never even be seen. I have three different machines I often use for free motion. One of them needs zero tension adjustments when I'm going from standard sewing to free motion. The other two prefer slightly lowered tensions on both top and bottom threads and one of them really just doesn't like stitching through paper. This is why stitch testing and making slight incremental tweaks in between is so important. If you have a top loading bobbin, you're in luck. There is a special bobbin case specifically for free motion sewing, where a slightly lower tension is already dialed in. These cost about $25 and I find they are totally worth the price. You'll see the only difference between these two is the small blue spot of glue holding the screw at the preferred lowered tension. If you have a front loading bobbin case, you'll have to adjust the bobbin tension manually by turning the tiny screw on your case. Remember, righty-tighty, lefty-loosey applies here. I recommend turning it only 90 degrees at a time for each tweak and then testing it out. Keep notes on these adjustments so you can reset it when you want to go back to standard sewing. If you understand balancing thread tensions outside of free motion sewing, the same rules apply here. Just like standard sewing, if you're getting thread loops on the back of your work, you either need to increase your top tension or decrease your bobbin tension, and vice versa if there are thread loops on the front of your work. I highly recommend getting an extra bobbin case specifically for free motion. This will prevent you from having to make these adjustments every single time. Eyelashing is something commonly seen in free motion. If you're only noticing it every once in a while, it usually means you are moving the fabric too quickly compared to how fast you are pushing the foot pedal. This is really all about hand-eye-foot speed coordination and it will improve with practice. Just remember, free motion sewing is all about trial and error. Test your stitching out, make small incremental changes to your tension, and keep at it. Your machine manual can help you out immensely during this step. At the end of this video, I will leave you with a little recap of my top tension tricks. But now that we have the boring part out of the way, let's get to making.
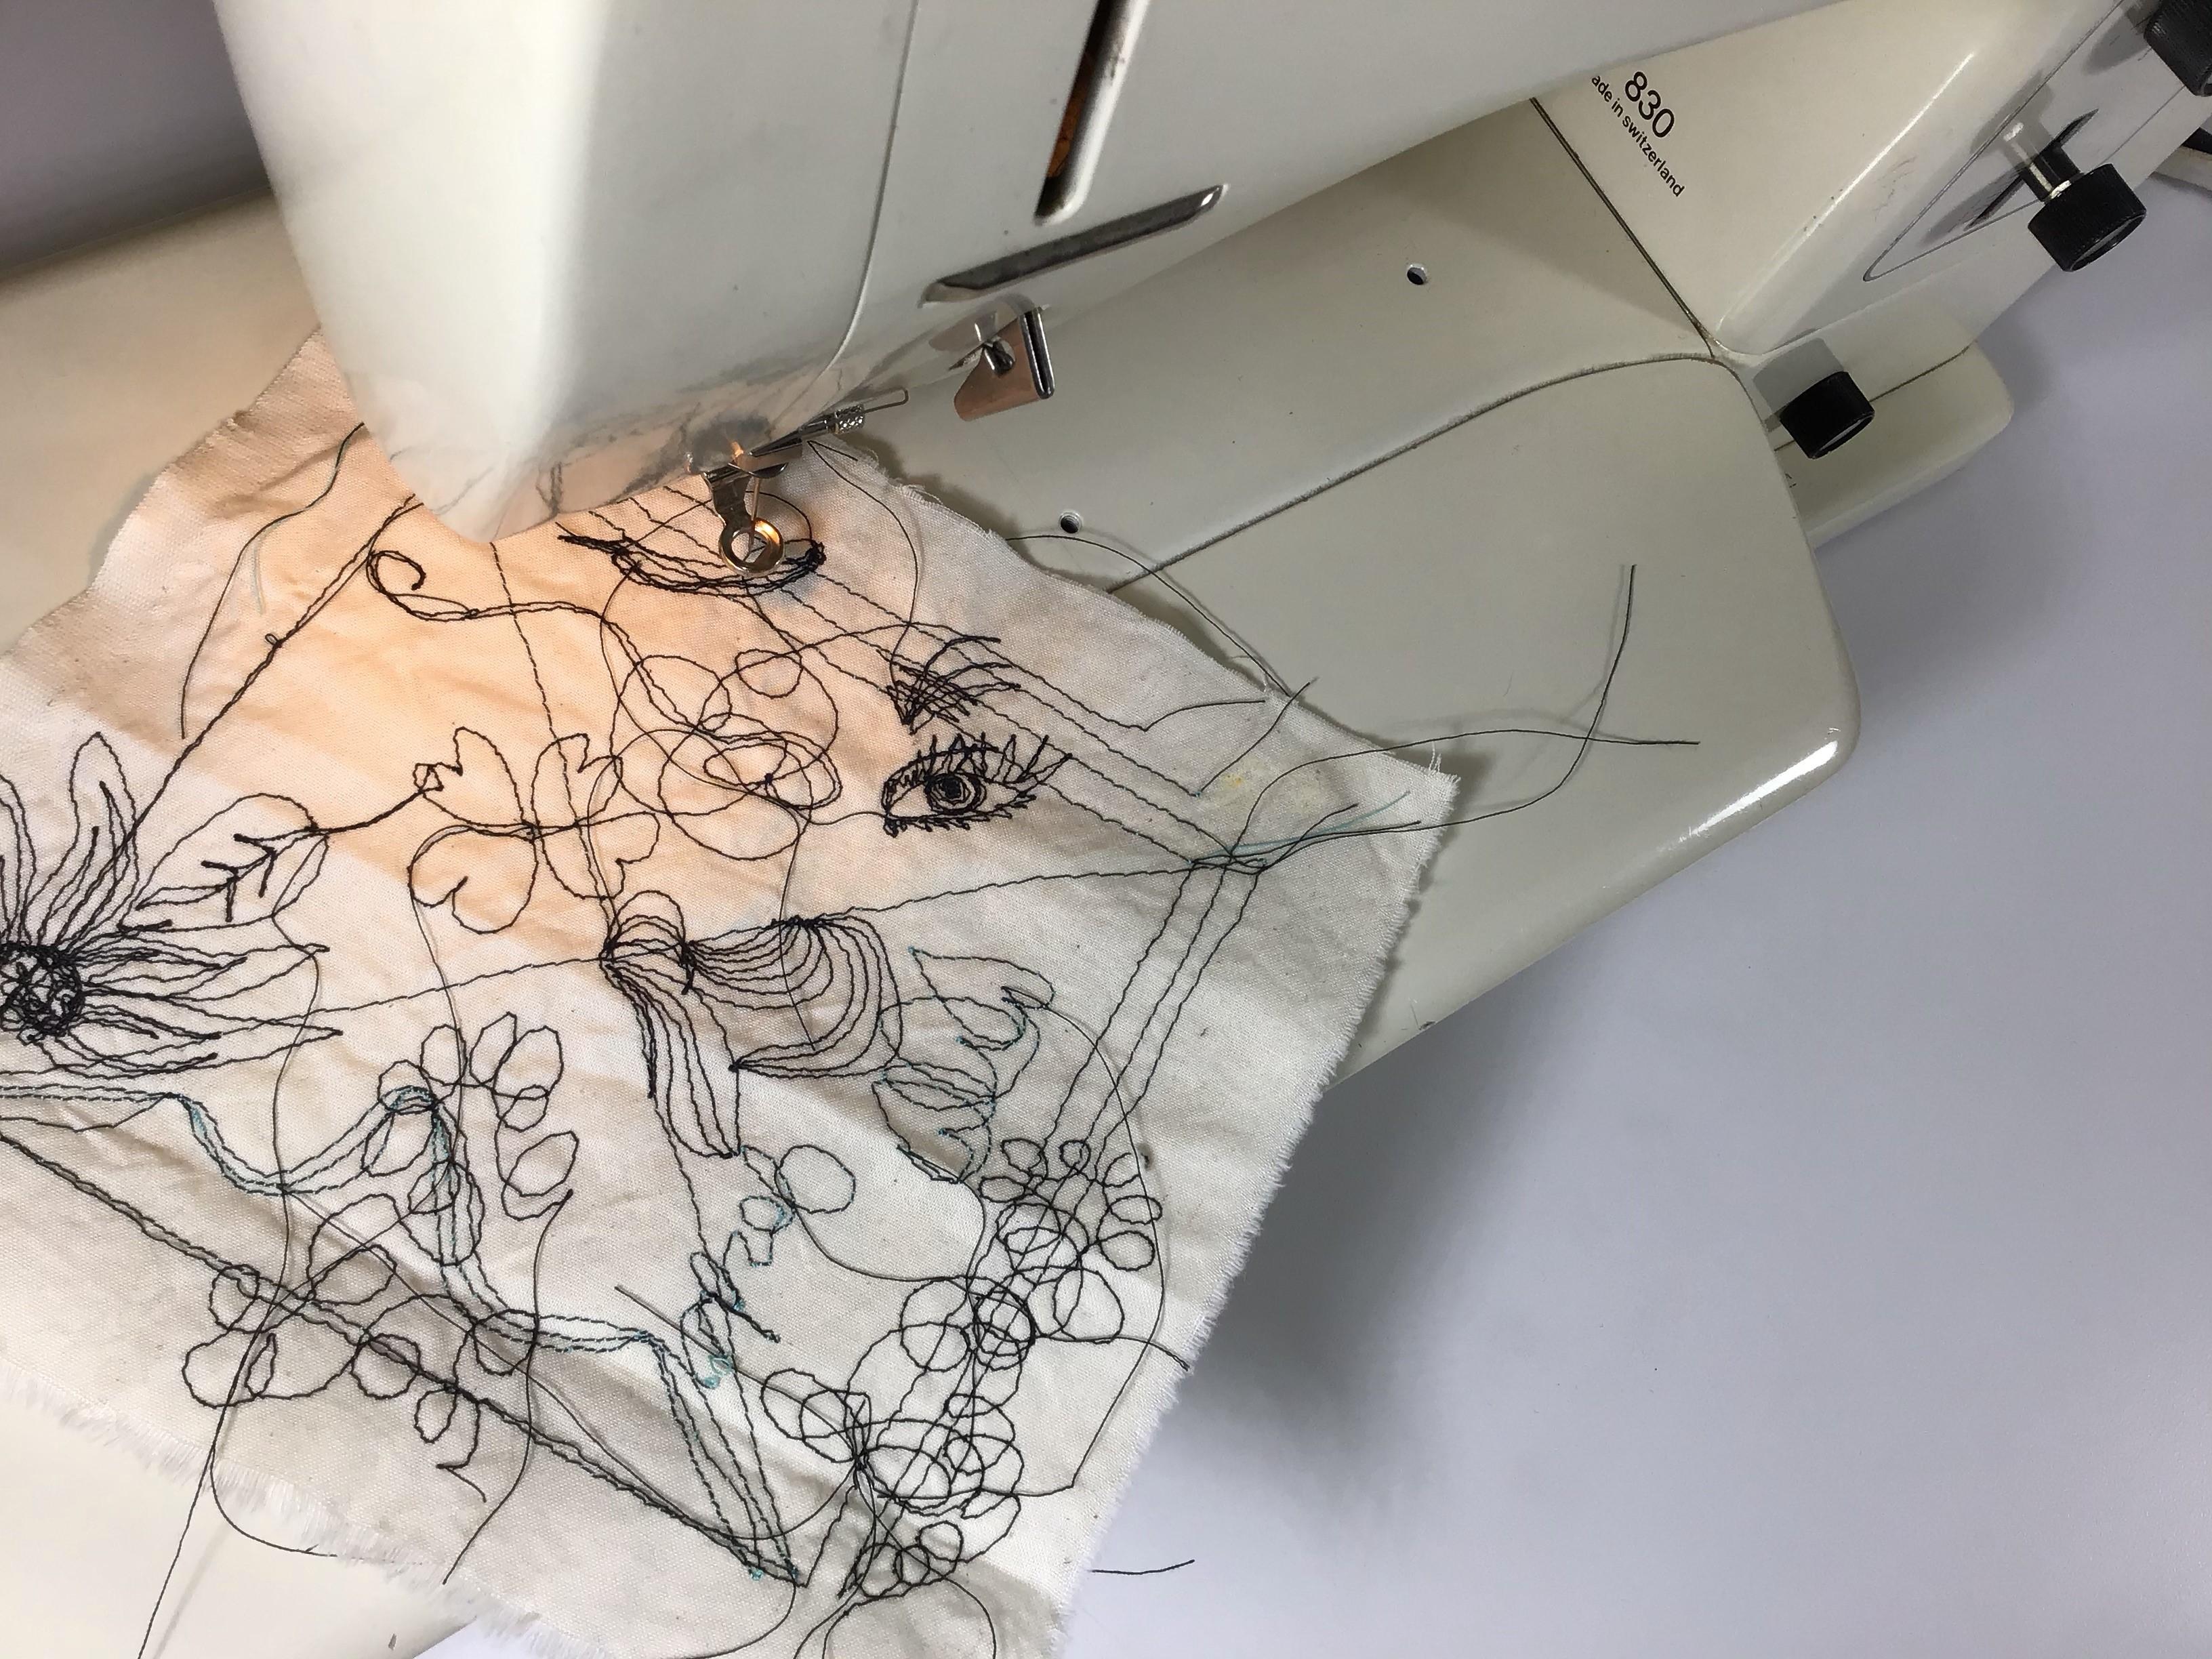
7. Let’s Draw! (With Our Sewing Machine): Welcome to the fun part. We're finally ready to dive in and get lost in our creativity with our machine. Let's go. First, put your presser foot down, and pull the bobbin thread to the top. You can do this by using your hand wheel to walk your needle down and then back up into its highest position. After you pull that bobbin thread to the top of your project, make sure you hold your thread tails when you start stitching. This will prevent any thread tangles happening underneath. Then just go to town, pretend like you're on a boring phone call and you're doodling on a notepad to pass the time or pretend like you're back in fourth grade and you're practicing your signature hundreds of times over. Make sure you're holding the fabric taut. If you're having trouble doing this or you're finding there's a lot of puckering on your fabric, use an embroidery hoop. It'll help. Simply insert your fabric into the hoop, tighten the screw, and pull the edges of the fabric until it's tight, like a drum head. When putting your hoop under the presser foot, use the hand wheel to get your needle all the way into its highest position. If it still doesn't fit, simply lift the toe off the presser foot, and you should be able to slide it right in. As usual, presser foot down, bring your bobbin thread to the top, and go to town. After you get the hang of simple doodling lines, try playing around with your stitch width dial. A wider stitch width is helpful for filling in large spaces, almost like a satin stitch. It can also help create lots of texture or noise on a piece. Have fun with this. Take your time, I encourage you to fill in a few pieces of fabric or paper with nonsensical doodles. Take your favorite doodles and crop them to whatever size you like. Next, we're going to finish them in some way. Here I simply stitched this one to a sturdy textured watercolor paper. Perfect for framing. This one, I put in a card stock frame to send to a friend. Don't forget to take a picture and share it in the project gallery. I'd love for you to take inspiration from other students and leave them with an encouraging comment. Also tell us how you plan to incorporate this into your own art practice. I can't wait to see what you make and how you get along learning this new skill. Ask questions in the Discussion Section and meet me in the next video for a few final thoughts.
8. Final Thoughts And Key Takeaways: Congratulations, you've completed the class on how to draw with your sewing machine. I'm so proud. They grow up so quickly. Anyway, we've covered everything about getting started with free motion sewing, from adjusting our machine's settings to learning about the darning foot to the nitty-gritty on tension. Thanks for sticking with me. You should now be ready to try this on your own and really insert your own style into it. Just remember, it's as simple as dropping your feed dogs, setting stitch width and length to zero, attaching darning foot, and adjusting the tension if needed. I truly hope you enjoyed this experience and got everything out of it you needed. Please leave me a review, I would love to hear your thoughts. Follow me here on Skillshare if you'd like to be notified of future artful sewing classes. If there's one key takeaway I want you to remember, it's this. I was a beginner just like you a handful of years ago, and now I'm teaching a class on this skill, and I'm an artist using this technique in my work. Allow yourself to be a beginner and keep showing up. You can do it.