Transcripts
1. IntroChibi: Hello and welcome to this class. And today I want to
teach you how to draw to the style as the proportion of this kind of draw in
Arizona exaggerate. It can be easy for
beginners because you don't need to worry that
much about anatomy. Tv characters are
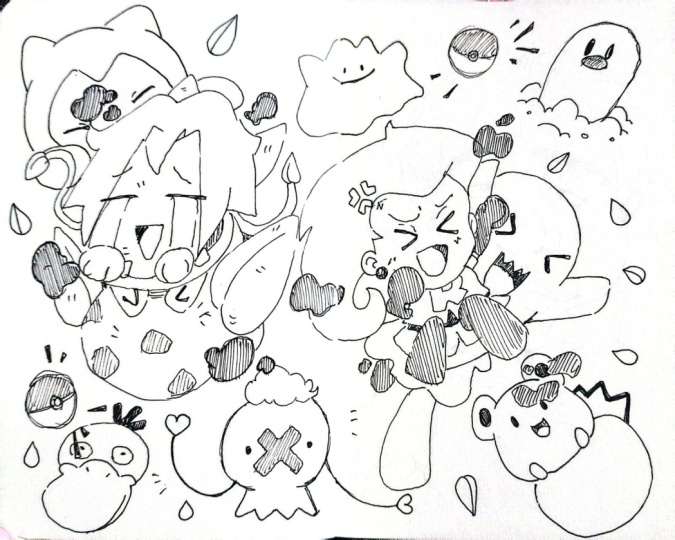
perfect for growing close parenthesis
because their bodies usually air is moved. So you will need
to draw a lot of details to get a great result. In this class, you will
learn how to achieve it. Airstream serum. I will teach you Facebook, Persians, body
structure, ear style, accessories, and Helena athlete can get a strong personality
to your current. When you finish this class, you will be able to draw three TO HIV carriers with
different styles. For the class project, you will use the
basic model that you create to design
your own character. You will decide their
hairstyle accessories. And I'm excited to see
your amazingly QT display. For this class. I will be using Procreate, but don't worry, I'll don't
use any complicated tool. You can use any million
in and paper and pencil. Hope you have a lot of
fun drawing with me. So let's get started.
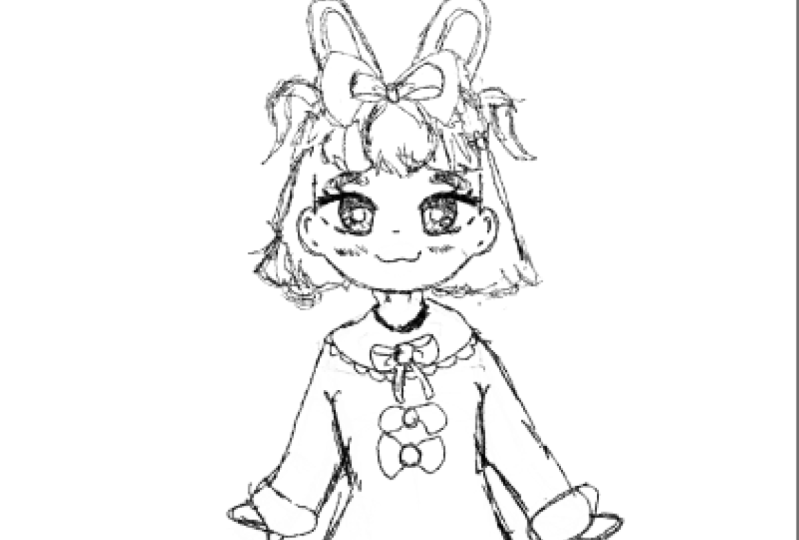
2. 1. Face: Let's start with the face. First, rollicking of a circle. As you can see within
one, a perfect circle. It's like a mushy shape. Drove or take a light
to create across as tiring for 1
third of the hint. Now let's draw the checks. You will start a little above the vertical line
that you just draw. With a court. Connect
to the cheap. For 2D characters. I highly recommend you to use curb lines instead
of straight lines. I will just flipping
the canvas very up to and it worked
throwing be telling. This technique helps to keep
your drawing proportional. So remember to do it threatened. Okay, so let's draw the
guidelines for the I section. Mark the start
point of the cross. As you can see, the head
is divided into two parts. One for the four hit and here
and the other one for GPS. Trace, a horizontal line here
in the middle of the trust. These will be the eyes, ears. If you can place a nose in
the middle of the cross, just a little point
if you weren't bad, I think that looks cuter without on both sides draw a
vertical line to give some space between
highs and years and drove to C-shaped lines
to it, pulling the years. Did eyes rectangle into three equal parts and now
make the H a little rounded. Finally, draw neck items. This is the basic head shape. Your first atom doesn't
look as you speak. Please practice a little
more before the next list. Head is so important
because it's the biggest part of
their characters. So if you're ready, let's move on to the next step.
3. 2. Basic Hair: In this section, I will teach you the basic
care guidelines. The first step is to draw
the centerpiece of hair. This point will be
the central route. As you can see, it's a little
over the top of the hair. Pieces inside. Another two larger pieces
to the edge of the face. This is the basic shape
for the proof of the hair, but in the back. So it depends on the length, texture, or hair cells that do the sides for your character. That don't worry. In
the next lessons, I will share with
you some ideas.
4. 3. Eyes: You can use any type of
eyes for your character. You can just draw
two black dots. But for this effect, I want to draw too
big and rounded ice. You also can choose if you
prefer at thick I like, or add some eyelashes. Here is another tip. Try to draw inside the eye is query that
you defined before. If you draw outside, you will deform the proportions. Inside the eye. Draw an oval. You can choose if
you want to drop this circular shape and leaves. So MS based between the
eyeball and lashes, or use these lines
to connect entire. I drove a shade for the
pupil and the shade that the eye lights create
at all the details that you remember how I used to have a lot of
shines here and there. If an eye looks better
than the other, you can fix it with practice. Or if you're drawing digitally, just transform the scale or size it to make it
match with the older. Now at the eyelashes
and I will define the rest of the ears and
the rest of the things. Finally, add a biggest money. Now, we are ready to
break this sum here.
5. 4. Hairstyle #1: We will use the hearing
guidelines as a reference for the three styles that
you will learn today. For the first one throughout
the central face first, this part is in the front
part of all the hair. Next, drowned her
hair to each side. We want to cover
the entire forest. You use some lines to
give more movement. Too long thesis at the
edge of the things. With this little line, divide the hair into sections. For this first style, I went tide here. You just need to draw
some lines here. The back, I want short
and waiting here. I think that the top
part looks weird. So if you flip your Canvas, you can notice that this
part is higher than this. Let's fix them. Finally at two cute quantities. Here is another tip. If you want to get
a curly pony tail, just think in an S shape
to give a smooth movement. It's done. For the
next hairstyle, we will draw a shorter binds. It's important to experiment
with different lengths to identify your style or what the style match with
your character's personality.
6. 5. Hairstyle #2: For the next here is tie. We will rush shorter
binds it seeker. Attempt to experiment with
different lengths to identify your style or what
the style match with your character's
personality. You can experiment. We decide parts of the hair, the lines to simulate
a tight here. Let's try something a little different from the
first example. The bag can be sure
to back straight. This is our second result.
7. 6.Hairstyle #3: For this year sales I want
long and a little messy here. So let's start with a
long syndrome piece. For time. Brought the
hair behind the ears. Do little pieces in the cheeks. Draw the upper part. And along here effect just draw a curb outside
and another little curve that gives some space between the main part and this
new piece of here. I will draw the same
at the other side. It's done.
8. 7. Accessories #1: Keith accessories are
key to TV characters. Remember the hint is the most important part
because it's the bigger one. Let's leave a
special accessories that make our gear
so cute there, but also reflect the risk. You can get inspiration
from Pinterest. This one ears right here are adorable and you need
to copy them the same. You can use some details and whatever you
think to look good. Now, draw the bowl is
start with a knot and try to use curved lines
instead of a straight ones. Drug RPA both to give some volume and do the
same for the older part. Place it in the
middle of the hip. Nice, the basic bot with these little pieces using
a string of length, I wanted a bigger
bowl behind with some details like lace. Just draw two
triangles and waves. Born ears. Also like to draw some hairpins that
match with the hair accessory. So maybe we can draw
a body or recovered. Just use your imagination. Inside there. You can draw
anything that you want for us. If I note though, to execute
earrings, it's done.
9. 8. Accessories #2: For the second TV, Gert, I want a feminine, cute and simplest time. With some reference, I
decide to draw here a hat. At some minimum, Europeans appear of heart earrings. You can experiment with any
accessory like glasses, hairpins, hats, flowers,
animal ears. For firms. Just remember, do not
add a world of things. You can also find your character's
personality before you start drawing to be clear above the reference that
much with hairstyle, of course, you can try
drawing boys too bad. I love colleague here, so it's my choice. Now, let's move to
our next character.
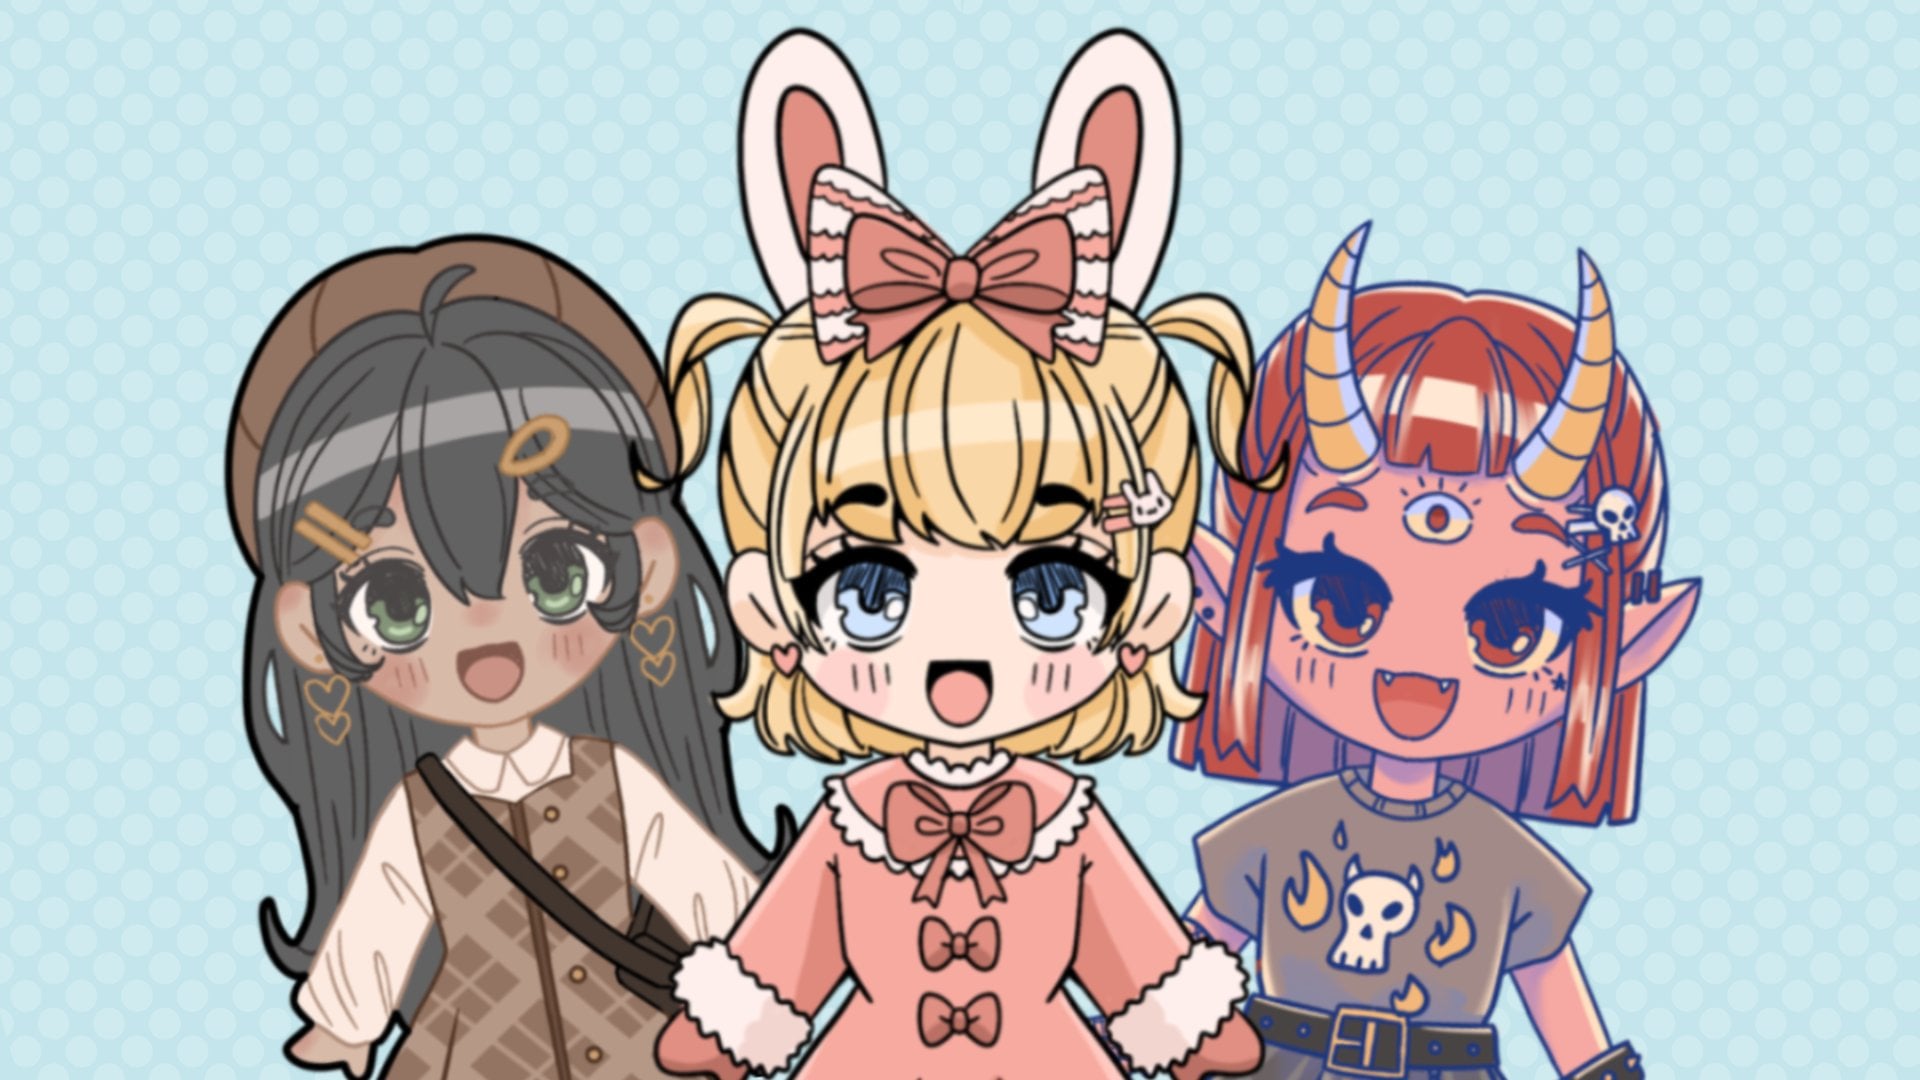
10. 9. Accessories #3: I don't know why
that hair hair cell makes me feel that she
isn't just a cute girl. She's more rebel and bold. So my Dean Hara like a little, they will get some
inspiration here. Maybe here accessories
can be a pair of horns. So I will erase the hair. We had Andrew Awesome lines to give more details. You can lower the
opacity of the Faisal a year to see easily what we are changing to make the horse more really thick at two
lines here in the forehead. Hair pins that much
we care styled. You can use a school
or flames or volumes. Some piercings. Let's get a little Gracie and a third eye in the
middle of the forehead. It's done. Now that you know how
to throw a TD heads, let's learn how to draw divide.
11. 10. Body proportions: Nodes are all the body I will use are referred to as a river. I usually draw two
types of TV buys. The first one has the
same hay of the hair, the second one has one head
and this part of the torso. And these help for the likes. I will teach you the ESS
way to draw the body. First, drill the head, and draw the guidelines. Now, draw a four
divided two triangles. First, shoulders, and
rectangles for the arms. For the second body type, I draw another
rectangle for the arms, eraser lower part to draw
the legs a little closer. Now we this basic shape, Let's add some details. Start with the shoulders. We don't want a straight lines, so 0 to little curves and
two lines for the base, for the test and for
the rest of the body. Remember, do not use a corpse shapes because we're trying
to get a child look. Divide the arm into three parts. Define the legs. Under all the hands, just above the legs length. Draw the shoulders. Define the legs divided
into two parts. For this class, we will
use the sacred body tight. Let me add that to my character. Again, I will use a new layer
to draw the final version. I want more space
between her torso and arms to give more
space to the outlet. Remember the three parts of
the arm and draw the arms.
12. 11. Outfit #1: They'll fit, can give a lot of information about your
character personality. So find some inspiration
on Pinterest. And I think this
gear is so sweet, so she will work
a cow I address. This outfit is perfect for here. First define the NIC. Just draw some waves. Now a curb line, two lines for the chance and add some lace
to the upper part. Drill this lakes outside the arms line to
get some volume. Use other core blind
to this cured. I'm drawn to
synchronously some blaze. And now let's add
some cute details. First, draw a bow at the needle. Triangles to give more
movement to the scared. And draw the hands.
Create a new layer to define the final version. The end of the slaves use a shared line to
seem like full fare. Define the pulse of the scared. You can follow me on
Skillshare because soon I will upload a line art and coloring course using this cutie characters,
so don't miss it. Finally, I will scale
it a little bit under a simple silk and some lines for the shoes, and it's done. Now, let's draw
our second outlet.
13. 12. Outfit #2: For our sacred gear, I choose this cute outfit. It simple but perfect
for her main accessory. The hand juice yield some
lines to define the neck and draw me the line and
some circles to the buttons. For this drug to straight lines that add some wrinkles to make a difference
between the fabrics. Draw the hands, and
dislikes this cell to it. It's a little simple
said you cannot extra accessories like a glaze. Or in this case, I proceed back. Just use some straight
lines to define it. As a tip in a chlorine face. You can also use a powder or here dressed to
have EBIT result. If you are sacred to
bigger, it's done.
14. 13. Outfit #3: For our demo GR A1
are pulled out. I choose this picture
as a reference. Draw a basic t-shirt. At Sandrine goes on some
lines in the heartbeats. And these detail in the middle. Of course, you can
change it as you wanted. Bale. Use triangles for this cured. Some details in the band. Maybe some lasing this cure. Glove, NDR for deals
or hands. So Ms. Blacks, have fun with
the accessories. Maybe some cool socks, Arrow little circles
connected to form a chain. Thank you so much for
doing this glass. Hope you'll find it easy to
understand and then still excited to see
your TV characters in the class project area. Remember to follow me here in Skillshare because
soon I will share with you my line art and coloring class for
TV characters. If you want, you
can follow me on Instagram as he Jacobian.
 Daniela Saldaña