Transcripts
1. Welcome!: Hi, I'm Spencer Martin and I've been a designer for
over ten years. In this Illustrator class, you're going to learn
how to draw a rose. We're going to use a ton of basic essential tools
in Illustrator, the pen tool, Direct
Selection Tool, shape builder tool, and more. And even if you've never
even opened the program, you're gonna be able
to follow step-by-step and complete this project. I can't wait to see what you guys create and I'll
see you in the class.
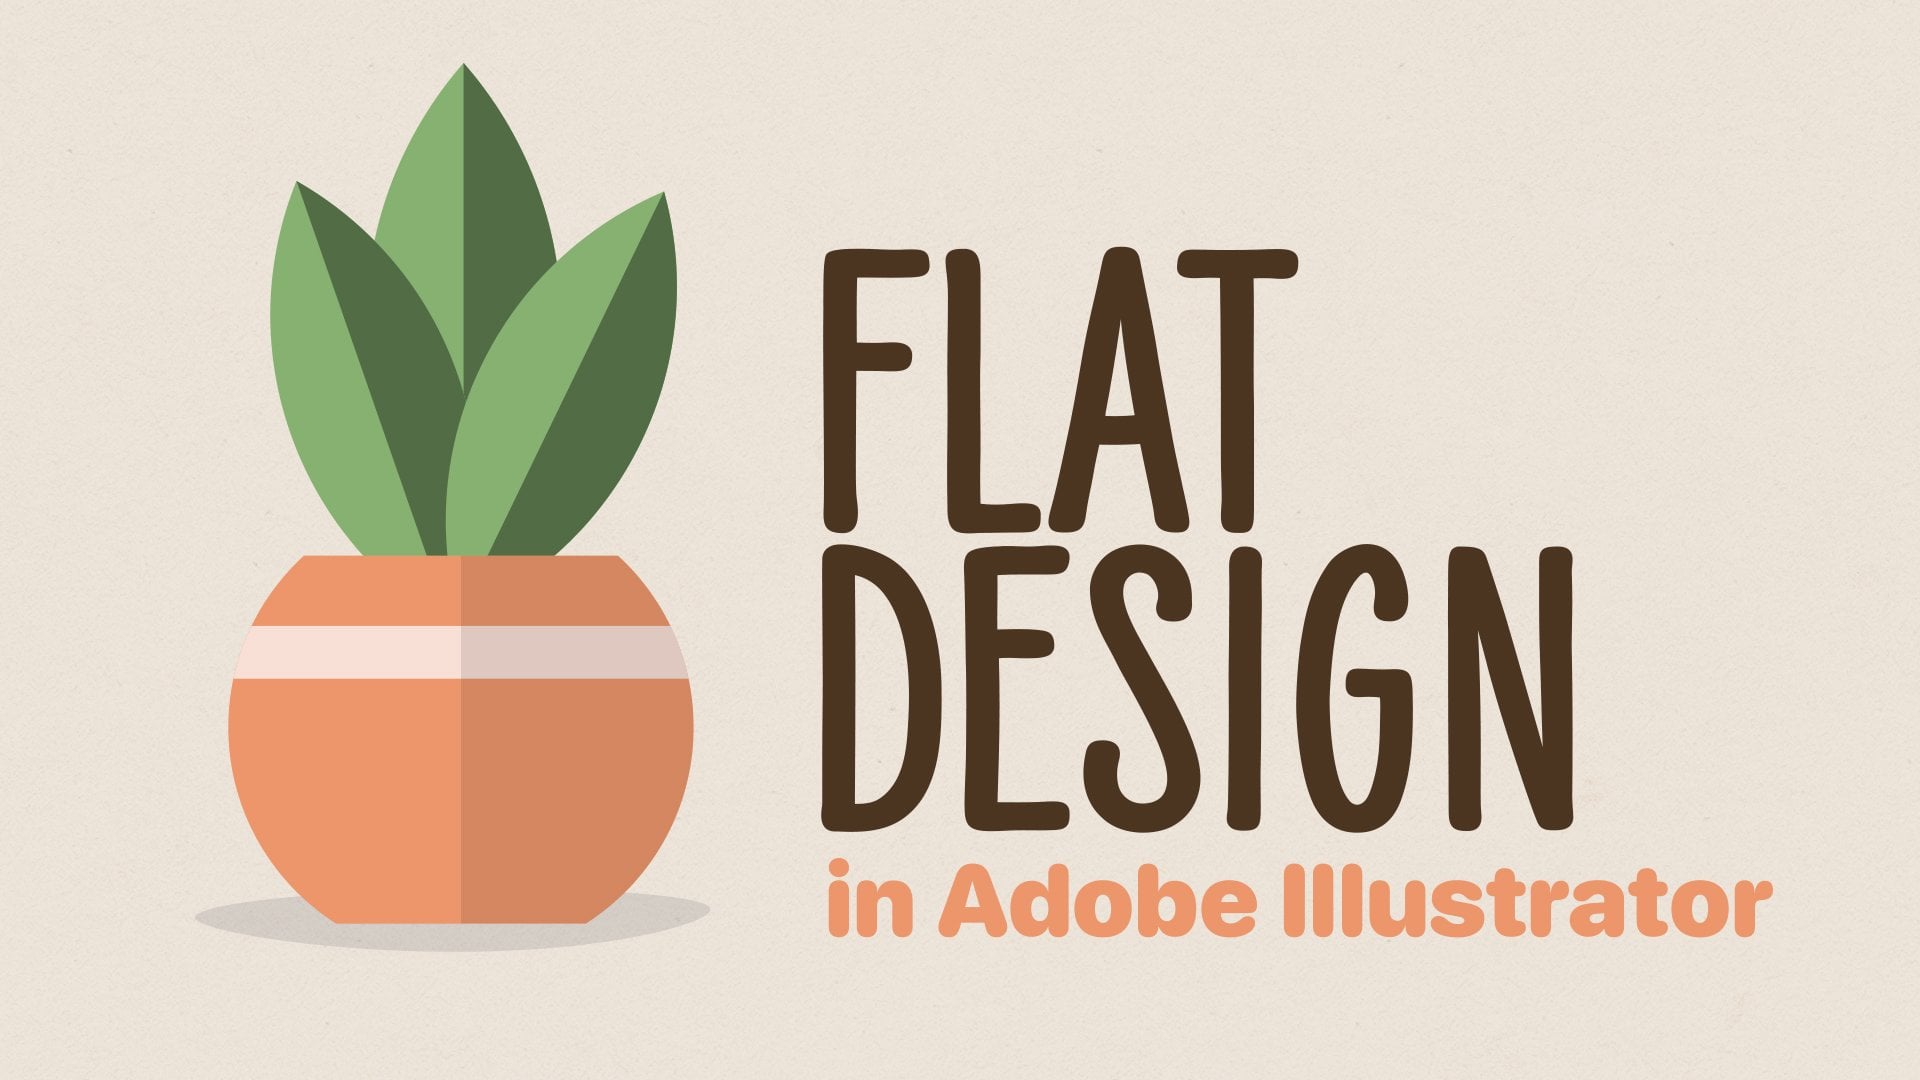
2. Making the Rose Petals: Hey everyone, Today I'm
going to show you how to draw a rose in
Adobe Illustrator, just like this one right here. So let's go ahead and
open up a new document. I'm going to make the art board 1080 pixels by 1080 pixels. So it's just a square. And then all of
your stroke sizes and everything will
match up with mine. I'm going to use RGB color mode. We'll use one art board
and just hit Create. Okay, we've got this
new art board out here. Let's get started. First thing I want you to
do is turn on Smart Guides. Go up to the View
drop-down and make sure Smart Guides is checked. This is going to help you line things up on your document. Now, we're going to
press the L key. That's the shortcut key
for the ellipse tool. You can find the Ellipse tool by clicking on the Rectangle tool and holding and then letting
go on the Ellipse tool. Alright, so let's
just draw a circle. Draw a quick circle here. It doesn't matter, it
doesn't have to be a perfect circle if
you want it to be, you can hold shift. But I'm going to make
something like this. Now we're gonna go ahead
and adjust the colors. First thing with the stroke, I'm going to make it 10. And with the fill here
on the left side, you could double-click
on the fill. And let's go ahead and find a red color that we want to use. I'm going to pick
something in here. If you go too far to the edges, It's not going to look
quite as natural. I do want it to be saturated. And then we can adjust
the hue like this, make it red and a
little brighter, a little saturated red in there. Hit Okay, and we've got the
start of our rows here. And you can adjust these
colors at anytime. In fact, if you want to, you can create
swatches and create global swatches so
you can adjust them later and it actually
changes and your design. So with this selected, what we can actually do is
click on the new swatch icon. And it's going to pull
in this red color. Make sure global
swatch is checkmarked. Hit Okay? And we've
got this new swatch. We can actually create
a new color group so we can keep all
these together. We can call it rose, and I'm going to create it
from the selected Swatches instead of the selected
artwork because we're going to change the
stroke color as well. So I have this red
selected and I hit Okay, and it actually pulls it
down into this color group. Let's make a quick adjustment
on the stroke color. We're doing this
in the beginning so that everything going forward has the same
fill and stroke. I'm going to double-click
on the stroke color, go back up into the red area. And then we're going to
grab something that's like a deep hue of red just to pull a little bit
of color into the blacks. Hit, Okay, and now it still looks black,
but it's going to, it's going to just
match a little bit better than pure black. So now that we've
got that and we've clicked it so it's in
front of the fill. We can actually go
back to swatches. We can click on our little
color group and add swatch. Checkmark Global
again in case you ever wanted to change that hit. Okay, and now we have
this swatch in here. So these are nice because
whenever you create shapes, you could click
on these to apply them to the fill
or stroke color. Alright, so back on here, I'm going to click
on this shape. We're going to start to
create the petals of a rose. I'm going to press P for the Pen tool that looks like this over
in your tool panel. And we're going
to find something that's lower than the top of this circle and further
out to the left. And we're going to just click and drag in the
direction we wanna go, which is toward the
center of our rows. And now I'm going to hold Shift at the same
time to keep this dragging out this
way and kind of locked in and we'll just let go. It doesn't matter
how far out you drag this handle Somewhere in there. Then you can see how the
path is going to be. The next time you click, I'm going to find
something outside of the circle, maybe down here. And actually we're
gonna go in the center. So this is going to
help you line up, see those smart guides
are popping up. It's helping me line up. Somewhere in the center, down here below, I can click and drag and
do the same thing. I can hold Shift again, let go. Then I can click on this
anchor to finish my path. Okay, so what am I do is grab
this direct selection tool. I'm going to click on this
anchor point right here. And right now it
just has a handle out to the side, which is fine. What we can do with this
handle down here though, is click and drag
it out further. So we can line it up like that. So that this comes up
directly into this edge. And we can make adjustments
to these handles to make this pedal look like
how we want it to look. Now you can do this
with any anchor point. You can also grab the
anchor point tool, which is shift C, that's inside the Pen
tool click and hold. You can find the
anchor point tool. And if you hover over any of these paths between
anchor points, you can actually just click and adjust the curve of
these different paths. As is, it's going to
create handles and adjust the handles to match the
curve that you want. I'm going to undo
that a little bit, and I actually
might pull this one out a little bit more like that. So what we can do with this
is move it around and then we can copy up here and edit copy. And then we can paste in front, which is Command or Control F, depending on if
you're Mac or PC. So we paste in front and now
we have a duplicate, right? So this duplicate we
can click on Select, find our Properties panel, and there's a little flip
horizontal right there. We could bring
this guy over here if we match them up a little
bit to cover up the bottom, just like that, we've started to create our shape now these are the inside
pieces and we're, might make some
adjustments later. But if I click and hold Shift, select both of them. I want these inside pieces
to be a little bit darker. I'm going to
double-click this fill. Maybe darken them
up a little bit. So just come straight
down and hit Okay. And I could then add this swatch to my
swatches down here. Same way we did before. Click the Plus global hit. Okay, so now I have a darker and you can move
these swatches around. So the lighter, the darker than the outline that
we're just creating layers here for our rows. I'm going to click
on this circle just to pull in its colors over here. And now when I press P for the Pen tool, I can
do the same thing. Kinda come out here to the
side a little bit lower than these inner petals and
did the same thing. Click and drag holding Shift. When I come down
here, maybe create, actually I might go like
this and we'll come back up, just finished that shape, then press a for the
direct selection tool. Click on this handle,
kinda bring it out and we can make
some adjustments here just to get the shapes
that we want, just like that. Now I'm going to select
this command or control C, then command or control
F paste in front. I'm going to grab that
flip horizontal again, bring this piece over here, so they kinda cover up. Now I feel like these should be, maybe this whole thing
needs to be a little bit skinnier or taller. So what I'm gonna do is click and drag to
select everything. And we could just squeeze
it a little bit like this. Then I might hold shift and
grab these two inner pieces, maybe bring them
out a little bit. And of course, I
want this circle, maybe it to be a
little bit flatter, kinda bring it up like that. Then what we can do is make
a lot of adjustments here. So I think no rows
is really perfect. You can, if you wanted
like a perfect design, you can leave it like this. But what I might do is grab my Direct Selection
tool shortcut key is a, and then start selecting
some of these points. I can bring some
of these up with my arrow keys or I can
just click and drag. And what I can do is
kind of, you know, adjust some of these
points of my rows just to make it a
little asymmetrical. Now sometimes you might
accidentally grab the whole shape
instead of a point. If you do that,
you can just press Command or Control Z to undo and click on that point
and then click to move it. You can create
something that's a little bit less symmetrical, maybe this way,
something like that. And whatever do maybe it
is grab both of these and bring them over a little
bit to center this up. Just slightly. I don't want it to
feel to offset. But there you go. And you can make adjustments to this circle just by clicking it, kinda grabbing the handles, moving it around as well. But once you get that
to your desired look, we can move on to the stem.
3. Creating the Stem: For the stem, I'm gonna go
back to the Ellipse Tool. The shortcut key is L, gonna kinda make a
circle down here, and we're gonna
change this to green. So I'm going to grab something in the middle
of the green here. And I think this is
a little too bright. I want it to be more natural. Someone bring it down a
little darker and maybe a little bit more muted,
less saturated. Somewhere in there. Hit Okay, now the circle, obviously we want to send it to the back so we can
right-click on it and go Arrange Send to Back. And then we can bring it
up underneath this flower. And what I would
like is maybe to select all of the petals up
here and group them together. So we can right-click, click on group, that's
Command or Control G. Now with that, we
can grab everything. So I have the group and I have this circle part of
the stem down here. I can click on the
top rose petals part, and now it's highlighted darker. That means I can arrange
or align things to it. It's the key object. Now, I find my Alignment panel, any panel you don't see us
up in window like a line. But in the properties
panel you'll see some alignment options. And I can actually align that bottom circle to the
left, right, or center. And I just wanted to make
sure I would center it up on the pedals up top. I'm going to bring this
up a little bit more. So it's closer to the
top loops and I might even widen it a little bit. Now. I think I like where it's at, so I might actually make
it a little bit skinnier. The opposite. Okay, So we just wanted a little sliver of
that circle there. And now what we're gonna do, I'm gonna move this
up a little bit, is create the stem itself. So I'm gonna actually grab that rectangle tool and I'm going to find somewhere in here and
just click and drag down. Let go V for the direct selection
tool so I can grab this, move it up a little bit, make sure everything
is centered. So I'm going to
align to key object will align everything
to this centered. Good, nothing really moves. So we were in the center. Now I can grab this right-click, arrange, send to back. It's now we're behind. And what I wanna
do here is I would really like the
width of the stem. So the green to match
the stroke size, you remember the
stroke size was 10. So I'm going to grab this. And what I'm gonna
do with the stroke is click on it to
open up the options. And I'm going to align
it to the outside. Aligning it to the outside allows me to define the width of the rectangle without the
stroke overlapping it. With this still selected, I can find my Transform panel. Here's width, the w, and I can change that to ten. Now it adjusted the
height as well. I don't want that to happen. So I'm going to Command
or Control Z to undo, unclick this chain. So now it's not linked
with the height. And I can adjust the width
independently of the height. So I'm gonna make
that ten again. So now this is a 10-point stroke and ten pixels in-between, because we align the
stroke to the outside. Perfect. Now of course, I always want to make
sure I didn't screw something up and uncentered. So grab everything again, click on the petals center. Okay, we are good.
4. Building Leaves & Thorns: So let's create a
couple of leaves here. Easy way to do that is pressing
L for the ellipse tool. I'm gonna create a
couple of circles. This time I am
going to hold Shift to make it a perfect circle. And once we create
that perfect circle, I'm pressing V and
hold Option or Alt, you get this double arrow. That means you can duplicate it. So I can duplicate this out. I'm also going to hold Shift. And what I'm going to
do is bring it over. So the two circles would have maybe a little leaf shape
aligning in-between. You can't see it, but
if I do select both, now I can see the path
here of both circles. Inside here it's kind
of a leaf shape. So to get that cut out, I'm going to press Shift M. That's the, that's the
shape builder tool, one of the best tools
here in Illustrator. And it can actually see all
these overlapping parts. So we can delete out
the left and the right. So if I hold Option or Alt, I get the minus key. And I can just drag through the left and drag
through the right. And now I have this leaf shape. Now it's possible I
have to, and I do. So I'm going to
just delete one of them because I'm gonna
make some adjustments. We're going to create the leaf with a little stem on the leaf. And then we're just going to duplicate that so we don't
need to make that all twice. We can just make it once
and then duplicate. So I'm going to
rotate this leaf. I could rotate it in
45 degree increments, which might make it
a little bit easier. So I'm going to rotate
it just 45 degrees. That will bring it
right down here. And I'm going to draw a little path from the edge
of it down into the stem. So press p for that pin tool. Find the anchor point here
at the bottom of this leaf. Make sure you leave
isn't selected so you're not
actually editing it. Find that anchor
point. Click and drag in the direction
you want to go, which is toward
the stem. Let go. And now we're going
to create down here just a little connection to
the stem. Just like that. Press V to get out
of that pen tool, they see a sliver of
green right here. That's because our path we
created still has that Phil. I'm going to press none on that. And now we have a little
connector here for the leaf. Now if we want to
make some adjustments to this, remember Shift C. And I can actually
pull this around and I think I'm going to do that
to try to get a little, just a little bend in this path, then I might grab the direct
selection tool shortcut key is a grab this anchor point, kinda bring it
down a little bit. So this path curves
into the leaf. I like that a little bit better. V for the selection
tool, select this path. We're going to send
him to the back, so it's behind the stem. Cool. Now, almost finished
with this leaf. I would like a path
that comes in here, like the middle of the leaf. We're going to press P Again, make sure nothing is selected. Find that same anchor point. Click on it. And
we're gonna come up here and find that other anchor
point and click on that. So we've aligned directly
through the leaf. Now I'm going to press a for
the direct selection tool. Click on that anchor point
and drag it back while holding Shift and put it
somewhere right in here. And then what I would
like to do is go to my Stroke options of this
path and round the caps. You see how it's
very squared off. We can round that off just by clicking round cap right here. And last but not least, I want to change the width
of the end of this stroke. So Shift W is the width tool. You'll find it right here. It kinda looks like that. And what we can do is click on this anchor point and we can
actually change the width, both large and small. So we can just make it a
little bit smaller and you'll see it starts
big and get small. Now that was in my opinion, a little too small. So we can make an adjustment
there and just kinda fit this to the size
that you would like. So it gets a little bit smaller
as it goes into the leaf. Now the other thing we can do, I don't really like the angle of this compared to the leaf. So we could select the
leaf and this inner path, group it together to make it a little bit easier
to move around. And then we could maybe
rotate it a little bit just like that and
then bring it down. So it kinda matches this
little stem part right there. Now once we have that guy done, we can select all of it, group it by command or Control G or right-clicking
and going to group. It brought this
up back in front. So what we can do is
grab the whole group, arrange and send
him to the back. And then we can take this leaf, kinda move it up and down. I like holding Shift
to keep it in line. And then we can hold
option to click and drag and make a duplicate
options also, Alt, if you're on Windows, go back up to our properties
panel transform, kinda flip that over and then
bring this leaf down here. None of this is really
an exact science. You're just moving
things around. I mean, you're making
an organic objects so it doesn't really
need to be perfect. But as long as everything
lines up properly. Now what I would like to do
now that we have this stem properly sized and the width
is good and everything, if we click on it and we
zoom in a little bit, That's Command or
Control plus and minus. You see these little
circles that will allow us to round off the
end of this stem. Now I would like to do that. I'm going to pull
it all the way in. And so now you notice
it's nice and round. That just creates a
softer look to this. And speaking of softer look, I'm going to press Z and then
click and drag to zoom in. You see how the corners
are all very, very sharp. We can actually round
those off a little bit. So let's select the
entirety of our rows, everything here
and go to stroke, since everything has
a stroke and corners, instead of this miter join, which is basically
a sharp corner, I'm going to do a round join. And you can see the difference
that makes up here. So if we undo, see how pointed it is and then
we could round those off. Same thing with the leaf. If we come down here. It was a little bit
pointed before, but we can round that off. So we're just kinda
softening up all of the edges by rounding
the bottom of the stem, rounding any of the corners. The last thing that
we can do is add maybe some thorns to
this if you want. So what I would do to do that is press L for the ellipse tool. Click and drag. And then I would keep
these more rounded. So it's more like a
representation of a thorn rather than actually creating something super pointy. I mean, this is, this
is a rose, right? It's not supposed to be like
threatening in any way. So the fill, I actually
want to cancel that. What I wanna do with the
fill is click and drag this stroke to just make
that a part of the fill. So we've got that. And then I can just
grab this circle. If I zoom out, I can kind
of understand how big it is that might be about
where I want it. We can right-click,
arrange, send to back. And if we want to make
it a little bit smaller, we can zoom in and out a lot
when I'm using Illustrator. And you know what this stroke on this one might be
just a little bit much. So we're going to
drop it down to five. And that'll help reduce the size while keeping
it nice and round. I'm going to bring this one
over to the left-hand side. It might be hard to
click and grab that. So you might need
to zoom in a little bit, bring it there, can hold Shift and just kinda hold Option or
Alt to duplicate it. Landed up to the center. You saw that smart guide. We kind of move this guy down. If we click and grab and pull in the middle,
just like that, we're just creating some of these little thorns in
and around our rows. Doesn't have to be perfect. You notice I just missed
that click again. So some of this is a
little bit delicate. I don't want too many thorns. Maybe something like
that if you would like thorns on your row. So then we can click and drag, grab the whole thing,
right-click group. And then we aligned to
the art board and we can center both horizontal
and vertical. Put it right here on our
art board if you'd like to, you could create a background. I would do that with m, which is the
rectangle shape tool. Find where this intersects
up here on your art board. Click and drag. Bring it down here. Okay, there we go. Now I want no stroke on this. I want it to be 1080 by 1080 and it should be centered
on my art board. You could grab it and
center it up if it's not going to right-click
send to back, arrange send to back. Then we can change
the color of this. Maybe grab some
really light tan ish, yellow color,
something like that. Just so it's not
like stark white. Kind of see the
difference there.
5. Adjusting Colors: Now let's talk about
color really quick. I didn't add the green, so we can double-click into this group and click and select a stem which
has that green. Go up to the swatches. Make sure we click
on this folder and add this green as a global
swatch and hit Okay, I want to show you
something really quick, so we just have
these four colors. You can quickly change
the colors of erodes because we created these
as global swatches. So this color is the
brightest color of the red. Maybe I feel like it's got more pink than red
in it or something. So I can double-click
on it and I can actually make adjustments here. Can click preview, and I can maybe pump a little
bit more red into it, a little less green, right? So maybe I want some more blue, maybe I want it to be pink. You can adjust the colors as simply as moving around
these sliders right here, and then hit Okay,
and that adjusts that red for anything that
had that red in it. If you felt like the green
needed to be changed, oops, didn't mean to do that. Make sure nothing is
selected when you click on these swatches and
then double-click. Same thing. Maybe I wanted this
green to be brighter. I could pull that up, make sure I click preview. And I can see now I clicked on the swatch of the stem and
made that a global swatch. But the global swatch wasn't applied to these others because I created them separately
without it being the swatch. So what I could do
is just hit Okay, make sure as you create these, that everything
uses that swatch. So if I press my
Direct Selection Tool, carefully select
each of these shapes and not the anchor points
but the shape themselves. Then I can apply
that swatch to it. So then I can double-click
outside of that, go back to that swatch
and make those, make those same
adjustments, preview, and move my colors around
inside the swatch options, the global swatches are
really powerful if you want to really control all the
colors in your artwork, that is how to make a rose
here in Adobe Illustrator. Hope you guys enjoyed
the tutorial, and I'll see you
in the next one.
 Spencer Martin, Graphic Designer & Content Creator