Transcripts
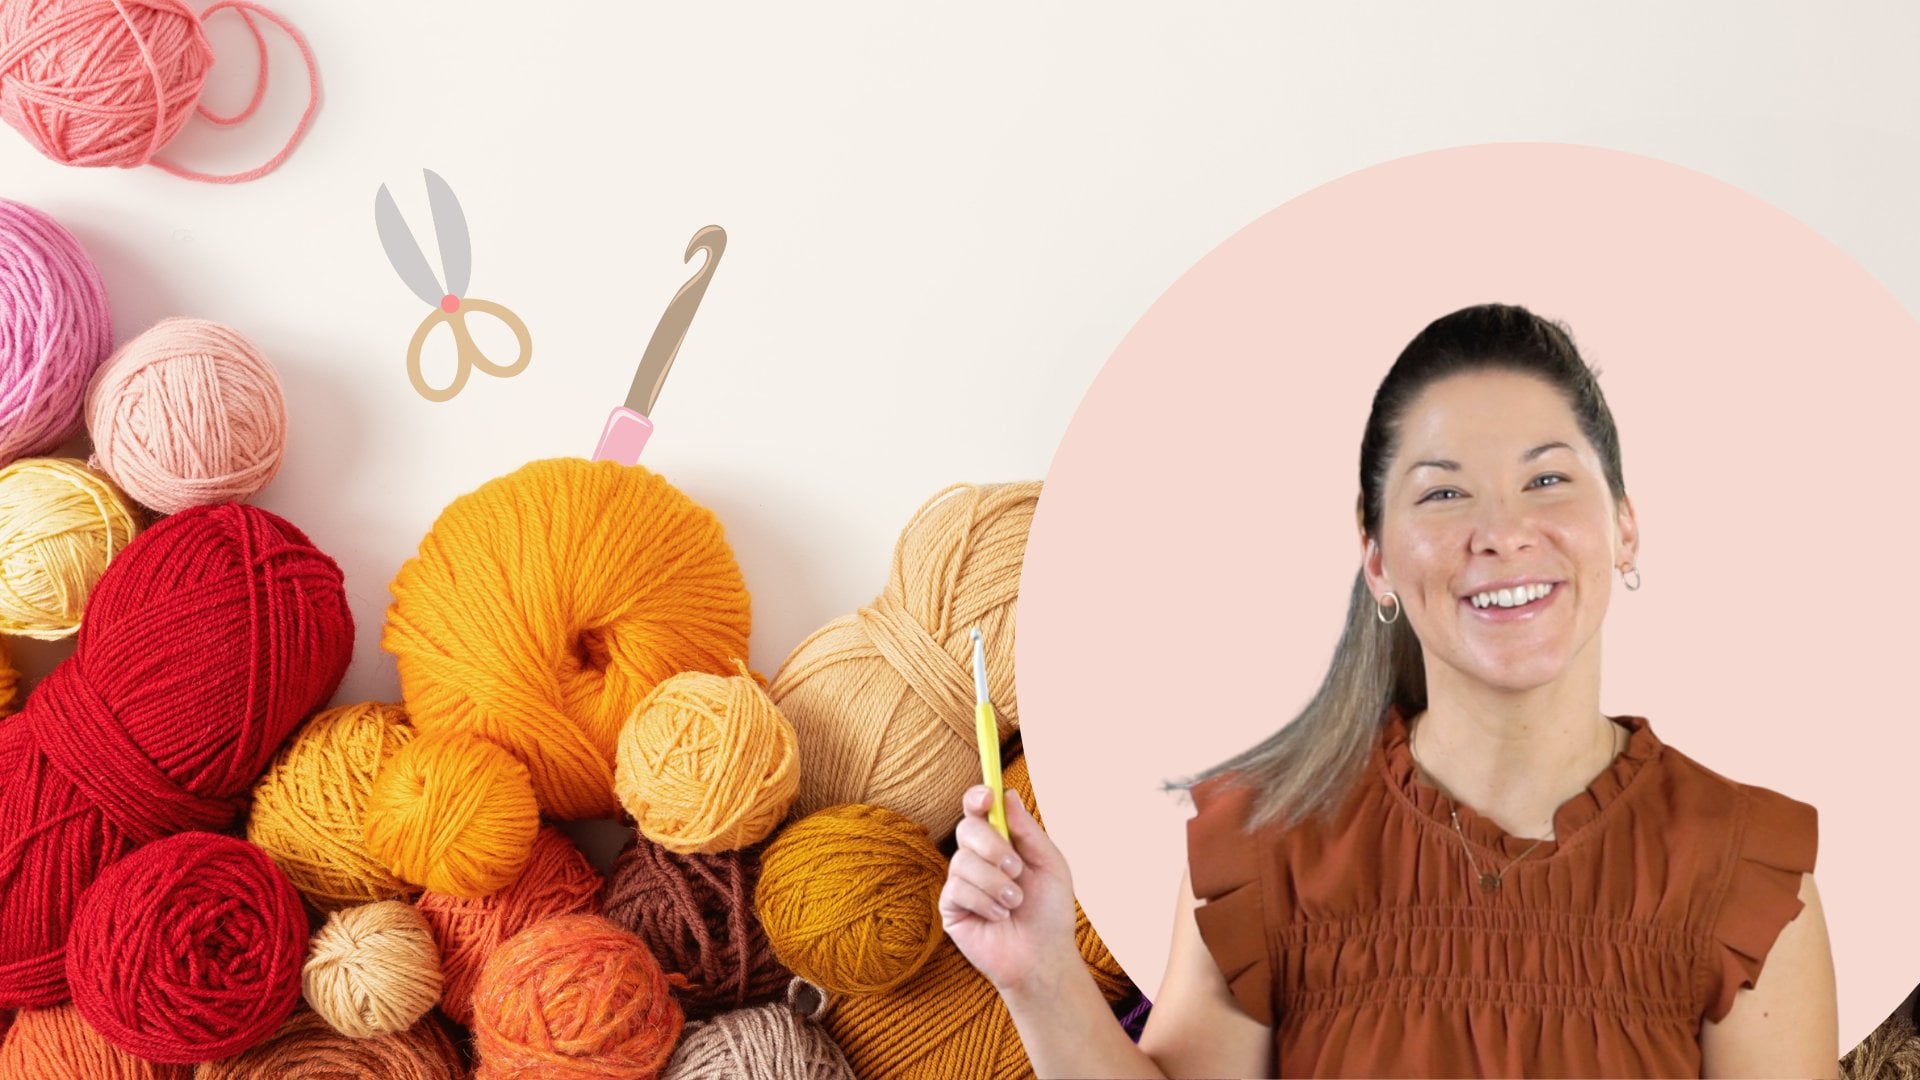
1. Introduction: Hello everyone, Welcome
to another course. My name is Marina, but I go by Bloody Mary Art and I will be your teacher
for this class. Today you will learn how to crochet this lovely thought bag, a really versatile and handy bag that you can use
as a grocery bag, a shopping bag bag, or whatever you need it for. You will also learn
how to embroider those lovely flowers using a tapestry needle and a bulky
yarn you have available. This class is suitable for
advanced beginners who already have a basic understanding of crochet and know the
basic crochet stitches. If you are a complete beginner, I highly recommend checking out my other classes first where
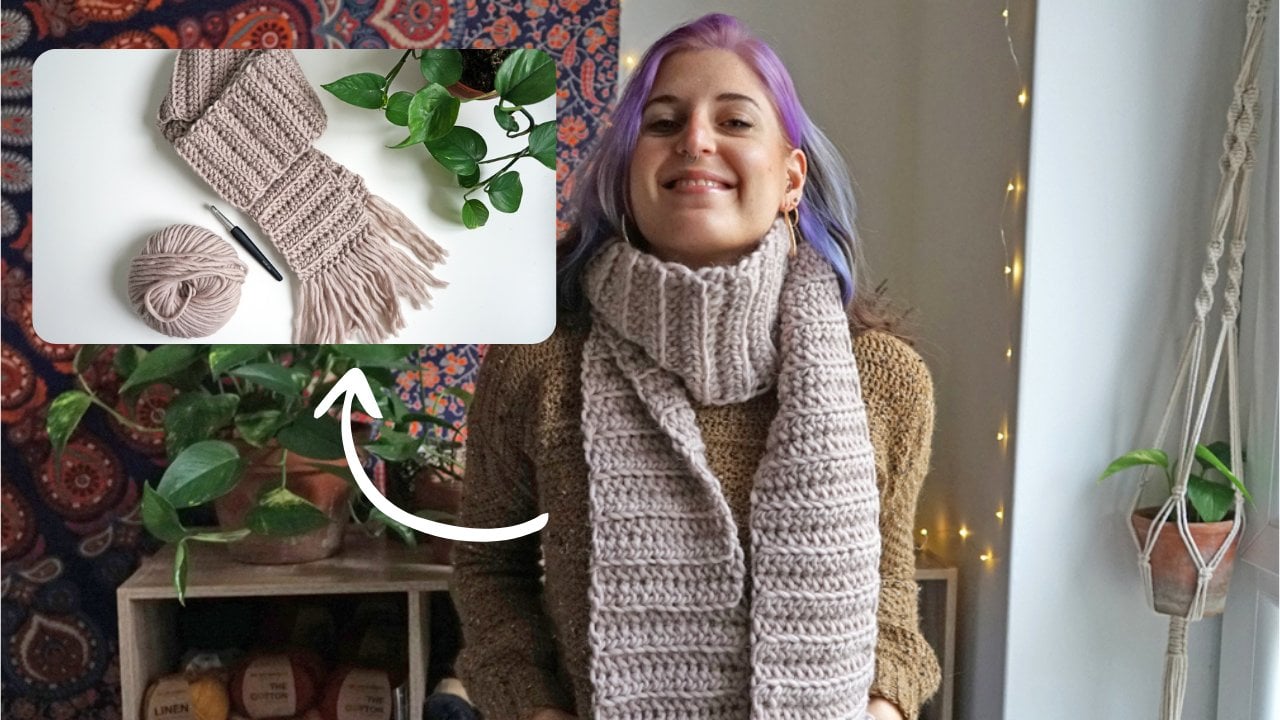
you can grasp the basics. Before diving into this project, I offer a crochet course for
absolute beginners that will teach you how to
master the basics and create a super
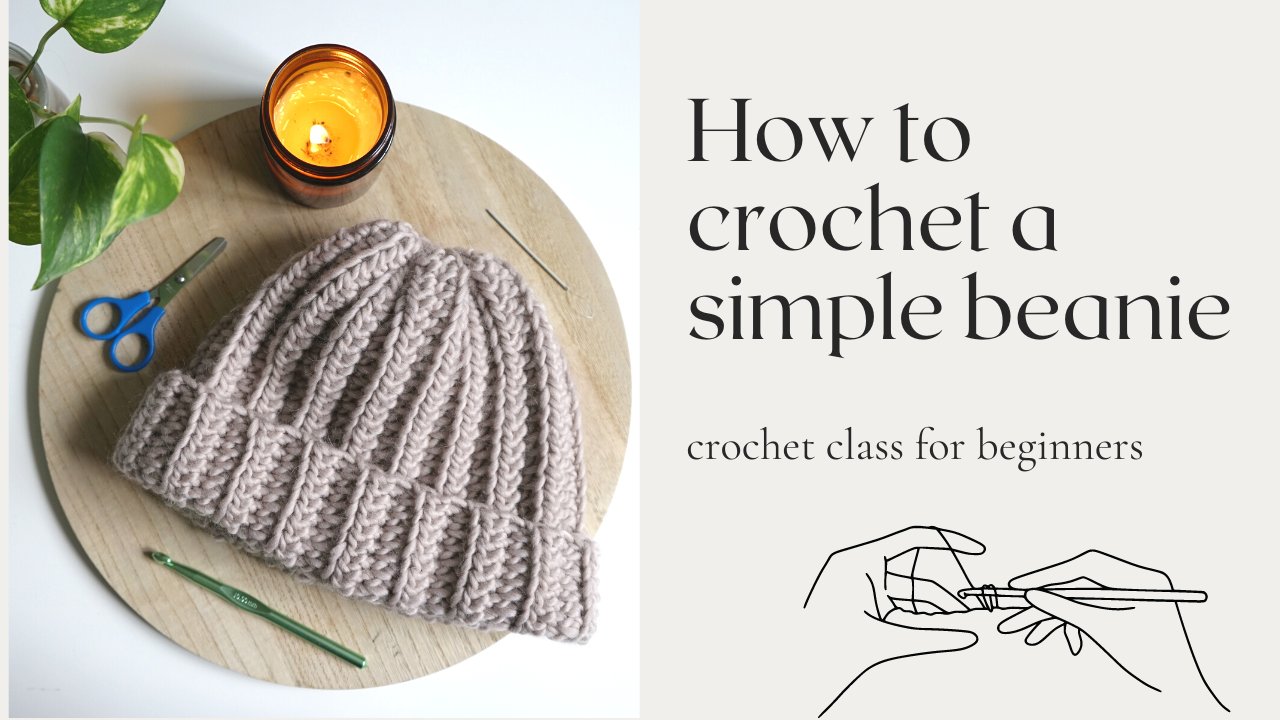
easy chunky scarf. The second class
demonstrates how to crochet a simple beanie
to complement the scarf. Both projects are enjoyable and can be completed
relatively quickly, making them highly
rewarding and stimulating.
2. Measurements & Materials: Using another thought
bag as a reference. I decided our thought
bag will be around 13 " wide and around 16 " long. While the straps will
measure around 22 ". The supplies you need are around 300 grams or 950
meters of fine cotton yarn, which is also called
baby or sport yarn. I'm using two strands
held together because I have lots of yarn
in my stache I want to use. I decided to go for this saffron from
drops in color way 22. This is color A, you will need around 200 grams or
640 meters As color B, I picked the fair cotton
bicatia in Colorway 37. You will need around 100
grams or 310 meters. If you want to be sure, I recommend making a gage watch to test if your yarn
is suitable or not. The gauge Swatch
for this project is 15 half double crochet for 11 rows to get a
four inch square. Feel free to use worst
weight yarn if you don't want to use two strands of sport
yarn held together. You would also need
a little bit of bulky yarn or chunky yarn
to create the flowers. Here I'm using wool power, 100% wool, which is a leftover yarn from
previous projects. I picked three different colors. Master 22030 and Dusty
rose zero eight. You will also need a five millimeter crochet
hook stitch markers, a tape measure, a
pair of scissors, and a yarn needle. I'm using two different
needles here. The smaller one to wave in the yarn tails and the bigger one to
embroider the flowers, but you can use
whatever you have.
3. Making the Base of the Bag: Grab your yarn and
make a slip note. Chain 50 to achieve a 12
inch long beginning chain. Skip the first
chain and insert it half double crochet into the
second chain from the hook. Continue to work one half do crochet into
each chain across. When you reach the last chain, insert two c into the same chain to curve your work and continue crocheting on the other side
of your beginning chain. Once you arrive at the
first chain, you work into, insert two half do crochet into the same chain to
mirror the other side. Slip stitch into the
very first stitch. You should have a
total of 101 stitches. Make sure you don't
accidentally end up with an even number of stitches as it will affect
the pattern count. We'll be working in the round, a crochet technique used to create circular
projects without seams. Instead of working back
and forth in rows, you crochet continuously
in a circle. At the end of each round, slip stitch into the first
stitch and start a new round. To start a new round, chain one and insert a half do crochet into the same stitch
where you slip stitch. Work one half do crochet
into each stitch a round, then slip stitch into
the very first stitch. You might notice
your work slightly curving into a kind
of boat shape. This is normal, so don't worry. Again, chain one, then work one half double crochet into the same stitch where
you slip stitch, continue by working one
half double crochet into each stitch around. Just a quick reminder of something I used to struggle
with as a beginner. Make sure not to
accidentally insert a stitch into the slip
stitch of the previous row. This low here might be unintentionally consider
a stitch, but it's not. It's a linking loop created by the slip stitch
of the previous row. If you insert a stitch there, you'll end up increasing on one side and your
bag will look weird. If you are unsure
and don't want to count 101 stitches each round, you can use stitch
markers to mark the slip stitch or the
first stitch of the round, whatever you need to help
you avoid this mistake. After the last stitch, slip stitch into the
very first stitch. Repeat this pattern
for a total of 13 rounds ensuring the base of your bag measures 5 " long. Now let's continue with the
next part of our pattern.
4. Making the Body of the Bag: Now we'll continue with
another pattern repeat which consists of two
rounds for round one. After the last slip
stitch chain, one, one single crochet
into the first stitch, one double crochet
into the next stitch. Keep alternating
these two stitches. So one single crochet, one double crochet all around. Repeat this alternating pattern of two stitches until
the last stitch, which must be a single crochet. Here I have my last
single crochet. Now I slip stitch into the first stitch for
round two chain one, one double crochet
into the first stitch, one single crochet
into the next stitch. Repeat one double crochet, one single crochet all around. Keep repeating these two
stitches until the last stitch, which must be a double crochet. Here I have my last
double crochet. Now I slip stitch into
the first stitch. Keep alternating round one
and round two if you need. You can use stitch markers to help you along the way here. For example, I marked the last
slip stitch of the round, the first stitch of the round. I know where to insert my
hook to finish the round. I worked a total of 20 rounds and now I'll change color to finish the upper
part of the bag. If you'd like to do the same before slip stitching
into the first stitch, grab the new color and
close the stitch with the new color chain one. I like to pull both yarns a
little bit to secure them. Now you can cut the old yarn, leaving a tail to wave in later. Inside, one half double crochet
into each stitch around. Like you have done at the
beginning of the project, I like to keep the yarn tail inside my work for extra safety. As usual, after the
last stitch slip stitch into the first stitch, repeat this round for
a total of ten rounds, which correspond to 3.25 ".
5. Making the Straps: Crochet the straps. I'm using another tot bag as a reference. Convenient. Right? The tot
bag lying flat on the table counts 16 stitches from the left side and 16 stitches
from the right side. Since I want my straps
to be 1 " wide, I use the tape measure to measure how many
stitches there is. It's four stitches. Count that from
the stitch marker towards the left and insert
another stitch marker. Do the same on the other side, Counting four stitches from the stitch marker to the right, cut the yarn, leaving
a tail long enough to wave in later and frack
the last slip stitch. I'll show you a way to
finish the work seamlessly after your last
half double crochet do not slip stitch
into the first stitch, but pull the tail through the
last loop on the hook and tighten to secure the end thread the tail onto a yarn needle. And insert it through both loops of the first
stitch from front to back. Now go back to the
last stitch and insert the needle
through the back loop. Only always from
front to back pull. You'll notice how tidy
and neat the seam is within the end. Now make a slip knot and
attach the yarn into the top right stitch
marker chain, one work, one half double
crochet into the same stitch and one half double crochet into the next three stitches
to reach the next stitch. Marker chain, one work, four half double crochet. Repeat this last row until you
reach your desired length. I recommend a length
of around 22 ", because the fabric will
stretch over time. If you crochet a longer strap, it might be uncomfortable. I ended up crocheting 80 rows, which was way too much. I'd say around 40
rows is enough. Once you reach the right length, do not twist the strap, but keep it flat. Remove the hook from the loop and with the wrong
side facing you. Insert the hook into the
corresponding stitch marker. And pull the loop
you left before chain one and slip stitch into the same stitch on both sides. Repeat again with
the next stitches seeming the two pieces
together with slip stitches. You will notice that on
the outside of the bag, the strap will look
neat and tidy. Now you need to repeat the exact same thing
for the other strap. I place my stitch markers once again to make sure
everything is symmetrical. Once you are done,
we in all the ends.
6. Embroider the Flowers: Let's learn how to make these super cute
embroidered flowers. You can make as many as you like and place them
wherever you feel. Keep the right side of the
tot bag in front of you. The wrong side is where
the seam is visible. Grab the chunky yarn and cut
a long piece of Y. I would say around 30 " to thread
into a tapestry needle. Insert your needle
from back to front, pulling the yan
through the fabric, leaving several inches
on the back side. This is going to be the
center of your flower. Decide how long you
want your petal to be. Eyeball it. Insert the needle back
through the same hole and come back to the front
side of the fabric at the end of your
petal in the middle. And pull. Now you need to
secure the petal in place by trapping it
with a small knot. Insert your needle through the hole that your
yarn is coming out of, and pull the yarn through wrapping the top of the loop. Re enter into the center
of the flower and repeat the same procedure for as many
other petals as you want. After two or three tries, you'll see you'll
get the hang of it. Be patient as the chunky yarn is not the easiest to work with. It might get tangled
up a little. I need five petal flowers. Once you are done with your
flower on the wrong side, thread the needle
through some of these loops and make
a knot in the center. Use the beginning tail to
make a double or triple knot. And trim the axis repeat until you are satisfied. You can use as many
colors as you want. This is my final
result, isn't it?
7. Outro: Thank you for joining me
on this crochet class. I hope you enjoy it and you are satisfied with
your new thought back. Don't hesitate to reach
out with any questions. If you'd like to learn
more about me and my work, be sure to visit my website at Bladimaryart.com You can also find me on Youtube at
Ladimry Art Crochet, where I post videos
and free tutorials. Additionally, you can follow
me on Instagram, Tiktok, Facebook, and Pinterest, as
well as on Ts and Ravel. If you have enjoyed this class and would like to
support my work, you can offer me a
coffee on coffee. Thank you again. P crocheting, and see you next time.
 Marina Russo, Crochet Designer and Tutor