Transcripts
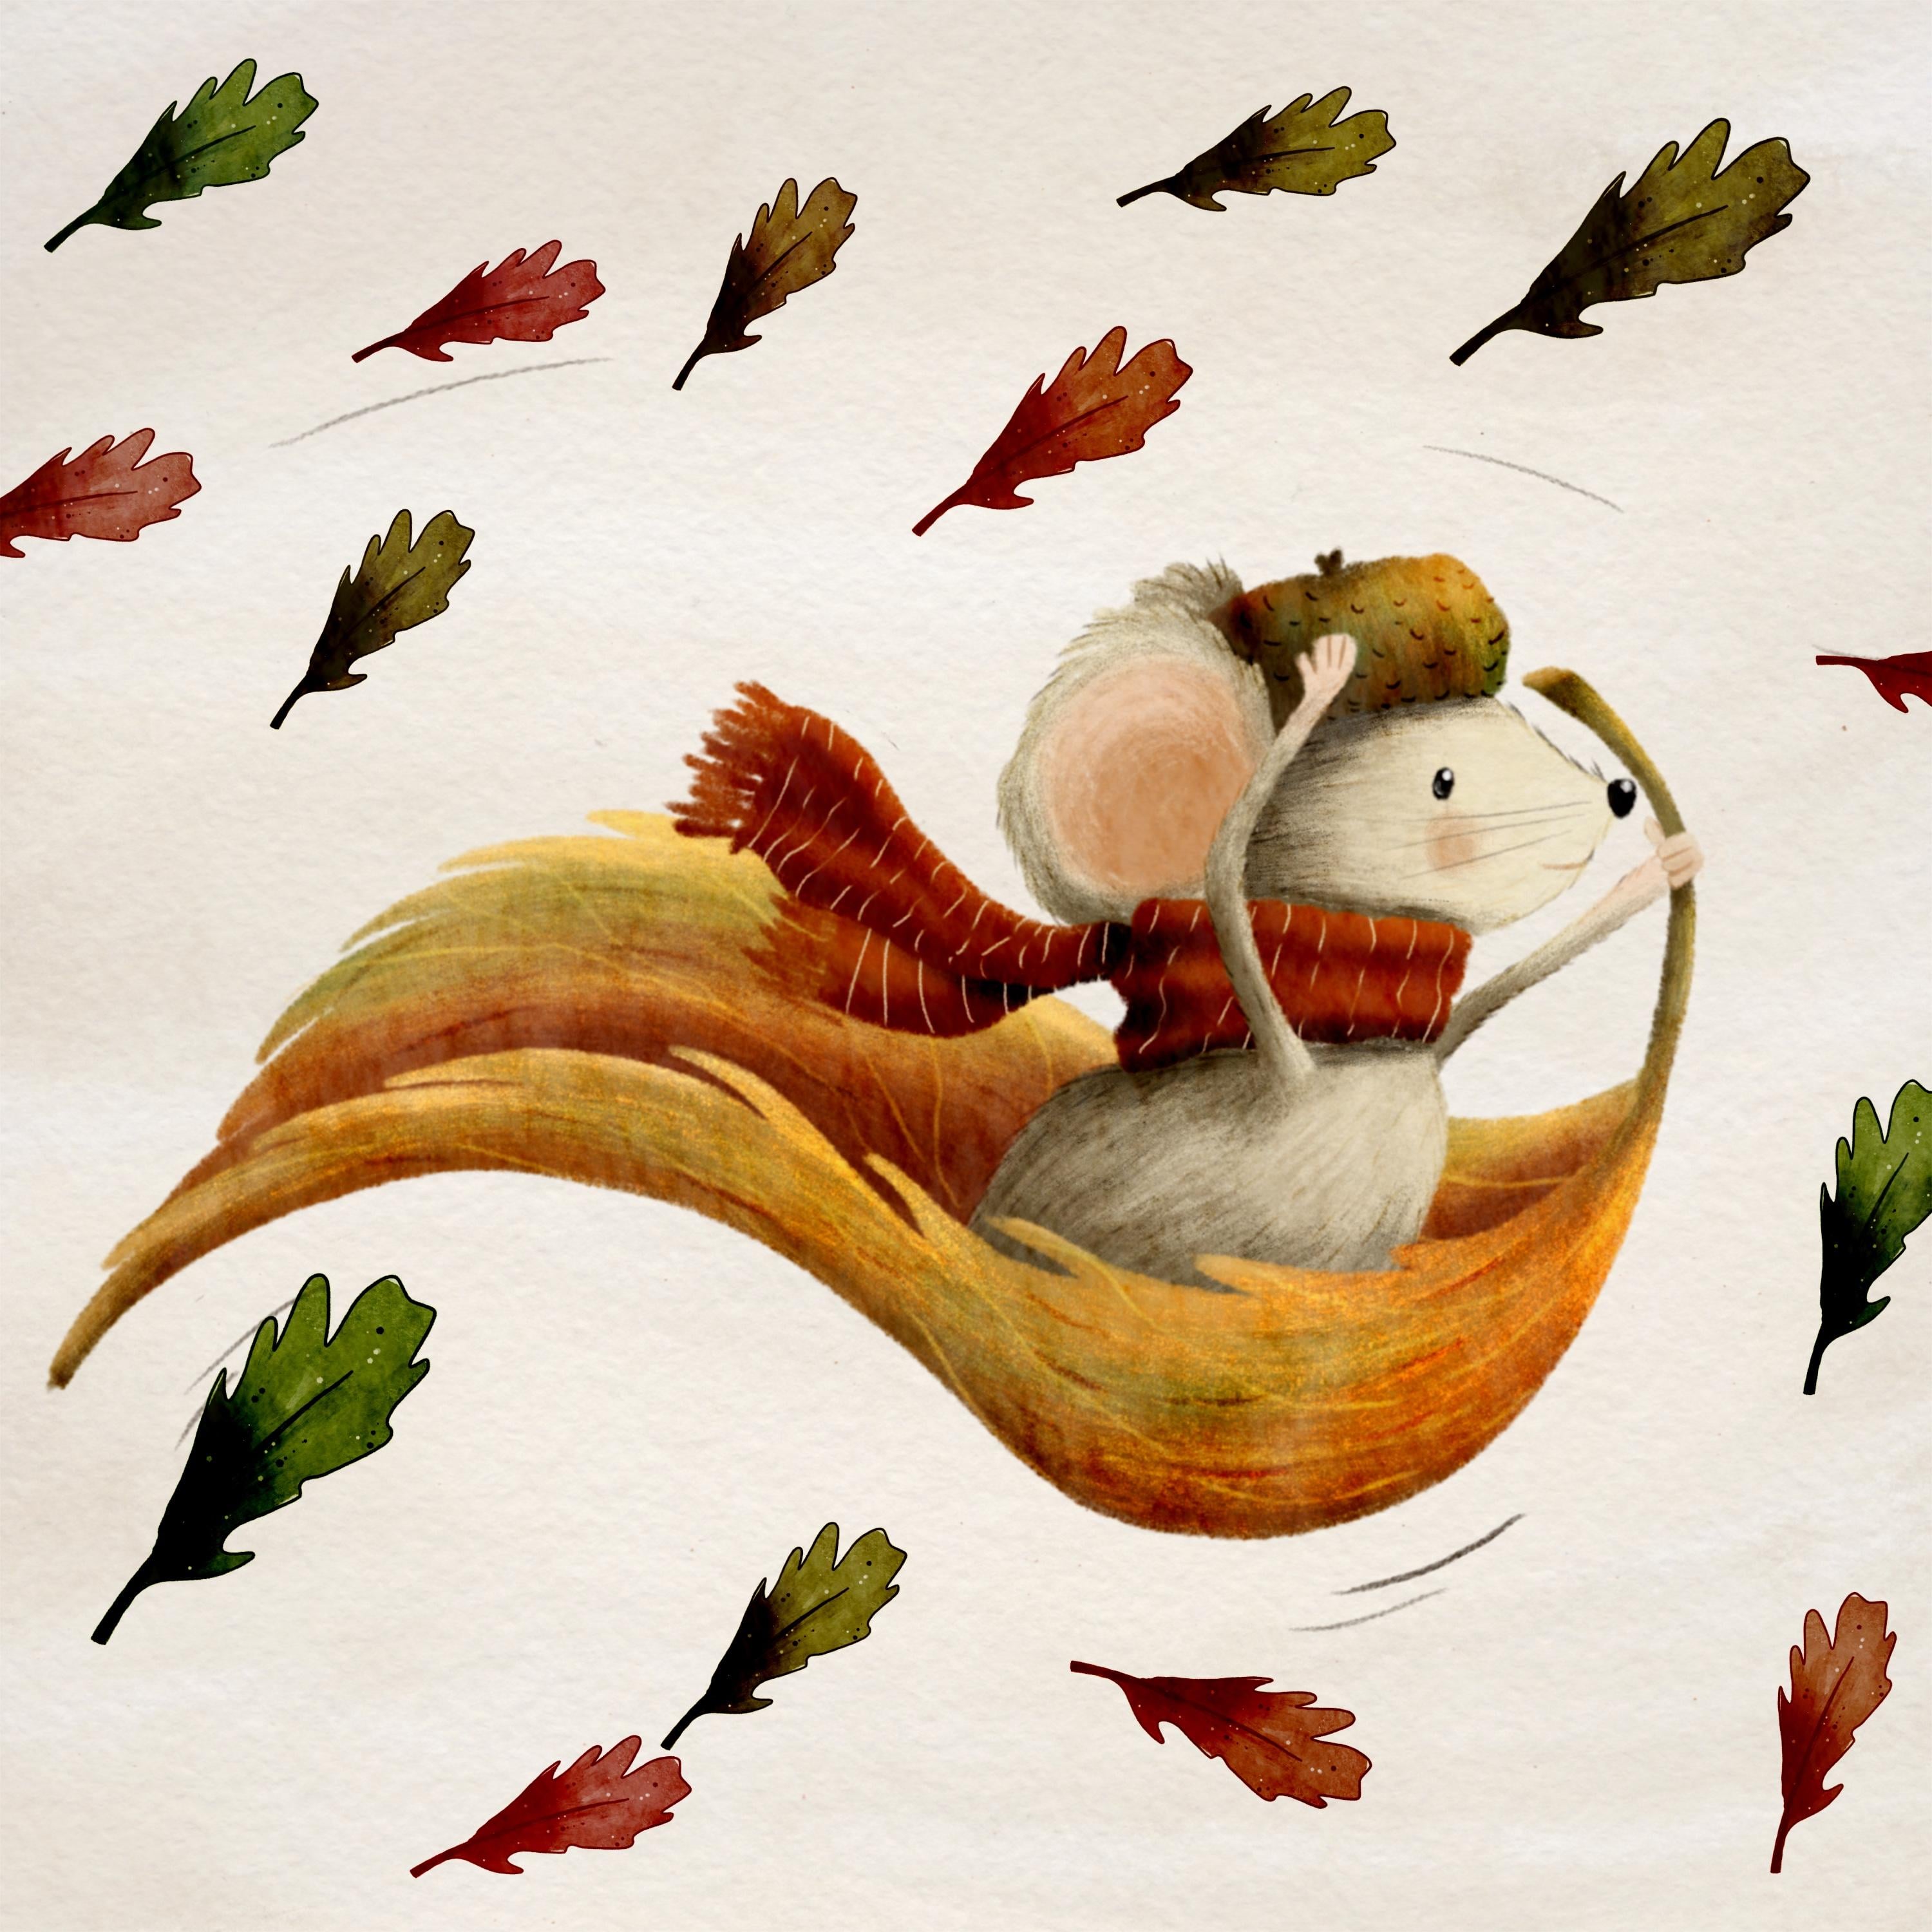
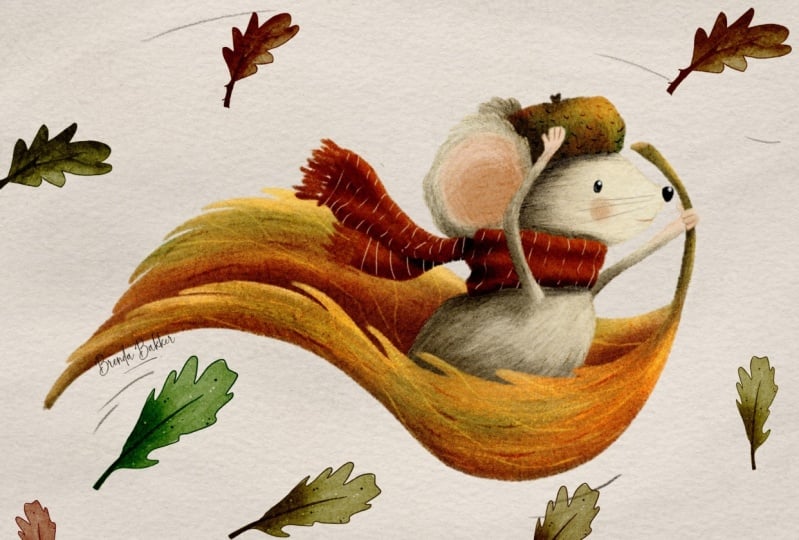
1. Intro: B. Hi, and welcome to my new
Skillshare class. My name is Brenda Bakker. I'm an artist and teacher
based in the Netherlands. If you know me a little
bit longer, you know, I love to draw on my
iPad using Procreate. I love to draw in my iPad, and I love to draw digitally, but I don't like it when
my outcome is too digital. So I draw like
hand drawn pieces, mostly with watercolor
and some colored pencils. So what if we can make
brush stamps that fit that style perfectly? I
will show you what I mean. Like, for instance,
stamps that can do this. Wouldn't it be fun if you
can do this an instant? Just have the right
end result with you. No more doll stamps, stamps that perfectly match
your illustration style. If you would like to learn
that too, let's dive in.
2. How to get canvas and brushes: So what we need to
do now first is get the brushes and the
canvases I provided. So you go to the class on
Skillshare, not the up, but using Savari tap on the watercolor
canvas, download it. It will be saving it right here. And let's tap that one and
what does it say today? It will import right
away into Procreate, and you can find it in your gallery all the
way at the top left. There's your new Canvas. Also, have to get the
Procreate brushes. So we go to the page again. Getting the brush damp. It's a small set.
It's not there yet. Tap it, download it. It's now there. Tap on it. It will go into your brushes, tap on it, and it will
import into your brusht. And with new Procreate,
it's a little bit. You have to search a little bit. It will come in your most
recent opened class. So this is the one
you'll be getting. So it's in your library, you have opened, and
then it's the top one. So that's helped. Now you've got this.
Let's get started.
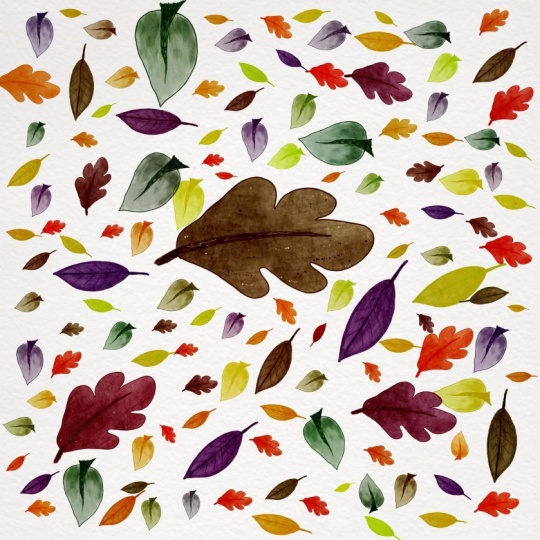
3. Drawing the original stamp design: So let's start now first with creating the subject
of your stamp. In my case, I will
be drawing a leaf, and I ask you to follow
along for the first steps. And then later on, you can create something
totally of your own. And, of course, you don't
have to follow the leaf, but this pencil we are creating now is
specially for leaves, and I will tell you how to make adjustments for if you
want to change something. So let's dive in now. I'll be creating a leaf with the true colors
I would like to use. So for now, I'm going to draw an illustrative
type of leaf. So I'm grabbing my
illustrating pencil. I have to be on a square canvas, and if you can see, we
have some textures in it. I'm creating everything
on an illustrated canvas because I want my subjects
to be full with textures. And that's why we'll be creating
on a texturized canvas, and we get rid of the textures outside of your
subject later on. But let's start with this
texturized canvas first. So I'm going to use black, but I'm going to also use
colors with my first design. So I'm going to draw a leaf. So first of all, I'm going
to draw a stem like this, maybe a little bit smaller. So place it kind
of in the middle. Yep. I'm going to
color this in first. I'm kind of illustrated, not perfectly
illustrating artist. So I will leave my gaps in there because I like it when you can see it's obviously hand drawn. Then I'm going to create
random leaves like this. Make sure these are closed. So you have one draw. And you see my leaf
isn't perfect, but none of the leaves
outside are perfect. Maybe put them in
the middle again. A little bit more to the top. Let me see the whole canvas. So now it's approximately
in the middle. Now I want to color it, but I would like to have an
illustrational kind of leaf, and that's why I'm going to
leave this line art above. So I'm going to create
a new layer below that. And, you know, I told you you have to get these lines closed. It's because I'm going to set
this one for a reference. And I'm going to fill the
layer below in with white. And for that to make it
easier visible for you, I want you to turn
off the background, and you can see the textures coming through.
That's no problem. But now we can see
with a color drop, we can fill everything
within the leaf, just to the point where it's getting overflowed,
so just below that. And now I know my white is completely covering
everything within the leaf. Now I can turn on my
background again. Now I'm going to create a
clipping mask above this white. So for now, I do a plus, set it to clipping mask, and for those of you who don't know how to use a
clipping mask or whites for so you can
see this little arrow. So everything you
draw on this layer is only visible above these pixels. So if you can draw outside here, it won't be visible,
but only here. So now it's making
coloring easier for us. And on this layer, I'm going to lay down my colors. I will use actually colors
I would love to see in a leaf because I can for me, it's easier to visualize
it as a stamp later. I'm going to use my
watercolor brush, my watercolor all rounder, and I would prefer Lisa Glans
brushes and her canvases, but I can't share that with you. So I'll be using my own. But if you have her brushes, definitely use them because they are way better than mine. So for now, I'm going to
draw with a dark kind of blue greenish
color like here. You can see I can lay
my color everywhere. It isn't visible only
on the clipped piece. And I can tilt my brush again, and then the color
would become darker. Maybe a little lighter green. Just create like you have
full kind of colors, maybe a little bit of orange
and also make sure you go to different values of the
color like darker and lighter. And it doesn't have
to be perfect. We only going to blend
them a little bit. I will be using the same
brush for a blender. And it's not a very
well blended brush, so you have to tap and dap those who already know my
classes, tap and dap. So you can also have
a little bit of texture in there because when you smudch it only going
forward like this, you'll be smudching
away all the textures. So that's a, maybe
for some parts, but some parts, it
will be more lovely. So create to your own liking. This will be a ful kind of leaf. You see, I have it
open here a little bit and maybe I want to do that also with here just a little bit to make
it a little bit more fun. But it depends on your
own illustration style, so create it to your own liking. Well, I'm going to add a
little bit more texture, so I'm going to put it all
on a clipping mask as well, maybe with a little bit
of, maybe brownish. And my illustrated
texture brush, bump up the side a bit. I can create maybe darker. Put in a little bit
of darkness in there. I can also create some texture. And you can also
blend it as well. Erase blend it by bringing
it back and forward. Just play to your own liking. And I also want to create some splatters by creating a new clipping mask and
yeah, turn it to black. And my fine dots, here you can M one and
also the white part. I think that's also lovely. So this now will be my
starter of my brush stamp. I think I like it like this. So now I have my original
design for the stamp ready, but we have to clean
it up a little bit, and I will show you why
in the next chapter.
4. Getting rid of surrounding textures: So in this stamp, we're going to get the design ready to create it
to a brush damp. For that, we have
to make it comfort into a black and white
gray scale area. I'm going to check that if
I like that for this one. I think my design is ready. I smudge these together, so we'd have it
all on one layer. I'm going to duplicate it so I can make changes if
I don't like it. For now, we're going to
continue with our duplicate, and we're going to change the color into black,
white, grayish. I go to the magic ones, the use saturation
and brightness, I'm going to turn the
saturation all the way down. And now I can also see it has a smooth feeling of dark
and lighter colors. And I like that. Maybe I
can turn them a little bit darker because the more
darkness the color B, the more color it'll
pick from your stamp. But I would like it if it has some lighter parts and some
darker parts in there. So now I think
this one is ready. Yes. And for making a brush, all we normally have
to do is tap down, three fingers wipe down. Copy all. Create a new brush. And we put it into a shape. I know this isn't correct, but this is how we do it, paste. There you have your brush.
And it will be great. Let me see what this does. We have to invert it and let me see how it stamps right now. We have to do one
more path to see it, spacing all the way out. And you can see immediately when I now create a new stamp, and when I would stamp it like with a darker
green or something, make it a little bit bigger, you can see it has
the block outside, and we want to get rid of that. So our shop jet
wasn't ready at all. We have to get rid
of all the textures. So in order to do that, I want to have the paper texture still visible on my leaf, on my subject, but I
don't want to have it around because you
saw it is going wrong. So now I'm going to
put away this one. I want to make it visible, and we tap to open our textures.
These are the textures. You can see. We'll have it smoothen or yeah, with
a little bit texture. I like the texture within it, but I don't like it in there. So we have to play
with these textures. Before you do this,
always make sure you duplicate the canvas
we're working on. And maybe you can do it
with every time you start. So we're going to duplicate it. So we have always an original canvas with
the complete texture. Now we're going to
select this one. And it's going to be easy. Follow your steps. Select it. Now we have selected this leaf, but I don't want to
get rid of the leaf. I want to get rid
of everything else. So I have to invert it.
You see the stripes. Now the stripes are
gone. They're only going to do the stripes up here. So now I can make some
changes to the background. I tap this one, keeping
it select, tap it again. And said, clear. Now
you can immediately see I erase the textures
outside of the leaf, but inside the leaf,
there are still textures. We have to do it with all
the layers you're above, and it doesn't matter how
many layers you have. Just use your own
canvas and delete all those parts
outside of the leaf. Don't have to select
it again the same way. We can just tap and hold
the same selection. You saw mask reloaded. So it gets the same
selection you did before. It always remembers
the last selection. So now we only have to
tap it twice and clear. Tap and hold. Tap
it twice and clear. That's easy. Now I have the textures within the
leaf, but not outside. It's smooth outside,
but check when I get rid of the textures
within the leaf, see what happens.
It's flattened. It's a little bit textures from my brushes, but that's all. I want to have textures deeply and within
the leaf as well. So now I have to
complete cool shape. Copy all, three fingers
wiped down. Copy all. And then let's see what
we did with the brush. I was on this canvas. You see, it's still not
the right settings, but let's see what we do
when we change the shape. So I'm going to this
untidles brush, get back to the shape
again, edit, import, paste. And you can't hardly
see the difference, but the difference is outside, but it now has the
correct stamp. And you can also now see the little blocks
around it get away. So now if we stamp
with the same color, we already have the part
where it is a simple leaf. So that is your basic
shape of the brush. Now let's dive into the brush
studio to create the signs, the stamps, and the rolling effect and the color changing. We'll be doing that
in the next chapter.
5. Create the Magical Settings: Let's dive in more to the studio and make
the magic happen. We stroke path is down and
the shape is already here. I want to do something else
with the shape as well. We have touch only,
touch properties. I want not to make
it a static one. I want them to change
the direction, and I wanted to follow stroke. I have a little bit
of manipulation on where the leaf will go and I also want to change the count up till
two, almost three. Just go to three
and bump it down to two again because there's
a little space 1-2, and it will change in the beginning of the two
and the end of the two, go to the three and
dive one back to two. That's very inconvenient, but
it has to happen like that. Also, I want to do
some other things. And let's go to the
properties now. There you can see
orient to screen. For this one, this brush,
I would leave it off. And I also want to create the maximum size
a little bit bigger, so I can choose my own size better because
now it was very small. So orient to screen and the
maximum size a little up. You don't have to put it
all the way up, you can do, but it's harder to change the slider later on
than the opacity, yes. When we stamp, we have a little bit variety in
opacity, and I don't want it. I want my lines and my stems to be visible at all times,
and I want them to be there. So I'm also going to change
the opacity to none. And therefore, we have
to do the Apple pencil, change the opacity to none. And now every stamp I
make is a dark one. We also going to dive in more. The rotation we already did, the count two we already did. Let's go to the rendering, how my brush is behaving. I want the intense blending
on because it will dip deer into your canvas when
you're stamping that way. Also I want the blend mode
set to color burn and that will interact with the colors underneath also of your canvas. And also the stamp will
not be above your canvas, but truly in there,
that's what I like more. And now we're going to
the color dynamics. We're not going to
do anything with the web mix, the color dynamics. And there were going to
have a lot of changes. And this is also
interacting with how you create your shape. Is your color darker than mine, or is it lighter than mine? Then you can make slightly
different changes. But for now, I want you
to follow along with me, and then you can change them
later to your own liking. So for now I want to
have my U on about 12%. It will change slightly to the U next to the one you chose. So now it's not all the way
going from red to green, but only from red to
orange, for example, with every stemp
you make because it is changing to every
different step you make. The saturation a little
bit deeper, maybe 10%. The lightness, slightly 4%, the darkness, it's
already on color burn, so it's dark enough for me. I don't want to play with
darkness each stamp, and my darkness would
be all the way there. So maybe this will be
four maybe better. The secondary color is very important in this
one because we're going to choose two
different colors and they intermix
with each other. And I want them
bumped up to 40%, maybe even more
if you like that, but you can play with
that yourself later on. The stroke jitter
we're not going to use because we're working with a stamp and not with a stroke. If you use a stroke like
a colored watercolor, the longer your stroke is,
the colors will change. The color pressure
that's beneath this, I want to change my color every time I do a harder
or lighter pressure, not only with a different stamp, but I can also choose to press harder for a
different color. And I also set this
one to 10% for now. You can always
change this later, 1011, it doesn't
matter that much. That's all for the
color dynamics now. Then we go to the Apple pencil. There we want to
change something. I also want to change the
size by different pressure. I not only want to
change the color, which we did in the
color dynamics, I also want to make sure I can change my
color by pressing size, and I bump it up to about 50%. So I can enlarge it with a softer touch or
a lighter touch. Or maybe even more top
down or soft. Like so. Yeah. And then the last thing I want to do is to preview because now it will be seen like this in your brush set,
and I don't want it. I want to use it as a stamp. Now it's too big because I
want to see the whole leaf. I want to see which
leaf I have there. And so it's visible in
my brushet like this. So now I hit done, and now I have a good side
of what leaf I'm using. So let's see what this
does in my illustration. I already got some
leaves in there. Let's get rid of this
and create a new one. I'm now choosing in this kind of area because of my color
blend in the brush. Maybe your colors will change differently on what
canvas you're using. That's also very interacting
with your brushes. So for me now, I want
to pick some with this pinkish color and you see what fun leaves
we already have. And maybe I'm going
to make them a little smaller because I want to show
you some color variations. You see, this man
is more pinkish here and here is more orange. So that's a slight change with
the pressure and the size. If you want to have more
difference in your leaves, then you must bump up the
use in your color settings. But maybe you just
first duplicate the brush and play
with that setting, so you always have an original and let's see what
the other color does when I look and make
this the bigger color because you can
use a secondary color. The one you've chosen here
is your primary color, and this is your
secondary color. Now my primary is a
little bit mustardy. And here I can see
there's a lot of variation in the color
with my pressure settings. So if I push hard, it will be greener and larger. When I push softly, it will be more
brownish and smaller. That's how you can play, and now I hope you
understand how you can play with your settings
to make a new.
6. How to easily create new brushes with same settings: So now you've created this one brush with
this one leaf in it. It was a lot of things
you have to make to change the settings like this so your brush
would behave like this. But when you create a new leaf, for instance, or I want a
star or something like that, the only thing I
have to do is to go back and take another well, in this case, leaf
like this one, I prepared this already
the same way we did. So I created it with a
canvas with texture, then deleted the
texture outside. And then we have
the original stamp. I do a three fingers wipe down. I touch copy all, and all I have to do now is make a
duplicate of this brush, dive in the brush studio, and don't change any
of the settings yet. Just change the shape. Import paste, and now I have a new leaf brush with
exactly the same settings. So when I dive into
my mouse again, like, where was it here? I can mix with different leaves. This one is set a lot darker, so maybe I can change
them into a lighter one. But it was created
on other canvas, so maybe that's what
intersecting it. Or maybe I can choose a
lighter color of this one. Also choose this one a lighter. And then you can see it
reacts the same way. So you get different shapes
with the same settings. And that's how you can easily create all your other brushes. Maybe you want stars,
maybe you want snowflakes. Maybe you want
flowers. I already created one with flowers again. Oh, let me see where my shape is off the flower I
created. That's here. Same the, it was a
different canvas, then I should use
slightly lighter colors because this canvas
had a less burn in it. So all I have to do is
now copy all and you see, here's the building of
my flower. Copy all. Well, let's go into
this drawing again. And let's duplicate. Change the shape, shape, edit, import, paste,
that easy. Yep. And now, this one
is done as well. So for your summer
illustrations, maybe you choose a
more warm color. Maybe, let me see. I don't
know how this behaves. It's a little bit too bright. Maybe a little bit
saturated more. Well, I think that can do. So you can play with that with any shape, anything you like.
7. Bonus: how to change settings for other purposes: But what if you want
to have clear stamps, all the same direction, all the same size.
Let's dive into that. For this one, I also
created my shape. I made sure I draw
this straight up, proceeded as we
did in the class. So I only have the
textures on the crayon, not on my paper. So now I can swipe
down three fingers, copy all duplicate
my brush again, just as we did the whole time, duplicate it and
change the shape. So now I'm going to
change the shape, edit, import, paste. Now I have my crayon here. But let's see what that does. It does shape in
different sizes, different colors, and
different angles. I don't want that, so we
have to dip in again. I'm going to see where it is. My stroke pad, that's
completely okay. Stabilization, we don't work with that taper, we
don't work with that. My shape is okay, but I don't want to rotate. I want to have it straight
up. Now it's straight up. Okay. Do I want to
have it on count two? Let's see what it does. I think it's okay like this. Maybe I will change it later. My grain is okay. My rendering, let me see. Intense blending, yes,
I want my colors to be deeply and also burnt in it. What makes I don't change? Color dynamics. Yes, I want to choose my
own color for every brush. So I'm going to set
this all the way down. I want no use of secondary colors because I
want to choose my own colors. Also, I don't want it to
change with the pressure. The dynamics, we don't
do anything about it. My size, I want to have
them all the same size, not with different pressure. I don't want that. I want to have them
all at the same size. Properties. Well,
maybe oriental screen? No, maybe I would do that if I want to perfectly
want them straight, but maybe I want to lay them
down for some reason at all. That's okay. For now, oriental screen is off, and maximum size is okay. Materials, we don't
work with it. My perfum my stamp, maybe a little bit smaller. Yeah, now I can see the
brush, and that's okay. Now, let me see.
Some easy changes. Let's go to canvas we
already made here, the same watercolor canvas. And now I can change
my shape and my size. It will use only one color, although they are there just discolored and a little
bit color burning. Uh let me see what I want a greenish one.
Oh, that's lovely. You see, it's blending
in the paper, and maybe I want a turquoise
one and pinkish one. Yeah. You see, my colors are slightly dark because it's
burning in the paper. You can also choose lighter
colors if you want. If you think they're too dark, just choose lighter ones. Maybe that's too light. Little in between.
Yeah. Then here you can see also see the color. Because of the burning
inside of my texture, it will get darker. Let me see the color
burn of this one. I can play a little bit with you see here it will get
lighter burn or darker burn. So you can play
with that as well. So this is the easy
way on how you can create different
kind of stamps, the easy way just by
duplicate and just simply modify these ones. If you want to make a
straight one out of this, you can draw them on
different layers, but you can also choose to
line them up like this. This is also fun to
have them on one layer, select them, pick them up and
move them along the others. If you're like me and
your desk is always a mess when I play
with original parts, let's dive even more in, duplicate and make
some changes again, like keeping the rotation, then we go to shape
and then rotate. Follow stroke, and maybe maybe the size all
going to be the same. Why do I want the size to be the same in this
kind of matter? The shapes are not going
to change smaller. They're only going
to get shorter. And that's something
we don't I mean, at least I don't get to
change in this brush studio. Maybe I'm not there yet. Maybe it is a possibility, but I think not. Now I want them to
rotate a little bit. Yep, now I can make
a messy desk like a pink one like
this and a blue one like this purple one
and a more bluish one, like a miss greenish one. You can change them like that, but you can also
change them by hand. So it's up to you on how much effort you would put into your
illustration like that. You can see it's a gray scale. So all these brushes are going to mix in
with the one below. Only the pure deep
colors will be opaque. So the lighter colors,
they will be opaque. So pay attention to that. So I hope you liked it. I hope you have fun
creating your own brushes, and please do show me in the projects and
resource section below so I and others can see what you made
out of this class. If you're on Instagram, also, please remind to share it. You can find me at Duke
Webble and I would love to see result and maybe I can post them in
my story as well. I hope you like this
extra bonus class and don't forget to leave
a review of this class. So that would help
me and others a lot. Thank you for your
participation in this class and maybe see
you in the next one. Bye.
8. Final thoughts: You for watching this
class until the very end. I hope you liked it a lot. Now that you have
completed this class, you can also create every
other brush you like. Create festive stamps,
create magical color changing, create
different sizing. And well, maybe you can use that in your own kind
of illustration. My illustration is
a little bit like happy illustration
for children's book, but maybe you can use
it in your own way. So I hope I have
helped you with that. I also hope you
learned a lot from it. No more flat stamps
in the future, only stamps with a lot
of texture and a lot of color variation and a
lot of fun and please, I would like to ask you to leave a review below this class
that would help me a lot, and it also would help a lot of other students to find the
perfect class for them. Also, post your project in the project and resource
section of this class. I think a lot of
other people and also myself would like to see what you created
out of this class. I hope you have fun. I
hope you learned a lot, and thank you for
watching and maybe see you in the next class. Bye.
 Brenda Bakker, Sharing my skills is sharing my joy