Transcripts
1. How to create animations in Procreate with watercolors for social media: Hi, I'm Anna. I'm an illustrator and surface pattern designer. And now as a teacher, I will mainly digitally, but sometimes I like to use traditional media, such as watercolor. And a recently discovered how to animate them in procreate. I love it. So let me show you how you can do it too. With so many artists trying to show their work in social media, especially on Instagram. Nowadays, you have to recreate it to stand out. Given movement to your ad is a good way to do it. And now, thanks to Procreate 5, it's so much easier once you understand the process and plan the animation beforehand. This class is for illustrators and watercolor artist. But once a try something new with art. However, if you are a digital artist, you can join two, because it's the same principles. We'll just apply them in watercolor. I will show you step-by-step how to navigate the Procreate app and how to animate four different examples that will include lettering, wiggling objects. How you can use the warp tool. And we will animate a battle flag next to a blooming rose. And I will leave you my own illustrations already prepared. So you can focus on the process, gain some practice, create the class project, and have some fun along the way. You'll just need an iPad, access to procreate and the wish to try something new. By the end of this class, you'll be able to make your watercolors come to life. So let's get started.
2. What you’ll need & Class Project : Like for many of my classes, you'll only need an iPad and Apple Pencil and the procreate app. You just have to make sure it's updated to the Procreate 5 version because that's the one we'll need. If you don't know which one you currently have, you can check it out in the value section here where it says procreate and information about the app will pop up. You can see it says Version 5. If you have it, you're okay. If not, you can always go to the App Store and update it. If it's open, like in here, it's already updated. And you won't be needing anything else. Because I'll give you the watercolor illustrations that are used in glass already with our Macron and color corrected. So you can follow along with each exercise. Now for the class project, you can choose any of the animations we created in glass and upload them in the class project gallery. You can find that section regular the video lessons in the class description, and write about the illustrations files. So don't forget to come here first and download them to your iPad before you start with the left.
3. Animation Assist: How it works and settings : All right, so before we start, I want to show you how the animation assist feature works, which is the tool inside procreate that will allow us to animate our illustrations. Let's start with the settings. When we open a new our work next to the Valerie, we find the actions icon. Then in the Canvas section, we have Animation Assist. You turn it on. And a timeline will appear at the bottom of the screen where you can see all the layers or friends do you have? I already made a simple animation to help us navigate the settings. The first layer above the background is the first frame of the animation. And he continues in that order. On the way up. If you press Play, you start the animation. We can also move around the frames directly from here, change their position or other frame. And if you hide or delete the layer, it will disappear from the timeline. If you press on a specific frame, you can see the options to hold frame, which is a function that allows you to stand still the animation without having to duplicate layers. And then we have the option to duplicate or delete the frame. We also have the timeline settings with the options loop being bound. And while shot. Loop makes the animation go into a loop. Ping pong place the animation forward and backwards over and over. And why shot? Place the animation once and stops. Here we're going to adjust the frames per second, which makes your animation go faster or slower. And with the below options, onion skin frames and onion skin opacity, you can adjust the number of frames you're able to see and the amount of opacity they have. And lastly, we have blend primary frame. This makes the frame view early on blend with the rest of the frames. And color secondary frames, which shows the frames in two different colors. Red and green. Red is for the frames behind, and green for the frames are hail of the frame you're selecting at the moment. This is especially useful when you have multiple frames that are very close to each other. Now let's see a few more things you should know about Animation Assist and The Making of an animation in Procreate. Each layer or layer group, it's a frame in your animation. So in each layer, you need to draw the next movement in order to move your object or character forward. And these kind of animation with sequential drawings, if called onion skin. You can see what you're drawing on a frame and choose to see the previous ones at the same time, but with a reduced capacity. So you can see what you did and know what to draw next. Although you can see all the frames at the same time, I really recommend planning your animation beforehand. So you'll save time and avoid getting confused at the beginning. So like I said before, every layer is a frame your illustration. But most of the time, we won't need to draw from scratch every new movement. Because with procreate, we can duplicate the layer and just change its position. However, it's also important to know how the object you want to animate moves alien. For example, we have this drawing and we want the bell to move from left to right. But if we just start adding frames, add movement to one side and it would look incomplete. So we'll need to plan ahead and realize that actually we need the first frame to be in here where the movement reaches its top on the left side. And from there, though it's opposite side on the right. To create the whole movement of the will. Always take into account how the object moves naturally before starting adding frames. So you know where the movement starts and where your first frame should be. And remember the more layers you add more smoothly the movement will be. This is how the same animation looks with more frames. Each time. Six layers dwells layers and 24 layers. Just so you know, in a traditional animation, it's typical to draw a new drawing every two frames and is usually made of 12 frames per second. And the level of that, when you want fast movements by 11, choose whatever frame rate you like more. Now that we are familiar with the feature and the settings, Let's move on to our first animation using watercolor.
4. Exercise 1: Let’s start moving (First Part): In our first example, we're going to start with an illustration already made. So you can let them know what you might do with an illustration of your own. Because of the way work, I mainly do my illustrations without the background. If I need to add one. I do it digitally. So here you can see I created this base with flowers without the background. So when you download it from the resource section, you will be digitally as a PNG. That means it has a transparent background. In the case that you have an illustration with a background, you will have to separate it and erase it or make a copy to a different layer. This can be done by selecting the object with the selection tool and creating a copy in a new layer. Now let's go to the gallery section. If you tap on the plus sign, you can choose from the list of canvas sizes, options. Or you can select new cameras and create a custom size canvas. For the canvas size, we will choose this square canvas that has a little more of 2000 pixels by 2000 pixels. The reason for the size is that big enough for a good quality animation for Instagram? And it allows us to have many layers. Once the cameras is created, we have to go to Actions and insert the photo at the illustration. Like I say, if you unselect the background color, you can see is a PNG file. The first thing we do is plan how the animation will go. For example, in this illustration, everything that stands out and it's a little farther apart, you can make it move. Those will be these little leaf, this one. And the better. This here too. And a few of the flowers are separated enough to use them. I choose these three from here. And since it is our first example, the animated part is going to be something easy to achieve. What we're also going to see in this example is how to animate a part of the illustration that is not completely be simple, like this better. But we'll leave that part for later. Let's start with the leaves. Let's go to actions, canvas and toggle on animation assist. Make sure it has the settings you like. Duplicate the frame. And for this example, the tool we're going to use is the warp tool. If you don't know, the warp tool is the transform tool that you can use to manipulate, bend, origins, the shape and position of the selected object as you like. So we're going to start with this leaf. We're going to animate only this part of the leaf. So for that, we need to select only that part with the selection tool on free hand. And once it's selected, use the transform tool. When you select one, agreed will appear. And you can now start pushing and moving the leaf in a direction you want the animation to go. We're going to repeat this step in for more layers. So don't push it too much enough for you to see the first layer below. Now let's do it again. Duplicate the layer, select the same path of belief in the previous layer. So the movement will have continuity. We use the warp tool and only push. If you use it too much, you can distort the image completely. Go slowly with patients until you complete the four players. Once you are done to check out the work you did. If you're happy with the result, we can move on with the second leaf. Now, if we want the other to begin after these movement, we will continue duplicating layers. And with the same metal, we select and move another leaf. But in this example, what we want is for all three to move at the same time. Therefore, to start selecting the second or third leaf, we don't need to duplicate the layers. We just have to go to the layer where the movement of the first one begins. In this case, the second layer. We start with. You can check the animation and keep going. And we do it. Once we finish that play so we can see how it turns out. Now we only need to see how to animate these beta. Let's see that in the next video.
5. Exercise 1: Second part: Like I said in a previous lesson, where we're going to see in this example is how to animate a part of the illustration that is not completely visible. Like these better. There's a part of it that you can see. We're going to make the petal fall slowly in 65 on the table. We're going to add a new frame. And we're going to start with the animation in this new frame. But first, we need to isolate the better from the rest of the flower. To do this, we have two options. We can redraw the better, always trying to make it the closest to the original as we can and added to the canvas. Or we can do it digitally with the selection tool. We select not only the visible part, but we also complete the shape with the tool. Once we finish the lectin with that on Copy and Paste. And a new layer will be created with only the beta. Now that we have the better isolated in its own layer, we'll have to fix the way it looks. For this. We'll choose a brush that imitates watercolor. You can find them in baking. I always choose between wash or water color. Those are the one that I feel gets the closer to real watercolor in a pre-set brushes of Procreate. I'll pick this one and start covering the black line that we need to erase. I'll start by choosing the colors from the illustration itself. I add strokes and more strokes. And between them, I'll change colors. So it doesn't look so uniform. And a bit more like watercolor. Don't press the pencil too much. With this brush. Does strokes are layers of paint are transpiring. So we'd spread that to add layer by layer of colors. Keep choosing color from different bars. Let's get a new brush from sketching. I use the one I have. Again, change the color to black so we can make the black outline of the bed. Now, we have to go to the new frame, which is a new way that we're working on. So we can add these new isolated one. Our next step is to add a new layer. With a drawing of the movement. We won the battle to make a salt of guy that would later be eliminated. Let's draw the way we want the leaf to fall. You can choose another path for the better if you want. And we lower the opacity of the layer. So it doesn't bother us. Now we move the better into the position we want, just under the flower, but without touching it. So we can add it to the layer six. And it seems that it detaches from the flower of layer five. Once we have the better right where we want it, we add it to frame six. And then we begin to duplicate the last layer and move that Beta with the help of the selection tool and the guide to know where to position it. We are going to repeat this step where we duplicate the layer and select and move the petal until we reach the end of the lie. Often. Okay. The amount of frames or layers that are used to create this part of the animation where 15. But you can create as many as procreate allows you, or just six, that is your choice. But don't forget that more frames means a more smooth transition of frames and a more smooth animation. Once we're finished, legs activate animation, assist again and check the animation. We go to the first frame and we play it. We can see the complete animation that we made in two parts. First, the leaves move and then the petal begins to fall. And we also see the difference in movement of one and the other due to the amount of frames with which each animation was made. But having mind that the battle has more space to add frames. Now, all we need is to add a background to it. Let's just go to Actions. Insert a photo, and select the background that I also created in watercolor. It's a very simple background. So it doesn't take away your attention from the animation. Now that we added, we make it our first frame. And when we tap on it, the Frame Options menu up years, and we select the background option. These makes the background appear behind every frame without having to duplicate it. And finally, let's use the transform tool to adjust the background to the whole layer. And the adjustments to change the color, saturation or brightness. Once you're happy with the look, select applied and the changes will stick. Now let's move on to the next example.
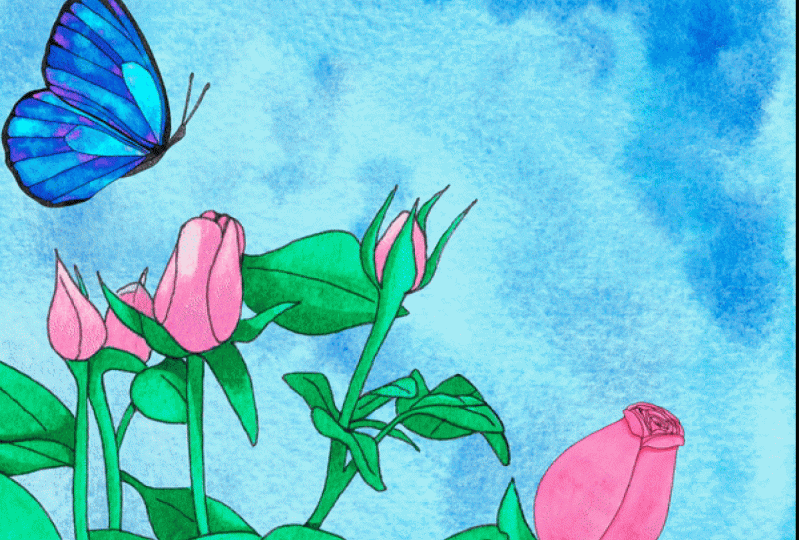
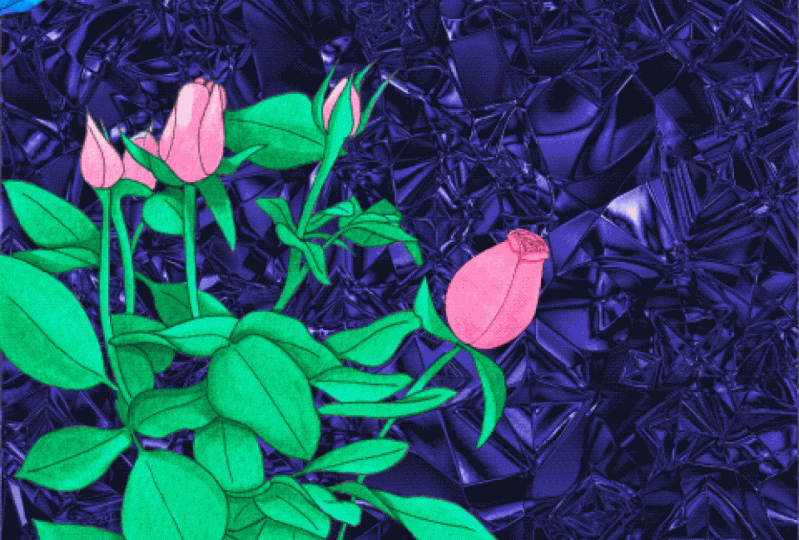
6. Exercise 2: Now in this second example, we have this new illustration. For this one, I thought of making the butterfly fly and land on narrows blood. While at the same time, another rose goes from a MOD to the open rose as it is now, in this case, we will not use the Warp Tool. Instead, we'll create our redraw, the illustrations necessary for the frames of the animation in watercolor. Let me show you what I mean. I want the rows to go from a BOD to unopened grows. So I make several rows is showing how it opens and I wonder about the flight to fly. But I also want the position of the swings to change to create a better sense of movement. So I redraw the butterfly as many times as I want in watercolor, making its wings change position every time. So it would look like it's moving its wings while flying. For both the rows and the butterfly, I made different illustrations that represent different stages of the animation to show the rows opening and how the butterfly movies wings, I may seeks new roses and five new butterflies. The final pose being like the one we already have in the original illustration. Now that we are clear about what we're going to do, Let's start by inserting their work onto the appropriate gammas. And the gammas always with the same size. The first thing we're going to do is to prepare the background that will say fix for that. We're going to remove the parts of the illustration that we're going to animate and one of the background anymore, we start by selecting the butterfly and the rows. Once we select it, we remove it from the layer. But by doing this, we raise more than we need to. So now we have to redraw digitally the bars that were deleted as we did before. In the first example, we choose the wash brush and select the color from the illustration. We redraw the leaves and also the black line. Once we finish it, Let's not forget to activate the Animation Assist. And then we're going to modify the size of the plant with the transform tool. Because I want the part of the flower to show better and bigger. To complete them background, we insert one of the watercolor backgrounds that I left in the resource section to download. We adjusted with the transform tool and place it behind the plant to keep the layers separated and that both are part of the background. We create a group. And because they're in a group, broke 88 only sees one frame without having to mesh them. When we have the group created in the Frame Options menu, we select the background option, and now the background is ready. So our next step is to start adding the illustrations of the flower. To begin with the animation of the rows, each flower will have a number on their name. So you will know in which order to add them. We start with the first flower. We are adjusting the size evenly and the list in the same position where the original flower West, which we raise at the beginning. And we do the same with the other flowers, trying to always remain the same size, in the same position. As we add more flowers, more frames are created. So if we add them all, then we realize that we went to modify the size, either smaller or larger. Instead of doing it one by one, you can select layer by layer. And with the selection tool, we can move all the flowers altogether and change their position or size at the same time. Once we are done, we go to the first frame and we give it play, if you like, how it turned out. Now we can add the butterfly animation. As I went, our animations to happen at the same time, we must add the first butterfly in the first frame. The butterflies would also be numbered to know in what order you have to add them. We insert the first butterfly. And for balance in the composition, I'm going to make the butterfly enter the frame from the left side. For that, I will have to flip the illustration, select Flip Horizontal and procreate will do it for you. We're going to do the same with every butterfly. We add, adjust the size and we'll make it come from the upper left corner. As we saw before. Each time we have an illustration, a new layer is created. But we need the butterfly and the rows to be in the same layer or frame. So we're going to merge them into a single layer. We select both layers and within each one layer. Now we're going to repeat the step with the rest of the butterflies. And each time we add one, we put them a little further forward to make the butterfly fly and land on the furthest rose bud. Since I only made five different butterflies. But six roses. Where we can do is duplicate the last butterflied and added to the last flower. This way, it will appear that the butterfly arise before the flower fully blooms. As always, when we finish, we give it play to see how it looks. And there it is. Don't forget that you can also play around with the settings and make some changes, like switch to ping-pong. Or changed the waiting time between playback by adding more frames with the whole duration. The look of the final animation is always up to you and your personal taste. Now let's see in the next lesson how we can animate lettering.
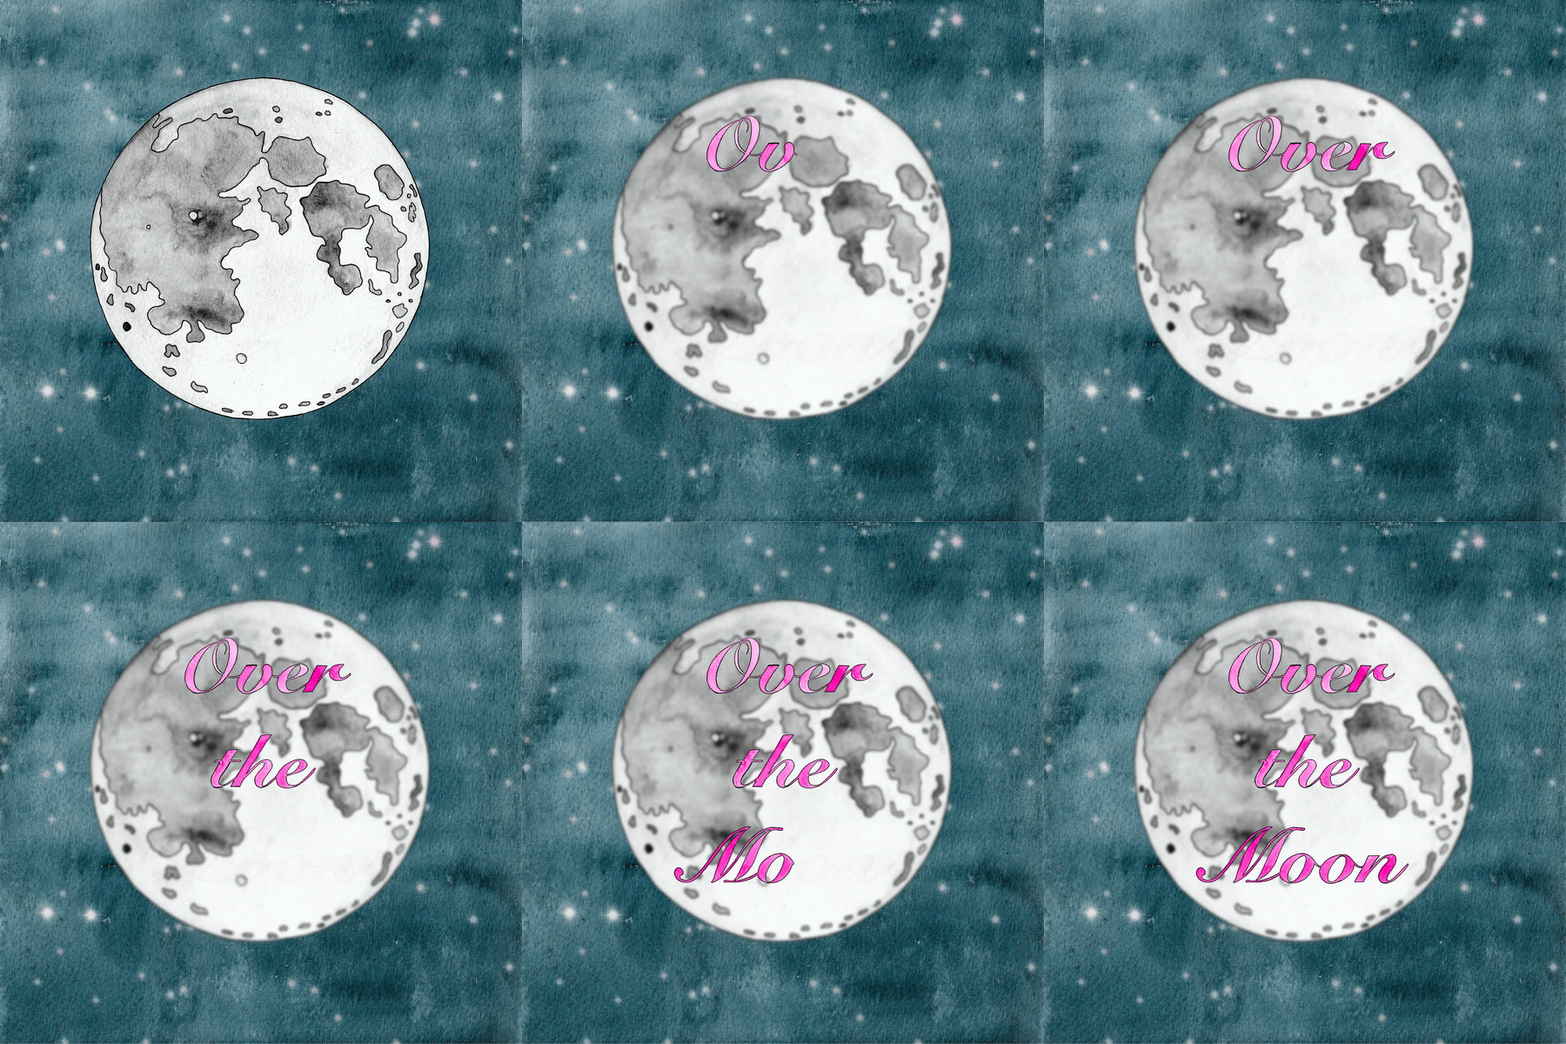
7. Exercise 3: Lettering : Now for this last example, we're going to see two types of lettering animation. The first is a simple kind of shaky animation, and the second one, using layer masks, do we fade? You can apply this method to animate anything, but we're going to use lettering as our main example. Let's start with the shaky one. I chose the word hello For this first example. And to create the animation, you just have to draw the same war or illustration as many times as you like. And the more variations you make, the longer the shaky effect will be. But each time you draw a new version of the illustration, you have to draw it a bit different. It doesn't have to be something big. Even just a few changes in the color, tone or the position will do. And with the help of water color, we can create beautiful combinations. I paint in the same war, fight times. Every time I bait in the letters, I use the same colors. And the wet on wet technique, which allowed me to have different results with the same color each time. So with this technique, I created five different versions of the same war. And when we see them on the same paper sheet, we can really notice how they are similar, painted with the same style but different habitat in mind when you want to create your own. Now, let's upload the shape it to the procreate canvas. When we ready, the first thing we're going to do is separate them into different layers with the help of the selection tool and copy and paste. For this type of animation, we have to put one behind the other. I remember them when I use copy and paste the original remains. So I need to erase them and have one layer. Now we start arranging the position of the illustrations. The worst habit to be one above the other and each one in their own layer. Since I want to make the war bigger, I select all of them to adjust its size. At the same time. I make it as neat as possible. And it's ready to activate animation assist with that play. And just like that, we have a simple and quick animation that you can use with any illustration. I had the background color so you can see it better and you can adjust the frames per second for a faster effect. But six frames per seconds is what I usually use. Make visible the background color. And now it's ready to export. But first, let's see our last animation. For this one, we'll use the Monte illustration, the night sky and a phrase I chose, all in watercolor, the moon and the sky are for creating a nice background to go with the animation. Once you add the illustrations, you'll notice that this guy doesn't fit the canvas. So we adjusted to the size we need to. Then I'll turn on the moon layer and adjust the size and position to be in the center. If we think something is missing, we can draw them digitally. Like in this case, I thought it would be nice to have some stars so we can create them in a new separate layer between the sky and the moon. I grew up the three layers in a background rule, so I don't have to mesh them. Changed the main color to white for the stars. There's a really nice brush I like to use to create stars. And you can find it in the brush library under luminance. And the brush is called Plummer. I add as many as I like. And when the background is ready. Once more, we need to activate the Animation Assist. And toggle on background. Our next step is to show the phrase layer. In this case, I thought of animating the lettering inside the mall. So we need to adjust the size. And when I notice the phrase didn't read so well, I decided to blur the moon while the phrase was being animated. For that, we have to create a duplicate of the background group. Go to the layer of the moon of the first background group, and go to Adjustments. Select Gaussian Blur. And if you slide with your pencil on the screen to your right, you will adjust the blurring effect on the illustration. This way, when we finish the illustration and give it play, First, we'll see a clear image of the moon. And then everyone, while the lettering is being animated, because we blur the moon in the main background group. Once it's done, we can move on to the animation. In this example, we're going to animate letter by letter with the help of a Layer Mask. Let's create one. We position ourselves in the phrase layer and a menu will appear. We select Mask. And in that moment, a layer mask will be created. A layer mask help us hide parts of a layer in a non-destructive way. This means that we can erase certain areas without losing them. And the way it works is if you add the color white, you show and with black you hide. That's why when you add the mask, it's white. But if I start adding black, he will hide the elements in a layer below. So if you get confused, Try to remember when you use a layer mask. Black conceals and white reveals. So we'll need to create a new layer mask to reveal letter by letter. For that, we need to create a group of layer mask plus a phrase layer for each new letter. Let me show you. We create a layer mask for the phrase layer and put them in a group. I pick the hard brush and I use black to hide all the letters except for the first one. Now, all I have to do is to duplicate the group. And in this new group, I start revealing the next letter with white. I repeat the process with all the rest of the letters, one group at a time. And make sure when you're rebuilding the letter with white to be positioned in the layer mask of the group. Otherwise. When we got to the end that play and check how it turned out. So that's it. We're done creating all the animations. Next, we're going to see how to export them and wrap up the class.
8. Final Project: Export and upload our final project : Finally, we can now export our animation easily and quickly. We're going to go to the Actions tools they share and choose Animated MP4. First, it will show a final sample of the video. And is your last chance to adjust the numbers of frames. I always use max resolution because web ready downs in size and quality. Once you are ready to export topic. And then we're going to select Save Video. This will generate a sharp choose second video that will be saved in your photo gallery. That now you can share it on Instagram. But if you want to post it on Pinterest, they want all your videos to have at least four seconds. So in that case, what you can do is to upload to any editing software and duplicate the duration of the video. I use iMovie that counts with the iPad and it's free to use. Let me show you how I use it. Open the app and choose to create a movie and important video. Once it's there, you can see the duration of the clip. Then we tap on duplicate. So the radio now has the minimum four seconds you need. Now we'll do have the right length. We're going to export it again with BBDO. And that's it. It's ready for Pinterest. Now this is mostly for social media because the media or MP4 works better in those platforms. But when it comes to websites such as Skillshare, give is the format you need. So when you share your project in the project gallery, remember to export your animation as a gift. You can find that option also in share above the mp4 option. Now that we have created and exported at least one of our animations, we'll finish with the graph. Please have patience and try to have fun. Like any new skill, it takes practice. So try to create an animation maybe once a week if you can, with your own watercolor icons for Instagram. Don't forget that you can reuse an old illustration and re-posted with movement. Remember that for your class project, you can choose to upload just one or all the animations to show in the pressure gallery. And thank you so much for getting into the end of this graph. The first took me a lot of work, but I'm very proud of it and I really appreciate your time and nationally can't wait to see all your pressure. I hope to see you soon. And if you want any updates in upcoming classes, you can click the follow button here on my Skillshare profile page. If you have any questions, you can go to the discussion section and it will get to you as soon as I can. Thank you again. Bye.
 Ana Di Maria, Designer & Illustrator