Transcripts
1. Intro: Hi, I'm Anna, freelance illustrator and surface designer. And in this class, I'm going to show you how to create Flores in pen and ink style in Procreate. We'll go through different exercises to gain practice. I'll show you the different brushes I use, how you can modify them. And the most common shading techniques. I provide you with some exercises and outline guys to follow along. It doesn't matter how much experience you have. These class is for anyone trying to get better with the line work through practice. Now for your class project, I want you to create your own flower using any of these strokes we practice in class and share it in the pressure gallery section. So let's get started.
2. Class Project: For this class, you will in an iPad with an Apple pencil or a stylus compatible with the iPad, you can download the resources in the project gallery. For your class project, I want you to create your own flower using any of the strokes we practice in class and share it in the deli section. So let's move on to the glass.
3. Brushes: all right. We'll start by going through the different types of brushes I use. We go to the brush Library Open Inc in and you'll find find it technical pen on the shelf. Been. These brushes are perfect for light lines on small details. You can use them in the inside part off the better, or relief always in small sizes. And I also use the studio pen or the hints in ski in brush to make the outline on some areas that I want them to be darker. These are just my prefer brushes on the ones I use the most, but you can use any brushy like with this brushes. You can create way variation, and it's really helpful in a pen. A next time, two great volume and movement. But if you want your look to be more graphic, you make your lying weight consistent. Here are two examples, so you can see the difference in the 1st 1 The Lang has the same way, but in the 2nd 1 the Lang is thicker, where I want volume on a sense of movement. All I just firing the weight now to great there on Dimension Toe, our line work, we can apply shading effect in some areas with different line techniques. The most common techniques are hatching. These are straight lines very closely together. They go in the same way and never overlapped, and you can worry this space between the lines to get a great in effect. Then you have cross hatching. It's the same attaching, but in this one, the line cross over each other. The more the lines cross over each other, the darker it gets, and you can go in any direction steeping. These are just dots. You can combine different sizes on that layer upon layer to get more texture on death and scribbling. These are marks in a random way without controlling the shape you make. It's really fast technique if you do it, and there's also cross contour lines. These are directions, jokes that follow along the form to grade again, volume and movement on. They can be done in any of the previous techniques. These are all really nice techniques, but for shading, I prefer personally using hatching and steeping or a combination of both. And finally, this is not a shading the neck, but some artists complete the yard with butters or textures in black and white. I need school sent Tongo. It's not something we're going to see in this class, but I just want you to know that existed if you want a dried someday.
4. Practice 1: okay, The best way to learn it through practice. That's why by the end of the class, we make a brush it. But before you tackled on a whole our peace, you need to get comfortable with the types of shading. I'm bill apples and position, and you can also find out what type of technique. It's more your style and find out what it's more natural for you to make. So I created practice exercises for you. They are in the brush act on resource section in a shape egg format once you download it imported into your campus in procreate. In this part, besides gaining practice on getting used to the techniques will try switching brushes and sizes. Do you get to know what brushes you love? And also you can have a go to brush because sometimes limiting your tools can make you more focus. Create new layer to working. This way, you can reuse the sheets over and over. That's one off the benefits off, working digitally. Now we're going to start with the studio pen, making the hatching, assuming your compass so you can see better make the straight bottler lines into different size. First smile and changed to a bigger size. Like I say, this is for you to gain precision, but also to see what brushy like you prefer a light line or heavier one. Have that in mind while you do this. Now let's start with the jump in. Now This one is really thing, and if you need a less shaky line, you can increase the streamline. I'm trying to make them as consistent as you can, but the air in here is to practice. I'm not to make them perfect, especially when we are drawing flowers. We changed to the technical pen. This one is one of my favorite brushes, because when you flick it, you can see the line. That's really thing like a needle. And you can see as I'm doing the strokes that they get better on more consistent in length and in space between them and finally will try. The fine tape brush now in the lower line will try. The same rush is also in two different sizes, big and small, but this time will make the cross hatching. This cross hatching technique is especially good to great texture issue to use it in the stamp part off a flower, or maybe for the center of the day, see, or is some flour. And we finished this part doing the same techniques, but with down strokes, so you can see if it's easier for you to make the lines this way. If not, just rotate their campus pass you go. - You can also make the hatching, combining the straight lines with smaller lines or thoughts, always trying new things on. Explore your style. Now some things for doing, scribbling and steeply. Try the technical ben with the streamlines to the max. This way you can feel some resistance in the brush and great the more control style off. This technique make it bigger for a bolder look, and if you lower the streamline, the line moves easily, so it's not that perfect, but it's a lot faster for the steeping. You can make the dots one by one and played with the sizes. But if you don't have the patience to make one by one, you can drink the brush settings and make them in one stroke. Go to the studio print settings and increase the spacing by around 50% on the shooter to the maximum the steeping. It's more random, and you can't control the space between each dot, but it looks really good in a small size brush. You can also increase the space in all the way and remove the shooter and use it to grade straight lights. These one, I use it the most with touching. It's the one line steeply. Now let's go to the next lesson.
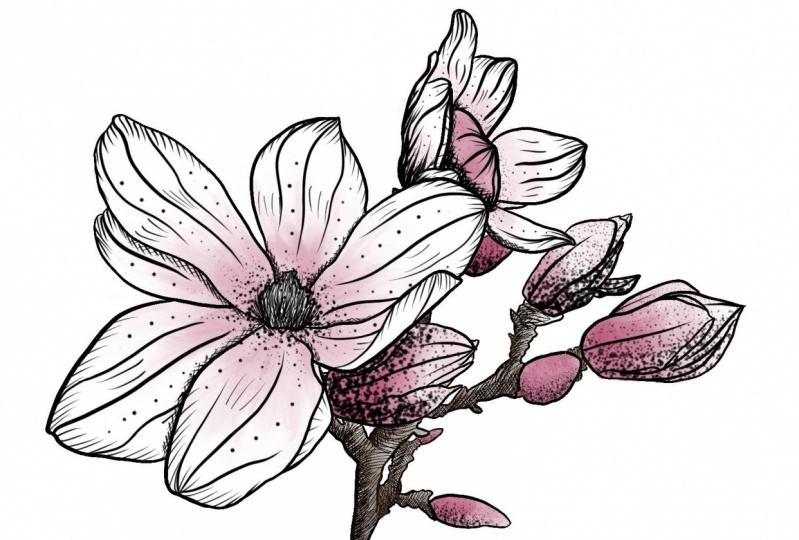
5. Practice 2: so many times when we use caching in a better it begins. From a certain point, I'm flick it in different directions. So we're going to breakfast that Samos before trade the brushes and see what style you like more. First, I tried the technical pen all in different sizes. You can see this is the same brush. The only thing I change is to size, and you can see how differently look. And then I tried the shell pin. I really like how the shop and looks, even when it's the one that takes longer because you need to make more strokes in the same space. Drinks much brushes and spices, so you know what you'll use later. And don't forget to increase the stream lime in the brush to control the stroke. Now there's also the cross contour lines, and you can use this technique for shading round in parts like this them. But then I tried to use this cylinder as this thing. I will try to give it volume. This is to give dimension to the stem or any other options made direction of strokes following the farm. I hope you can see the difference and If you make it's right, it flattens the form and you can use this cross contour with all the techniques. You can be really conscious off the court like this, or make it random with the modified A studio pen. But first, and if you want toe, you can use the selection tool to contain the steeping in one area like it said modified the studio pain in Greece in the shitter on the spacing. And now you get the steep Lynn superfast contained in the selection. And finally, we're going to see some shading examples in petals and leaps. When I have a small better like this, I usually add strokes at the top or at the bottom, and sometimes I add stickling. By now, the number of lines or details are up to your liking. Hopefully, we have explored that in these exercises, and also you should have a prefer brush mind for now is the technical pen in this other petal you can see is why there and I varied hatching with short on longer lines to give it more volume. This is something I do all the time. I really like very in the length off the lines. Now for the leaves, you can have some more cross hatching or great volume with the cross line contour. Always follow the shape, Dondo. Straight lines, so you can see the shape. It's not flat. I am now. I will add one line stepping. I really like how it looks. A few dots on. That's it. Okay, Now we're finished with these weak and start doing our final are.
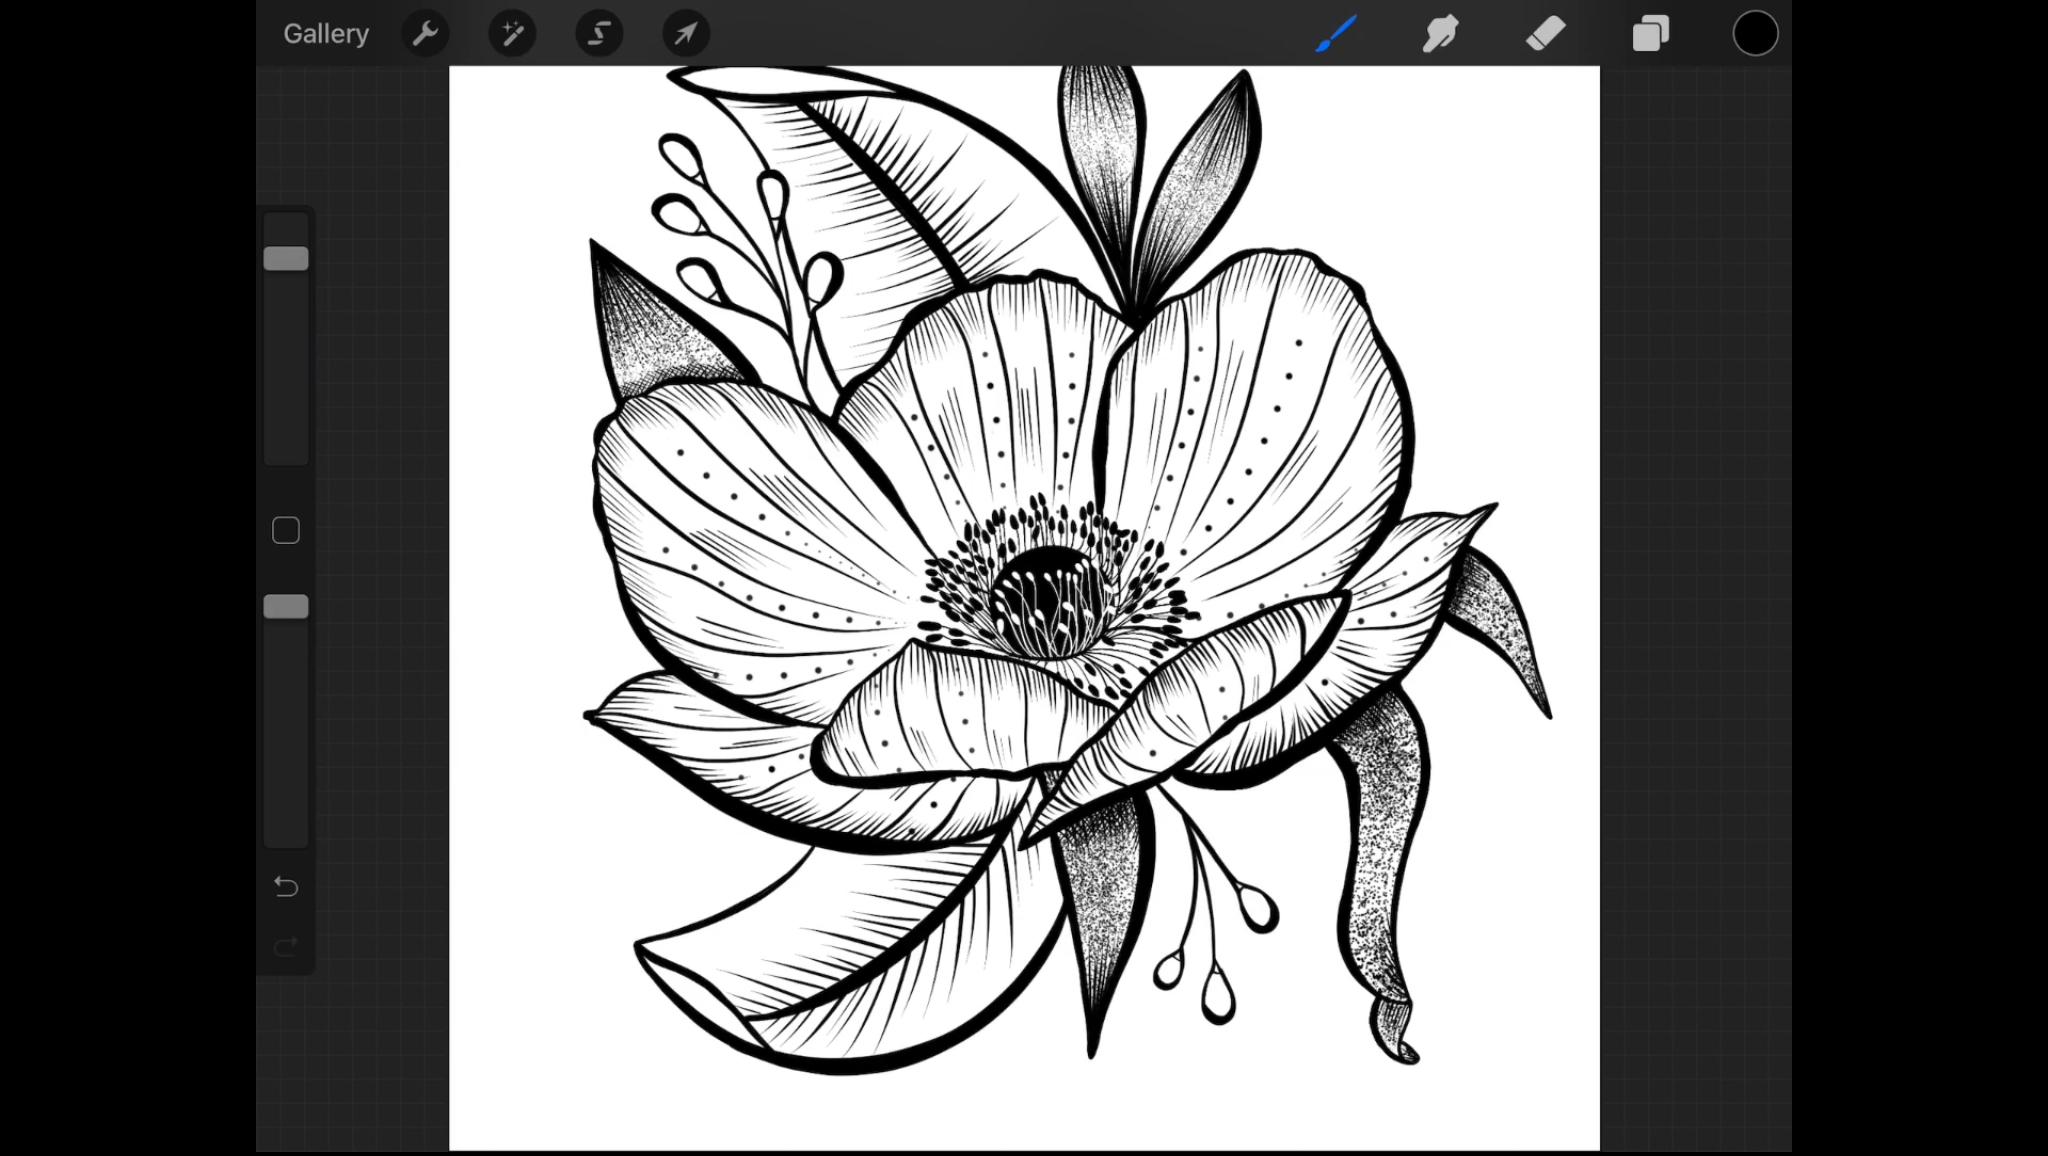
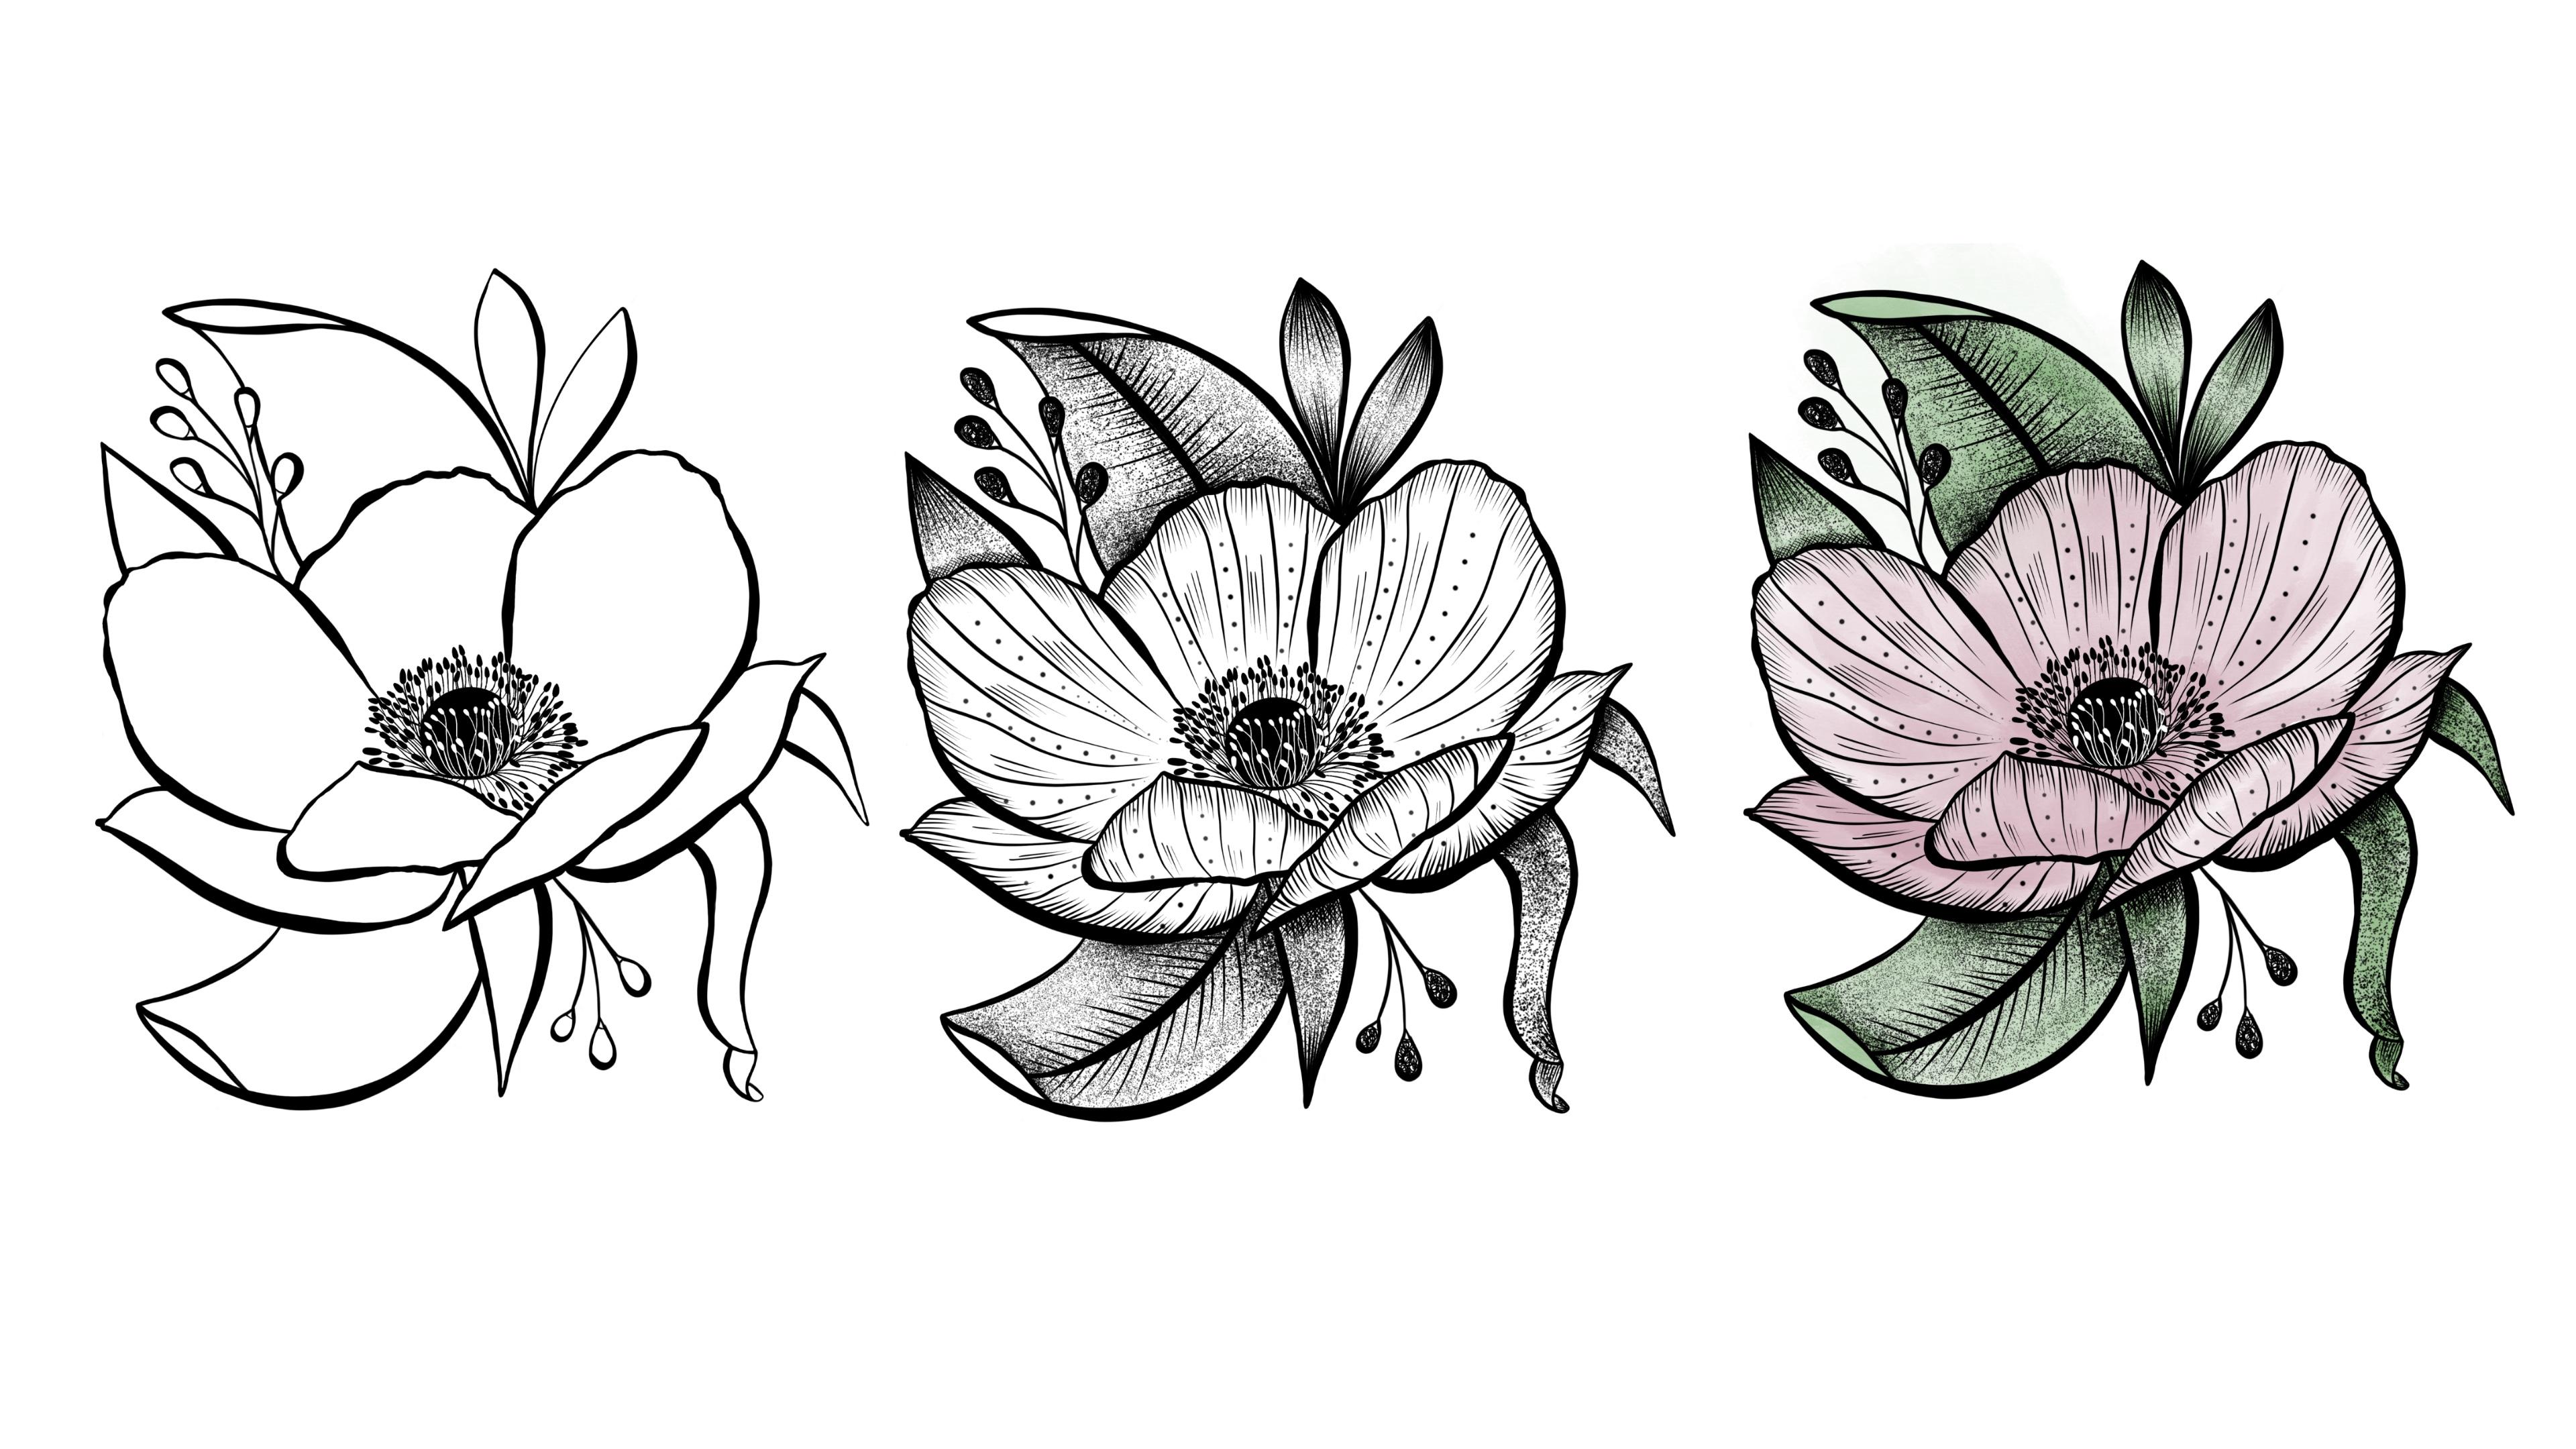
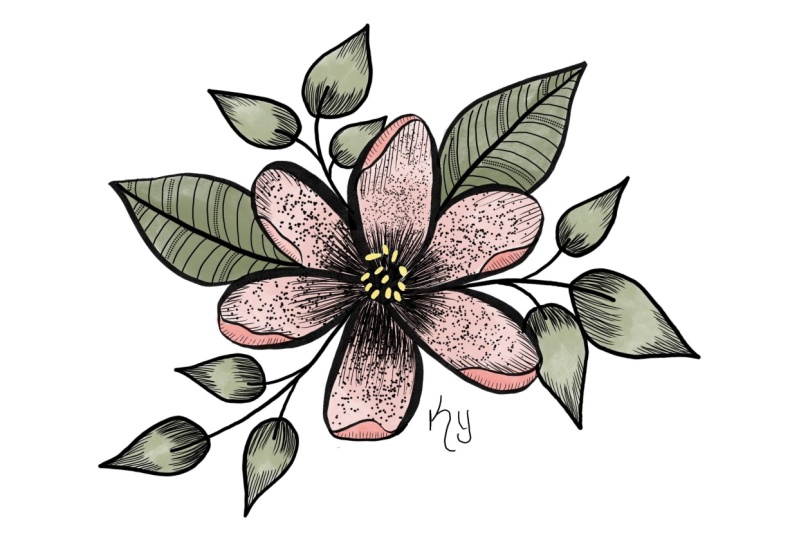
6. Final art: and now we're going to grade our final brush It. I hope to practice at least a couple of times. You can use this artwork and follow along or make your own one. I'll use the technical brush on increased the streamline as my just like again, and I'll start with the smaller leaves. I'll make a new layer and I'll start flagging. Need from the smaller and imagine is just a dot and you add as many strokes as you like. And here where they leave, meets, the better. You can make some cross hatching, and now we keep going with the rest off the smaller leaves, and I do the same here. I make the straight lines really close to each other and then the gross catching between the better on believe so that all the leaves that are similar in size have the same strokes . - I skated down to see how it goes, because digitally, we tend to work really close to make the details, but you need to see how it looks as a whole, at least at the beginning. So you scale it down on Look, it's OK and then move on. Now I want to make some steep limbs. So I picked this collection toll on freehand. I select the bar that I want to do the steeping on a tweet, the brush like I showed you before. Make the increase, I'll start making the stippling. I'll do this in all the lives. Now I make the brush go back to normal to make the hatching. I forgot in this league, the last one. Now I'll start with the two big ones. First, I make a big stroke in the middle. I get doing some strokes in different sizes and I'm still using the technical brush. But you can change it if you want. I just wanted to show you a simple example off how you can use the different techniques in her network. But you can have more details if you want or only use hatching. This part is up to you. - Now . I am doing some lines going along all the shape of the battle, like the going toe touching we saw back with more space between lies. They are all going to the center of the flower. They're not straight lines, so you can shove movement on more body. Um and then a simple on short hatching in the edge off the bed and also a short hatching in the middle off the metal, just like Edyta. - Finally , I did the one light steeply in just in the spacing off the brush, a few lines in every better, - and in this part I wanted to add some scribbling. - So now it's complete. You can leave it like this, or you cannot more steeping in the big lives like I did here and next we add some color.
7. Adding color: for something extra. You can add color if you want. Once you're happy with the final look, you can match the layers. You put all the line work you did on the outlying in one layer, then put the color in the new layer under the final art. Whatever color you choose. Shit when you did, If you don't want to overstep the details off the line work, I'll use one of my favorite brushes the wash brush I use again the selection tool to keep the color inside the lines again, I have choosing muted pink for their pedals. How we stay using the lash brush. But I really like about this brush is that has transparency. So if you want toe make some shadows or some part really dark, this is a good brush for these. You just have to put more pressure on the apple pencil or wherever stylus you have. Okay. Okay. Finally, we got to the end with two different pieces of art on by just adding some color toe Black, white, please. I hope you like both
8. Final Thoughts : Thank you so much for getting this far. I hope you enjoyed the class. Don't forget to share your flowers and follow me on Skillshare for any updates on the aggressive. Bye.
 Ana Di Maria, Designer & Illustrator