How to Create a Versatile Plaid Pattern with Twill Weave Texture in Adobe Illustrator | Geetanjali Behera | Skillshare
Search

Playback Speed


1.0x


  • 0.5x
  • 0.75x
  • 1x (Normal)
  • 1.25x
  • 1.5x
  • 1.75x
  • 2x

How to Create a Versatile Plaid Pattern with Twill Weave Texture in Adobe Illustrator

teacher avatar Geetanjali Behera, Surface Pattern Designer | Illustrator

Watch this class and thousands more

Get unlimited access to every class
Taught by industry leaders & working professionals
Topics include illustration, design, photography, and more

Watch this class and thousands more

Get unlimited access to every class
Taught by industry leaders & working professionals
Topics include illustration, design, photography, and more

Lessons in This Class

    • 1.

      Introduction and Class Project

      1:55

    • 2.

      How to Create Plaids in Illustrator

      11:54

  • --
  • Beginner level
  • Intermediate level
  • Advanced level
  • All levels

Community Generated

The level is determined by a majority opinion of students who have reviewed this class. The teacher's recommendation is shown until at least 5 student responses are collected.

113

Students

8

Projects

About This Class

About the Class:

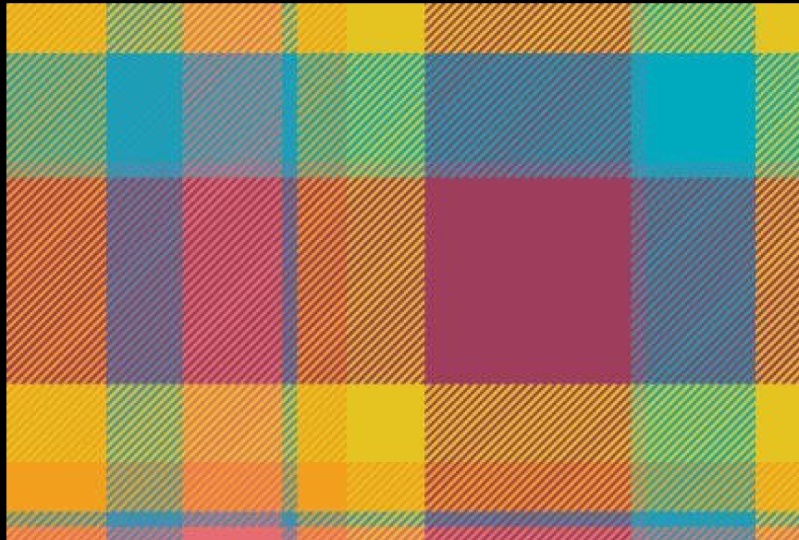
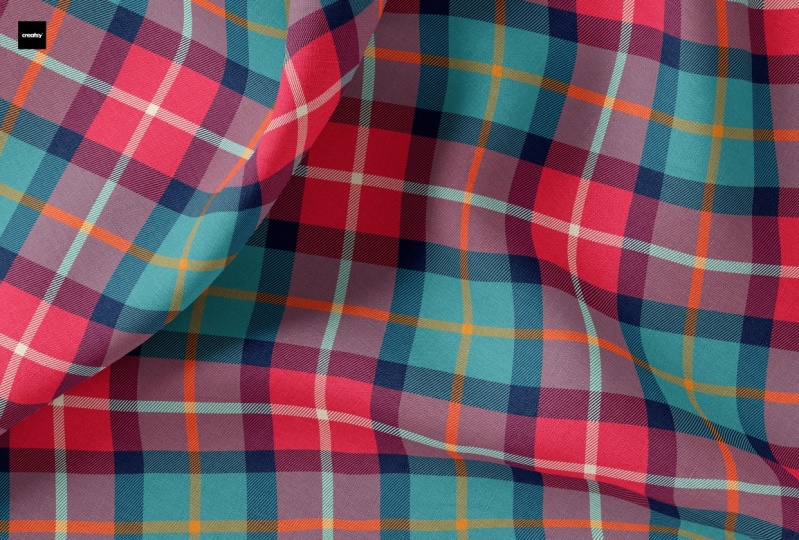
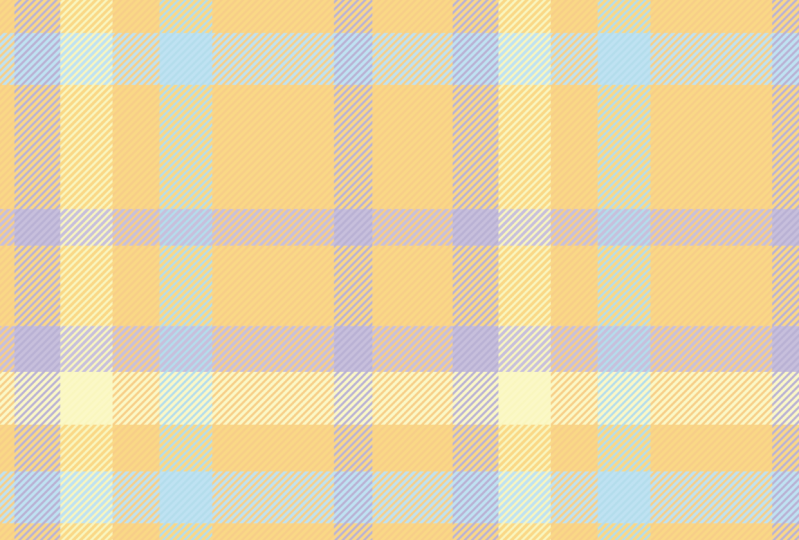
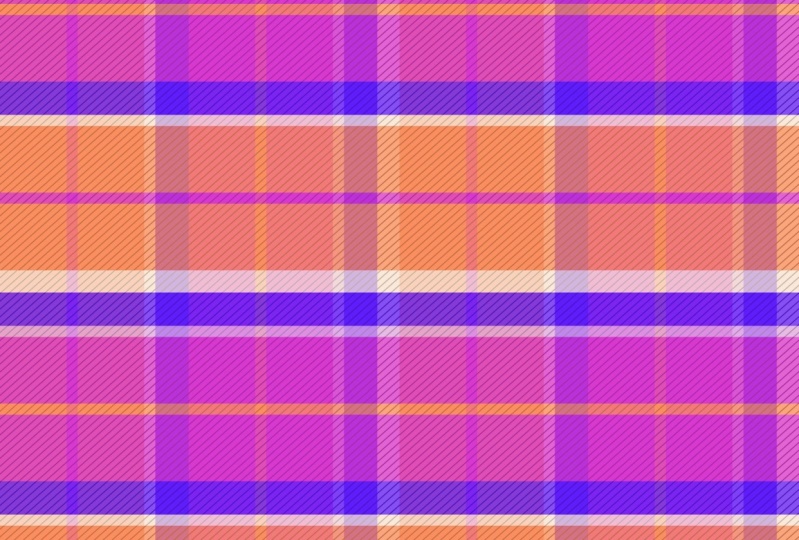
Plaid patterns have a rich history, blending tradition and modern style with their classic intersecting lines and vibrant colors. In this class, we’ll start by creating them efficiently in Adobe Illustrator, and then we’ll use the Recolor Artwork tool to quickly generate multiple variations—perfect for creating beautiful coordinating patterns for your collections. 

Plaid patterns originated in Scotland, where they were traditionally linked to different clans or regions. Over time, they evolved into a diverse range of styles, each with distinctive characteristics and names. Today, plaid remains a popular design choice worldwide, appreciated for its versatility and timeless appeal.


Some of the most iconic types of plaids include:

  • Traditional Tartan Plaid: Classic patterns with historical significance.
  • Windowpane Plaid: A minimal design with thin lines resembling windowpanes.
  • Houndstooth Plaid: A bold, jagged pattern often seen in fashion.
  • Glen Plaid: Subtle patterns popular in tailoring.
  • Madras Plaid: Bright, colorful plaids with a summery feel.
  • Buffalo Check Plaid: Large squares, typically in two colors.
  • Gingham Plaid: A simple, fresh design of equal-sized checks.
  • Tattersall Plaid: Fine, evenly spaced lines creating squares.
  • Prince of Wales Plaid: A refined and layered design.
  • Shepherd’s Check Plaid: A small, uniform pattern.
  • Black Watch Plaid: A dark, traditional Scottish tartan.
  • Dress Stewart Plaid: A festive and colorful tartan.
  • Robertson Plaid: A striking tartan with red as its dominant color.

These diverse styles make plaid endlessly versatile for design collections. 

Hi everyone!

I’m Geetanjali, an artist, illustrator, and surface pattern designer based in Goa. Over the last eight years, I’ve designed patterns for clients, licensed them to brands, fabric companies, and sold my designs online on print-on-demand sites like Spoonflower. 

Today, I’m excited to guide you through creating a versatile Plaid pattern using Adobe Illustrator. This class is perfect for beginners and intermediate students, and I’ll walk you through each step so you can easily follow along. 

What you will need:

  • Computer or Laptop
  • Adobe Illustrator Subscription ( Free Trial )

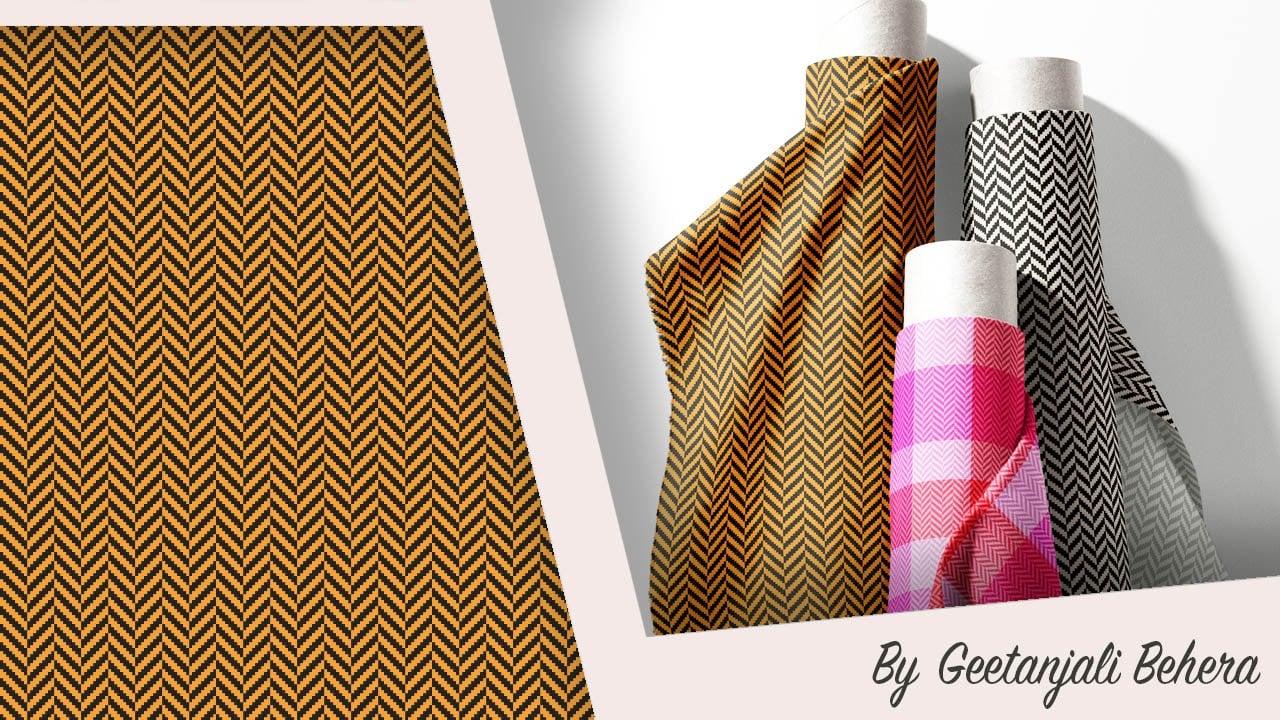
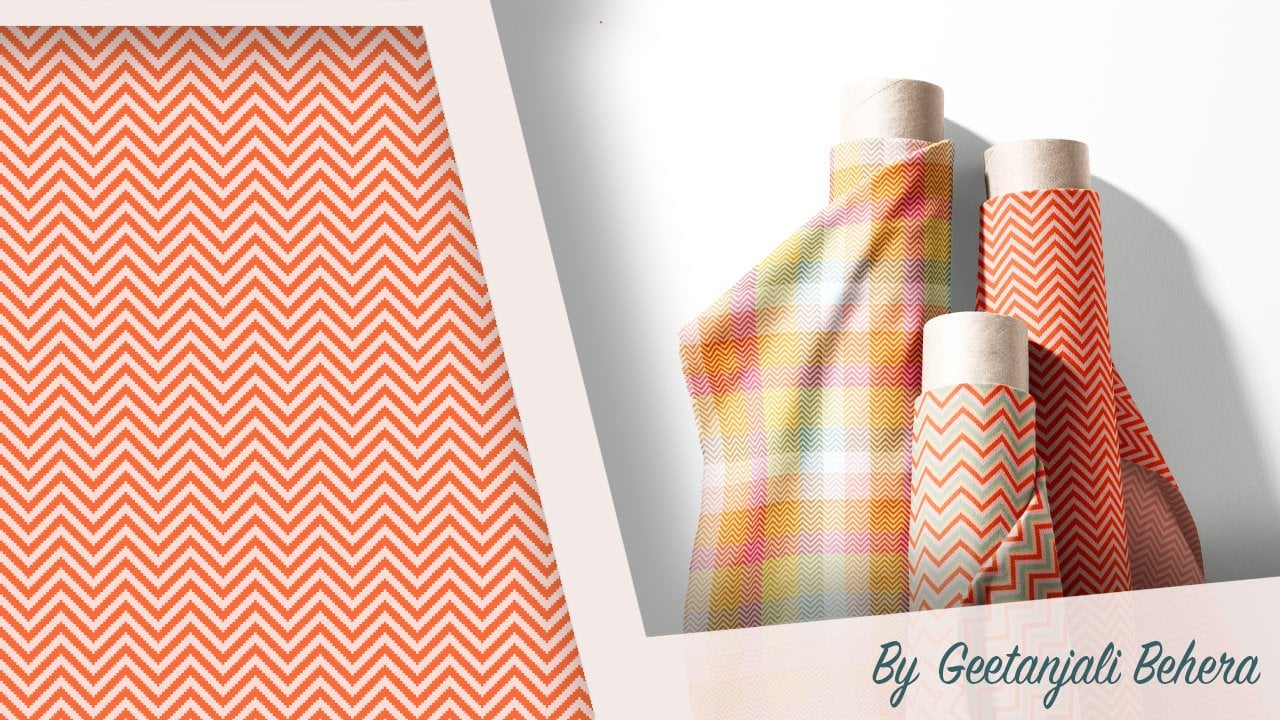
In this short class, I’ll walk you through the process of designing a plaid pattern with a twill weave texture and show you how to create multiple color variations using Adobe Illustrator.

Meet Your Teacher

Teacher Profile Image

Geetanjali Behera

Surface Pattern Designer | Illustrator

Teacher

I am Geetanjali, aka Gee! I am an Illustrator, Surface pattern designer and Thangka painter living in Goa, India.

As an artist, I'm known for Complex compositions , Colourful and Intricate patterns.

I began my career as a freelance fashion illustrator creating technical drawings and fashion illustrations for apparel, handbags and accessories.

While working with clients around the world, I also got the opportunity to try new projects including illustrations for adult coloring books, surface pattern designs, graphic prints and more. In the year 2020, I got my first ever Coloring book, Mindful and Meditative Coloring published.

My journey as a surface pattern designer started in 2016 when I joined Spoonflower, I had done a few pattern design projects ... See full profile

Level: All Levels

Class Ratings

Expectations Met?
    Exceeded!
  • 0%
  • Yes
  • 0%
  • Somewhat
  • 0%
  • Not really
  • 0%

Why Join Skillshare?

Take award-winning Skillshare Original Classes

Each class has short lessons, hands-on projects

Your membership supports Skillshare teachers

Learn From Anywhere

Take classes on the go with the Skillshare app. Stream or download to watch on the plane, the subway, or wherever you learn best.

Transcripts

1. Introduction and Class Project: Plat patterns have a rich history, blending traditions and modern style with their classic intersecting lines and vibrant colors. Today, I'm excited to guide you through creating a plaid pattern using Adobe Illustrator. In this short class, I will walk you through the process of designing a plaid pattern with a 12 weave texture. Then we will use the recolor artwork tool to quickly generate multiple variations. Perfect for creating beautiful coordinating patterns for your collections. Hi, everyone. I'm Gitanjl an artist, illustrator, surface pattern designer, and Tanka painter, based in the beautiful coastal state of Goa, India. This class is suitable for both beginner and intermediate levels. All you need is a computer with an Adobe Illustrator subscription. If you don't have it yet, you can use the seven day free trial link provided in the description. For the class project, follow along to create a pattern with a tw effect in Adobe Illustrator. Design three or more different color variations of the pattern. Save your patterns and fill them into the template provided in the resources. And finally, share your designs in the students Project Gallery. I'm excited to see your beautiful creations. Let's dive in and get started. 2. How to Create Plaids in Illustrator: We will start by opening Adobe Illustrator and creating a new Canvas for the pattern. Click on New File and name it Plat Pattern. Enter your custom settings. I will set mine as six by six inch at 300 DPI. For the color profile, I will choose RGB, but you can select whichever profile suits your needs. Once everything is set, click Create. Next, we will create the vertical stripes. I'm using a reference image that I downloaded from Freepik. You can either use a reference image or draw your own stripes freehand. Place the reference image on the Canvas and click on Crop. Drag the corners to extract one tile from the pattern repeat. Click Apply and stretch the image to fit the canvas. We will focus on the stripe pattern and adjust the colors to match our color palette. Now open the layers panel. If you don't see the layers panel, go to Window in the top menu and select layers from the drop down to open it. Lock the layer with the reference image. Now create a new layer by clicking on the plus icon. Next, select the rectangle tool or press on your keyboard and rack to draw the first rectangle, matching the strip. Make sure the height is the same as the artboard, which is six inch. Hold Alt and rack to create a copy of this rectangle, placing it next to the first stripe and filling it with the second color. Ensure that the smart guides are enabled so that the rectangles align easily and precisely. Repeat this process for the entire tile. Once you have all the vertical stripes, ensure there is no negative space between them. To do this, select all the rectangles, open the align options and choose align to key object. Click on one of the rectangles to set it as the key object. You will see a highlight around it. Set the distribute spacing value to zero and click Horizontal Distribute space. This will align the rectangles evenly without any gaps in between. Group them by pressing Command or Control G. Check that the bit is six inch and align the group to the center of the artboard. Hold Alt, drag to make a copy of the group, keep it aside and now select the one at the center and rotate it by 90 degrees. To do this, hold shift and rack the curved arrow on the corner of the bounding box. The next step is to create the twelwave texture. Start by drawing a diagonal line using the line tool or the pen tool. Hold shift while drawing to ensure the line is at 45 degree angle. Make sure the line is longer than the diagonal of the square. Set the stroke width to two point and choose a stroke color that is not used in the stripes, leaving the fill empty. Position it roughly at the top left corner of the square, ensuring the center intersects with the corner. Zoom in and use Smart Guides for precise alignment. For better view, switch to outline mode by pressing Command or Control B. And use the same shortcut to return to preview mode. Once you have set the line, hold Alt and drag to create a duplicate. Positioning it so that it aligns with the bottom right corner. Zoom in to ensure the alignment is perfect. Next, select both lines and go to Object, Blend, and choose M. This will add intermediate lines between them. To adjust this, go to Object, Blend, and open blend options. In the options, select specified steps. Keep the preview option on to see the changes as you adjust the number of steps and use up arrow to increase the number. Continue increasing the steps until the line thickness and the gaps between them look similar. Stop when you reach a number where the lines are evenly spaced and aligned, but ensure it's an odd number. This is crucial to make sure the diagonal lines will repeat seamlessly at the edges. If the number is even, the lines won't align properly at the edges. For this example, I will use 171 steps. If you want to adjust the thickness of the lines, double click on the first line to enter the isolation mode. Now, click on it and update the stroke wit in the Control panel or properties panel. Then click on the last line and adjust its stroke width as well. The blend will update automatically to reflect these changes. Additionally, you can adjust the number of steps in the blend by double clicking on the blend tool and modifying the settings there. Et's undo these changes. At this point, I would recommend making a copy of this blend and saving it on a separate layer. Lock and hide this layer, so you can use it later to make changes or update the settings if needed. This way, you will have a backup to easily modify the blend without starting from scratch. Now let's move on to expanding the blend object. Select the lines and go to Object. Then click Expand. At this point, the blend is expanded into editable lines, but we need to convert them into shapes. Expand once more, and you will get a pop up asking to expand as fill and stroke. Click Okay. Now these lines are converted into shapes. Next, we will apply this texture to the stripes. Select both the diagonal lines and the horizontal stripes. Then open the pathfinder panel and click on the divide option. After that, click on any section that contains the color of the diagonal lines. Go to select, choose same fill color to select all the lines with that color and press delete. This will leave you with the horizontal stripes and remove the diagonal lines along with the parts of the stripes that we're overlapping. Finally, move the vertical stripes back to the center of the artboard and there you have it, a completed plaque pattern. Another option I prefer to use is to duplicate the top layer. Select it, then change the blending mode to soft light by clicking on the opacity setting. This will add a subtle weave texture to the solid areas formed where the same color stripes intersect, enhancing the depth and texture of the pattern. Once you're happy with how it looks, it's time to preview it as a repeat. Select everything and drag it into the swatches panel to save the pattern. Next, draw a rectangle larger than the hardboard and click on the saved swatch to apply the fill. You can further scale down the pattern for a better preview. Once satisfied, export the file as a JPEC or PNG. The best thing about creating plats in Illustrator is how easy it is to recolor them. Let's now create a few color variations of this plat. Start by making a few copies of the artwork. Select the second copy and click on the small circle, which is the recolor artwork tool. Alternatively, you can select the artwork, go to Edit and choose recolor artwork. Once you are in the recolor artwork dialogue, click on the Advanced Options. Here you can click on randomly change color order to get more color variations within the same color palette. Select other color palettes to try out more variations. To submit your project, use the template provided in the resources. Open the Illustrator file named plat color options. Copy your pattern and paste it into the file. Then drag it to save it in the swatches panel, select the first rectangle and apply the first swatch. Adjust the scale if needed. Repeat the same steps for the other two color options. Once done, export the file as a JPEC and upload it in the students project gallery. I hope you enjoyed this class, and I'm excited to see the beautiful plans you create. If you have any questions, please feel free to drop them in the discussions page. I'll be more than happy to help. If you enjoyed the class, please consider leaving a review and sharing it with your friends. Don't forget to follow me on Skill Share to stay updated on my future classes. Until next time, happy creating.