Transcripts
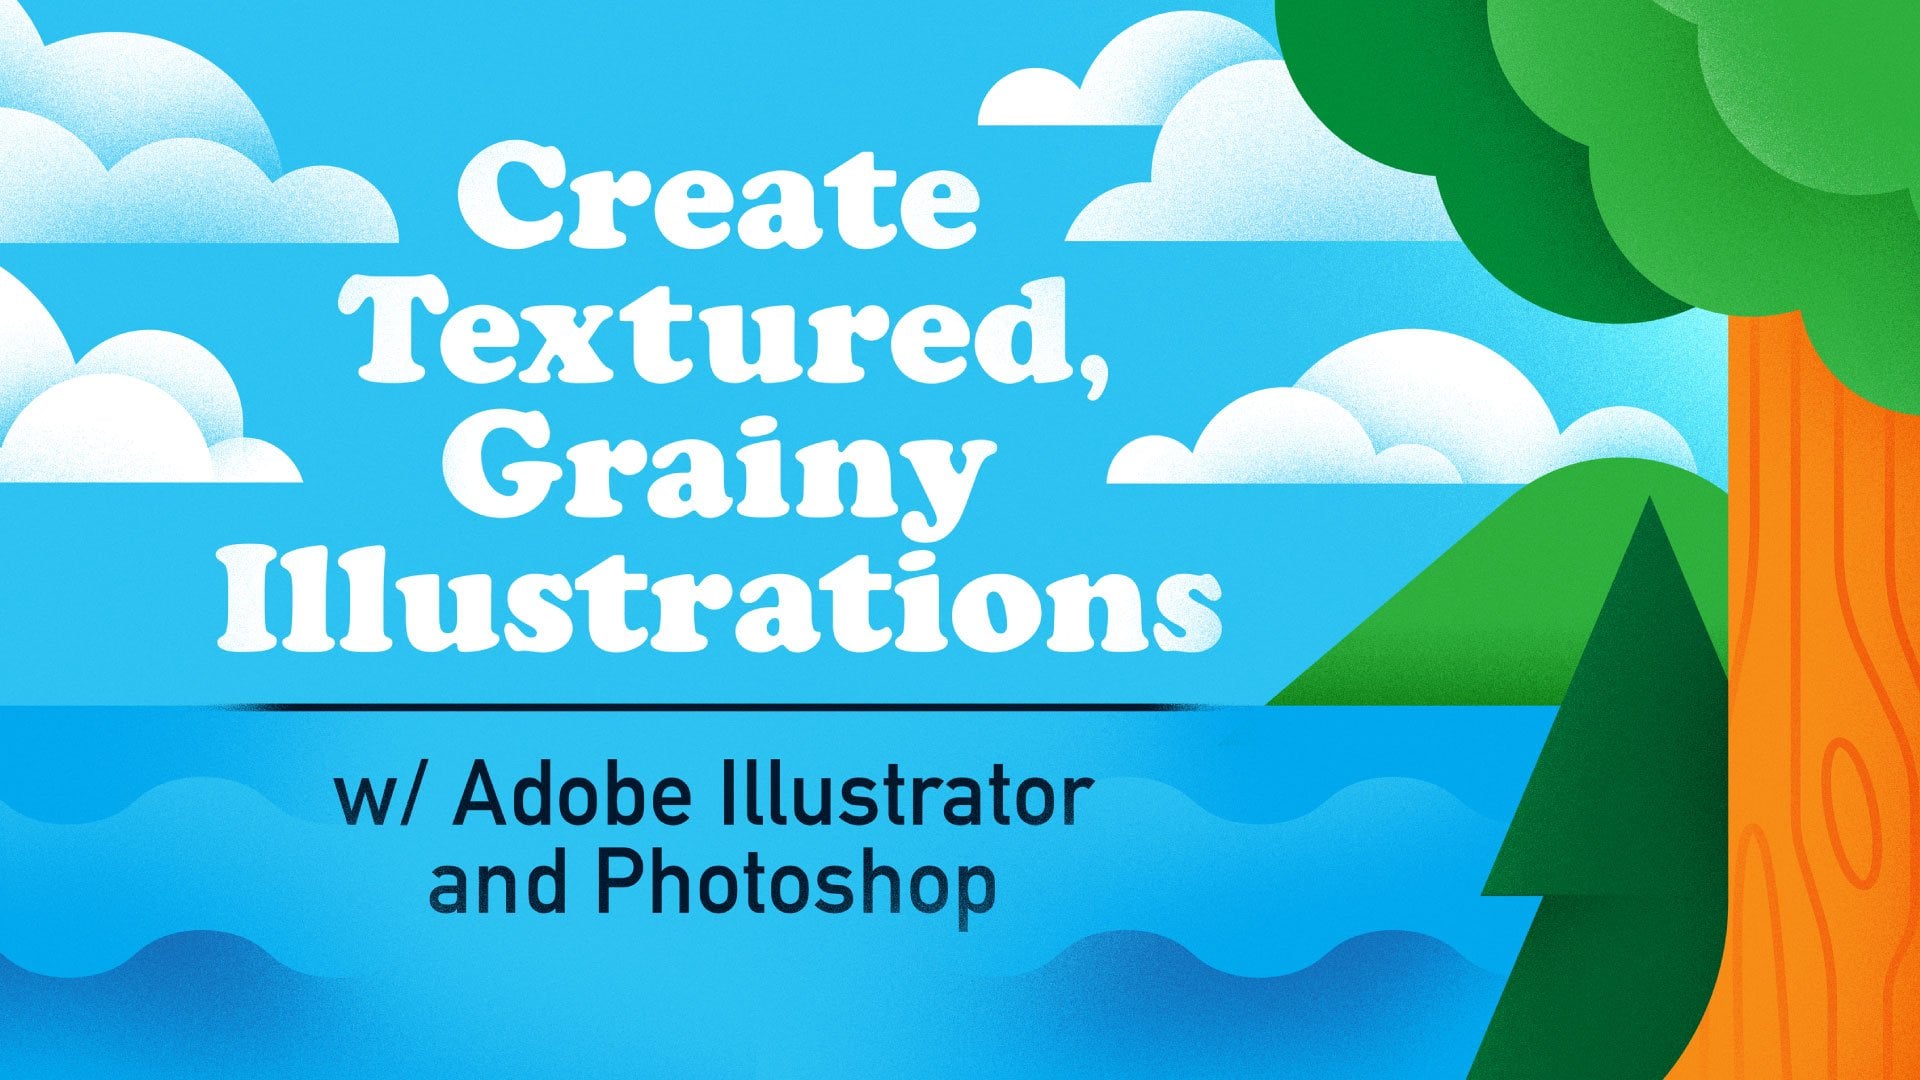
1. Intro: Well, hello, everyone. Welcome to my second class. For those of you who hasn't wished my post quest, let me introduce myself a manga, Hashem, and I'm in illustrator and graphic designer today I'm going to teach you how to create the simple yet very attractive grain illustration. I will show you how long made it step by step explaining my process along the way. And of course, I'm going to be using Adobe Illustrator and I don't before the shop please feel free to ask me any questions regarding my illustration process. I will be happy to answer them. Also, make sure to follow along and create your own beautiful illustration. Let's remember to show you work in the project section. I'm excited to see your creations.
2. Illustrator: Creating The Window: Let's start like reaching the new illustrator Document Goto while you. Then you window pops up and you can see lots of Forman suggestions for this artwork of illusion. They were off 100 pixels, and the height of 600 pixels always might be. I It's recorded just in case I want to bring administration in the future. Then you should click pre. I'm clicking Cools because I already have my document open min illustrate. I have already prepared scheduled administration against dressing up how important sketches are. It can be tempting to skip this kitsch face, but a good sketch will save you time in the long run. Now I simply adjusted through the airport is in this election toe and holding down ship. Remember that you have the whole ship while size in your image for shape and porter important to scale proportionately. Next, Triplicate mint sketch by drunken into the wet While holding up. I want to low down the passage of my original sketch, the sweet it looks less destruction while still being visible enough for me to prophesy next at your local B and sketching look later, you have to simply let click right here I have to create and you wear for my letter shits to do so. I left Click this icon in the bottom of the last bell doesn't in and out, Oppressed said on my keyboard to grab the zoom toe to zoom in, simply left click on your cats to zoom out. Let's click on your canister, holding instead to start doing anything. I grabbed the language, don't endorse, shape adjusted and fortunately, my sketch bigotry off its black stroke here. Now I will click this year I can down here in order to bring up the color picker. I just for over now and pre cook down the past two off the shape to see what's going on behind. I looked around the corner so angry, so I need to grab this election to looking. You see at least a little like corners regions right here. I just had to bring the selection toe over one of them and drug towards the central. To shape this simple move, you run the corners of the shape, make sure that all foreigners are selected to run them, even if you have only let's say what corner selected. Other three will stay the same. It's time to draw the glass. Part of I grabbed a rectangle toe and drawers. She I like you work to bring up their I D over to. You can also find here in the whole span well, given the shape selected. I click on this one with the eyedropper tool to apply its color and that prosecutors like shape. Now it's just print, and I can see my sketch, the rip around its corners, like on your digits and then simply modified to be using the selection toe. I don't mind the small shape with a central, bigger, you know. So I said that both of them and then left click on the bottom shape. Do you see that speaker length? This means that this is the main shape which will stay in place while its motion you'll be allowed to Ellen Palance. It's right here, I think resemble and center button. Don't lend my shapes Now. I still small shape gold object for but said that said it shouldn't break you folks and changing number here to fix it. Because this looks true scene others don't identify. That looks perfect. So I click. OK, I select work boredom, Enter points and press the down arrow key on my keyboard. Move it. Now I repeat the same action with the proper anchor points. But this time I move them up, I said at the inquest on the left and move them to go and do the same with their anchor points. All right, moving them to the has never the small ship again and gold just upset. So you see are trying different. Say, thinks do it. She decided yourself. This looks good to me, so I click. OK, I still have the border entry points off. Then you'd agree to shape and move them down. Well, this too much. Let's move them back up. I'll use the same method or just the upper part of her shape with the change the color off the central shape in folder for just a dollar from other cities. I won't do it a stroke Some of my shapes like this one, and said it's stroke for trouble to regulate this chalks thickness and will change its value right here, placing appearance to their next shape, I said use the dropper technique. I showed you Aldo the same chick with the next rape. Here we go. Let's run the bottom part of the ship just a bit more. Same goes for this shape. Let's leave the bottom anchor point of this shape and moving stuff its shape with the selection toe and see scale to be by moving the bottom. This let's move it just a little, okay? No, I want to load the capacity of this central ship down to see if I can still see this HBO Berry. This is where I started losing my spare sketches, a reference so it comes in handy to have to focus off your schedule next to each other.
3. Illustrator: Creating The Window Shade: I think l rubs need still, you can also find it here in the go spend it. A Joshi. I use the eyedropper tool to change his father and then switches stroke value to not at the top left me and I learned into the central window shape. I changed the shape of the elites by using very selection, tool and drug handles. Then I adjust its position. I go do object us upset this too much. It's all smoke. Let's go with it, I said at the shape again and repeat the process. This then I owe that miners 15 pixels, see what happens. It creates a new shape within the original one. Let's change the value to minus 25. Let's go with 30. Great! He took it. Next I grabbed this election toe and select all of these three shapes and hit command G to group them. Now I will change the shape of the group of big frustration. Next I learned shade. Here we go. Let's let the central part of the window and hit. Come on, see and command F to go eight in front. I said it with these two shapes and goto us find her and click minus front. See how it looks now? So I need to repeat this process for the other ships because I want to bring them in the front later without the cover in the central part of the I must have made between Okay, I want to get rid of it. Stroke. It goes around the inner part of the ship to do so. I press command C command at from my keyboard to duplicate she have to leave. Now I select all these anchor points located at the inner part of the coping with the dark selection tool and hit delete on my keyboard. Them for space in the Negro this year. But I will easily handled. Let's use the few bell shaped. Now I will grab the original shape and sewage. It's stroke value to know. Let me show you what now I have one shape with fuel and one stroke us. Look, you spit out the video now correctly in your shop that shape that needs to be modified. See how it looks now. No stroke around the central part of TV. I will select aberration up and make it. I want to modify the original shape, but I want to keep it. Skopje. In case if I won't like my adjustments and we want to get back to the original form, click. Let's let the bottom shape and make a corporal. Let's switch the fuel value off the copy tonight. Next, let's switch the stroke value off their region. Checked in on. Let's let this joke now and go to expand in peak. Okay? How did the same process for Savage Let's work with the shape. First I selected and then left. Click on it and choose on group as like these two shapes and grabbed the shape your toe tomato spell and click over, then wanted. I will never be the same roses without a shapes. Here we go. The shade is done. Next. I want to draw a handle, right you aggressively and draw She Iran is corners and do the shape. The wind was finished in the next video. I will teach you. Particulate playing big, using the mental stay tuned
4. Illustrator: Creating The Plane Wing: Let's start drawing the blaming. I'll be using this popular my sketch as a reference since they're the one is all covered. I press be on likely work to bring up the mental, and I think they start toe. I'll find my sketch Great maker like I'm doing now. You simply have to click and hold down the mouse and then drag the mouse. I closed this shape and low down. It's gusting to 50%. I went to round some of its corners to create and more sleek oak. Okay, lets start eight and some lines on living. I'm using the pen through again toe alignments. Kitsch. Let's switch the appearance of this thing to stroke instead of fuel. Here we go. I will make it just a little secret. I will quickly finish up with the rest of the lives. - Not just how I use that are exception. Told to modify the okay. That's Joe with these guys. I will start with the weak one so you can see that I don't do anything crazy here. I use the same techniques I showed you earlier. I draw my shapes with the mental use the eyedropper tool to Kobe appearance and round corners with the help of the left corner siege. It's sometimes I just select a few anchor points and move them using arrow keys on my keyboard, - I said of both shapes and hit command. G could group them next. I simply move this group under the link there. Then I duplicated by dragging it, were holding down, up. I do it twice. In cases like this, I saved my time by duplicating objects rather than rejoin them. Let's forget about the link. Repeat and draw the clubs again. Methane fence. I will simply use the mental and drove both of them. I want to quote one of them at the bottom of the window and one next select awful and hope it on top of me. Let's draw the background. I grant their tangled tow N Joshi. I changes color to darker purple and hit shift command and left bracket on my keyboard toe . Bring it back and I look. It's like you can see that my graphic elements barely stand out, makes to giving next ending up that rusty over a few shapes pick up just to make them more. Hickam on C Command F duplicate this window shake. I slept before Pete and the very bottom of dough Shape and click my restaurant on the past behind your back. Next a drugs in Munich, re and shape up and place it above the clouds. Layers in the layers menu I bring. It's a positive back. You can see that now. Almost a necessary part of daily girls are magic hidden behind the outer window shapes. What's left the store. Just these one. Justin. Let's bring this shape up in the lower spinal and change. It's a bust and let's do this. Thank you. And here. Okay, we're old here. In the next video you played with colors for this illustration.
5. Illustrator: Color: This is the fun part. I've made some switches that I will be using to collar administration today. I want to play with Contra sticker. I'd like them, you know, to really stand out and be the central potential before I will keep everything around it kind of that. I don't love the background there and switches feel color to the dark purple with the help of their drop it and a local celebrity So it doesn't get in the way while I'm be using graded to create this kind Just a select this color sorge and double click the few I can't open the color picker oppress common see recoup its value and click OK refined the gradient You should goto window grading I think the Grady in slight Well, keeping this color select You can see how it changed its your color Beautiful black and white Great. I click on the slider and then on this I can bring up the car pick Chris, come on me toe base the value We caught it early Next equity value off my next switch I think in the middle of the slider bar to great and use like and then I simply based its value the same way I did it with a slider number. It would be the same process for the last black slider. The brilliant stuff. It's pretty, isn't it? I moved the greedy in slider to adjust the great. As you can see, I'm going for a sense it Look, let's give some color to the I said that the main ring, shape and double click that feel I can write you. I go for a very, very life. New color. I've been out there brings a positive back to 100%. Next, a select small details with the dark selection toe and give them the same color as they ring by. Usually I drop it. I used the dark selection toe here because this small being sports are grouped together and they still allows you to select single first off the group instead of their logo. Is it would happen if I would have used a selection toe as ending and you can see the dapper shape is actually located. We need the book Ginger. I simply change its position in the lair spirit. I'm a little bit this process for two groups. I use the eye drop. Don't to change the color few of the house a low down that passage of both clouds to make them look more airy. Let's change the few off this shape during eyes, graded Post quoted the color value of this much. Then I selected and then click the Grady in slider applied regret. I live on the one on the sliders and based in the New World, I would be the same steps for other to spiders. I agree this little icon right here to switch this Grady int from linear to radio and adjust the slide part so it shouldn't look. I want. Next. I select the shape and change its color to the light here. Not this won't work. Let's wish it through this purple T. Next. I have applied the region through the small in shape. Well, I think I don't just go with the regular fuel color here. Let's do this one. It's time to start working on the shape I said, act all its shapes and bring them to the front. Let's elect its element and used their job bredoteau like race. But then I had just a great intellect that stupid. The same roses with the next shape. And the next month I will give this on a you know, a few. I played the gradient to the shades him. I switched to linear and modify it. Scholars, did you meet one of the sliders? I simply pull it down and then release the mouse. Okay, here we go. The handle is done. I will delete this detail here. Press select in it and pressing delete on my keyboard. I think I don't need issue. Let's change the fuel shape. Do agree every feeding for that too. How did they do the background just to give this illustration and extra kick? I have been tangled toe and drawer. She I select to top corners with the dark selection toe and grab the scale toe from the tools manning. Then I simply phrase it over one of the select corners and dragon. See how would even image if I the shape on both sides. I bring the shape to the back and adjust its great next. I select to bottom corners with the dark selection door and run. Finally, I ally in the shape to their enough. So this trip exceeds my, but I don't want to crop it before a signal. Create too great rectangles and cover them. Wanted parts of the shape. Next, a look. We could change the fuel cover off a few more shits. You can see that I'm using the same color social again and again. I love using limit colorful. It's as at least to the best results. Remember, don't have things all the colors in the world to create great, well rounded illustration. Next, I'll change the color or the being strokes. Also, I want to run this jokes gets. Now I'm adjusting the position off this jokes. Once again. I want them. Duke. Perfect. - You can see that some of these jokes don't be living. You need to croak. To do so I select them and then goto object. Expect the small grades, a shape out of his truck, plastic living shape along with their former strokes and grabbed the shape builder to and simply click over, then wanted first while holding down, out to get treated off, then wanted. Lastly, I want to put a shadow on top of the window. I will be using the same techniques to create it as I used to roll the squad's Leslie A select All is accepted. The background it Come on G the group all these shapes and look the program and the land living. I don't play with colors ingredients just that need more before exports in this file to fortune. And I want to make any drastic changes elegance, illustrations is, but I don't want to make it. You really small tweaks. Small mine genius can really make your work shine. Sometimes it's a good idea to take a break and then have another look at your artwork with the fresh shirts. Okay, I think I'm done here. In the next video, I will show you how to export this new straighter while or for a shop.
6. From Illustrator To Photoshop: it's to prepare minor stranger while working for trouble. First, I will unlock and delete. All the gray rectangles are used as a mess. I unloved this sketch later indicated Nets. I only need everything outside of my report. Since I don't need it anymore, you can see that all the graphic elements of my illustration are located on one single. If I export this illustration to pull the shop as this, all of my graphics will be merged in the one we're, and I won't be able to work with each of them separately for comfortable working for the shop. I need to have each element on its own separate later. I assure you how to do that trust and easy. First of all, let's make sure that none of the players are next lesson group everything that's group next . Click anywhere outside of my eyeball to make sure that nothing is cynic. Next, arrest Greek on the real highlight. Then I go to these hamburger menu and shows released to their secrets. See what hips have a look. My great and immense, located on their own separate leading up. I select old new degree layers and dragged them about the original. The original layer is empty. See, every time I said, like a layer through the great, you can notice the light showing up on the right When I speak of actually, there is no life. Please delete. You can see the administration spreads the young their work. I could crop it, but there is a really easy way that you can use to export worth without the need to cooperate that see how it works. I go to file, expert expert is I just for show is if a woman from the drop down me and then I just use our Gore's books. This little stating does the trick when you check these books you left for the shrapnel that he wanted support everything inside of artwork and nothing outside of it. Then I click expert, make sure that inject bright There's in this man. Then I click. OK, so I opened my mood a courageous violent for the show. It looks perfect. In the next video, I'm going to show you how to dexterous the administration
7. Photoshop: Adding Texture: so you can see my layers panel with older layers in it. Let's start texturizing. I want to start with the sky. I left click on my sky to selected in the later spirit. Make sure that you have your outer centered books Chip and said the where I left Click on their litter Seiken were holding command to create a selection around the shape. Selection will help you to keep texture really in the shape. Next, click the center. I come to create a new where I will be using to for texture a quick I to grab the eyedropper tool and sample these fish are next I double click this icon to bring up the color picker I select and like yellow color and weak. Okay, I pressed me to grab the brush tool to bring them their brush panel Goto Reno brushes. It's usually fox up along with the brush setting Spam. This is where you can select your brush, shape, size and angle. Alternatively, you can find all the good stuff here on the left. So the British that I'm going to use a school classic Global quester grain. I know this one name. This is my custom brush. You can find a similar brush among Photoshopped before brushed, so this control helps you, Toe said. Brush angle drawings and things burn helped you do, said examined brush sites. Just the brush size and think they bring it over the scholar and start painting. Remember, it's a stamp brush, so don't drag. You should simply stand. You see that? I sort of over doing it right now. I don't purpose. I will raise some would later. I think e two grabs a razor to what can use any Russia's in the razor. I select one of my angry no brushes and adjusted size. Then I simply erase for us of the texture I've made previously. This is why it's important to keep your texture on a separate layer so that you can modify it without under and anything else but texture. Okay, a speech to the brush to again and air some more green. I want wear a different colored in the texture before I grade, and you wear and choose a slightly dark cloud so you can see that I constantly switch between the brush and razor tools changing their size and introduced me collars when it comes to choosing the color for texture, I usually go for the one day. It's a little bit darker or lighter than the background color. In this case, this guy's great hand consist off. Yo and think so. I just alive. Be sure, like yellow color and dark pink for the texture. Also is the time when I used a different color for the texture, I created new layer for the purpose. I know that because it's is it originated in case if a new collar or picture doesn't work the way we want. - So that's it for this guy. I don't extradites the rest of the illustration using same techniques. I've just shown you. - No you . No, - you don't. No. Okay, this illustration is finished. I hope you enjoy the process.
8. Conclusion: So this is for today. I hope you have enjoyed my class. I encourage you to create your own beautiful illustration using the techniques you've learned today. Don't forget to share you work in the project section. Thank you so much for washing guys by.
 Olga Hashim, Illustrator & Graphic Designer