Transcripts
1. Introduction: Hi, my name is Dana and in today's class, I am going to be showing you how to create an animated GIF using Procreate. I've designed this class to be beginner friendly. So if you don't have that much experience using Procreate or you are just getting into it. And this class is perfect for you. If you've ever wondered how my guard from Tony, still drawing into an animated GIF like this fun in this class might just be for you. Before we begin a little bit about me. I'm an Australian, THE a Teachers Pay Teachers author and frankly, just a regular mom who loves to create, illustrate, and draw on the iPad using Procreate. So if you would like to learn how to animate, I'll create a gift from your artwork. Then come and join me in this class. I'll see you there.
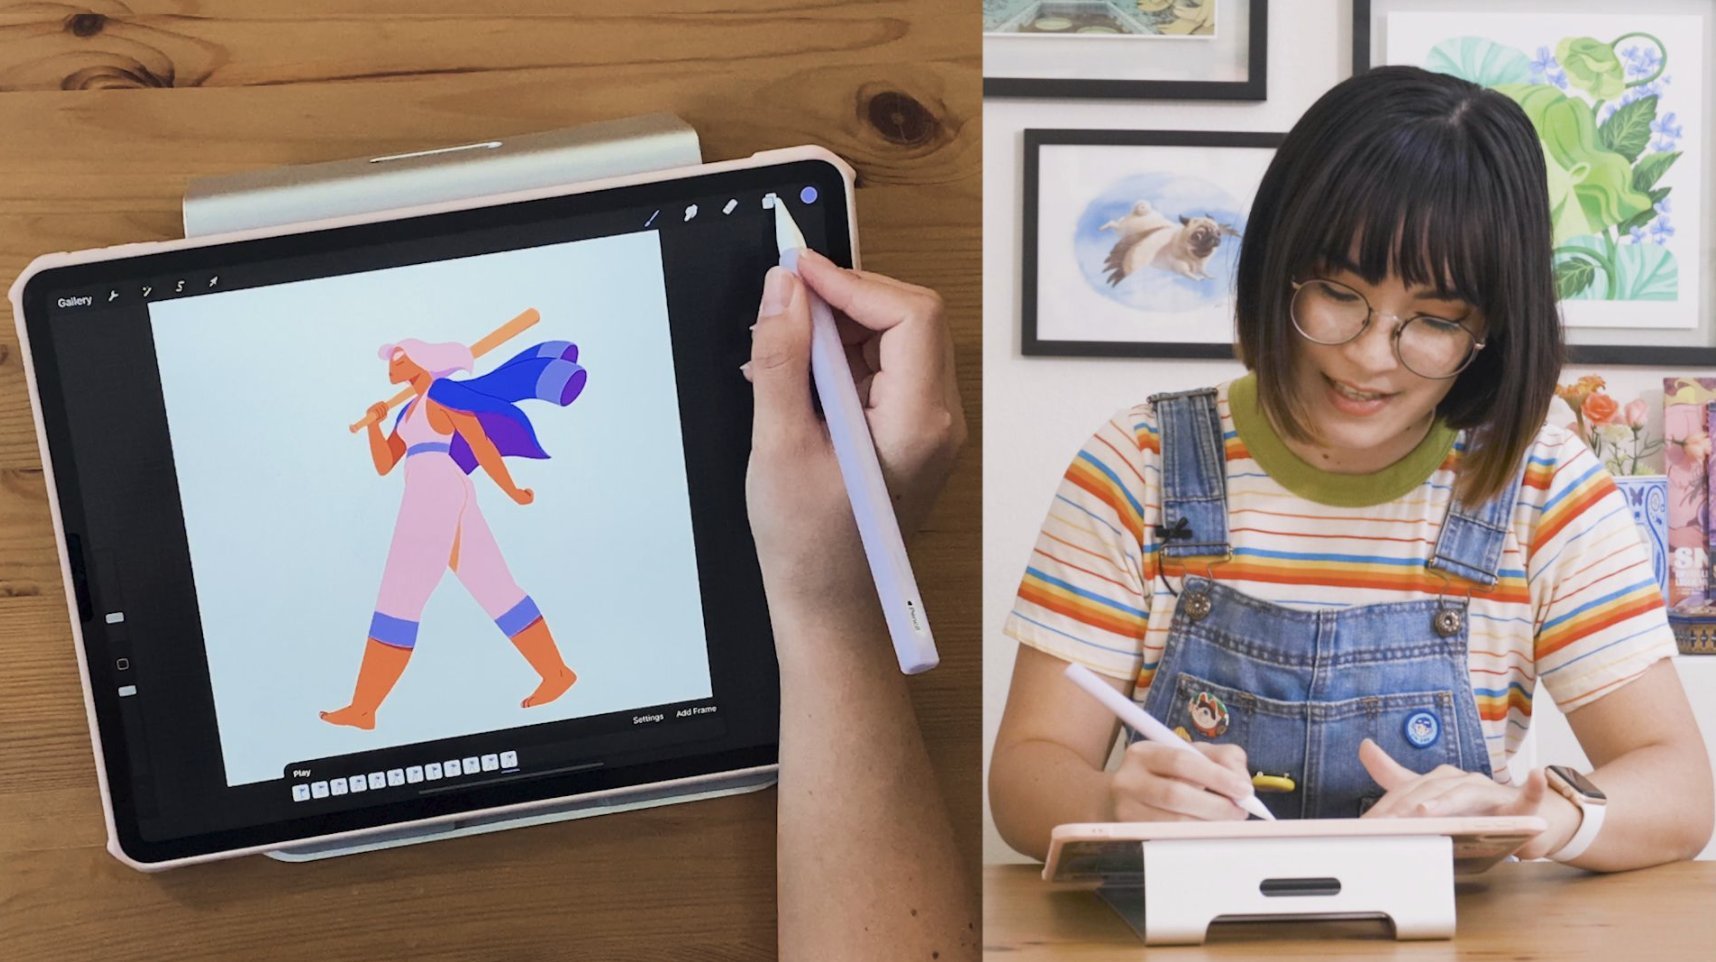
2. What you'll need: Thank you so much for choosing to attend my class today. The things that you need to get started is an iPad. I'm using the iPad Pro, the 9.7 inch and Apple Pencil is optional, but very much preferred. Procreate the app, which you can find on the App Store, Procreate does cost to fade, but it is a one-off fee and it is worth the investment if you are a creative person. Lastly, you just didn't I find a laptop or computer to test out your GIF? If you've got all of those things, then let's get started.
3. Canvas size and Procreate for Beginners: To create our GIF, we're going to start off with a blank canvas. We're going to go to the plus sign in the top right-hand corner. And we're going to click on this black box. And we're going to change. I can emphasize to 2048 pixels wide and 2048 pixels high at 300 DPI. If you're a beginner watching this, I'm just going to quickly go over a brief overview of what is what on app Procreate screen. So this is our Canvas. You can move it by pinching your fingers in an apt, the top right circle is your color palette. You can find colors and choose colors electing anywhere on the disk here. Alternatively, you can also go and have a look through these sections as a way to choose a color that you'd like as well. I would recommend as a beginning to sticking to disc, these boxes represent layers. So if you think of blankets and if there was a blanket laying on the floor, that would be one layer blanket, one froms to talk enough a blanket on top of that. That would be Layout tab or blanket too. So the more layers you have, wool blankets you have on top. So I, we don't need all of these layers right now. But that is the idea of what a layer is. And each layer will allow you to draw an image on that layer without touching the others. The next one here is your razor tool. This one is your smudge tool, and this one the paint brushes where you are going to find your paint brushes. For this class, we are going to just use standard brushes that come with procreate will be utilizing the 6 B pencil and also the monoline pencil, which can be found in calligraphy. There the two brushes we're going to be using today.
4. Sketching your artwork: Okay, Now it's time to sketch. I meant to sketch my little acacia dog with the 6 B pencil. You can change your color by clicking up here and moving it around the disk. For me, I'm just going to be using a dark gray, but you can choose whatever color you'd like to sketch this little fella apps. I'm going to start with my brush size at about 20 to 21. And this doesn't have to be made. It can just be a very rough sketch, but I'm going to basically start with a circle. Then I'm going to add some ease. Some triangular is that kind of point in widths. And then on the other side as well. Again, this doesn't have to be super neat. It can be quite rough and sketchy because this is just going to be our initial sketch and k. So now that I've got the rough basic outline that I'm just kinda actually draw a line in the middle here. And then another line not quite halfway. That is going to help me know where I need to put the eyes, and the nose and the mouth. So for this case, I'm going to first draw the nose in whether that's middle part is kinda like an upside down triangle. I'm going to draw a line down. And George say little curves. And again, if it's not looking perfect at this point, That's like k. For the i, I'm going to just draw some, I lose. This point is looking a bit more like a cat. But don't via because we're going to fix that. Let's give him some eye brows. And now I want to draw a little bit of a wave. Now, I can say the proportions are a little bit out. So what I'm gonna do with my selection tool up the top here, I'm just going to move the eyeballs to make them a bit more closer to where I'd like them. So I can move them down a bit more. So that's our sketch. Don't worry if it's looking at a bit more like a cat at this point, because once we fill it in and do the outlines, it will look a little bit more Akita like, Let's move on to lining and coloring in our ketone.
5. Finalise Lines and colours: Okay, Now to find analyzing the lines and the colors for this part, I'm going to be using the monoline brush, which can be found in the calligraphy section under mono line. Now I'm going to use about a 21. That's the size I'm going to be using to finalize these lines. I'm just going to create another layer. So I'm just going to rename this just for the purpose of this video. And I'm just going to write out line. And then I'm going to add another layer on top, rename. And I'm going to name as a key to Karla. Now on the outline layer, I'm making sure that you select it. We want to basically go to the end here and lower the opacity for us to outline. On top Asia, sorry, we're now going to use my monoline brush and I'm going to change it to a dark brown. And I'm going to outline this little guy. If you make a mistake like I have here. Because you can always just re-size using the Camera tool. Making sure that it's on phrasal. Make sure when you're doing your lines that they connect up to the drawing. And if you have to re-do it a few times, psi k, Now we're going to do the eyes just gonna draw an arrow. It's going to look a little bit strange at this point, which I'm worried because it'll look a lot better once we're done. After this, we're gonna j the nose. And then the math, one line down and a calf. Now, because we don't want to do the eyebrows or the mouth pot in an outline. We're going to now color fill each of these first. So what I'm gonna do is I'm actually going to create another layer and I'm going to name it fill. You can name your layers whatever you like to make it make sense to you. What I'm gonna do now, I've created the Fill Layer. I want to make sure that that feel layer is underneath the al-Qaeda color layer. I'm going to rename this to a Qaeda outline for the purpose of this video so we're not confused. Okay, so underneath the al-Qaeda outline, I've got a blank layer which is called fill. And I want to do now to make this easier to color in is to go to the Akkadian outline because of the name and click reference, this is going to give us an easy way to fill in the colors. It'll underneath making sure I'm on that layout. That's an empty layer. And I go to an orange color and I feel in the colors by color dropping them. The great thing about this is the field does not go on to the outline layer. And this is perfect for when you are creating a piece of art. I'm going to do the same with the ears. I'm going to choose a light color, light beige color, making sure I'm on that fill outline and the base color. Now we've got to do the eyebrows and the mouth. What I'm going to do now is I'm going to create another layout, is going to rename it as highlights. So this is the main color, the fill. And now we're going to do the highlights, keeping the reference still on the al-Qaeda outline using still that same mono line brush. What I'm going to do is I'm going to firstly, to the field layout that we just did, drop the opacity so I can see through it to highlights. So making sure you're on that layout. Clicking on one or line brush, zooming out and then just drawing or EVA, the sketch with the eyebrows was. And we're going to also do the math why we're here by doing a bit of a wave and then drawing and filling this line. And then what we have to do is because we've got the highlight TEA, but we still want reference on, but it just take reference off is outline. And we're going to go back to the highlights and we're going to fill in the math. Then to make sure the color comes back, we just go back to the field layout, higher the capacity and will allow and we can fix it from here if we need to. So I can see there's a few little gaps of colossal. I'll just quickly fix those up, making sure that we're on the right layer. Just make sure you go in and fix up any areas that you can see that might need a bit of fixing out why EJ this tree. Now we're going to add one more layer and rename it iss. And we're going to give this little I keyed up, making sure when I make sure that this layer is above the Akita outline though, because you want to be above this layer. And I'm just going to grab a wide and I just like to hold down onto the background because that's a nice strong white. Make sure that we're on the eyes. This is what's going to make our little I ketose stupid Kate, add a little bit of highlight in the eye. While at this stage of the drawing, what I'm going to do is actually go back to gallery. And what I like to do is actually like to duplicate my file here. If we make a mistake on this one, then we've always got the original true refer back to you. So I'm going to open up the new one. And you can say that we've still got all those layers. But what I'm going to do is I want to take why they outline and I'm going to merge these altogether by pinching them as one. Now to just fix this up a little bit extra mole grabs the average Joe, GARCH a walk, and just move it a little bit more around to where I'm happy with. Now I'm going to make him a little bit bigger, going to free form, and just move him a little bit bigger. Hurray, We've made this cute little Akita dog. In the next video, I'm going to show you how to animate him.
6. How to animate : Welcome to the fun part. Now we can animate and turn this little a case, a dog into a cute little GIF. What we're going to be doing first is we're going to go to our layer here that we merge together and we're actually going to duplicate. So we've got two of the same image. We're going to change this layer to make him a little bit like he's blinking. So this is actually a lot easier than you might think to animate him. But basically I'm just going to make sure I'm on this fill layer on the very top one. And then I'm going to the same brush them on a line. I'm going to actually just draw on top of his eye as if he was just blinking a little. What I'm gonna do is I'm just going to swipe again, duplicate. And on the third one up the top here. Let's just rename them 123. So just rename my layers just to make it a little easier. For the third layer, we're now going to grab that monoline brush again and just color underneath his eyes so that it looks like he is squinting. Okay. So what we're going to j then is we're going to duplicate him again. On the fourth layer. We're going to actually color his eye out completely. And we're going to fill it in using that same brown. You can just click on your picture to use the same brown. And we go into government. I like that, so it's closed. We're going to do that on the left side. So now he is closing his eyes. What I'm going to do now is I'm actually going to go to number one because that's where he is. I got to see it on screen, but IVI can see here I've selected one and I'm actually going to duplicate that. So I've got one here. Now when I move this one above number 4, what that's going to do is it's going to make him go from closing his eyes to then opening. So as you can say, from closing to opening. And then what I'm going to do is I'm going to duplicate that one again. Just to give it a couple more saints and new node, I mean in a minute, a duplicate. So I've got three of the ones. And then on the third one here, I'm actually going to draw a little tongue. So I can just add onto this by doing a cute little tongue. And we can fill that in with a nice little pink color. How cute is that old guard up to that number one layer? And I'll duplicate it again. And I'm going to make them all the way up to the top. Again. Just said and he's going from having his tie out then moving up tonight tongue. And I'll duplicate that one more time, just so that we've got some more space. And I'm going to show you why I've done that. So once we've done that, we've got all of movements here. I'm going to now go to the Animation side of things. And I'm going to go into the wrench. I'm going to go to Canvas and I'm going to go here to animation assist. This is going to basically turn all of what we've just made into an animation. Now, what I see when I press play here, you'll see that it's going to grow quite fast, so we do have to adjust it. I'll show you what it looks like without adjusting it. So to make this a bit slow, I'm going to pose that. I'm going to go to settings and I'm going to change it to a bat. The second bad 7 is what I find a good setting. And if we press Play again, now you can slow that down even more if you prefer. I might even do that actually on this particular one. Or you can also add some more layers to make it slower by giving it an extra couple then. Okay. So that's what he looks like at the moment. You can like I said, bring down the frames per seconds if you'd like to go a little bit slower. And you've made your animation. In the next part, I'm going to show you how you can export it and what you need to do to be obviously use your give, your newly made give.
7. Exporting the GIF : Now it's time to export. You'll give today these all you need to do is go to the wrench, go to share, and go to animated GIF. Now make sure when you're sharing it, if you would like to have a transparent background, you can click the transparent background to remove the white. Just make sure that you click disappearing off so then you don't get pixels inside your actual GIF. Now, you can again change the speed by dragging the slider up and down to make a faster, the higher the number that will foster it is going to be three seems to be quite good for this particular GIF, but yours might be slightly different. Now then to just export it, click the orange Export button. Wait for it to live. And you can edge over to your computer, your laptop, or your fine by clicking AirDrop. I'm just going to show you for the purpose of this video that is on my Mac. And she's seen it in action. I'm going to drag it. I've achieved the photo I created for it. And then if we open this folder and click on the gear UP, haven't see it right there and it moving. Hurray, you've made your eye and give
8. Final Thoughts and a Thank you: Congratulations, you've made your GIF. You can do lots of different things with these gifts. You can send them to friends. You can use them in PowerPoint presentations. You can upload them to Giphy.com. You can use them on Facebook Messenger to send to friends. Let us go send this gift to my sister. So I just sent it. So let's see what she says. So in conclusion, I just want to say, thank you very much for taking this class. I really appreciate your time and I hope that I was able to provide you some value and actually teach you how to make a GIF. I hope you've come away thinking it's not as hard as he thought it was going to connect. Please ask one thing of you before you go. If you did create one today, I would truly love to see it down below. So feel free to post what you've created. I would truly love to say before I go, if you enjoyed this class, I would love to see you back in another one of my upcoming classes. I have plans to create and release a lot more in the future. So please give me a full eye if you like this course and if you'd like to say some more from me, thank you guys and happy creating.
 Edrinah, Teaching you skills on Procreate