Transcripts
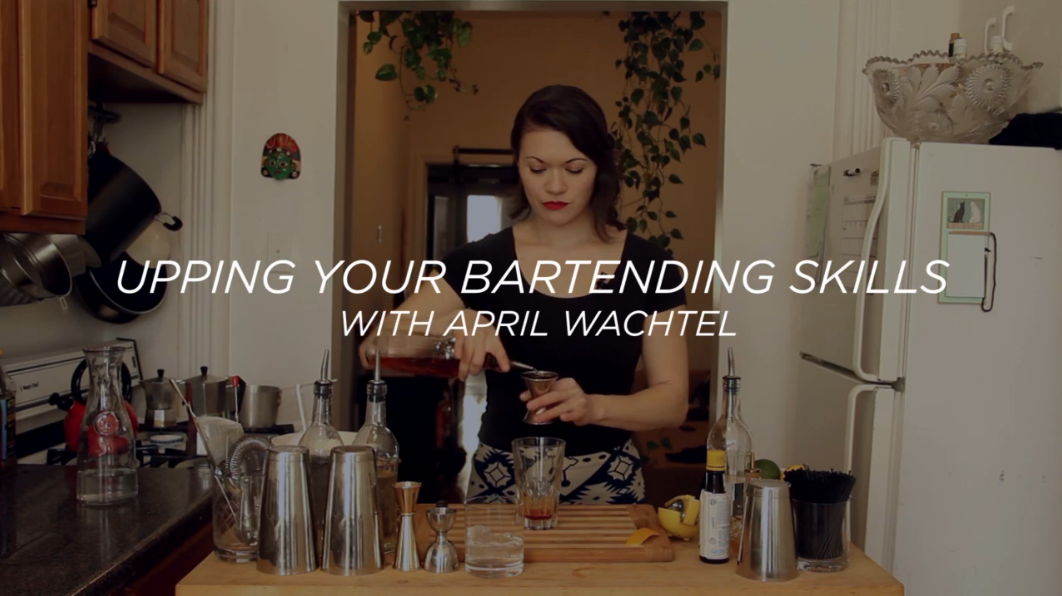
1. Introduction: [MUSIC] Hey everyone, my name is April Wachtel and I'm a New York city based cocktail instructor, founder of Swig and Swallow, the cocktail mixer company, and you may know me from my other cocktail class on skill share intermixology, up your cocktail game in 30 minutes. While that class really focused on the bare bones that you need to pull together to assemble a home bar, this is going to focus more on shaken drinks shaking style, sour style drinks. Really going through the motions basically just how to make these classics properly. This is part, one of a multi-part series. This one's again shaken. We're doing one later, and then we can explore more advanced techniques after parts one and part two. Let's get started.
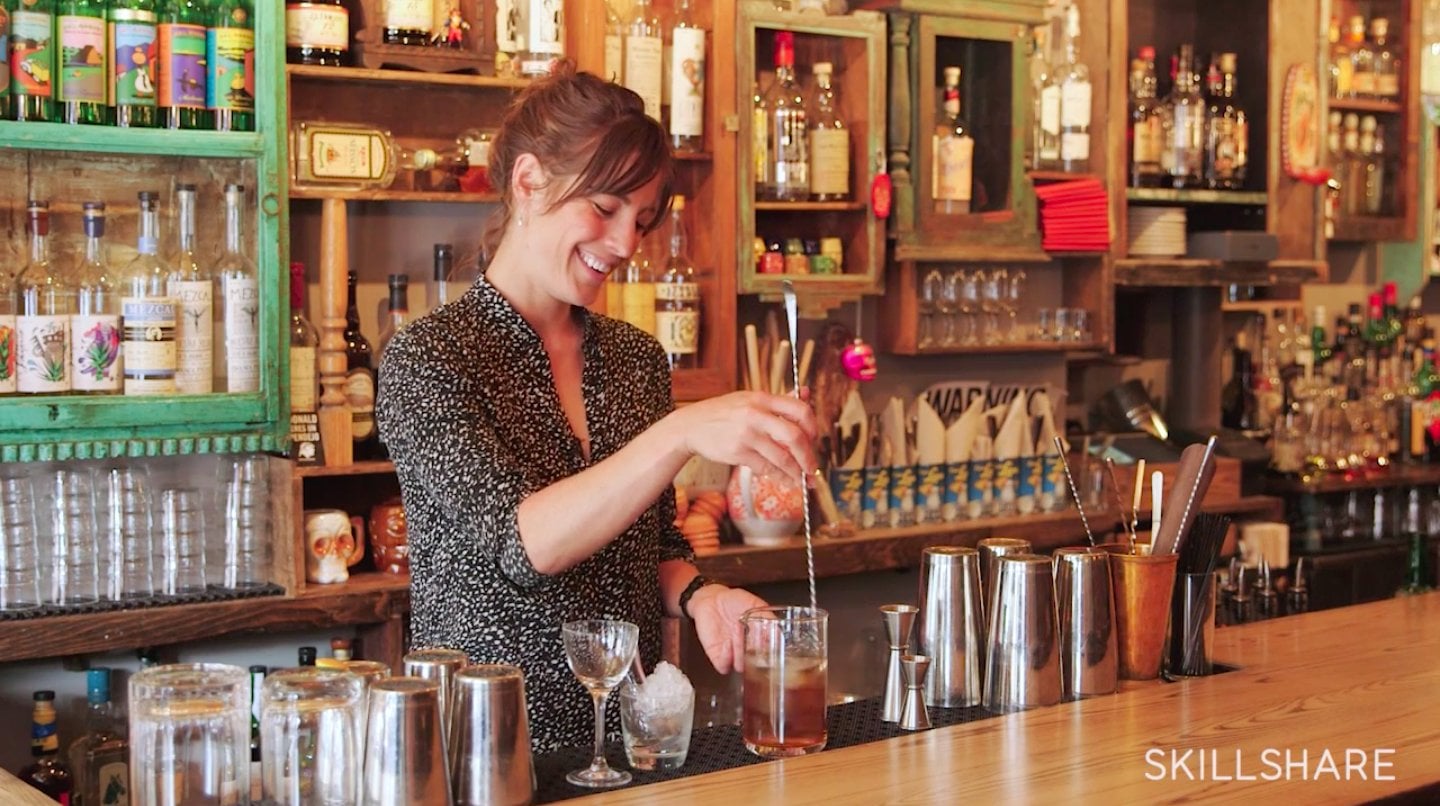
2. Tools and Ingredients: We should review the ingredients and the tools that I have at my disposal just so you're prepared when you're making these at home as well. The basic tools are as such, this is a Boston Shaker, it's a two-part shaker. You can either use a pint glass and then the large mixing tin, where you can use a cheater tin, which is a short mixing tin, and the larger one as well. I prefer these two because it's just a bit lighter for me. I'm going to use these guys. I also have a Hawthorne strainer. This is the strainer with the springs here. I have a fine strainer and this is both for straining juice when I'm preparing the juice before a bar shift. Let's just say if I'm actually bartending or for fine straining, basically after you've prepared the cocktail, if your friend or your guest prefers fewer ice shots in their drink or if you're modeling herbs or something like that and you just strain those at, this is basically a second strainer to use in that context. So I would highly recommend having one of these as well. I also always have on me at my homework setup. I've got some tongs here incase I need them. I have a bar spoon, I have modeler over here, and I also have a julep strainer right here as well. So this is just another type of strainer, if non-essential, if you're just again doing a bare bones setup, but you typically use this to string cocktails. Additionally, this is not for this episode, but this will be in use later for our third session. I've got a beautiful Yarai mixing glass here. This is again I'm going to stir my cocktails in here and strain it using julep strainer. Additionally, I have a jigger, this is a Leopold jigger. Basically, there's different measurements inscribed on the inside, so we're measuring in fluid ounces. In this case, this is going to be one ounce fills the top or two ounces if you fill this in and then there's lines for three-quarter, half quarter ounce here, and then when you flip it over, there's a line for one half ounce here as well. This is my favorite jigger to use, and the reason is just the weight, makes it a little bit easier to balance as you're moving quickly. Additionally, and I've already pre-squeezed my juice, so I don't need this right now, but just so you know, I have this monkey citrus press over here. It's great to have on hand. I also have this little funnel. You might notice that I've got some little cheater bottles over here. I've got my sample here up if I got lemon juice or got lime juice. This little funnel is very helpful to have in your bucket as you are pouring juices or syrups into small openings here. I'd recommend getting one of these if you feel like it, very useful. Then the other items that I have here, I have my ice bucket and I've got a scoop tin here as well. I have some kosher salts over here for Margarita as I always prefer, Kosher salt or larger, not this refined table salt. Then I just have a little bowl of simple syrup here as well in case I want to run the glass of my margarita. I also have a bowl of fruit. This is fruit selection is very important for garnishes, so I've already pre-selected, pre-washed my fruit is about lemons, limes, and oranges in here. I have what is called a Y peeler, or a Swiss peeler. This is the preferred tool for most bartenders to peel twists. I also have a small knife, apparent knife actually left it, but I've got one of those as well when we cut oranges. I've got mint to set up over here and I'm not going to use it in my drinks today, but I'll tell you about the Nissan plus. Basically, when you have refreshments, if you're going to use it for modeling and you're going to use it for garnish, the best way to prepare it is you pluck the lower leaves. Let's just say I've got a spring leaves all the way down. You pluck the lower one so the top looks beautiful and spring-like. You place the leaves in one cup or one glass, and then you'll put the now plucked garnish springs faced down and then put some ice and some water over, that is going to keep them in fresh and beautiful for the duration of the time that you're bartending. I have a little trick to tell you as well. Two tricks, in fact, one on mint and then one on ice. With mint, in the home context, you're not really specific as in the bar context, but in the home context, let's just say you get your mint and it's nice, but it's like maybe folded over, crumpling so it's not stunning. What you can do is trim it down so it fits in one of these four containers. Place it stem side down, so leaves side up in a little bit of water and then cover it up. This part is very important and then put it in the fridge. Next day is going to be beautiful and it comes out. So just to show you right here, I've actually only had us in there for a few hours, but you can see that it's really vibrant mint, the leaves look great. So this is going to be great for garnishing mint. That's trick number one, how to keep your mint really beautiful. Trick number two is good ice or good looking ice makes a massive difference with home cocktails, with bar context tells stupid in the home context, most people are like, "I will just use the stuff that I've got in my fridge" That's gross, and it shattered, and it doesn't shake well, it doesn't garnish well, meaning that when you pour over fresh ice, it doesn't look great. So I highly recommend getting a one by one by one cubed tray. This is a silicone tray. I think this is the two bolo brand, Cocktail kingdom has great quality ones. They also have the two by two by two cube, which is if you like big ice, if you're querying an old-fashioned and you want to do over one cube, that's great. So I'd recommend getting at least one of these. This is again, it's going to help you with shaking ice and your presentation as well.
3. Cocktail #1: The Daiquiri: The first thing we're going to make, we're going to do a classic daiquiri. Again, it's one of the simplest sours cocktails, spirit, citrus, sweet component. We're going to use a light rum today and we've got equal parts fresh lime juice, and simple syrup. In this case, I'm going to add the simple syrup first. I always prepare in the smaller of the two vessels when I'm making my drinks. You can hold a jigger a couple of different ways. You can hold it between thumb and pointer finger, in which case you'd be pouring towards your mid line like this, or you can hold it between your pointer finger and your middle finger, in which case you are basically rotating your wrist away from you. This is my preferred technique, so I'm just going to use this. The proportions I'm going to use today are two parts light rum, three quarter ounce each fresh lime and simple syrup. The reason for that is I like spirit for cocktails, but I also like juicy cocktails. This is great for me, it does both things. I'm just going to very easily pour again three quarter ounces in here. I'm going to take my fresh lime juice which is strained by the way, three-quarter ounces. I'm just going to flip this guy over and I'm going to add my light rum. In this case I'm using Bacaradi. Like I said, I'm doing two ounces. Word on technique with the jiggers, you can't just flop the liquid in, but it looks a little bit better. It feels a little bit better if you drip less if you do it a little bit deliberately. I would explore that as you're making your own drink. Great. I'm going to add ice now. I'm going to fill my shaker up. I'm going to take the larger of the two shaker tails, and I'm going to place it at an angle on the smaller. I'm going to take the meaty part of my palm and give it a nice little whack. That in theory means that seals, but it probably is not, so just be careful as you're doing this. I always tell people to flip the shakers over so the little side, the thinner tin is on top. This is just the best practice for bartenders. Even if liquid comes out and you're shaking shoulder to shoulder, again, it doesn't go on your guest. Also if god forbid, the little one shoots out. Again, I'm not doing it at my best, so it's just the best practice. It's a habit you get into. I would also think about the direction that you're shaking and how you're shaking. I'm going to show you a couple different things. Let's just say I like the right side of my face and I'm bar-tending. I want to keep that side up right. [inaudible] shaking this way than shaking this way, or even shaking this way. I know a lot of you guys are here for recreational, but some people actually want to become real bartenders, so I'll just keep that in mind. It's part of performance, regardless if you're doing it at home or if you're doing it in a bar. I'm going to shake 10-15 seconds. Basically, the quality control point is you want to feel it frosting up in the shaker. I tend to shake towards myself. This is a habit I got into when I'm shaking with block ice at one of the last places I bartended. It helped basically agitate the ice within the shaker and ensure that it was moving from end to end, which is what you want to do. Cool. You see that this is an angle. I always use this violence analogy that, if this is like a little head, and this is the nose, and this is the back of the head, and these are the cheeks, I'm going to rotate this towards you now, you want to hit on the cheeks. Take that same meaty part of your palm and give it a whack, and then that is the sweet spot to open the tin. I'm going to let everything drip off in. [inaudible] places on the side and then you're ready to pour. These are my glasses. I decided I was going to show you guys how to pour two drinks. I love frosting glasses straight from the freezer, so that's why I kept them in there as we were preparing the drink. I'm going to take my Hawthorne strainer. In this case I'm going to place it in spring side down, so you can see it's in there. There's this little tab, you can use it or you don't have to use it. I'm going to place one finger either this way or this way, to keep the strainer in as well the little ice in. I also personally would like to use my fine strainer. I prefer these, you have really great aeration but not a lot of ice shards. I'm going to do this. When you're pouring two drinks, so two glass side-by-side or three glasses side-by-side. You don't want to pour the full contents into the first glass, because then you could end up with too little for the second glass. You're going to even it out between the two. I'm pouring less than I think I should. As you do this longer, you'll get used to it, but this is the perfect pour for these glasses. Then you just give it a little snap, and then take the dripping to our ice shards. You want to place this on the side and wash out your station before you're ready to make another drink. In terms of garnishes, you can leave it ungarnished like that or if you'd like to, you can garnish with a lime wheel. I'll just show you how to cut that in one second. Great. This is that paring knife I mentioned. It's a 3-4 inch paring knife is the ideal tool. What I want to do here is I'm going to cut wheels without slits on them. I'm just going to make my fingers into a little claw so I don't lose my fingers as I'm cutting. I'm just going to make a nice little slice here. If you were putting the slit in, you would put the slit in now. You would put it at the length from the tip to tip of the lime, and then cut those slices. In this case, I prefer not having them when I garnish. That creates some stuff floating on the top, so I'm just going to slice the lime slices themselves. By the way, if you did this in a bar context, you will have already prepped all of your garnish of every kind except for twists, because you want to make sure that every time you serve a guest, you're ready to garnish and it's not like this 15 minutes ordeal. All right. I've got my beautiful little lime wheels. I'm just going to float them on top and then we have two beautiful little daiquiris. Cheers.
4. Cocktail #2: The Margarita: The next drink we're going to make is margarita. Classically this is made with tequila, an orange liqueur I'm using Cointreau today and then fresh lime juice. Super classic, super easy. I'm going to opt for a half salt rim today. I'll show you how to do that. I'm going to take my glass. I'm taking that first bowl. We're going to run half of the rim through the symmetry very lightly. Just going to shake any drips off. I'm going to take the salt plate and then just sort of gently press. You do want to avoid any large amounts salt on the inside of the glass because again, falls in spoils the drink. Not spoils it like spoils it, but makes it just overwhelmingly salty. This is perfect for me. It's that little half rim. It's a nice garnish. It's a great place to start. I'm going to place that just over here. Then again, the procedure to make the margarita is same thing as the daiquiri. I'm going to use my Cointreau here first. In this case I'm going to do an ounce of the Cointreau. Then I'm going to add my fresh lime juice. I'm going to do three-quarter ounces. You can play around with this. Everyone has a different sensitivity to sweetness and to citrus. I like this ratio for this, but you can very easily flip it. You can very easily do two ounces spirit, one ounce of the lime, three-quarter ounces of the Cointreau. This is just to guarantee each his own. I'm going to add tequila now. In this case, I'm using two ounces of Don Julio Blanco. Same deal. I'm going to fill up my small shaker with ice. Pardon my fingers. Then the same thing, I'm going to flip my tin over. Then give this a shake. Right. Now this one I don't feel so strongly about finer string and I'm actually going to add the ice pack here. I just drain that in here. Put these in the side. I always prefer to serve my cocktails over fresh ice. I don't like to reuse the ice from when I'm shaking. Some people feel differently, but that's again, personal preference. I just think it looks so much better. In this case, I actually took the liberty of placing a slit in the lime wheel. As I said with a dapper, I didn't put a slit in. In this case I did. I just put it in this little segment here. I'm just going to basically fix that to the side of the glass. Here's your margarita.
5. Cocktail #3: The Tom Collins: [MUSIC] The next cocktail we are going to make is the Tom Collins, and this is again, spirit citrous sweet component. This one can be a Tom Collins if it's for the dry gin, fresh lemon juice, simple syrup, and then soda or seltzer water. It's a friend should be five if it's all of those things. But we champagne instead of the soda or seltzer water. It's a super versatile assembly of ingredients. So feel free again to play with us and get crazy with it. Let's get started. Same thing as the other two drinks. We're going to do again, my sweet component and my citrus component first, and then I'm going to do the gin. We're going to shape those two things up, pour refresh and a tall glass and then top that with seltzer. Again, super basic. In this case I've got my lemon juice and I'm going to do actually one ounce of the lemon, do one ounce of the sample and two ounces of the gin. In this case I'm using Martin Miller's gin. That is that. But she was going to be reading in a long format and a tall glass over ice as well. Put this a side. I grab my glass. So you've got this really beautiful flare caused by us here as usual. Then we are just going to pour this in here and then add the ice. Then add the Seltzer. Seltzer here. You can garnish this however you would like to. I think from my preferences I'm going to garnish with, let's just say, a lemon twist. So I'll show you how to do this. You're going to come to twist and a few different ways. In this case, I'm going to take the Swiss peeler and I'm actually going to cut the lemon on an angle, and that's how I can maximize the lemon get longer twists. So we'll do that. I'm basically keeping this hand in one place and I'm moving the citrus, so I'm twisting citrus, not my hand. He says that here place my lemon back here. Now I've got this great twist. I'm going to express the oils from the twist over the surface of the drink basically I've got two hands. I don't want to break this in half and I'm going to squeeze it. So again, you get all those lovely citrus oils, get that greater room in there. Do that. So just white on the edge of the rim so you get all of that aroma even if the cocktail is gone. Then I'm just going to slightly curl this and then feed it into the drink itself. So now you have your very beautiful Tom Collins. Cheers.
6. Cocktail #4: The Whiskey Sour: For our final drink we are going to do the whiskey sour. Which is again remarkably similar to the Tom Collins, but a little bit different. We're going to use an egg white. You don't have to, you can do just without it but there's one version of this that has the egg white and it gives a really great frothy texture. Again, fresh lemon juice, simple syrup. In this case I'm using Maker's Maker urban in this cocktail. Without further ado, I'm going to take my egg. There's a couple ways to do this as well, but an easy way to practice, open it up, to crack it on the edge. You want to basically take half of the egg white and place it in the smaller of the two tins, then I'm going to take this and discard. Now I've got my egg in there. I'm going to do, let's do three quarter ounce each of the lemon juice and simple syrup. I'm going to do two ounces of the whiskey. I'm going to dry shake this. That means shaking it without ice, either now and then shaking with ice and straining it, or shaking with ice and then dry shaking without ice, there is debate over which one is more effective, but I'm going to do this shaking without ice first. Again, I'm going to take the larger of the two tins is small one with part of the palm. It will whack. Be careful. When you shake with ice, it forms a suction. Basically the temperature on the inside, it constricts the two shakers together. That does not happen when you're dry shaking, so make sure that you don't let it open. I don't know if you've heard that, we don't want that to happen obviously. Where you agitate this better form is going to be, I'm just going to open this up and pour this in here. The same thing add ice. Then shake again. Got my glass and add my ice to this. I'm going to strain. You can choose again to fine strain this as well or not. I also add a little bit late on the ice on this one. I think I'm going to enjoy it this way, but you can definitely again, fill it up so it's frosty like the other cocktails. In this case, traditional, you'll have either a cherry or an orange or both. In this case, I'm going to keep it pretty basic and I'm actually just going to do an orange twist in here. I am going to style this one slightly different than the last one. Twist, what I'm going to do here is I'm going to take this organic looking twist and I'm going to cut parallel lines on either side here. That's really beautiful compose looking twist here. Then same thing express the oils rub. In this case I'm actually is going to roll it up like this and drop it in. Cherries my favorites, either looks [inaudible] cherry. Both super delicious brownie cherries, but there you go.
7. The Assignment: Thank you guys for watching. I hope this was a little informative. To your project, your class assignment as it were, is to basically take these recipes and make either one or two or three riffs on one of these strings. You can incorporate herbs, you can incorporate varies, you can incorporate bidders, tinctures, things like that, and basically just do your own special version of one of these and then you can either post the image or the recipe or both to the class page. Really excited about your custom cocktails and see you next time.
 April Wachtel, Cocktail Instructor & Entrepreneur