Transcripts
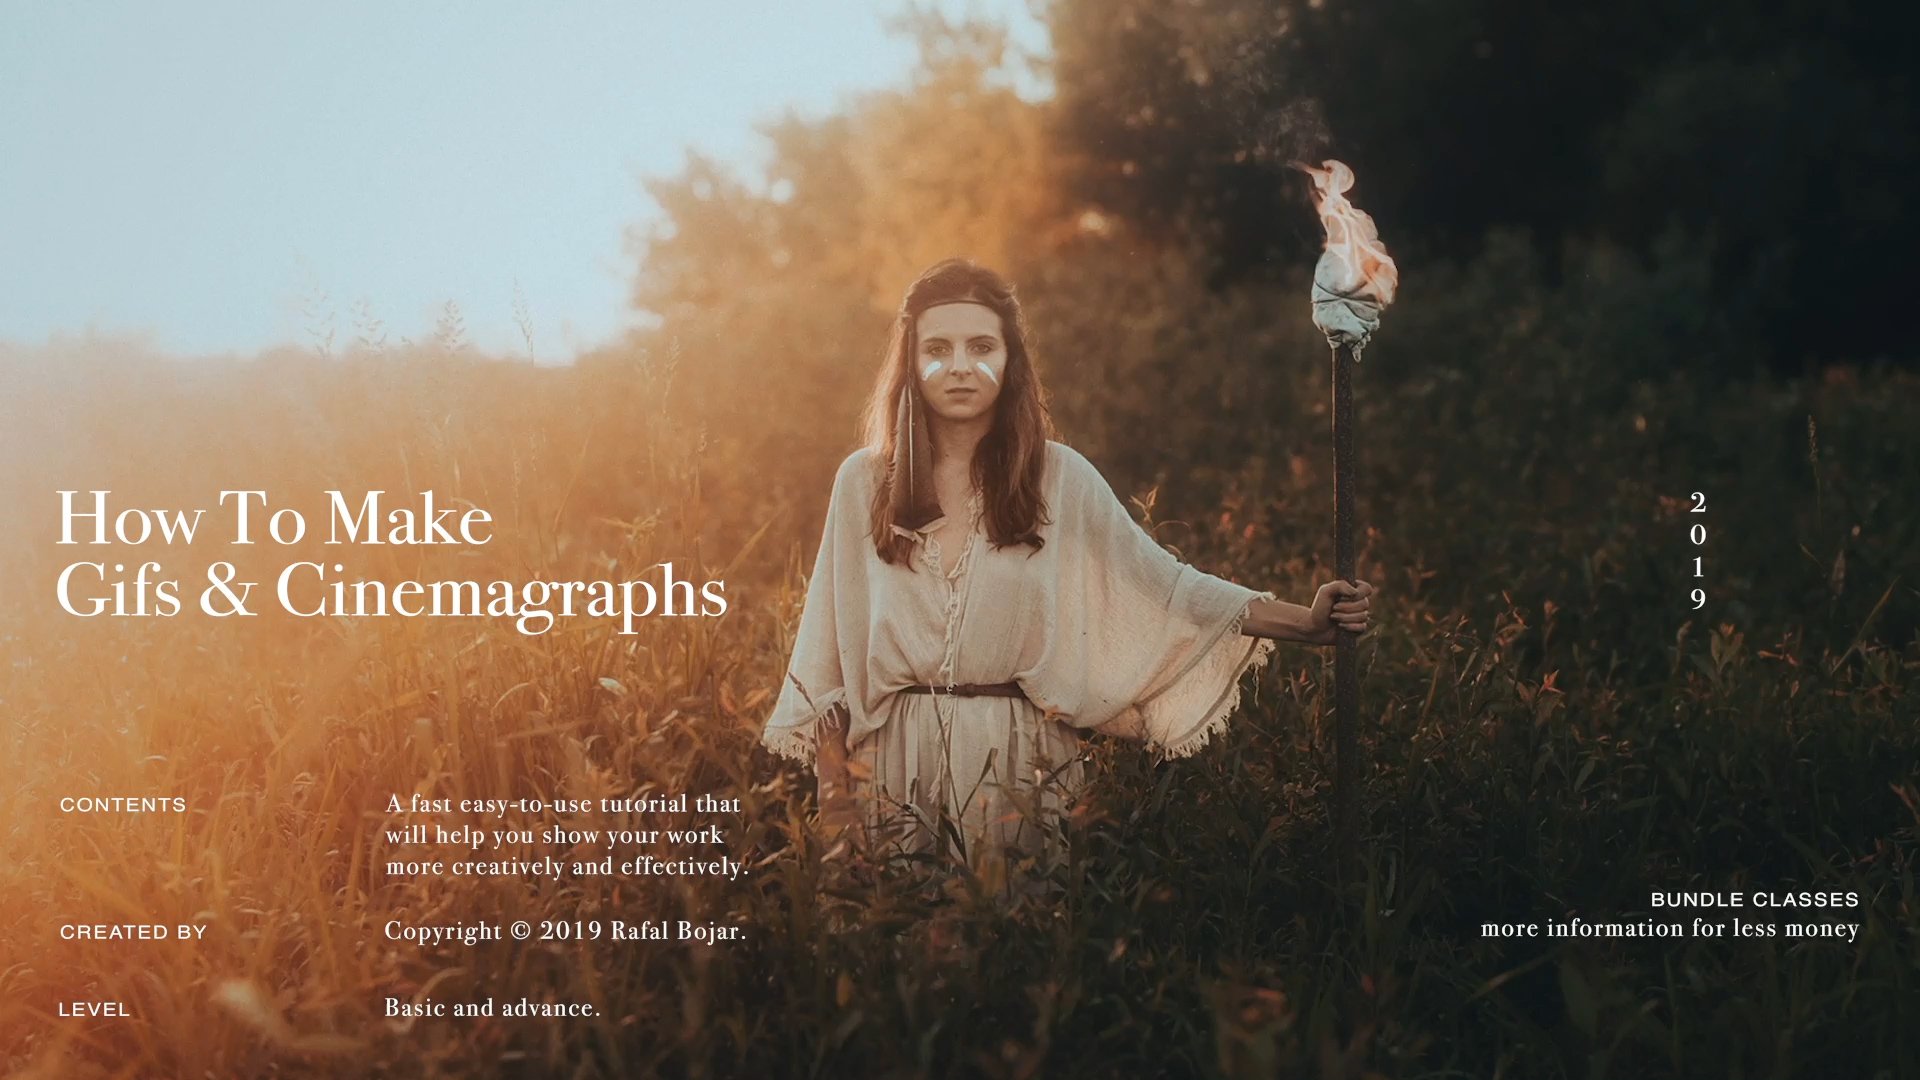
1. Trailer.: Hi. My name is Ruffle Boyer, and I'm really obsessed about stories. I waas always obsessed about stories. I remember when I started to block. I was just wondering, How can I show my stories in a little bit different way? How I how I can add some movement, Some moments, something that I couldn't show on my on my photos. And when I discovered Jeeps, I was completely blown away. It completely changed the style off my my stories the way I should. It helped me to be more creative, to be sometimes funny, to show the mood of the story. And that's why I really love gifts, because they can evoke emotions in the viewers and potential couples. And I really hope you're gonna enjoy this tutorial. And I really hope that they will help you to be more creative. Thank you so much.
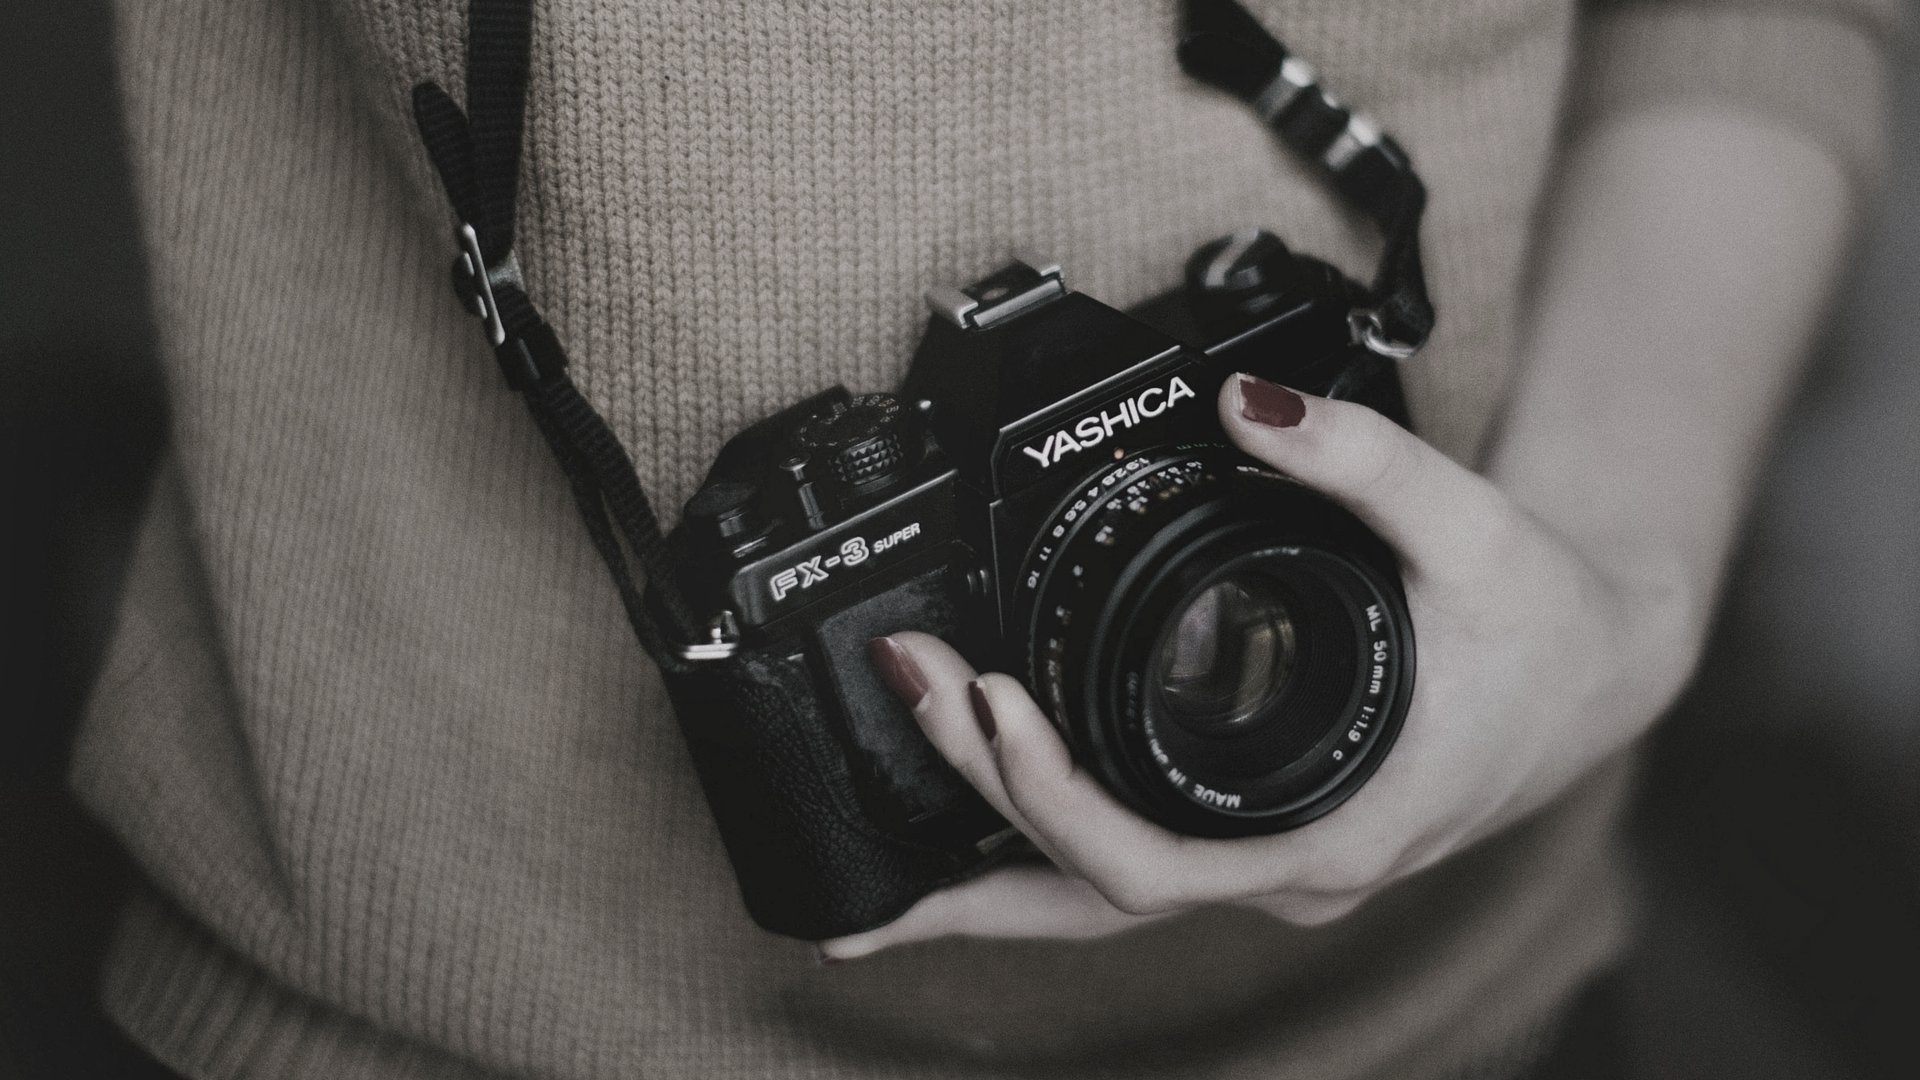
2. Cinenemagraphs - The essential knowledge.: If you want to start cinema graphs and chiefs, you're gonna need a camera or a phone that has ability to record videos and take photos. You gonna also need dry part if you want to do cinema graphs. And third, I think that you're gonna need is a software I personally use Light room Toe added my photos from Jesus and Photoshopped to make cinema graphs. But also there is one software that these, in my opinion, is the most easiest software you can use, especially for cinema graph. And it's called cinema Graft. Before you even start to make its cinema graph, you need to do a little planning. At this point, you should already have a decent idea off what exactly you want to accomplish with your project. This means narrowing down and the props you may need, ensuring that you have to proper setting and having a general idea in your mind off what portions of their cinema graph you would like to remain still and what portion you would like to set in motion. It's no secret that a big part of shooting beautiful photos, cinema graphs is having the right equipment in order to obtain the best cinema graph results. Try. Birth is pretty much that's the city, the Heather Tribe of the better as photo camera itself. The major a requirement for making its demographics that is capable to capture video sharpen cash. Your smartphone camera is better game. The average length for the video that will be used in a cinema graph is around 10 seconds. But the most important thing is that you have captured the exact moment that you wish to using your cinema graph. Consistent reparative motions are best when it comes to creating a cinema group. It is also important to remember to capture a photo from the same moment that you have just captured with video. Before we gonna start making cinema graphs, let me tell you, Ah, something about potential mistakes that can occur during your adventure roofs in the McGriff's. So potential mistakes can occur when the footage you're trying to capture snap. Still, that doesn't mean you should use. You should always use a tripod person for capturing footage for cinema ground. Even footage down on a tripod can be useless if you even touch it or move it slightly. Another thing he's exposure if the light is changing dramatically. I mean, the exposure on their footage is changing dramatically. It can also cause some problems during post production. It's important to remember to capture a photo before or just after you recall the foot. Always and always try to capture the photo in the role files in the role for months. It also it also matter where you place your subject and on which Bagram movements will appear. Um, it's it's also good to remember to capture footage in the flat mouth if possible. Of course. So that's the a few potential mistakes that can cure eso. Try to avoid them. Okay, so now it's time for the essential knowledge about cinema graphs. So please remember to use always tripod. Be really study. Be really careful about your tribal while capturing cinema graphs. Please don't move it and use flat mold if possible in your camera. Use row four months with your photos, your camera focus first and then turn off out of Or was it possible to avoid changes? Um, you should owe you should you should use manual mode to capture perfect exposure to avoid differences in your explosion on your footage. Try to keep the same aperture and the time for footage and for video for footage and photos ends at the end. Just be really creative with them. Play with them, practice, learn from your mistakes and enjoy it.
3. Cinemagraph from stills.: in this lesson, I will show you how to make cinema grafts from steals. Then we will be using light room. That'll be light wrong could be bridge and other be further shop. So let's go for still light from Let me show you that this year they already chose I chose this This photo and this Siri's off photos for cinema but to make a cinema graph are was readies study Still kept everything hand held, no tribal but that was treating Careful about capturing the Siri's No breathing A camera really close to my chest. Andi, just, uh, continue taking serious, serious, serious on. So before editing could look like this and after editing looked like this. So I chose my my presets from hero presets from meridian percents to edit those photos toe get the tones that I like. You can choose wherever you whatever presets you you like on. And then I just edit one photo. I selected every like older photos from this Siri's from the Serie and I synchronize everything And then I exported 2000 Peak sells my hard drive and then I chose them. Uh, with the breach will be breach program and I will show you how to how to upload them into the ocean. So we have to just select first, see oldest old photos that he wants to upload to the photo shop and then click tool stop on the top and select for a shop and then just leak load files, further shop layers. I overrated Need it. So I'm not gonna I'm not gonna be doing game. So you see, like we have all the old if a lorises layers, so I will select all of them. And then way have to go. We have If you don't see timeline, you have to go up here to the window top and click. You have to click timeline. And here you have two options. Create video timeline and create frame animation. So choose the 2nd 1 perfect. And then click create frame animation. And you see, the first photo is here. So now you have to go here on the right corner off timeline and lead. This bottom window will pop and then make frame animate frames from layers. Perfect. Now select all of them like so, and click this option. Duplicate layers duplicate selected layers Perfect. Everything is duplicated. And now again, click this button on the right corner and then reverse frame's gonna be having a bounce ethic. So now select the first frame from duplicated layers in the last one to first in the last. Then just drag and drop them to be perfect. And then you can just, uh, hit the play button and you can see the effect and now select all of them. Go to the first and with shift key. Just select every photo on the frame layer. Uh, that on the timeline and the girl to team go to add it, stop photo shop and out of allying layers, have to line everything and just keep out on and click cane. Most of the cases outer is the best for out Elaine ing layers perfect . Once it's everything is a line, we have to just crop it. So just take a crop tool, just crumble and to be raised, those basic pixels okay, everything he's aligned. Now we have Teoh just change a little bit of time because it's gonna be fest. So just select all the layers here or the phrase here with timeline and just click on one of those, uh, frames on the time and select Just you can You can play with time But I discovered a 0.1 2nd is is the best perfect. And now we can make a group. So we see, like all those layers are selected. So on Mac book, you have to press comment, G. And so the group will be created. And now we have to go back to the timeline and leak this bottom, which is called Convert Video Timeline. Just praise this part up. Perfect. Open the group layers your leaders on. Just select one off those photos and do public duplicated duplicated this photo. Um, I'm using short garth, Comment J okay, and I'm moving it to the top. It's here. Okay. And now, just change it here. So everything is a light. But we have to remember also to change capacity 100% on this duplicated photo. Well, now, when you will press play by the nothing will happen because this photo is just a still photo. We have to now take a brush toe. Uh, that's a short could be photo shop and maybe opacity. Let's say hardness. Zero. Professor sent and the possibility. 30. So just press three when they're keeping. And of course, we have to remember to make, uh, toe layer mosque Here. You see, it's here white White mosque. So we have to take a black brush and let's start brushing the dress because we want to have Thea affect moving dressed just just maybe 50% brush perfect. And now, when we will heat the play button you see we have a cinema rough mate from stills. It's amazing, cried and no tribe. What was needed. Just a really just good position of the body camera next to the chest and just pressing the bottom. Being very careful. Okay? And let's just export it as a video. Perhaps it's not the one what do you if you want to export it as a video, have to go to finish up the file and then export and then render video. Name it like I will name it Dress. Choose your folder. I'll just save it here. Chips resolution. I will make one lying to zero 21080 So that's I was in 18 p 24 frames per second work. Maria, I think it's we're fine. So for a month h 26 for our equality Rendah Exploding is a video. So now let's go to further It's called Chiefs and let's open this file. And as you can see, a Z can see we just create it cinnamon rough from stills. Thank you so much for watching this class and see you in another one.
4. Perfect bounce loop for Cinemagraph.: in this class, we will be doing a perfect balance loop photo shop for a cinema, gruff. So let's first go. Let's go to light from and let's edit first that photo. So I captured first video and then a photo of this in action, and that would explain later on the concept off this cinema graph. First of all, let's just edit this photo really quickly. Music, My presets. It's always here, a present from Meridian presets. So let's choose. Maybe, um, maybe the 1st 1 machine. It's good. Let's at some contrast to the photo and slits decrease highlights a little bit. Then let's just go to color and remove completely the blue and let's increase limits in blue. And I think it's quite good. Maybe we could just play a little bit, uh, with curves, Okay. And I don't know if you I don't know if he you know that, but you can also edit footage, videos in light room, and I will show you how we can do it. How we can achieve, let's say, similar Luke color correction and tones as your problems. So let's just I already edited this photo here and now I need to save. I need to save it safe and create a new preset that I will apply to the footage. So let's let's go here to the presets. Let's just click this plus bottom and create prison check. Old name it but say, um, photo was photo photo in the photos and let's check all user presets. Our begin choose hero presents my lunch. Okay, create. So it's that now let's go to library and let's find the same. Um, let's find a slip footage. Did I come just a second? And it's here. So there's the same. That's the footage that I have done. And the concept is that there was just a little smoke here, and I will show you in my truly Photoshopped later on. What kind off? Really cool effort to get weakened, chief. So but first we have to add it. We have to color correct this, this footage. So let's go to hear library modes. Let's go to saved presets. Click and then just here I said, My mum present here just a few seconds before Let's compliant and then let's maybe let's maybe increased contrast. Honestly, I'm not looking what's happening here I'm just looking. What's happening in the front of this case is much easier, of course, because of what it was like white. So I just wanted ever really nice. Um really Nice color Contrast way could be decrease blanks little. Maybe it's instrument and now we have to export it. Let's just sport. I already did it, so I will override it. And then I will go to the photos because they got to export, I put it export. Maybe I will also make this art a little bit darker. Yes, Con trist. Yeah, this on export it. Same place once it's done, once it's done, let's just upload a photo. The video to the Facebook Teoh Um, today for the shop. And also let's drag and drop the photo footage and photos are in the same place Right now. I will be moving the photo to the top way. Have to also make sure they are aligned movie, you hear? So I also wanted to tell you about the mistake that I need way too. So Miami Steak Waas that I moved everything on when I noticed this, uh, afterwards I thought that everything is gone. I mean, that I moved the photos in the newspaper on. I thought, Oh my God, What? I'm not gonna be able to correct everything, but actually, I will show you that it's possible. And it's not that hard with those kind of shapes. So I will be trying to to find a good find good, oh, finding good shape to cover because those So I decreased velocity here and now I will be changing just the size, trying too much ever. Just It's almost perfect. Don't look at the newspaper. Just look at the photo Oz. That's that's our priority. He wants to, um, we want to merge photo as much as let's see. Actually, not that bad, I say. So let's keep 100% capacity. So the footage is covert completely, and now we will be doing a mask. So we have to create like from us. We have to create a mask that on the photo, let your musk and now we have to choose the brush posse. Zero a hardness. Zero opacity. Let's say 20% and leads and blank branch on the white. A layer mask. Let's just start brushing maybe 50%. It's quite good It's quite good, guys. No gown Wait to show you with cinema grabs, it's really cool to just playing with have fun, really? And discovered things like I discovered the smoke from a cigarette on on. Then I just started to edit. And then I just like, what's gonna happen if I will just leave this smoke on the photo that we will look a little bit like 4%. Okay, let's see what's gonna happen. You see, this monk is coming in with photo and disappearing, so way have to just cut it here. So click on the video on the video and you see, she wants to cut the video. You can just cut it here. Uh, you could just drug it, drug it here. Boom. And it's done. And of course, you have to drag a photo in their life layers, okay? And if he wants to have, like, a smooth transition way, have to do those kind of steps. So first of all, select the video and then choose transition. I like the part with part of the video. We have to cut it. So the video selected now impressing the car, That's the scissors. OK, so we just caught it this layer. So I will be moving spark to today. Like up here. And now this smoke the small part off the footage, they just cut it. I will move it to the to the ends. And then actually, I have to move it like like this. Perfect. So this this little card from here, I move it here to the end of the foot. So now what? We have to do these. We have to select this transition. Uh, bottom. We have to click and choose fate and drug and drop Teoh the footage that way just caught it from. And now when you will, when we will. He played by. Then let's see what's gonna happen. Hopes? Yes, she Now it's going perfect. So you see, guys, we have a beautiful transition of smoke. Full transition. We can even we can even cut it more like like here. Let's see what's gonna happen. Smoke coming in disappearing, coming in and coming disappearing. Awesome, guys, You see, you can It's amazing, like how much stock you can do Just light from photo show, even by the weakness, stays like I did hear about I was just trying to match the photo to the footage. And, yeah, so simple, but easy. Is it? Is it so? Thank you so much for watching this lesson and see you in the next one.
5. Choosing a still Image - Cinemagraph Pro.: in this class, we will be talking about choosing a still image, and I will show you one another amazing software that is actually made for cinema groves. And so let's go to program that is called Cinema Growth Pro. It's a wonderful software where you can easily make your cinema graphs, and I will also leave, um, details about the Software Inc and purchase where can buy it on the Internet. That's a monthly paid subscription. But in my opinion, if you are interesting seriously about cinema graphs, it will speed up your workflow way much faster. And it's gonna be, uh, it's gonna be really easy to make cinema grafting this. So this'll is cinema growth pro. That's a typical layout I already upload. Uploaded the footage here video. So let me first show you that. Let me first show you the video that I captured for this for this project. Let's just resize a little bit, okay, our concrete on. And so the idea off this cinema craft waas that the that go shot my girlfriend was sitting here on. She was just looking at something and on her luggage, and I just felt like this this space is beautiful. That light was create. And I thought it would be great to just put some posters here and at some point that they will be just dropping down. And I found also the image Really old image. Sorry. Like it would be awesome if it if it can just fall down on the floor and, um, but without any person next to it. So with cinema growth pro, it's with cinema graphs. He can be really creative. So I went there. I put those posters and they're in the footage on the faro, and then I just hide behind them behind a frame. But and I was explaining Why hide it? And then I came back. I move it a little. I moved a little bit poster on a photo and I started to, um, blow the wind. Let's say with my mouth, um, if you a few attempts and actually this one was great. So there was the footage. That was the idea. And now let's go to the to the cinema graft probe. So, um, I uploaded the footage and now we have to We have a timeline in here, and we have the brush and razor brush with when you upload here, Um, we upload your footage when you upload your footage, everything will be, let's say, blinked out. So there was. There is no Normally there is no movements. Let's say you have to first take a brush and start brushing out. So actually, off course this'll part of the image. I want to let's say, animate or move a little bit but say it's like that. But I know that this part of the image I'm not interesting like you see, like even when you are moving this thing part of the meat the this part of the footage that you are using for cinema graphs You have a preview, so it's quite easy. I know it was at the end, so let's go almost at the end. Okay. On it. Waas. It was here very still, my hand. So that moment a little bit even more you are Boom. I dropped perfect so we can weaken. Stopped here. Let's see, one more time and we don't need Let's say I just need I just need, um a little bit. It's too much. I, um I chose too much on this footage So let me just erase the part of the footage that we want gonna be using. We can extend it a little bit more. Yeah, Let's see. One more time. Okay. Go. Dropped on. Did a just sick and okay, even a little bit more. Boom. And then stop. And you see like and here e c this selector drug to choose the still image. So with similar probably so, so uneasy. Off course, I can't choose this one because I was here on the frame, but there was certain there was That's why I went. I hide behind a comrade to just be able later to choose the still photo without me in the frame. See? Like, would you see the purview on I'm hiding behind. So way will be choosing. Let's say we'll be choosing this investment boom and stuff. So I'm gonna export this. I'm gonna export this, uh, this cinema ground. It's without color correction. By the way, you have also here a few options like, um temperature, teen saturation, exposure, brightness, contrast legs, shadows. So more or less a little bit what you have in other Softwares, like light from or Premiere pro or just software made for color correction like video correct color correction or for editing in videos. But personally, I prefer to do it in photo shop or in light from, uh, out of software. Because when you're just starting to move your, um when you're just starting to move your, um your sliders. Me sometimes I didn't like the quality. Of course. You see, like given the contrast when I just moved too much, it just crashed the blacks completely. So I prefer to do it in another software, and I will show you just in a moment. Thank you so much for watching this class. I hope you you, uh you're gonna enjoy cinema graft probe. It's amazing Program. Amazing Self were made for cinema groups.
6. Choosing a still Image - Lightroom and Photoshop.: in this lesson, I will show you on that it that it can do the same things, Uh, as we just done a cinema group pro. But this time we'll do it in just information. So let's go to photo shop. And I already uploaded the footage, so just take a look. It's the same footage that we just used. So let's just cap the scene on Let's let's first, let's just cut the the frame that we will be using, uh, for the main for domain. Um, let's see. I mean that way. Have to choose the frame without Let's see. Okay, I think it's gonna be this one. So we're working on the timeline again. That's how powerful did they. That's how video I just uploaded into the photo shop. You can drag and drop, and it will open automatically if you don't see timeline just once again, gold window tap on the top and just click timeline. And now we hear, By the way, this this here is the option to zoom in, zoom in the timeline. So I already chose. I want to take this frame for from the footage, so we have to cut it So there is amazing tool. What would this? This is our So what we have to do is just to take one frame. So let's just cut it here and let's just move it. I think we have to sell me. Zoom even more. Let's try to get it. No, it's not possible. It's on next one. Here. Here is gonna be possible. Perfect. So that's gonna be our free. We're gonna be using Claire Mask to cover everything. Uh, Ghoshal will not gonna be moving the model and just the paper will be just falling down from the table so we can delete this month effect. I can zoom. Now. Let's go to the Frantz Way. Have to move it to the top. This thing's portion of this, this frame that we just cut it. So just let's move into the front weaken. Just change the names. Change the name. Let's say call it down just to make sure we are footage, okay? And what we have to do now, these we have to click this layer up and we have toe use this this coproduction rest arise , Layer on. It will turn this foot which this piece of footage into the like a zj pick. Probably it's just that just a still. So now what? We have to dio way have to decide which portion off the food issue going to use it. So let's say it's gonna be from I think here it's good. So what we have to do? I just You see, I just crawl. Uh, yeah, I just use this blue bark blue marker to just choose where I want to cut a game. This this footage and then we have to just use scissors here, sleet at play hat boom and then some. And we don't need this part so we can delete this perfect and now way have to just decided where we want to end our scene. Let's say here is good so we can also cut it. But we can also drug like here, perfect some. Now we have ours. I already selected that the portion of the footage that we would be using So now we can go here and zoom a little zoom in a little bit and this layer up we have to truck to the it perfect. And now we have to use a lawyer mask So here add that your mask Perfect. And now we have to take our brush and black brush completely black, and we have to just brush portions of the footage that we will be using for for the cinema group. Say it's more or less here. Let's heat to play baton. Don't worry that it's like, uh, doesn't play smoothly. It's just like my computer is a little bit slow. But when I will save it, I will show you that it's work. Perfect. You see, we have the first part so that the paper just fell down on the floor. So now would be what we want to have the same transition, that the paper disappearing again here. So we have to go but eso to the beginning and again leak to our footage. And we have to choose the part of the footage that it's not without without movements. Let's say until this moment here and we have to cat it a gain. So just click. And this this part that I just copied. We have to make a group and way have to move it. Okay, perfect enemy can open it and we have to drug it here to just aligned everything and what we have to do with this part that we just copied. We have to move it to the end, flower off our footage here. Sites. Okay, Cool. And what we have to do now is we have to take way. Have to select the footage that we just remain footage and use this select transition drug and head to apply this this thing, this transition will be using fading, fading transition. So fade and drag and drop to the tor remain footage and aligned with this footage here that we just copy this part and let's see what's gonna happen. I think we can we can we can I know it's perfect. It's gonna be perfectly think. Let's just heat the play. But, um boom, it's drop and disappearing. You see, it's so simple. So, um, I will explode it really quickly, and I will show you how it looks normally perfect, and it's and it's exported. So let me just show you in a second how it does look like so you can see that this part, we just made it really amazing. So it's also possible to do the same things as we have just done in a group. This is just toe. Much more work at more steps that you have to take more things that you have to remember to blended, how to carry it, how to align everything. But it's possible. Everything is possible, like the same thing that we are doing in semi pro. We can do also in rubbish fellowship. I just wanted to show you that cinema, Graf Scene that mcgruff brought can save you a lot of time on its more, uh, intuitive. I would say on yes. And so thank you so much for watching this lesson and see you in another one.
7. Matching tones for Cinemagraph.: in this lesson, we're gonna be munching towns in Lytro and for a shop, and we gonna be making another cinema graph. So let's just go to the light from first. So here I, uh, pre selected the potential photos and foot person that cinema grabs. It will be doing so I already called color correct on those photos with the creases they used. So let me let me just show you before then, after it's one of my presets that is called, uh, tell Scott it was the bait, the base, and then I just adjusted some off some of them I just suggested this'll lighters. So before Rolfe, I looked like this. I collect color, correct, like this and on. And then well, if we want to call or correct, let's say our, um, our footage. We have to save this preset and then to just be able to synchronise our footage. So everything is, uh, added it already. Let's create preset. Let's name it a sand perfect trade. Let's go to go back to library and let's find a footage. So let's just find food. It will descend here perfect and leads applied precinct. You already notice that the colors are different. Of course they are because the file that the photos were taken with with profile and the footage is, uh, it's it's not a role. Um, so it's already compressed, so we have to match the tones. So there's the photo on that we will be trying to match, especially this part because we want Teoh. Just use this part. The sand is just this from the photo, OK, so let's just try too much, too tones. So what? We would be what we noticed. That white balance is called completely different, where the colors are different. So let's just increase that. Let's say the exposure. Let's add some contrast because I made it in a flat mode, so it was completely flat. And then let's just increase a little bit temperature. And for sure there is too much teamed. So we have to moment to the right. It's getting better. It's better. But I'm also looking at this, and honestly, I'm looking only on this part of the image I want to. I want to have it as much as possible, like similar, some maybe even toe pride and maybe more contrast, trust that see, it's getting so it's getting looked similar. Maybe a little bit more teens, because we want to keep sent green more are contrasts. I think we're greedy, close radio, radio clowns. It's It's gonna be more or less. I think it's gonna be more or less like this. Maybe it's just absolute blacks just a little bit so much, I think, Yeah, I think we're ready. Close, I think Way used. We can easily use this thing. This, uh, this footage. So let's explore this footage into our catalogue. OK? And now let's just move this file uploads into the ocean. Okay, so we have our footage here already. Color corrected, um, with with the same presets and some additional adjustments. So now would we have to do ace? We have to, um I want to align the photos completely. So I will just take one frame and that will convert it to J pack. So I will cut down this part, and I will cut down this part and I will move it, complete this part, and I'll drive So that didn't happen. I just cut one frame. Onda. Um, so we have all our footage without even cut. And now I will rest the rice layer on. Now I have just Jay Peak, so I will use it to I will use This is Jay Peak toe allying our reframes perfectly. So I have to just sell me that. Take it to their in the beginning. Everything should be should be aligned perfectly. Now I have to just druck and drop the file that I export it from, uh, from light room. That's our role filed. It was color corrected, so they say it's it's already a little bit different. Uh, but I will try to align those two photos, Wait a way to arrest Arise file And now I can, I'll tell a lying that skitter. No, it's done. See? Like it's so simple. And now let's start thinking, Well, maybe I will just crop these part. You see if it's even better because, uh, this part was missing. So with the photo, we can easily use it. So let's just make a right away. We have to move it to the front, align everything together on Let's just let's add layer musk. Let's take a brush. Let's start brushing child with maybe 30% 30% positive. Try to you see, try to Don't go too much because we the footage is like here on and slutty. And we don't want to have those transparent, uh, peak cells that works in the ground. So let's say this is our border. Shouldn't go morning that So let's let's just take his year old, my oldest most his part completely perfect being I think you've a 50% easily helps like, let's see. Oh, by the way, we have to, of course, the lead. This this one because we want gonna be see way want gonna see what's kind of what's happening with Fridge. No, it's so simple, guys, he see it's important to just make to just more or less correct, correct color, correct and have the same exposure. And let's say the times and the colors from the background you don't have to carry worry about, like older all the footage, just that piece part that you want toe blend in to the photo. So one more time I will just make sure and let's make let's go further. And let's make a small let's say, transition some of its parts. I think we need we will end it here way will end our here and maybe will take first start like before We will cut it down, will move it This part We will drag this part here online everything and this small part it we just cut it. We were We're moving to the ants and here we will be fading ship See, like we have a beautiful transition on and he's done. Thank you. We can even take a brush on move apps mobile that it here we don't need And make sure that the hands car wear not wear not taking this part because they will be probably moving like up and down. So awesome for me it looks amazing. You see, we have the same calm, same colors We used profile that we edited and then we synchronize the footage We color correct the footage in a 10 week. It should be fine. Now I will just explode it again and save it as as a video run there as a video. Great and so sec way have done color correction. It's It's also important to capture to profile so you can edit them much better. Of course, if you have a camera that can roll footage. I would say It's amazing you can do, Oh my God, So much things with editing comparing to just a normal for flat four months. So thank you so much for watching this lesson. That's you in another one.
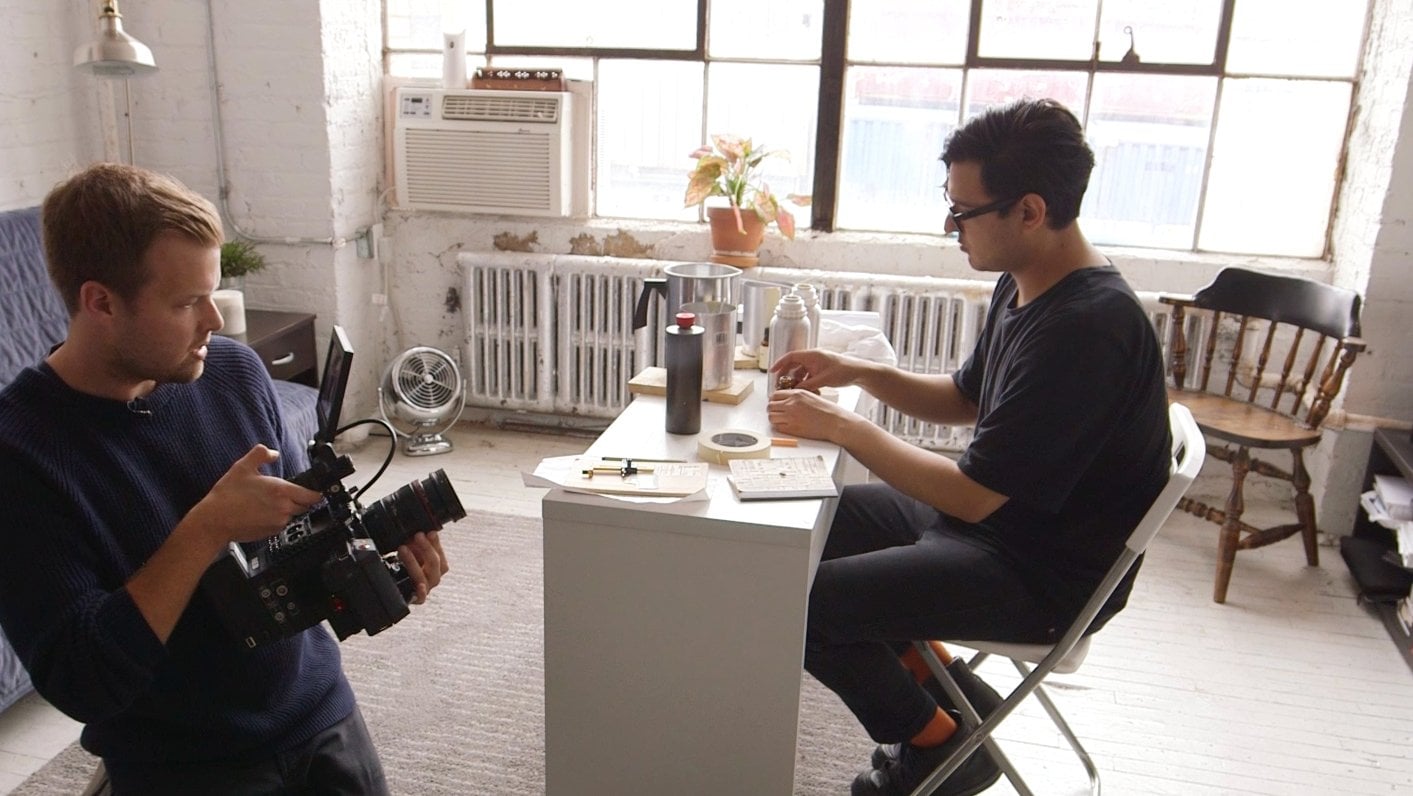
8. Bonus lesson - Multiple exposure in Premiere Pro.: welcome to a bonus lesson. And actually, I wanted to show you something really cool at the end off this this tutorial about cinema crafts, I want to show you also how creative you can be and how, um, how awesome stuff you can just create you want. So we will be doing a multiple exposure with our foot. So let's go first, and I will show you what kind of footage I just captured for this for this tutorial. So, um, I captured everything on the tripod. So the trip was in one place. I just moved. Um, I just moved them or model Gosha and she was doing different things in different places here. So here she was doing something on the table, and she was looking at some posters in a different place. She was taking a luggage from, uh, from here. Andi. And here she was just the reading. She was just reading a book on Dhere. She waas just walking in the bathroom. So, uh, what? I had to attempt for this for this multiple exposure and what is really important that each part doesn't interact with water. Let's say what what I mean, so she was sitting here, so I knew that Gosha has to be here and the cards and the things that she will be taking from this scene. We're not gonna be appearing on this part off the footage or this part of the footage. Otherwise, it would be really hard to cut it down without interfering the footage. So you see, like every think is just in place like honestly, every centimeter centimeter matters. So let's see what we can deal with this. So I will be showing you in another software that is made for filmmakers. And it's called Pregnant Pro. We can do it also in a photo shop, but it will. Photo shop is not made for uh for those kind of things goes, it will slow down your computer a lot. So ledges do it imprinted pro, and I will show you, Brennan, per actually is very intuitive. And it's not that hard to learn how to do it. So let's just, uh Kolet, let's just make a new project. I will call it Go Sha Times five. Okay, I I already named time something active Torrey Dorio. Okay, cool. Okay, Now we have a timeline everything. If you If you know the layout and you've known spring this awesome. If you don't know it, just watch it. And you can also learn how these Premiere Pro, which is really cool. Great. Um, it's really great software. Let's just let me just find footage First our lives here, let me just drag and drop into, uh, priven problem. Perfect. And now we have to just take it. Move. It's to that To the timeline, - by the way, A I just closed timeline. So I had to open in its here window and timely. Okay, so let's just move everything to the timeline. Perfect. And we don't need, um, sounds here, so I just deleted on and okay, but we need to find the 1st 1 on the left. So this one will be on the top way, have five footages, so it should be Yes. This one is first turning off. This one is second. This one is the last one. This one is third, and this one is for our effect. And now we have to just decide where we're starting. I need to just cut down, make make a beginning. Perfect. This one is beginning of the over the 1st 1 Let's let's see. Oops. Nobody. I think this one is first. So Okay, we started here. Got it. We can started here. Effect done. Enough. We can you see where we started? Can start it. So the same place where with the 2nd 1 turning off here. We can start where, baby? Like actually not. But I will show you what they mean. Okay, This one like here. Okay. And she will be doing something really, really cool. She will be taking the book from from the footage. So But we will match those two things that later at the at the end. So let's just oops that just move everything beginning, in fact. Okay. And let's just start lending our footage together. So I use capacity, and I use this free dro um item. I think this is the best, in my opinion. So what we have to do, we have to just select the part that we will be just using. So let's say it's here. It's year. It's here. It's here. It's here. It's here. You would have felt. Now it's good also to use something like capacity and Federer so maybe I'll try to federal Let him. I'm sorry. So you see now everything starting to work perfectly and you don't see even any, Um, you don't see nhe any differences between two images. So, in my opinion, it's just important to remember Teoh to blend everything to get her. Sometimes exposure can change even slightly. So if I will drag it here, you will see what? What I mean, you see, like those smaller changes here. Just exposure was different. And, um so it's important to use, um to get Blanding everything together, right? I just play one time. Great. So we have a 1st 1 Let's go to dinner to another one. So now we it's the same way have to take Cut it, cut, lend go sharp. From the second footage, I used this frame bank. Probably I will be using our little see in a moment. How much do I need for this ankle? Probably I will need more because she's taking this those cards that was promised. We have to be really careful boat every elements on. Let's do the same thing that we have done before. I mean, for the ring, it's important to feather. Let me see. Let's see where we are. Okay? Looks better. Looks good. We don't see any. And in lines and differences in exposure, which is great. So we're in a good place. Let's go to the 3rd 1 and let's land this part. So let me just see worries she's starting. She's thought it. Let's say here, so you'll be using this. This those lines, let's say from here, probably until I like this part. We'll take our looking cool. So let's start here. Here. Great. I couldn't even go here, here and here on. Let's say finish here. We will use this part here. All right? Yes. Good. It's good way. Have land, Kidder. Now it's time to better game. Just a little bit on, Let's see. And again, we have a really good, uh, already good shadows really good transitions. But I don't see any lines in a different sense of exporters or we're in a good place. So just remember, if you want, if you're gonna be starting, if you wanna be Blake with this kind of stuff, every scene meter matters, and you have to also be careful where the shadows are. Where the shadows are, you're costing shadows like the best is the models from your footage. It's good till use geometric, for example. From from rooms, places are being bees or when the early outside. Also remember, if your exposure changes dramatically, will be hard planted footage together. But in this case, it was quite safe. I was looking, uh, outside all the time. It was a little bit, I would say, uh, cloudy. It wasn't like bright 100%. So let's let's Goto 41. Let's take same tools we just use Okay, this part will be a little bit harder. I think we just ain't just a little that fact, but it's better. A little good. Let's see where we are. School on, bite away. It's important because the book was here, so I literally was taking first footage. Second for their third footage. Fort footage. And she pulled this book here, so this was the last one, so I didn't take the for the book. She was just she just took it. So I will just show you some hard porter magic magic trick that you can do so let's just move it here and then we will erase it. And I synchronized everything. I was looking at the at my my watch, and I was telling her, Okay, in a 16 or 22nd you could just start taking your book and I will show you how to. Because if I will leave it like this, you see, just if I will, we don't see her hand taking the book. But we'll just correct this in a moment. I just wanted to see if we just blended everything. Um, Gator nine, computer, slow down a little bit. Sorry, guys. He's just I'm just having too much stuff open. It's just recording Distrito. Really? So So quite, uh, pickle for point computer. So just give me a second, okay? Okay. See? Okay, so let's perfect. So she she put this book here. So now what we have to do, we have to do something like I like, like like it further a mask. All right, we'll put it. You see this marker? Oh, it's fuck. It's You see this marker? Now we have a marker, and now we can, um we can start removing this part, so I will just move it here. And you see this marker this marker is you will see, like in a moment like it's changes. It started to to remove that. This, uh, this part of the way Just way. Just select. It's really easy. Just a little bit on, By the way, we have to also remove a little bit from from this part, I will make it a little bit bigger. So I want to see exactly what I what I'm select removing. So here also here first. Perfect. Should be okay. Oh, still not here remand, but to remove it. Hard water guys, It was a hard potter thing. It wasn't. Not bad heart. Um my first attempt was I failed honestly, because I waas she Gosh, I was taking it was too close to this frame and they were kind of interacting each other. So let's just cut down. Just seen perfect. We can cut it here. Let's say I will cut everything here and now I'm gonna export it and I will show you what we have done with multiple exposure. We're footage. Let me just export it. Sport media file Export media and four months age 24 264 My source. I will just change. Um, I would just change them the size Oops to 10. 80 p. US Master. My A My ex friends were quality render marks 64 megabytes, 28 seconds. Let's just exported apps. Cancel. Want to export it to the place? I know. Where is it? It's gonna be. So it's gonna be asked up. Just keeps and exported. So you see, like, um, way how we made this this really cool Effect off multiple exporter. And if you're careful, if you're precise, Inc and there's a magic footage like a little hard Poulter that just the beginning, you can be really more creative. You can just start like with this heading from
9. The End: Thank you so much for watching this tutorial and for precious time. And I hope that you're gonna start doing here. Jeeps and cinema grabs. You gonna have fun with them, and you're gonna experience with your stories and you're gonna maybe change the way you should hear weddings and your stories and thank you so much. Ones more and see what?
 Rafał Bojar, visual storyteller and teacher