Transcripts
1. Introduction: What music means to
me is expression. Everybody has their own rhythm. There's a certain level of
expression that everybody has. If you're constantly
keeping everything in, you're probably sheltering that same very thing that could help inspire others in the
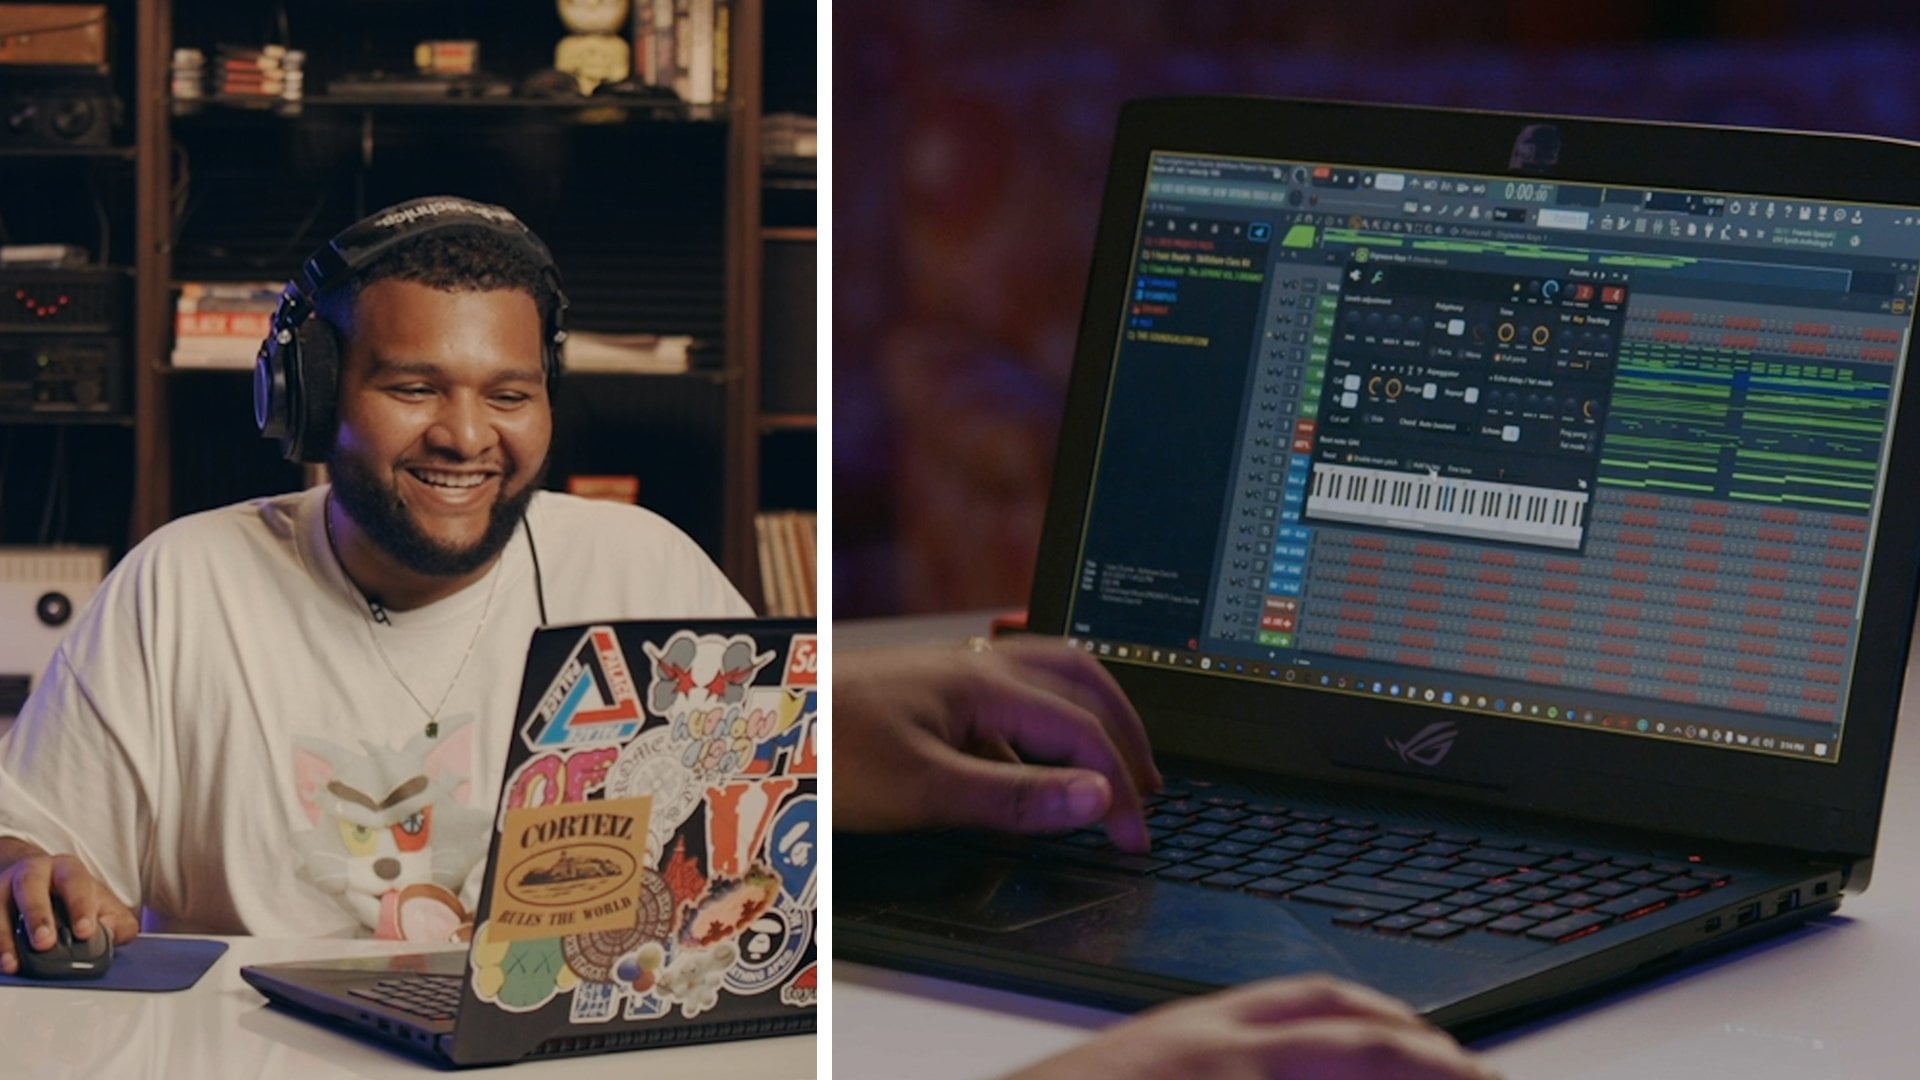
world and that's exciting. My name is Isaac Duarte. I'm a music producer
from Chicago and I also create content that you've probably seen all over YouTube, mix tapes, video
game soundtracks. I'm all over the web. I'm very excited to teach
arrangement because this gives you a lot more freedom
to express your music. I know you have a lot of
ideas and you have a lot of things that would sound
incredible altogether. But if you want them
to be as effective, they have to have their own time and their own space to shine. So that's where
arrangement comes in. You're going to watch me break down the arrangement
of this beat, and I'm going to give
you a couple tips, as well as a couple golden rules that you can apply to
your own production, so that way you get a better understanding
of arrangement. I'm also going to provide
a template for you that gives you a
guideline and it shows you visually song structures
of different songs. By the end of this
class, you're going to learn what arrangement is, as well as an overview of
how I approach arrangement. So I'm excited you've joined this class. Let's get started.
2. Getting Started: When you watch a horror movie, something jumps out
and it scares you. There's music in the
background that pops out. It's very emotion-driven. Just like that concept there, we're going to apply that
to music with arrangement. You have all these musical ideas that have their
own time to shine. They can't all be
together at one time. That's what I'm going
to teach you today. By the end of this
class, you'll have a fully arranged beat and concepts that will help
you from this point forward with all your
other creative ideas. How are you going to
follow along with me? Well, if you check the
Project and Resources tab, you'll have access to this FLP along with
the other resources, such as sounds, midis,
and all of that. Even if you don't use FL Studio, you can still apply these
techniques in Ableton, or Logic, or any other doll. A lot of these concepts
that I'm going to teach you today are universal. Open your doll and
let's get started.
3. Plan Your Direction: When it comes to arrangement, the most important
thing is direction. Direction can mean a
lot of things based on the genre and the type
of sounds you pick. But for this one
we're going to go in the dark direction and we're going to go in the more
energetic direction. Everything that I
do in this lesson will be tailored
to fit that dark, ominous, energetic
vibe that I want. I listen to a ton of songs and I do break down
their structure. Lucky for you, I've
given you guys a template all within this
very exact project file, which you can get in the
Project and Resources tab. In FL Studio 21, you can have multiple
arrangements. This arrangement is where
I have the finished beat, for the most part, finished. If I click Arrangement, I already have the precess
already set for me. I have something that's
12 bars, 16 or eight. This is just something
that I can go to quickly. If I have an idea that I like but I want it in
a different structure, I could merge it or I
could just adjust it, just go to 16 bar, because a
lot of songs have 16 bars. Now at the top, I have
different markers, and if you don't know
how to create markers, all you have to do is click, hit Control T, and a marker will pop up and you can just label that whatever. Let's say random marker. You can just drag that around, move that around.
It'll snap to grid. It's hard to see those markers, which is why I have
things color-coded. Right here in the red, I have an intro
which is four bars. The chorus is eight, the verse is 16, the second chorus is eight, the second verse 16, the third chorus is eight. Then I got the outro, and the outro really
doesn't matter. It could be eight bars, but it really
depends on what type of vibe I want the
track to finish on. If you're like me who
identifies color really quick, this should be a clear
indicator for your arrangement. I have the 16 bar ready for you. I have the eight bar,
which a lot of R&B songs, as well as a lot
of rap songs now, they're having like eight
bars, eight-bar verses. I have a 12-bar one where
the verse is 12 bars because it's so fast that
the 16 bar isn't necessary. Sometimes with artists
when you play the beats, if they're going to go off of the vibe that they go off of, you're just going to have
to go with them for that. A lot of times if they're hearing the beat and they're coming up with an idea, and they hear a
verse in the chorus, but it bleeds over into maybe just a couple bars
of the first verse, you're just going to
have to go with it because that's their
creative output. That's just how they see it. You could arrange it later
if they allow you to. Most times their engineers
are going to chop parts up and move them around to
fit the artist's vision. Sometimes you have no
control over that, but with this structure, you should be pretty good. If they do chop
something around, it's going to sound
good regardless. Now this is the
beat. Now let me add a track so that way I can add these markers.
Here's the intro. Here is the chorus. Here is the verse. The verse is 16 in this one. Then I'm going to save the
outro because the outro, it's going to be a little
different for some. Because it's all going to depend on the structure that we choose. I'm going to lock this to
size and lock the content. That way if I move this
around, it doesn't move. Now the structure that
I have is the intro, which this is going to
be the introduction to the main melody
and the main sound that you're going to be hearing throughout the whole beat. The first part is the intro. Usually keep it four bars. The first two bars they
hear and they're like okay, and then the next two, they
get a sense of familiarity, like, I know where
this is going. But then I switch it up because I jump
right into the chorus. I'll break down the
elements later, but with the chorus, this is where the most
sounds are going to be. I'm not going to lie,
this beat as hard. Well, the reason why
this arrangement is effective is because
this first part, they're getting introduced to the idea so they get a
sense of familiarity. But then as soon as they feel like they're getting
familiar with it, like, I know where
this is going to go. It's going to loop over again. I introduce a new element, and then four bars later, I introduce a new element. I'll explain my golden rule
later way more in depth, but I like to have
the chorus go first because the sticky
part is the chorus. That's the thing that people
are going to be repeating, people are going
to be like okay. This is not only catchy, but this is worth my time. If I introduce chorus first and then I
introduce the verse, and then I introduced
the chorus again, and then the second verse, but then the last time
before the outro, I introduced a third chorus. I have three opportunities to make it stick into their heads, and that is majority of a lot of songs that
you listen to today. One of my favorite
producers is Max Martin. He's very known for his melodic math theory and his choruses are
like under a minute. I found that a lot
of catchy songs as well are the choruses
within a minute. He just knows how it works and I heard that and
my mind was blown. I was like, this is the structure that I'm going
to go with and it works. I do a lot of other
different structures, but for the most part, I like the chorus going first. Now it's your turn to get
creative with your arrangement. Take one of your favorite songs, throw it into the FLP and use the templates as a
guide to break down some of your favorite songs
so that way you get a better understanding of song
structure and arrangement. Next up is filling in the arrangement with the
content that you've made.
4. Fill in Your Arrangement: Now that you have an idea of what arrangement is and
you know the direction and you have an arrangement selected that you can
use as a template, now it's time we fill all of that stuff in with the
ideas that we've created. That means the
melody, the drums, and some additional things to
give it a nice transition. There's two types of
arrangement that you can do. You can do the first
one which is having all your stuff in a pattern
like I have with my drums, and then just making them unique and changing little
stuff here and there or you can separate everything into its own
individual pattern. There's really no right
or wrong way to do this. Just to emphasize and show you, I'm going to separate all
the patterns just so you can see each individual element
while I arrange the speed. What you're going to want
to do is right click the pattern and then
hit "Split by Channel". If you're somewhere here, all you have to do is just click this piano icon and you'll see all the other
patterns visually. Just hold Shift and
select all of these, top to the bottom, and
just drag the drums over. Now you have this. Some of them are going to be short depending on the
pattern that you have, so just stretch them out. Now let's drag over the
melody and the bass. I'm going to move
this all the way down and then move this over. I'm going to delete these two because I made those unique, and I'm just going to do it
in real time to show you. This is all that you should have when you separate everything. Should look like this. The
first thing that we're going to do is Copy and Paste this 1, 2, 3 times. Now for the intro, I just want the roads
to really shine. Let's just delete all of this. For the first half
of the course, which is right here, I want the bass playing, but I don't want
the 808 playing. I do want the pad playing, but I don't want the
pluck playing and I don't want the violins playing yet, and I don't want the
kick playing yet. I want the kick to be introduced with the 808 so
the impact is more felt. So it should sound like this. I'm going to take out the
bass when the 808 comes in. Now we're going into the verse. But I want to switch
some things up, so I'm going to copy
this pattern from the verse over 1, 2 times. This is the most important part of the chorus because that's where all the sounds
are going to be. So you could switch
something up there, but to transition
it into the verse, I'm going to take the kick, the percussion, as well as the snare back
just a little bit, as well as the high hat, just so it can transition into the verse a
little bit smoother. Let's hear how that sounds. Sounds sick. We're going to
delete two of the violins. We're going to delete the
pluck, delete the pads. I want to duplicate the piano. Simply click the "Piano"
and make unique. I'm going to delete
these notes right here and I'm going
to bring it down. Just gives it a different vibe. It pitches it down so that way I don't have to add
additional melodies. I'm also going to
take away the kick and 808 in that portion. I like that, so
with the snare row, I'm going to take this
out for this pattern, and I'm going to have the
turnaround come over here, so all I did was pull this
pattern back a little bit. You could also use
the chop tool and hold Shift and then right click, and it's going to cut off
the smallest portion. So it's going to
sound like this. Now that we have the
snare turning around, but we have to have
this other portion from here to here sound
a little bit more interesting because the
kick and the 808 is going to come in. Let's go ahead and
adjust some of these sounds right before it transitions a little bit better. I'm just going to move
all these other elements. This piano keys here
and I don't want that, so I'm going to Copy and Paste the unique one that we added. I'm actually going to change
that a different color so that way you can
clearly see that, the pattern is
just pitched down. Let's hear what
the Rhodes sounds like pitched up actually. So do the same process, Control up to pitch
it up an octave, and then let's eliminate
these lower notes. Let's hear what it sounds like. I'm going to eliminate
the pad and the trem, the other pad that has
a tremolo effect on it. Now that we have
these two parts, we can change this
part right here. I'm going to Copy and Paste these elements over 1, 2 times. I'm going to delete the violin, the Rhodes, as well
as the piano keys. So let's hear this transition. Let's see what it
sounds like with just the 808 instead
of the kick. I don't know, I'm going
to take out the pluck. I'll probably add
the Rhodes back in. Now the reason why the chorus right here has so many parts, pretty much all the
elements is because the chorus is known to
be the busiest part. That's going to be
the sticky part where the artist is going to say something melodically and it's going to have repetition to it, so people are going to
listen to it and they're going to hear it over
and over and over again. With the verse, I stripped
everything from the chorus down into little elements
and then I switch some things up because although
the verse is important, people really remember the
chorus more than the verse. Here is the thing, I have a decision to make. Do I want to keep
this 12 bars or do I want to keep this 16 bars? Or I can delete this part, delete the second chorus. I can Copy and Paste the first verse and
the first chorus over, and then when it comes to this four bars right
before the chorus, I can switch it to a Reese bass, so that way it gives more distinction
between the first verse and the second verse. It gives a little bit
more wiggle room, so if the artist
likes the synth bass, but they want to have
it in a certain part, they also have that in the second verse as
opposed to the first verse, because if they like the
808 before the chorus, or maybe they don't
like anything there, I can add that in either verse and it
gives them more variety. Now that we have the first verse and the first chorus done, I want to give a little bit more knock to the second chorus. I'm going to take
out that Reese bass, and I'm going to have
the kick in 808 come in. But for the second half
of the chorus over here, I'm not really going
to touch much other than Copy and Paste the 808. So that way there's clear
distinction right there where it's familiar, but there's a switch
up happening. It's not too many elements at the same time that
throw the artists off. I'm going to cut this part off, it will be here, so that way
it leads into the chorus. It sounds like this. Second verse, pretty much the same thing except
over here as I explained. The Reese bass is introduced. Then I'm just going to copy and paste in
second chorus over. And then for the
altro, I should have the pitched up and
pitched down keys, and then have the pad, and then have this all the way out. That's a pretty
simple arrangement. Now, you could change up
some of the patterns just to make it a little
bit more unique, but for the most part, the elements that I have
going on complements it but it also changes it just a little bit to give a variation. So your ears aren't
tired of hearing the melody over and over again because it's
only two chords. Now that you have an idea how
to fill in the arrangement, you can start filling
in your arrangement. Next up is the four bar
rule and the transitions.
5. Use the 4 Bar Rule: Now that we have our
arrangement together, it's time to apply the four bar rule and
some transitions. It's easy, simple concept. Every four bars
something has to change. There has to be a drop off, there has to be an
addition of a sound, something could be pitched up, something could be pitched down. There has to be something
small introduced. Reason being is because
when we listen to music, a lot of times our ears catch
on to what we're already hearing and we try to make it very familiar with something
we've already heard before. If you switch something
up every four bars, you keep the ear
engaged in listening. Now, a way to help with
that and to make it a lot more smoother
is transitions. Transitions are perfect because
you could use textures, you could use instruments with reverbs and all sorts of stuff. Now, if you don't
know what four bars are, this is pretty much it. This selection right
here, just four bars. If you're listening to music and you're having a hard time trying to understand because you
can't see it visually, just count eight snares, that's four bars, at least that's
how I identify it. Now let me explain here why the arrangement
works so well and why there's little changes that trick the ear.
This is four bars. Now, remember when
I said that I want the people to listen to it and get an introduction to the idea, and just when they get a
concept of what the idea is, boom, I switch it up to something that
they don't expect. I switch it up to a reese
bass instead of a 808 and a kick to build
that tension up a little bit more because the introduction
has some tension, but not a lot of tension. But when I bring in
that synth bass, that brings in a whole
bunch of attention. Four bars later, it's a change and it has all these other elements
as well as the kick and 808. Now, something that
I introduced in the intro leading into
the chorus and the end of the chorus and
even in the middle of a chorus is a cymbal
that sounds like this. Actually, it's called a crash, but it could also be called a cymbal. It sounds like this. If you notice the wave
form, it's going down. I just look at that as a
good transition to put that in front of the chorus and in a part where it's
about to switch up, so that way it eases into it. You could also copy the sound. Click the top left, make unique, and then hit reverse
and then line it up. That way you'll get something
that sounds like this. It builds that tension. Another thing to give
it more at tension is this riser that I added right here. So it
sounds like this. I also add this sound. It sounds like this. It's
actually from a song, Kanye West's All Day. I just heard that
sound and I was like, yeah, I'm definitely
going to use that. Totally stealing that one. To transition from the
intro to the chorus, I have all of these effects layered so it gives
it a nice transition. Then to transition
to the second half, I use the texture. It's very faint in
the background. Let's listen without
the elements. It sounds like an owl, but really it's like a
guitar pedal texture. Using a texture with a crash allows me to give
different variation, so that way it makes
it more unique and it sounds good once the
second half comes in, because if I have
another crash coming in, it's going to sound a
little too tiresome if I have too many crashes
and transitions. I could add that, but a texture is a good
way to just break that tension or
introduce more tension depending on what type of context you're
trying to use it in. Then it go from the
chorus to the verse. I have the cymbal and the riser. It sounds like this, leading right back
into the bass. Think of these cymbals
and these effects as inhaling and then exhaling. You can only hold your
breath in for so long to the point where
you have to let it go or else you're
going to turn red. If you think about using
transitions like that to give more tension or
some more release that way, it's going to make your
music sound way better. Four bars later, another
thing introduced. Four bars later, another
thing introduced. Four bars later, another
thing introduced. Then since we have
that bass as tension, we have the risers as well as the crash and the
all day texture hit. We have those elements
to break from that tension of the reese
bass into the chorus. Then we let the chorus
do what it does. Then once we are heading
out of the chorus, we have those elements
leading us out into the verse where we only have three instruments playing
at the same time, so there's not a lot going on. Actually, let me bring
this all the way over for this second chorus. This whole beat, any song, you're going to notice every
four bars something is going to change,
every four bars. If it doesn't,
then it's probably something that sounds
really good looped, and some people are
really good at that, but for the most part they
have a song or a beat that has something changing every four bars, and
that's the four bar rule. Now it's your turn
to get creative with the four bar rule
and transitions. Remember, textures, cymbals, crashes, hits, all of those work perfectly with the
four bar rule. If you take out some stuff
or you introduce some stuff, or even if you change up
something in the pattern, it can go a long
way and it can make your songs sound even
more interesting. Now go into your track
and apply this technique every four bars and create some tension with
transitions and textures. Next up is the
attention grabbing.
6. Create an Attention Grabber: Now we're at the
attention grabber. This is the part where you
have to reel your audience in. Much like TikTok, the first couple
seconds are supposed to grab people's attention
instantaneously. There's a ton of
songs uploaded to streaming platforms daily, because making music has been more accessible
than ever before. But as beautiful as it is, it's a lot harder to
get people's attention. One of the ways that you
can get attention is by using effects as well
as risers and textures. Now, much like the four
bar role when I showed to you that tension can be
built with textures, you can also use it
to your advantage, even if it's with using effects. I'm going to put on these
headphones and show you how to create tension
in the beginning. In this intro, what we're
going to do is we're going to highlight it. We're going to go to
our master track, which everything is off. We're going to open up
fruity love filter. We're going to go to the
presets by going up here where it's this preset at this left
and right direction arrow, and then right click and then hit "Simple Triangle
Lowpass LFO". This is going to create
a feeling where it's like you ever like walk into a room that's playing the music, but right outside the
room it's pretty quiet? You can still hear the music, but it's not as loud as if you're in front
of the speaker. With a filter, you're able to achieve
that type of sound as if you open the door and the music
is blasting in your face. It sounds like this. Now that's too much. What we want to do is use an automation click to turn
it on and turn it off. One thing that I'm going
to do is I'm going to click the mix ****, this is the mix ****
if you don't know, I'm going to right click it and then create automation clip. This is going to tell me it's on when it's all the way up, and then when it's
all the way down it should be off like this. What I'm going to do
is I right click this, you could extend it,
and then right click, then right click again,
and drag this over. Now for the intro, you
have the effect on. And for the beginning
of the chorus, it's turned completely off. We're going to listen back, and we're going to adjust
some of the effects. These buttons right here
give different type of filter choices depending
on what you choose. You can use a low pass, a lime high pass, a
vanilla low pass. I just keep it at the
regular lime low pass, and then I'll mess with these. If I go to single, sounds good, sounds cool, but want
something a little different. Let's go to alt triple. I like how that jumps out, so I'm going to adjust this cutoff frequency in the middle, and then I'm going to adjust the resonance
just a little bit. Now, let's listen back to it. That sounds pretty good, but I think it's a little too deep, so I'm going to bring it
up just a little bit. We'll probably go
back to triple. Now if it's not
hitting right away, what you can do is
you could adjust this little end
transition right here. Just drag the point
over just a little bit, and then drag this middle
point over so it has a smoother slope down
so it sounds like this. Sounding pretty good to me because the filter is
going to throw people off, and then once they
hear the tension that's being muffled like
they're outside of a club, as soon as that reese bass hits, it's like an instant
attention grabber. One thing we can do to relieve that tension is
in the altro over here. We're going to go
to the Altro and then select it and highlight it. Next, go to the master mixer and then click "Fruity Balance". Next, you're going
to right click this volume and create
an automation clip. Then you're going to
go to this point, right click it just in case
you do something like this. You don't want to
raise the volume, you want to have it
exactly where it was at, so you can copy and
paste that there. Then this other
value at the end, you just want to adjust it. Another cool thing we
can do is we can copy this filter over by holding Shift and just
clicking and dragging it, make it unique, and then do the
opposite over here. Boom, faded in. It
sounds like this. It sounds like it's
resolved as a whole, because as soon as
people hear this, they're going to want to
run it back because this is a cold beat and they're going to be like,
damn, who made this? It sounds really good. You want to grab people's
attention over here, and then at the end,
you want to give them a nice resolution
where it fades out. That way it's an ear
pleasing experience. There's many things
that you could do to get people's attention. There's a ton of songs with great examples where
the drum start first. There's other songs that have
a voicemail of somebody, maybe it might be like a
breakup song or something. There's no limit to creativity. One of my favorite displays of attention grabbers is the four-bar counting
that Farrell does, where he'll chop the
beat and he'll go to Ta Ta Ta Ta and then hell drop the beat and it's
like what is happening? [LAUGHTER] These beautiful
chords is happening. There's multiple
things you could do to get creative with the
attention grabber. Now, it's your turn to create an attention grabbing intro
to hook your audience in. Apply these techniques
and get creative with your own sound
because you never know. You might find something to
catch everybody's attention, and maybe one day I'll ask you, where did you learn that from?
7. Final Thoughts: Congratulations, you made it
to the end of this class. Now you know how to arrange a beat and make it a
little bit more exciting. But now is the most
important part, and that is mixing. We have to polish up
some of the instruments and enhance some of the
sounds that we have. I can't wait to see
you in the next class, which is the mixing class.
 Isaac Duarte, Creating music & helping music producers