Transcripts
1. Hello Spring!: Hi there. My name is Santha, and I'm a full-time
one-line needle straighter. Like many, I'm the most
creative and most productive, when winter ends
and spring starts. When I think of spring,
I think of femininity, fertility, growth,
and motherhood. Spring is simply
a moment to grow. In this class, I
will show you how to make a floral and
feminine one art, and then teach you
how I incorporate it into a celebratory card
using Adobe Express. We will start by
choosing a couple of different flowers to study. We will observe them carefully, and discuss simple observation
strategies I use in order to draw just about any
flower using one-line art. Then I will be showing you three feminine line styles I use to create abstract
feminine one-line art, and how I convert
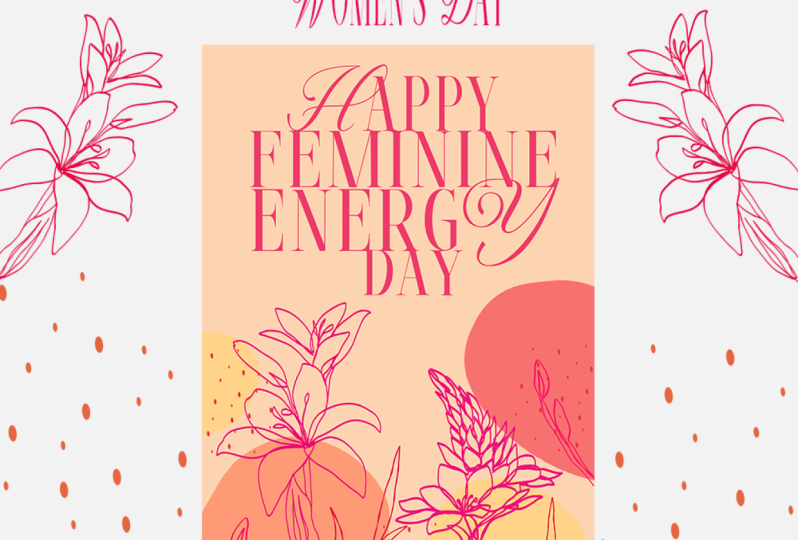
my pencil drawings into vectorized files. Finally, we will be
creating a seasonal card on Adobe Express using your
original art as design art is. Hopefully by the
end of this class, you'll live with not
only the skill share to draw flowers and feminine one-line art
motifs on the fly, but also with the skill
to turn that art into assets in an Adobe library
to create beautiful cards. If you're feeling
like you want to see your spring aesthetic
skills blue, then you can't miss this class. See you in our first lesson.
2. Project: For this class project, we will be creating
a seasonal card in Adobe Express with
authentic design assets from start to finish. We will start by choosing a couple of different
flowers to study. We will observe them carefully, and discuss simple observation
strategies I use in order to draw just about any
flower using one-line art. Then I will be showing you three feminine line styles I used to create abstract
feminine one-line art, and how I transform my raster drawings into vector files using
Adobe Capture and Adobe Creative Cloud
Libraries in order to finally bring these
assets to Adobe Express, where we will be
creating a seasonal card using your original
art designs as assets. Please, remember to share your final work on the
project section below. I'd love to see what
you guys come up with. Onto our first lesson, draw any flower
using one-line art.
3. Drawing flowers: Observing the object
you're studying is a must for every single type
of art you want to achieve. Looking at your object with a critical eye allows you
to decode the parts of it, to understand what are
your possibilities when it comes to angles and in the specific case
of one line art, to plan where your line will
start and where it will end. I break down my drawing
into two main parts, shapes, and lines. The line tells me where
each individual line should go towards
while the shape tells me where each
line should stand in order to make up the
general shape of my flower. Now, we will get started with our flower study exercises. I will be making these
with you real time. Feel free to choose your own flower since the
process is exactly the same. Choose the best
perspective for you. When you're ready,
let's move on to breaking down what we see. Throughout this class,
we're going to be working with three types of flowers, a chrysanthemum, a
tulip, and a daisy. We are going to be examining the chrysanthemum
first because it's actually the one
that has more shape to it and the one that's
less flower-like. If someone tells
you draw a flower, you're going to draw the
center and then the petals, more like the daisy I would say. What I like to do when
I observe a flower, when thinking of drawing
it using one-line art, I like to think of what
general shape I'm going to go for and then what
direction the petals take. The general shape
of this flower is circular with different layers, same circular with
different layers. Then I can see that each
petal goes either down on the bottom layer [NOISE] and then the middle
layer goes more outward, I would say, towards the
person observing the flower. Then this one goes more
directly in front of me, towards the outside
but lifted already. The top petals, I see that they go
towards the top, towards the sun,
towards the sky. I see that recurring
theme whenever I have one line flowers
that are chrysanthemums. I think of the way their petals
behave because the stem, as you guys can see,
and the leaves are often similar
throughout the flowers. That's the way I observe
a chrysanthemum. If I take another
flower like the petal, I go through the
same exact process. First of all, I noticed
that their stem and their leaves are not
very traditional. I can notice that their leaves go upwards into the flowers, like they hug the flower. Instead of being on the side
like usually flowers do, tulips have leaves
that go upward. I'm going to zoom in here
just so you guys to see. Then I noticed that their
petals are usually closed in this particular flower and I think they
overlap, in my opinion. They go upwards and they
are heavy on the bottom. Closed towards the
inside and round towards the bottom
in some oval shape. I think of shapes,
a very basic shape, triangles, ovals, squares, circles because it's
easier for me to think of a continuous
line when I am doing so. Then last but not least, let's look at the way I
would interpret a daisy. Daisies are very much normal I would say
traditional flowers in the sense that they have this
circle here and then they have the petals like this. But instead of being flat, you want to give that daisy, you want to give it movement, you want to give it perspective. I notice that instead of being a flat daisy drawing like this, I notice that the petals go
sometimes down towards me, outwards, and then also upwards. It's looking at me. When I do a daisy taking into consideration the way that
this particular one looks, I'm going to do
something like here, like here, down here, here, upwards, upwards, outward. That's how my daisy is going
to look like so that it looks a bit more
alive I would say, so that it looks more floral. This is the way that I
would create those flowers. Taking from the way
that I looked at them, this is the way I would create
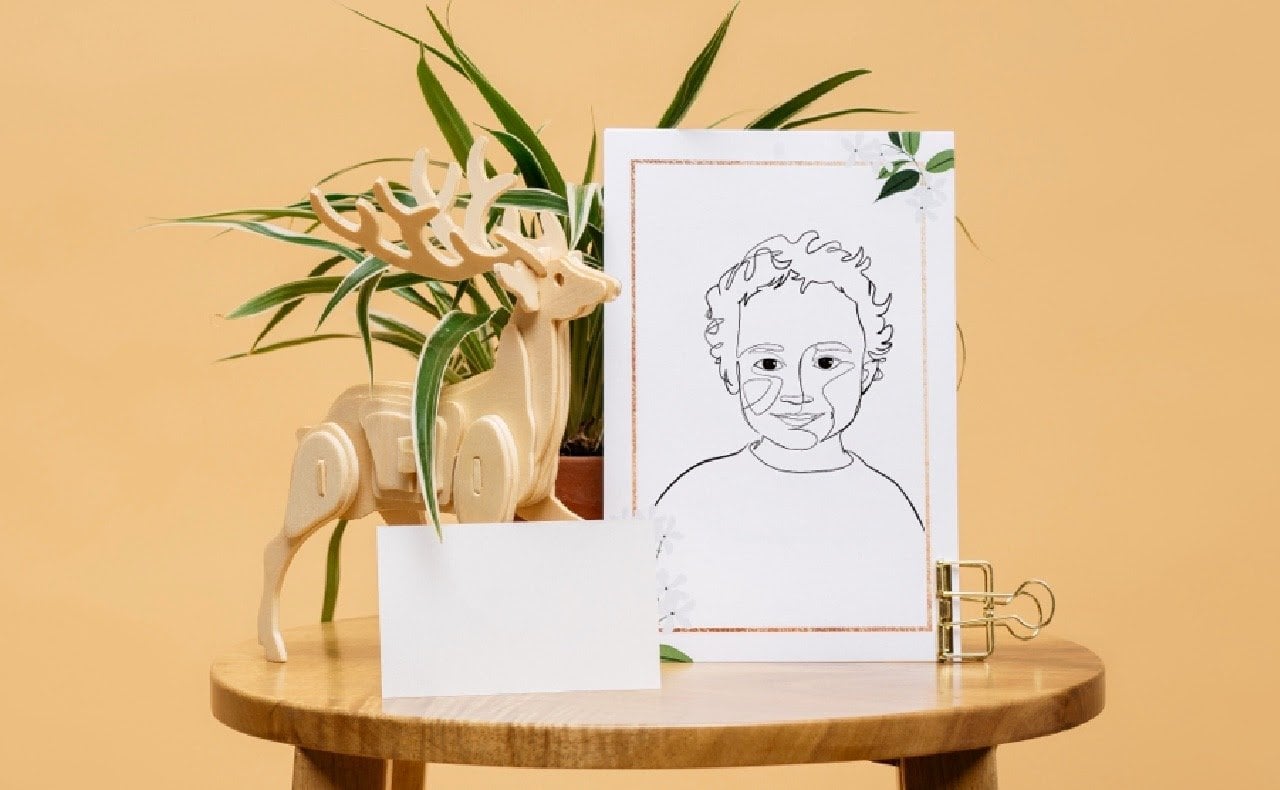
them using digital art. I am going to show you how I create them
doing it on paper, but first we're going to look at how I draw this using one line
art on the app Procreate. If you don't have an
iPad or if you're not using digital way of
drawing, don't worry. We are going to be looking at it by hand as well
because you can still create your Adobe library for your card using drawings
that you made by hand. Now let's move on to the
next lesson where we practice our flowers
digitally and traditionally.
4. Excercises: Without further ado, let's get right to our
digital chrysanthemum. This is how it would
look digitally. Notice how I paid attention to the layers of each of
those set of petals. Now onto the tulip. Notice how the petals keep
that oval shape at the top, and how the leaves try to mimic those leaves that
go upward with the plant. Now onto our beautiful daisies. Notice how the daisy makes
you feel like it's moving. Makes you feel like
it has movement not just a static flower
that looks at you. Now onto drawing traditionally, here's the chrysanthemum, the tulip and the daisy
in the same order. Notice how on the last
one for the daisy, I decided to make
a whole base of daisies because I wanted
to keep it varied when it came to having different
assets for my library when I decided to create the card that we're going
to be doing for this class. Now, onto our next lesson.
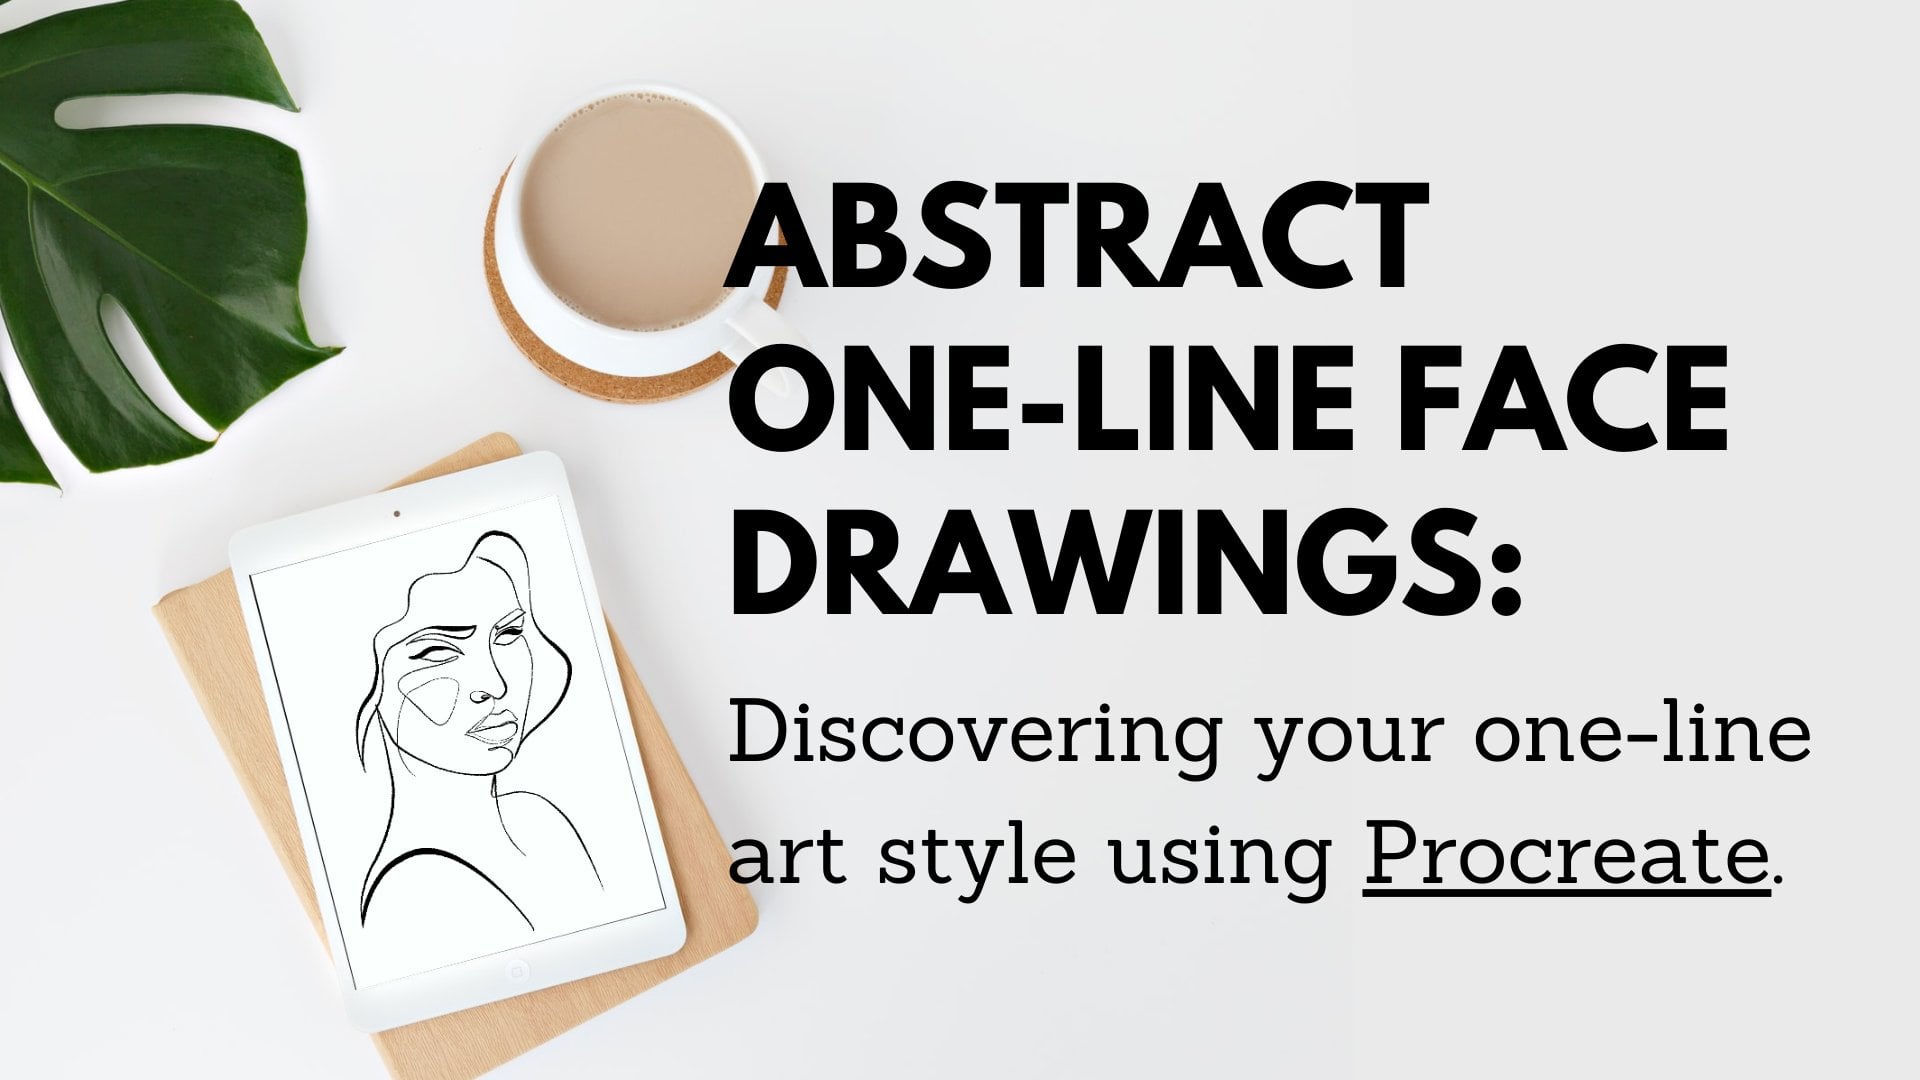
5. Feminine: When I have to draw very
feminine one-line art, there are three main
characteristics I aim to have as I come
up with a drawing. If I have any of these three
included in the drawing, I know I will give the feminine
energy I want to give. Let's try out some examples. As you guys can see,
I've already attached two different images of
women in my canvas because I wanted to show you which are those features that I
consider most important when I'm trying to draw
very feminine one-line art. When I'm drawing very
feminine one-line art, I focus on three main
parts. Oh sorry. I focused on shoulders, I focus on lips, and I focus on hair. I think it doesn't matter what
kind of drawing you make. Even if it's abstract
and you have a line that's
really minimalistic and it only has a
shape for the hair and lips and the shoulder, you can still make
it very feminine. I'm going to go ahead
and make my layers a little transparent and I'm going to go ahead and try
several on a layer on top. I'm going to go ahead and try
several one-line drawings that I want to use as
assets inside my library. Remember that this
library is going to be available to you as well, so if you want to use my feminine one-line
drawings, be my guest. They will be
available for you to use on your cards as well. As you guys can see,
I made them both with closed eyes because
I think that it distracts the card
intention less, I would say, and also because
they look more serene. I'm going to take these two and I'm going to save
them as images. I'm going to save
them individually. Share; PNG. I'm going to save
them individually because I want to use them individually when I vectorize
them for my Adobe library. All right. That was fun, right? Now, onto vectorizing
our line drawing.
6. Vectorizing: Honestly despised working
with pixelated art. I noticed that when
creating other libraries I used to make one
recurrent mistake, and that was creating
art that had limits as to the size
that I could use it in. The easiest way to go about
that is to vectorize it. There are tons of ways
you can vectorize art, but I have fallen
in love with how simple it is to do it
using Adobe Capture. My vectorizing workflow
goes as follows. I am already in my
Adobe Capture app. This is the app that I use
for converting any drawing, it doesn't matter if
I did it on an app, it doesn't matter if
I did it on paper, this is the way I vectorize my drawings so that I can use it as assets without worrying
if they're too small, if they're going to
get pixelated, etc. it's really easy. Once you are
in your Adobe Capture app, make sure that you're signed
in into your Adobe account. Then you're going to
go to Import here, then you're going
to import image, then you're going to go
to your camera roll. I've already saved all my
drawings and photos of my hand-drawn flowers
inside a folder. All I'm going to do is just take one-by-one, selected, go to. Shapes, make sure I'm in shapes. I'm going to put that
all the way to the top, just in case I have
thin lines that I want to make sure show up in
my vectorized version. It shows. Now I'm going
to make it smooth. I prefer it smooth,
you don't have to. It's just so that your line
looks nice and orderly. Then I'm going to
click on "Save". I'm going to select where I want to save
it, which library. One line art spring card, I'm going to call it. I'm going to call it woman 1, because I have two of them.
I'm going to save it. I love it that it gives you
recommendations of what else you can do with that
shape that you just saved. But yes, I'm going to save it. If I go here, I'm already
going to have it there. If you notice, all the
files are already SVG, which means that they're
all in a vectorized format. Now onto designing our cards.
7. Card: Now, onto the fun part. Let's create our
asset library first. In addition to showing
you how to make your own library from the drawings we have
just factorized, the library asset
I am creating here will be available for you to
use in your design as well. You can use mine, yours, or a combination of both. Because, why not? You can find the link to
my library and assets in this course's resources and materials under the
important links, PDF. If you don't have an
Adobe Express account, you can also create
an account with the links in that
document as well. Now that you have created your library and
have access to mine, let's get creative
and make art cards. You can make it a
celebration of spring, a celebration of women, or a Mother's Day card. Here's how I do mine. I am already in my Adobe
Express homepage, let's say. I go to my libraries and
right away I can see that my one-line art spring
card library is ready. I created those
drawings everywhere, collected them and vectorized
them on Adobe Capture. I finished them in Adobe
Capture but they are already available in my Adobe
Express library. Once you go to the library, you will see a little
tab here called Assets. These are the assets that
you can use for your card. Let's design a card together.
8. Conclusion: I really hope this class was useful and that you feel more confident to try and draw flowers you have not
tried to draw before. When it comes to creating and designing
printable materials, Adobe Express has a bunch of cool templates and assets you
can use for your designs. If you want to
look at more ways, you can take advantage
of this cool platform, checkout my course on how I use the platform to schedule
my social media art posts, and how that lets me
focus more on making art rather than
doing social media. Please leave a review
on this class as it helps me create better classes
for you in the future. I hope to see you soon. Bye bye.
 Attabeira German, One-Line Illustrator