Transcripts
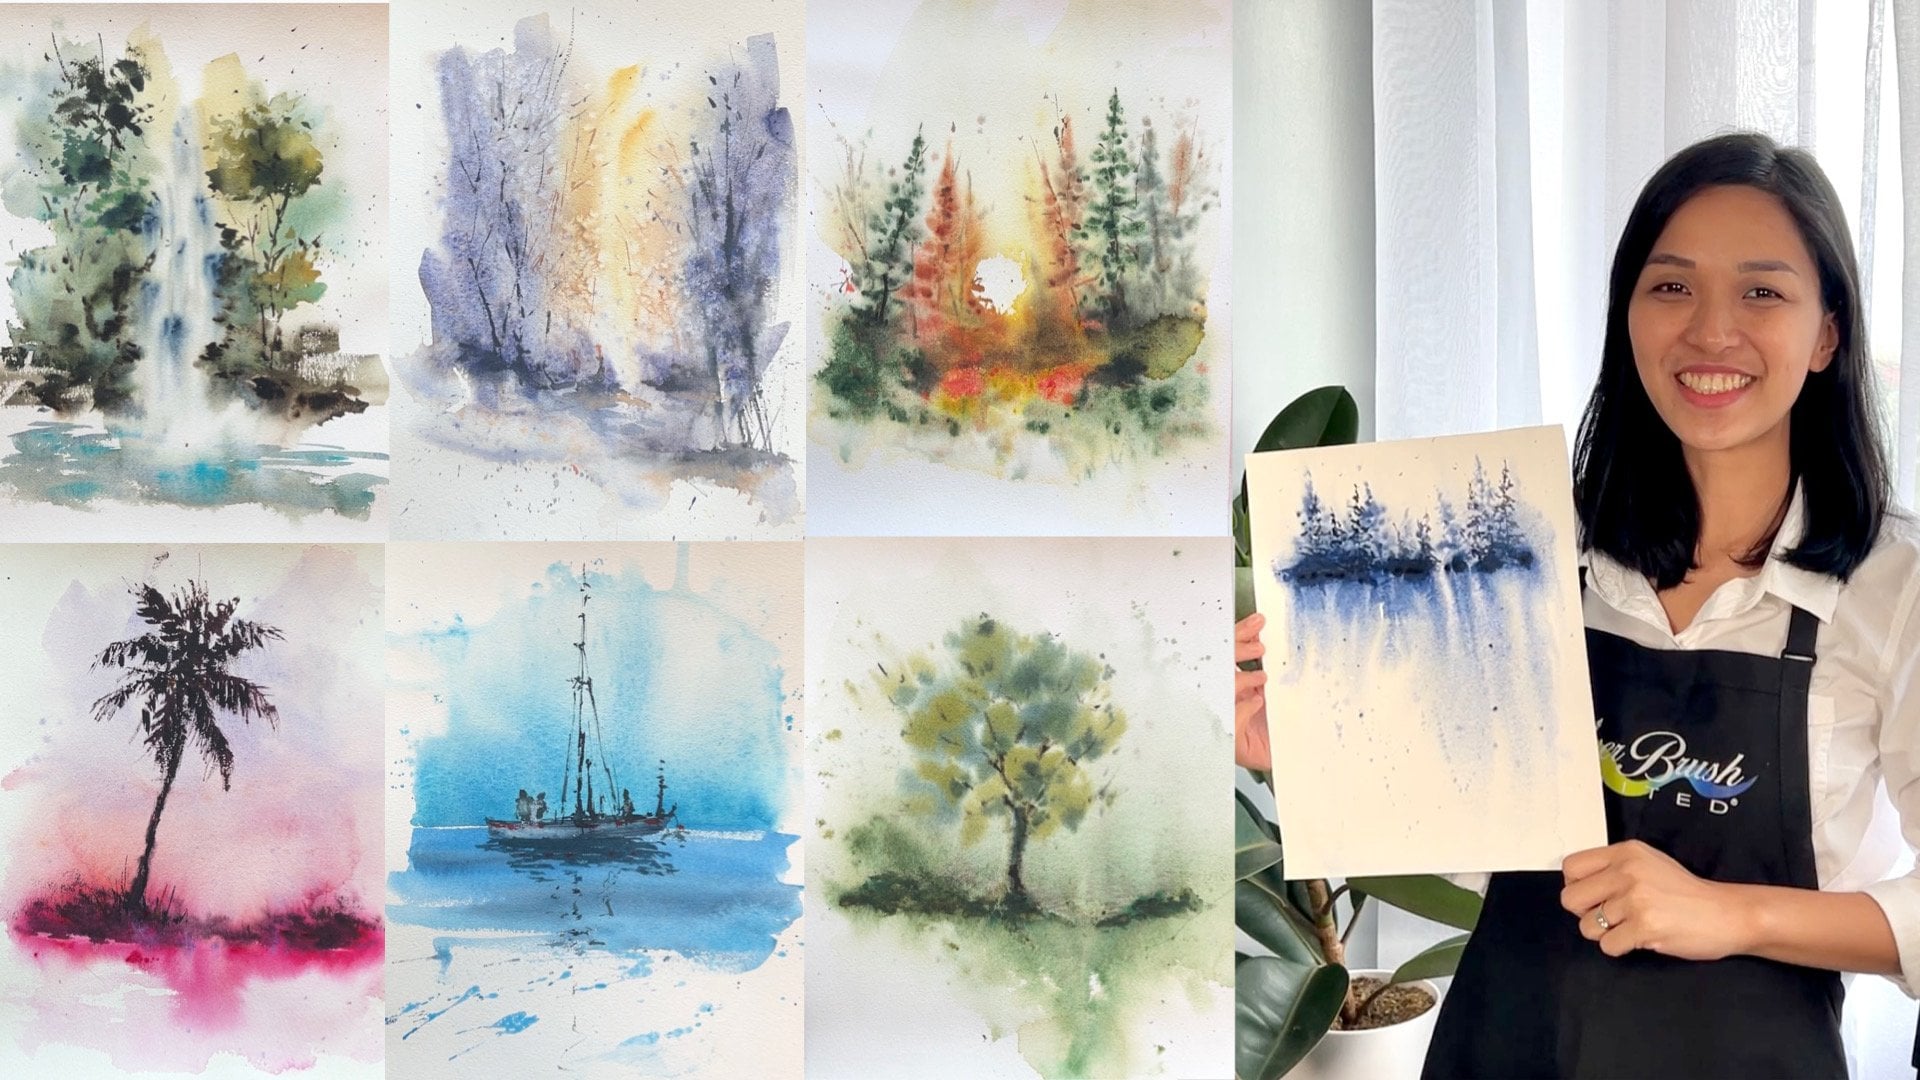
1. About The Class: Hi. I'm Bianca Rayala, a watercolor artist and educator from the Philippines. I love watercolors, and I'm so passionate about sharing my love for arts. My goal has always been to inspire people to pursue their creative passion and purpose. My journey started last 2016 when I was introduced to loose watercolor florals, and it was truly a magical and joyful experience. This class is not about rules. It's about rediscovering the joy of painting by learning to paint as your heart leads. Is about learning to dance with your brush and embracing the flow of watercolor as you paint expressive loose florals. In this class, you'll learn the basic watercolor techniques, color mixes, essential strokes, and adding them to your art, which are fundamental to freely paint as your height leads. As a final project, you will paint three floral pieces starting from simple to complex composition, to gradually unleash the fearless artist in you. As a bonus, I will share tips to paint on a large paper format. Whether you're a beginner or an experienced watercolor artist, I invite you to go back to what matters most in painting. Join me, and let's rekindle the joy of painting together.
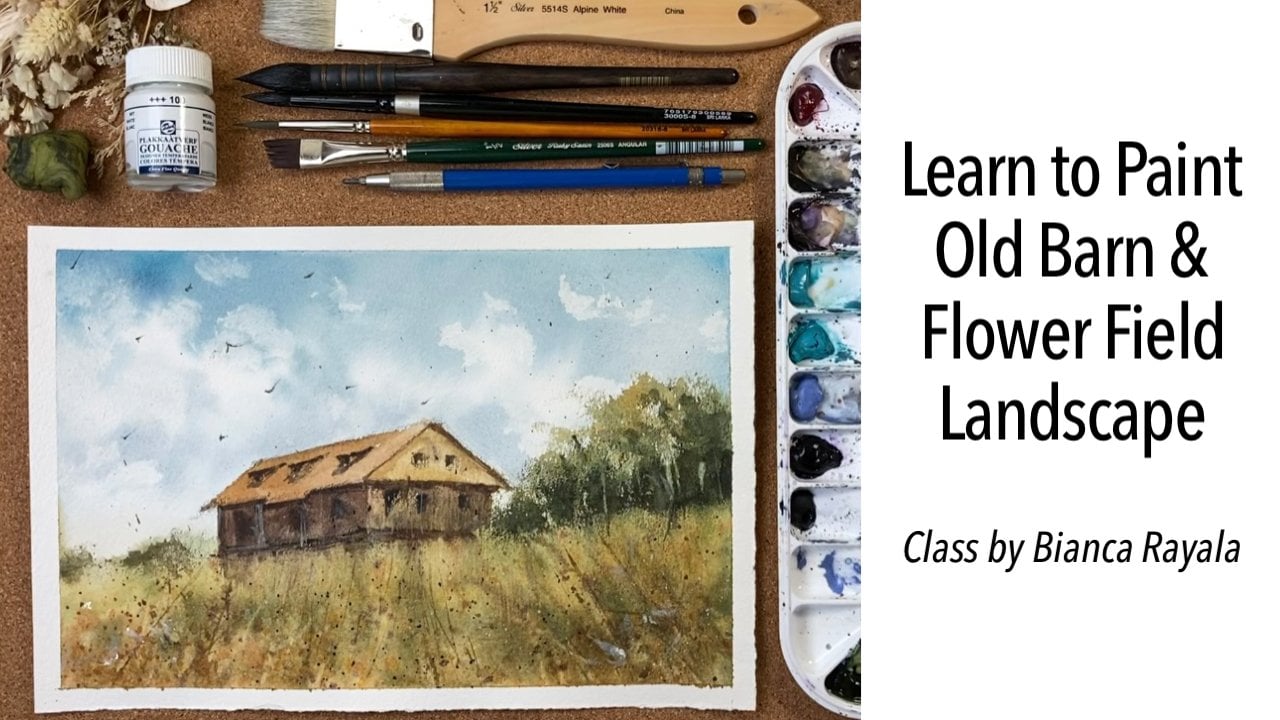
2. Materials and Color Palette: Let's talk about materials. Whatever you have at home is good enough. You can practice with basic paper, pens, or brushes in your supply. Our main goal is to enjoy the time of painting, build muscle memory to create a rhythm in doing brushstrokes, and getting that natural flow on your hands as you paint loose florals. All you need is a paper, preferably a watercolor paper, watercolors, brushes, cups of water, and tissue paper. The one I'm using is a round brush, a dagger striper brush, and a liner brush. You can find also, the photos of the three painting projects that we will do in the Resource section. It is located on the rightmost part of the Projects in Resources tab. Now, you might be asking how to choose the right color palette or how to mix colors to create a cohesive painting. Then my answer is simple. Use the colors that speak about how you feel or the colors that make you happy. Select your primary colors, then mix them together to create other hues. For example, instead of having various green pigments, I create my own green using few colors in my palette. I create light green using horizon blue and burnt sienna. Then different shades of dark green by playing with a ratio and proportion between olive green, indigo and burnt sienna, and also lunar blue. The same with the colors for my flowers. I simply mix and match yellow ocher, perylene violet, [inaudible] , and even horizon blue to create different shades. Practicing color diet will make your work more harmonious and appealing to the eyes because all the colors belong to one family. But I want you to remember that color is the least important thing in building a beautiful painting. A good color palette will never support a fearful stroke. No matter how pretty your colors are or how perfect the composition is, if you painted with fear, it destroys everything. Fear is the most visible element in a painting, so you have to prioritize working on your strokes to confidently release heart lead strokes in your work. Let's talk more about this on the next video.
3. Secret to Creating Dimension: In this lesson, let's talk about understanding watercolor consistency and techniques. In watercolor, the proportion of water in the pigment mix is very important to bring dimension to our work. If everything has the same tonal value or watercolor consistency, the painting will look flat and bail. To avoid that, we use watery pigments for light strokes at the background and base wash off the flowers. On the other hand, we need a creamy consistency to define the shape of the petals. Watery consistency is very flowy. It is made of little amount of pigment and lots of water. This wash is perfect for painting supporting flowers or fillers and soft leaves to just fill in the composition. Next is creamy consistency. We use this mix to create dimension on flowers particularly to define petals and contour the general shape of the flowers or leaves. Recreate this mix by having a good amount of pigment and less amount of water. This is used usually on top of the base watery wash of the flower to add dimension and to add petals. Our third mix is thick consistency. We do this by getting watery pigments straight from the pen or tube using a damp brush. This mix is used for highlights and final details. Next important thing that you need to understand is the right timing to when to apply strokes depending on the moisture of the paper. I'm sure you have heard about wet on wet, wet on dry, dry on wet and dry on dry. But the question is, how do you correctly apply them in painting these florals? When we do the wet on wet technique, we use it to have soft blending between colors. For example, when we paint a base leaf using a watery green mix, wet on wet is layering another watery pigment on top so the two colors will uncontrollably blend together. Here we have soft random blend between light green and dark green. As long as this petal is still wet, you can add more layers and you can still achieve that soft random blend. Next is dry on wet. It is painting on a wet surface using a brush with less water in it. Meaning to say, we have a creamy consistency of paint in our brush. This technique is used to create defined petals of the rose, yet still maintaining soft edges on each stroke. Here I did a base wash of the general shape of the rose. Now, it's still so wet. If you paint another layer with a watery brush right away, the tendency is the paint will just bleed uncontrollably like what happened on the leaf on the wet on wet exercise. But if you get a creamy mix of paint and remove the extra moisture on your brush, as you create the stroke you will see defined strokes with soft edges. This is painting using a dry brush on a wet surface. Now, you could better differentiate the effects of painting wet on wet where the colors just blend randomly and you cannot create defined strokes, while painting dry on wet allows you to have soft defined strokes. Next, let's do wet on dry. Wet on dry is used when you want to add layers without modifying the layer underneath. For example, when you want to have overlapping leaves or when you want to contour the shape of the rose, this technique is the perfect one to use. For example, in this rose, if you want to contour the shape of the rose like what we did in this one, we will do so by painting the leaves around the flower. The flower is dry and with a wet brush I contour the shape of the flower by painting leaves around it. We call this as negative painting. Negative painting is done on wet on dry technique. Lastly, the dry on dry technique is painting using a thick mix on a dry surface. We often use it in adding final details or highlights on our flower. Take time to repeat this exercise as many times you need in order to get it right because it doesn't come out right at the first attempt. Mastering the correct timing in applying layers on a moist surface and the amount of water and pigment loaded in your brush are very important for our heart-led floral paintings.
4. Heart-led Strokes: Now, let me quickly introduce you to two essential strokes that you will have to practice to confidently create heart-led strokes. When you observe my works, they are very similar brush strokes. First one is this thin, flowy lines to portray twigs or stems. Second one is this thick strokes to portray leaves and petals in varying size and angle. To create the thin lines, you can either use a dagger striper brush, or a liner brush, or a small fine tip round brush. The important thing in order to create natural flowy lines is to develop muscle memory. We don't want stiff straight lines in our floral paintings. To create fluid strokes, I hold my liner brush on the middle to upper part of the handle and let my arm to freely move. Using the same brush, if you dab it, you can create this unique strokes to portray fillers or small leaves. Next, I will show you the dagger striper brush. Holding the brush the same way as I held the liner brush, I use the sharp tip of this dagger striper brush to paint sharp lines. Then use the other angle of the same brush to create dancing leaves. Notice that my leaves don't look uniform. I intentionally paint them in a varying size and shape and I play with the different angles of the brush to create unique strokes for my leaves. The key to heart-led painting is to simply enjoy the movement of your brush rather than focusing on the perfection of the strokes. The more you let go, the more relaxed and natural your painting will be. The second important stroke that I want you to practice is the thick stroke using a big round brush. This troll is used in painting petals and leaves. I'm still holding my brush in the mid part of the handle. I start with the heavy pressure on top, then gradually releasing the pressure as I go down to create a teardrop like shape. Notice how the bristles of the brush touch the paper and then suddenly snap as I lift it. Practice doing this in different sizes, length, thickness, and directions. Also try doing this stroke using watery mix and creamy mix. You will be amazed how a single round brush like this one can make numerous brush strokes. When you became comfortable in using your brush, all other strokes are possible to create. Like this leaves, fillers, and flowers. Now, I want to show you a simple way to paint a rose. I fully load my brush with a watery mixture. Using the belly of my brush, I lay it flat on the paper and paint the general shape of the rose. It is like a jagged octagon or a round shape with irregular corners. Next step is we paint using dry-on-wet technique. Using a creamy mix of paint on our brush we paint round strokes to define the rose. If we add this layer, when the paper is still wet, the pigment will just bleed uncontrollably in the surface and it is impossible to achieve a defined stroke. What we do is to wait for a while to let the surface be moist. I remove the excess water from my brush using tissue, then begin creating the thick strokes that we practiced earlier. It may not look like a rose for now, but trust the process as we will still contour it when it gets dry. As we wait for a few moment, remember to paint the base of the rose in a watery consistency. Then we add the petals using creamy consistency. Lastly, we will add the final details using a thick consistency. I repeat the same strokes for the center of the rose, but this time I'm doing the dry-on-dry technique. Now, let's add leaves to contour the shape of the rose. Using a creamy mix of green, I dab my brush to define the shape, then continue on painting the leaf. I darken the part of the leaf next to the petal to create high contrast. Now, you can see the rose slowly popping out as we define its shape. You can also add leaves in the watery mix on some areas for variation. Next, let's practice painting a side facing five petal flower. I'm mixing a watery mix of blue pigment. I always start from a watery mix, so I can add dimension using a creamy mix on top. Observe the movement and pressure I place in my brush as I paint each petal. I start with a stroll using the tip of my brush up, down, up, and I applied pressure on the last drop. It's okay to manipulate the shape of the petal with additional small strokes. The two other petals I made made to show an impression that the flower is facing on the side. Then I add a darker layer with a creamy mix, while the base layer is still wet to have a soft blend. This is wet-on-wet. I won't cover the entire petal with darker layer, but just random strokes to add them. Finally, let's add the center of the flower using a thick mix of paint. I want it thick, so it won't bleed too much to the petals and we will not create a blob out of the flower. This is our flower exercise. Practice the strokes and let's paint our first project in the next video.
5. Project 1- Leafy Bouquet: Let's paint our first project. Here let's focus on painting leaves. We'll practice creating a natural flow of twigs and leaves and try to avoid stiff or uniform strokes. I will use my round brush, dagger brush, and liner brush. Let's start with imagining your desired flow of your bouquet to build the composition. I want my leafy bouquet to flow in a diagonal angle from the upper right corner of my paper down to the lower left side. Small red flowers will mostly be in the middle and I will add maybe some more as my heart leads later on. I will start with the base wash of my flowers. I'm just mixing the reds in my palette and add lots of water in it. Using the same strokes that we practiced on the previous video, I form simple flowers and then add a creamy mix on top for dimension. Since I'm not copying from our reference photo, I let my heart lead my hand where to position the flowers. I try not to overthink by avoiding long pause between painting. I free my mind and just let my heart dictate the movement of my brush. I also love to splatter some red paints for additional texture and elements. Now, I feel like I wanted to add the leaves around. Using my dagger brush, I mix horizon blue and burnt sienna to create light tone leaves and twigs. My mix is creamy, so it is easier to create thin fluid lines. I dance my brush and play with different angles to create different sizes and shapes of leaves. I keep in mind the diagonal flow that I want to achieve, so all my strokes would support the overall composition. Now, I go back to my big round brush to create bigger leaves and to fill the empty spaces. Notice that I use dark green tones near the flowers and I will gradually turn to soft light tones as I go further. The entire process of adding leaves and petals are really based on how my heart leads me. This is really no right or wrong way as long as you keep your idea composition in mind so you won't get lost in the process. Using a liner brush, I do thin fluid strokes to create twigs and random leaves as an added element. I also try to step back and check the overall look of my work to see where else can I add greens or reds. When you add leaves, practice creating various shapes and sizes rather than having duplicate ones. It actually takes practice before we get used to creating varying leaves since our brain is usually programmed to paint a particular pattern. I want you to notice also that I paint quickly. I seldom take pause before I add more elements because I want each stroke to be intuitive. The more you pause and overthink where and what to add, the more you get stuck in the process. As I finish the painting, I add another layer of darker creamy mix to give dimension on the flowers. I also dab random red strokes around, especially on places with too much solid greens in it to break the solid fill of color. As you create this project, feel free to paint as your heart leads instead of trying to copy my step-by-step process. Our main goal here is to practice painting leaves without hesitation and creating a natural flow on your painting. As I end, I will add a thick mix of paint in the center of the flower. At first, I thought of using purple, but I think a thick yellow ocher would be a better one to brighten up the florals. This is our final painting. Let's paint another bouquet focusing on floral elements on the next video.
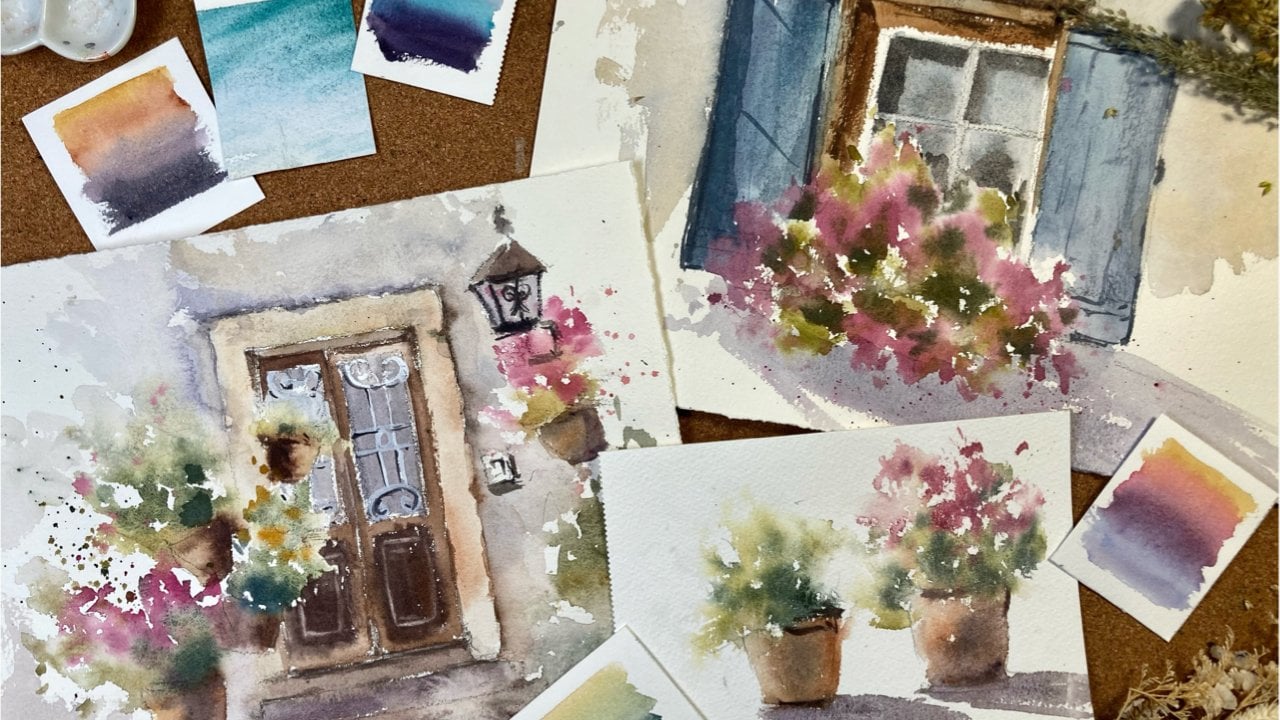
6. Project 2- Flower Bouquet: Now, for our second project, we will paint a floral arrangement focusing more on roses and five-petal flowers. We start by planning the flow of the composition that we want to achieve. I am imagining a group of flowers here in the left side with leaves moving on a curved direction. I start with my main flower, the rose. Paint the base wash with a water mix and then get in a creamy mix to paint the petals. I can see the surface is still wet and my brush has lots of water in it because of the bleed I initially created. What I do is to remove the excess water from my brush before doing the stroke again. I painted some some strokes around, and now notice that the shape is more defined yet still soft. I will add another rose here below, but smaller in size. Don't worry if the roses look blurred at moment as we will define them as we paint the leaves later on. Now, I make some muted yellow color and painted another side facing flower here. While it is still wet, I add a darker tone on some parts of the petals. Notice, again, that I left a little empty space in between flowers because I will use them for the leaves later on. One tip I can share also is try to vary the angle of the flowers so not everything is facing on top view. Your floral arrangement will look more natural if some flowers are facing in different directions, but still supporting the composition that you originally have in mind. Now that the flowers are complete, let's add some greens to control the shape of the roses. I usually use dark, creamy green mix for this part. Again, I imagine the flow of leaves that I want to achieve, so I try to play with the movement of my brush. I also change now to a lighter tone of green, and try creating long slender leaves to make the composition livelier. If you know it, all my strokes are based on the thick stroke I showed you in our practice video. I just changed the length, the size, and the pressure I put in my brush that's why it gave me different results. I also switch to a dagger striper brush to create smaller strokes, plus I want to add some red marks on areas that is filled with too much greens to break the color. Try splattering some paint to add texture, and feel free to play with your brush. When you practice letting go of the critic inside of you and just go with the flow of your hand, you will surely see a lot of difference in your work. Number 1, there is more confidence in your strokes. Number 2, you learn to capture the essence of the leaves or flowers without diving too much into details. You will realize that you don't need to put so much details or you don't need the perfect the thin, thick, thin strokes to create a beautiful flower or leaf. As we reach the end, I add some thick pigments here in the center of the flower and, of course, define the center of the rose with few strokes. Be careful not to overdo this step. If you accidentally place too much strokes, like what I did, which created annoying hard edges, just soften it with a damp brush. Let's add some finishing touches here in between the two roses to separate them from each other. Try to break the monotonous greens by adding some highlights of reds or yellows that you use for the flowers. Just like this painting, when you paint as your heart leads, you will be surprised that you can finish a beautiful piece in just 12 minutes.
7. Project 3- Floral Arrangement: Now let's begin with our final project, painting a full floral bouquet. For the composition, I want the major parts of the flowers to be positioned here in the rightmost part and then there will be some dancing flowers and leaves going to the left. I imagine my painting to portray soft movement. Let's begin. Let me clean my palette first so we can have fresh color mix. I suggest that you always use clean water in every project. I will begin with the main flowers. I create a pinkish red mix for my rose. Again, I start with a watery mix for the base wash. Now, as I paint the inner petals, I get a creamy mix and remove the excess water from my brush by dabbing it on a tissue. Notice that I don't spend too much time layering on this single rose. A few strokes will be enough as I don't want to overdo it. I move on to the next flower. This will be a side facing rose. I paint the general shape of the side facing rose first and then a creamy mix to darken the petals facing me so I can build dimension. While I clean my brush, I use this time to think of the color of the next flower that I will add and where would be the best place for it. I mix a muted yellow color by mixing ocher and breanchena and with the watery mix, I paint this five petal flower in-between the two roses. While it is still wet, I add a creamy layer on the petals. I just let my hands move without overthinking the process. I keep in mind the vision that I have for this painting and that is my basis for all the other elements that I will be adding around. I add some more small flowers and just play with the same group of colors that I use. I try to maintain color diet so the entire painting would not look chaotic. Now that my main flowers are semi dry, I decide to add some more details in darker tone to make them pop. The same thing with the small flowers around. I add some darker strokes for dimension. Now, it's time to contour the main flowers by adding leaves. Let's start with a creamy mix of olive and lunar blue and paint around the roses to define their shape. Notice that my strokes are merely dabbing of brush and I'm trying to cover those white gaps to make the flowers compressed rather than spaced out. Using the same brush with a watery mix, I paint some leaves in varying shapes and sizes. Some are thick, some are thin and long. When I paint leaves near the flowers, I usually use dark tones. But as I go further away from the flowers, the tonal value of the leaves are changed to lighter tones. Using my dagger brush, I paint these curvy thin lines to show the soft and natural movement of the nodes and stems. I see so much empty space here, so I will add some more leaves with a dab of my brush. I vary the shades of green that I use so they won't look solid single color. Now using a liner brush, I make some thin strokes for fillers. I go back to my dagger brush to add some red and yellows in areas with so much greens. Our goal is to turn all pieces into one cohesive arrangement. Color should be connected, so I try to add some hands of the same colors on different spots. Splattering is also a pretty way to add small set of accents. I finalize the painting by adding some more dark green strokes near the main roses to define the shape. Lastly, I added some thick purple paint in the center of the orange flowers to complete the painting. Don't forget to splutter some purple color around the pieces of flowers. The purple color is not isolated in the center of the flower only. Our painting is finally done. On our final video, I will share a bonus class on how to paint on a large paper format. See you there.
8. Tips on Painting BIG & Class Project: As a special gift for you for taking my class, I will share with you how to go big in painting loose florals. Let me share with you some helpful tips to help you overcome your fear of painting big as you watch the painting process of this A2 size floral piece. Painting on large format may seem intimidating, but believe me or not, it is one liberating experience. When you paint big, you challenge yourself to step out of your comfort zone. You allow your hand and arm to freely move and dance to the rhythm of your brush. You give your heart an opportunity to express itself without boundaries. How do you actually start? Like what we did from our previous projects, the first important step is to build a composition, a flow, a story in mind. When you have a clear vision, it is easy to direct your strokes to the right directions. Second, think of the main flowers that you want to include and position them in the correct spots. Divide your paper into nine rectangles along two horizontal and vertical lines. Position your main elements in the area nearest to the intersecting points so they become the focal point of your painting. Third, when painting big, it is best to use a big brush so you can easily create big confident strokes. Using a small brush would cause you to struggle in making numerous strokes when creating a big petal. Lastly, as you paint, let your arm move freely by trying to stand up rather than sitting down. Paint with the end in mind so you won't get lost and spend too much attention on one small portion of your work. Let loose and enjoy the process. That's it. I hope you learned a lot from my class and I hope you challenge yourself to paint big next time. Be sure to upload your works in the project section, I want to see them and share my thoughts about them. For our class project, paint the same floral paintings that I did in my demo. Feel free to go back and re-watch the portions of the videos that you want to review. Don't forget to practice your brush exercises to prepare you well in doing your project. I invite you to check also my other Skillshare watercolor classes and don't forget to follow me here and on Instagram so you know when I have new classes for you. Thank you again. I hope to see you on my other classes.
 Bianca Rayala, Top Teacher | Watercolor Artist