Transcripts
1. Introduction: Hi, I'm Amanda and I, my hand lettering artist. I've created this class for anyone just getting started and lettering. We'll go over creating a basic sketch, choosing fonts to fit your quote and how to put together your final way out.
2. Getting Started: So for your first step in creating your lettering design, you want to write out the quote that you'll be using. Um, no matter how short or a long it is, it's always good. Teoh, just have a visual reference for um later on, whenever you're drawing the letters and everything, Um, I can't tell you how many times I've gotten caught up in the drawing aspect of the project , and I misspell something or leave out a word completely. And so, um, just having a visual reference there is really helpful and, um, prevents that. So the quote of chosen for this class is from Albert Einstein. It's a person who never made a mistake, never tried anything new. So you want Teoh choose two or three words to focus on, depending on the length of your quote. If it short, you can just choose one. But for this quote, we can probably choose three. So I think I'm going Teoh. Choose never and mistake. And I think I'm going to join anything new together. So, um, and then we'll use those two. Create a composition idea. So your next step is to decide on what shape you want your composition as a whole to be so you could do. Of course. Do it A portrait lee out. Or you could do the long landscape. You can do a circle. Um, it's really up to you.
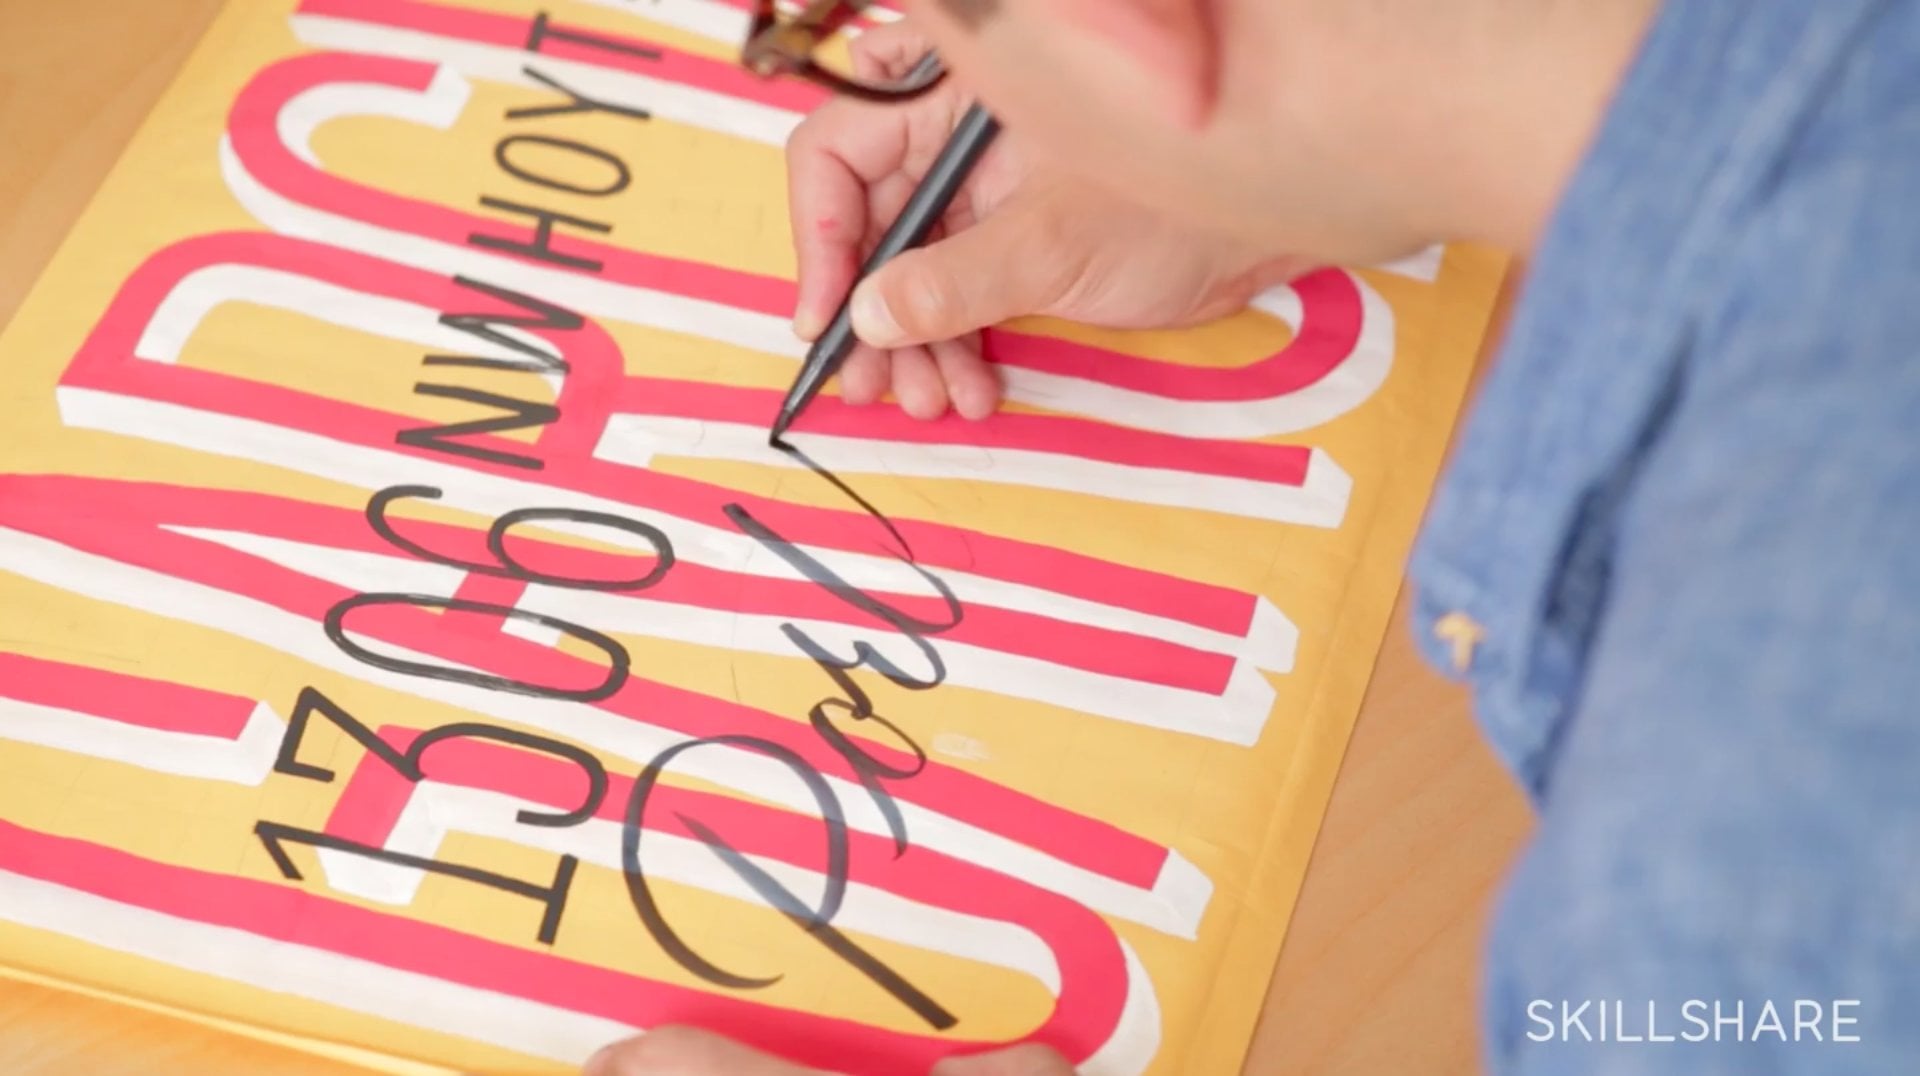
3. Layout: I think with the portrait layout. And so your next step would be to your started, just roughly sketching in the words. So I always start with the keywords that I marked earlier. So, um, I'll just fill those in first. Never. And I usually just start with all caps just because it's easier to see. And then, um, you can change it are, you know, do whatever you want to with the the foreign leader. So, um, steak. And of course, as you're filling it and try to leave a little space for the in between words. So no. And we're not worrying about having everything perfectly centered or all of that. All those he tells you worry about later. So and then you fill. In other words, we'll write those words smaller because they're not our key words. We don't want them to be the focus of attention in the design, Okay, And then, um, I hope his name down in the bottom. I know that everything is written out. We'll start thinking about, um, the shape of the words. And if there's any kind of special design elements you have in mind already, um, that would be the time to start working those in. So if you have an idea for the shape of a couple of words put together or, um, if you want there to be a curve and the way the words, um, go together like say, um, like the words the two lines here, if you want there to be, ah, curve and there, then you go ahead and draw that in. So, um, it's easier to draw in shapes first and then fill in the words after. So, um, I think I have an idea that I'm gonna give it a try and see how it goes. So, um, I think I'm gonna keep the the top part the street and then for never made a mess state since it kind of goes together. And the first part of the quote I'm I want toe separate it from the bottom part, and that might help the quote as a whole read smoother. So, um, you start by drawing. It's the rough rectangle, and then my idea is to make it go at a slant. So I started drawing a line and, um, the tricky part is always making room for the filler words. So I think all just maybe put those in the middle. I don't know. I'll draw it out sometimes. Have to draw out first. I'm a visual person, so I'll draw it out first, and then I'll just keep experimenting until it looks right. So at this point, I try to use, like, a wider lead pencil. So and, um, you don't have to use a drawing pencil, by the way. I should have mentioned this earlier. Feel free to use just whatever pencil you have. So I just, um I've always loved my drawing pencils. So is just my own personal preference, but it it really doesn't matter. You just use whatever a pencil on a racer works for you. Okay, so I think like how that turned out. Um, obviously, it's not measured out correctly, but, um, we'll fix that leader. So, um, now it was fill in the rest of the words. And since we made this, um, these letters so much baker after try to make anything new, um, about the same size. I mean, I know it's hard since, um, they're kind of all different sizes, but overall, you know, trying to make it the same size because thes words are of equal importance to these words. So, um, and as faras, the design element goes, I am going to put in the design with anything new, but I think I'm going to do it using the flow of the letters so I'll get into that leader. So for now, I'm just going to write in the words and you see how that happened. I did have it going all the way across, but kind of by accident. I ended up just putting them on top of each other. So, um, I think it actually looks better that way so I can keep the letters large. You know, if I had to if I had to, um, put them next to each other. The letters were need to be smaller. So, um yes. So I think this looks better. Actually, no. Um, okay, I think that's it for the placement. We've kind of got that figured out. So in the next segment will talk about the relationship between the letters and the words and creating unique designs using those elements of the letters interacting with each other
4. Type Design: So now that the placement of the words is settled, um, we're going Teoh, figure out what kinds of tight we want to use. So, um, for the larger letters, I usually like to use a serif forint. So, Sarah, just a little mini typography lesson. Um, Sara, if you don't already know, um is any letter with the little tick marks these air actually called sheriff's. So, um, I usually like to use this kind of type for my larger letters and then for smaller letters , um, you I usually use a sand Sarah. So San serif is just, um just the letter without the tick marks is all so sands means without so without sheriffs . So, um, I think for this composition, I'm going to just use to kinds of type. So, um, I think we'll just go with these two. So, um, and before I before I move forward, I usually tried Teoh experiment a little with a few letters or even a couple of words with the kind of type I have in mind. And, um, try to get it right beforehand. And then, um, it's easier going forward with your design if you have, um a specific kind of type in mind already, and, um, you practice it a little, So, um, it's easier to lay everything out later on if you already have that figured out.
5. Final Layout: and this last segment will be creating the final sketch. So for this, I just have, um, some £98 um, paper here and I use lately I've been using, um, this Fran cancer, and it's really good, versatile paper, especially if you sometimes do water colors are, um, an ink washers and things just lightly. It's ums 30 enough toe hold a light wash. So, um, so I've just cut out, um, nine by six piece of paper. And so this is just for my personal use. If I were doing this for a client are ready Years, um, a much sturdier, a nicer paper. Thin. This probably a cold press paper or something. So, um, but for just for me, um, I like this one. So yes, starting out. Um, I usually get an idea of where everything will be placed. So I have the idea sketch here, and as we said before, where we want the the never mistake and anything new toe all be the same size. So take that into account whenever you're measuring out for your final way out
6. Wrap Up: things for joining my first goal shared. I hope it was helpful for you and getting started with watering. Keep a look out for my next class and thinking your design. If you have any questions, feedback, feel free to leave them in the comments. Also, person practice. Check off the student project, looking forward to seeing that you create.
 Amanda Hunte, Handlettering Artist