Transcripts
1. Introduction: Hello, thank you so
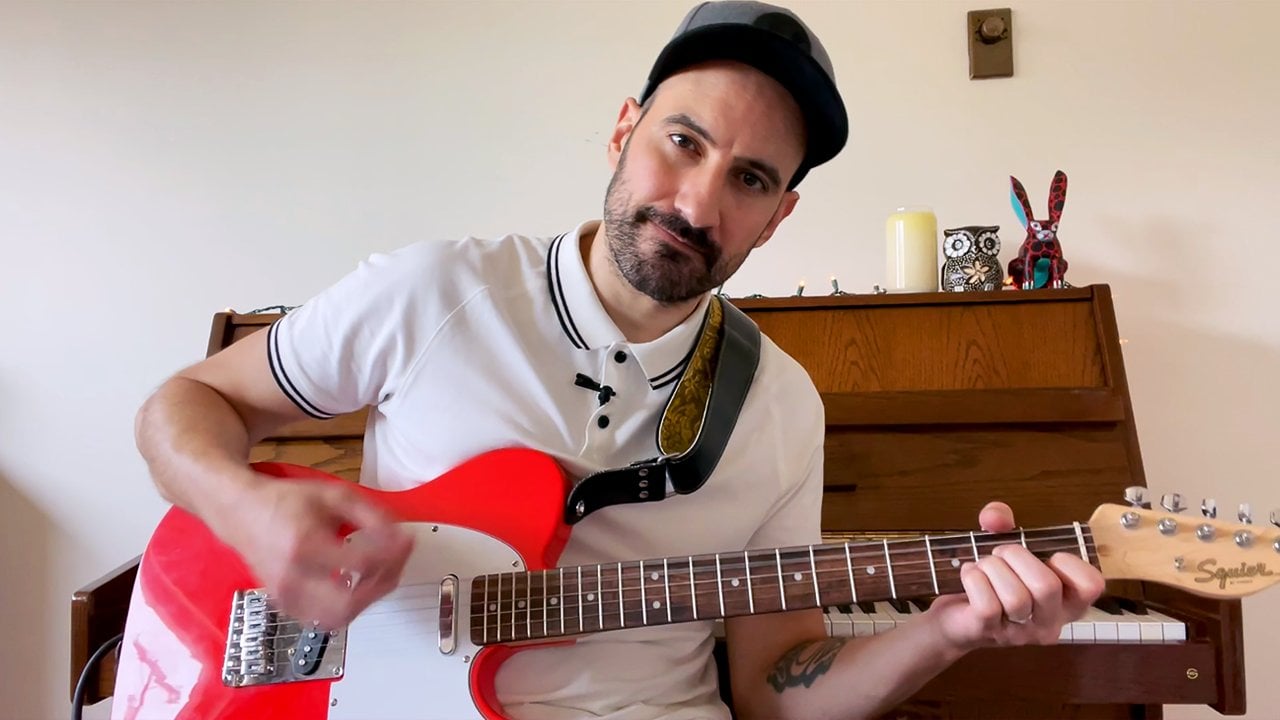
much for joining me. I'm Jason Rivera
and I'm going to take you through this
bar chords class. In this class I'll be covering
how to play bar chords, how to play half bar chords, how to use a Po, how to play
a song that uses bar chords. And lots of tips,
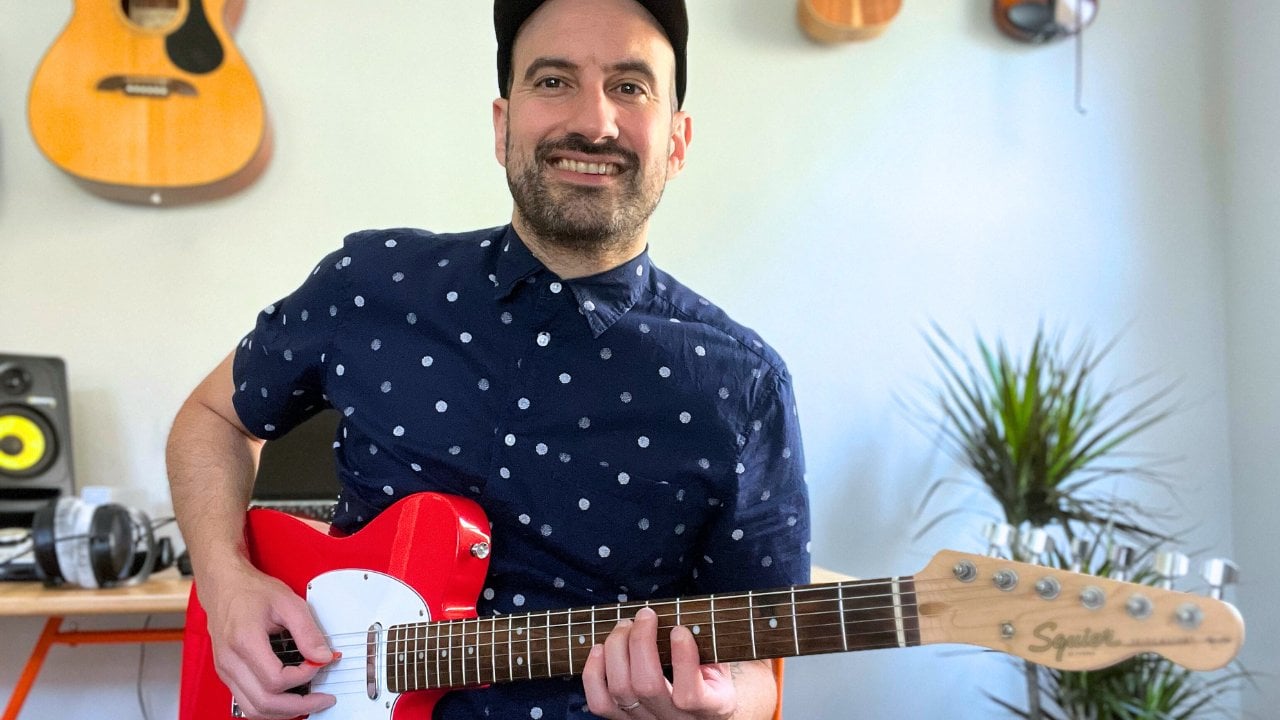
tricks, and resources. You can join me
with your acoustic or your electric guitar. The class will give you plenty
of opportunity to watch me demonstrate the various techniques that we're
going to cover. And I encourage you
to pause, rewind, and rewatch the video lessons as many times as you need to. I'm also going to
provide you with downloadable resources
for this class. I've been playing and writing music since I was a small kid, and I've been teaching music to students ages five and up, including private guitar
lessons since 2012. I'm a full time
musician and composer. I've written music
for films, trailers, and E learning courses, and I've played in bands and toured the US since
I was a teenager. My goal with this class is to teach you the beginner
guitar player, how to play essential
bar chord shapes. So that you can move forward, learn some of your
favorite songs and express yourself more
freely on the guitar. My hope is to make this
process fun and easy for you. I want you to start playing bar chords as soon as possible, and I want you to use them
to play your favorite songs. Thank you for
watching this intro. Now grab your guitar and I'll see you in
our first lesson.
2. Class Project: Okay, the class project, This is a chance
for you to check in on how bar chords
are going for you. And hopefully this project will be fun for you
to take part in. Once you've started to watch the video lessons in the class, I'd like you to try
and learn one of your favorite songs and use some bar chords
to play the song. If the song doesn't
feature a lot of guitar, find out what the
bass or the piano is playing and see how you can
apply that to the guitar. To help you figure out
the chords of the song, you can go online and
utilize some resources. Ultimate Guitar is great for
finding chords and tabs. For songs, you can find tabs or chords for almost
any song on there. I want you to record
yourself playing that song. It can be a video or an
audio only recording, and you can record
just a section of that song or a song that
you love in its entirety. It's really up to you to record video of
yourself playing. You can just use the
built in video camera on your smartphone or
tablet to record audio. You can use an app
on your smartphone, such as voice memos. Or you can record yourself with music software such
as Garage Band, Logic Pro, or Cue Base if you're comfortable with
recording music that way. But even if you just use a
simple app like voice memos, please record yourself playing. Recording yourself playing,
and then listening back is a great tool to hear
your playing objectively. Then you can listen back to
your recording and notes on what things you need
to spend a little bit more of your
practice time on. As an alternative
for this project, you can also record yourself playing the song that I'm going to teach
you in this class. Please don't be intimidated
by this project. This is meant to be a fun
project where you learn bar chords and then apply your
new knowledge immediately. Hopefully after watching
several lessons in this class, you'll feel confident enough
in the skills that you're developing to take part
in the class project. That's the intro to
our class project. I hope that you're
excited about it. I'll see you in the next lesson.
3. Getting Started: Hopefully you've already learned your open position chords. If not, you should
check out some of my other classes where I
cover open chords in depth. In this class, we're going to
open up the fret board and expand the possibilities of
what we can do on our guitar. And we're going to achieve
this by learning bar chords. Grab your acoustic, or your electric guitar
and a guitar pick. Make sure your
guitar is tuned up. And I'll see you in
the next video lesson.
4. Barre Chords: In this lesson,
we're going to cover how to correctly play bar cords. With bar cords, we need
to get used to using our index finger to play
across the fretboard. That index finger there needs to apply a fair amount of pressure. Let's take a look at how to bar. For example, we can
place our index finger across all of the
strings on fret two. When we do this,
we want to place the finger right
behind the fret wire, right there with
the index finger. We're barring all six strings, Let's keep our
index finger there. And now we're going to
build a cord with that. We're going to place
our middle finger on the third fret of
the third string. Again, we want to
always try to place our fingers right
behind the fret wire. Then our ring finger goes
onto the fifth string, fourth fret, then our pinky goes down onto the fourth
string. Fourth fret. Let's listen to each
string one at a time. The sixth, the second, and the first strings are being sounded by the index finger bar. I want you to try this with me. You have to apply a fair
amount of pressure with your index finger to get those strings to sound
out nice and clear. If you've never played
bar chords before, this chord shape
is going to cause some aching in your
left hand hands, most likely going to cramp up. And your wrist might
get a little tight too. But I promise if you practice
making this chord shape, eventually you'll form the muscle memory
in your left hand and it will become
so much easier to play and it will
hurt less as well. Let me show you how to
practice this shape. So you want to take
your hand away from the guitar and then try to form the bar chord shape again. You want to do this
over and over again, take it away, bring it back. The repetition here
is what's going to create muscle memory for
you behind the neck. You want your thumb pointed
up like a thumbs up, and you want to place
it in the middle of the neck as a starting point. What I've just done here is I've created an F sharp
major bar cord. There's a familiar chord
shape in this bar cord. It's the major Open bar cords are built from familiar
open chord shapes. In this case, to create
the F sharp major bar, all I did was use
a fingering that allows my index
finger to be free. Then I slid this
shape up two frets. Then I added the index
finger as the bar. Now the middle finger
here is what's causing this to be
a major bar cord. Placing it on the third fret of the third string makes it major. If you lift up your middle
finger off the neck, now you have an F
sharp minor bar cord. Hopefully you can hear
the difference between the two types of
when you do this, your index finger has to apply a little bit extra pressure to press on the third
string as well. I want you to also
notice here that if I lift up my index finger off the neck and then shift my ring and pinky
fingers down to frets, I'm playing a familiar chord that's in the minor open again. This minor bar coord shape is built off of an open or shape, in this case minor. Now let's take the
major bar cord shape and the first one
that we learned, and we're going to move
it up and down the neck. So let's start at F one. We have major sharp major major, G sharp major major, A sharp major major major, C sharp major, D major, D sharp major major. Now the frets get closer, the higher up you
go on the neck. And for someone like
me with big hands, it gets a little tight
here, but you get the idea. We can also move the minor bar cord shape up
and down the neck. Let's start at fret one again. We have minor, F sharp, minor, minor, G, sharp
minor, minor, sharp, minor, minor, minor, sharp, minor, minor, D
sharp minor, minor. I want you to practice
playing the major and the minor bar coord shapes
up and down the neck. And you could even try playing around and jumping
to random frets. You can do the same thing
with the minor shapes. Now hopefully you can see at this point that with just
with those two shapes, you've started to
unlock the fret board. Now let's take the
major bar court shape and we're going to move
it to the fifth string. Back on fret two, our
index finger bars, strings five through one, our middle finger goes onto the third fret of
the second string, our ring finger goes onto the fourth fret of
the fourth string, our pinky goes onto the fourth
fret of the third string. Now we have a minor bar coord that's built from
the fifth string. In this case, our middle finger is causing this to
be a minor cord. This happens to be
a minor barcord. I hope that you'll notice that there's a
familiar cord shape here, that's a minor. You can build minor
bar coord shapes on the fifth string based off of the A minor open cord shape. Normally we play a
minor like this. Again, we just change the
fingering to open up and free our index finger to make major bar cords that are
built on the fifth string. We keep our index finger down across strings
five through one. Now our middle finger goes onto the fourth fret of
the fourth string. Our ring finger goes onto the fourth fret of
the third string, our pinky goes onto the fourth
fret of the second string. In this case, our pinky is causing this shape to
now become a major cord. This is a major bar cord. Using the fingers on
the fourth fret like this is a little bit of a
stretch for some people. As an alternative,
you can instead use the ring finger to cover
the fourth fret of strings, 43.2 You hopefully have guessed by now that this
major bar cord shape is also based off
of an open cord. If I lift up my index finger and slide my ring finger
down by two frets, I have an A major open cord. Again, I took a major open, I just used different
fingering the ring finger. I want you to see the
connection between the open cord shapes and how you can build bar cord
shapes off of them. Let's talk about how to figure out the names of these cords as we're playing these bar cord shapes up and down
the fret board. Whether we're building bar cords off of the six or
the fifth strings, the lowest note that
our index finger is pressing down on is
the root note of the. If we're building major or
minor cores on the six string, the note that the
index finger is pressing down on
the sixth string is the root note or the name
of the bard, for example. With this shape, the lowest
note that our index finger is pressing down on is on the
sixth string. Third fret. That note there is a, this is a major bar cord. The same principle applies to bar cords built off
of the fifth string. The note that the
index finger is pressing down on
the fifth string is the root note of the cord and the name of the D. For example, right here, my index finger is pressing down on the
fifth string seventh fret. That's the lowest note that my index finger is
pressing down on. This note is E. This is a major. This means you have to learn
the notes of the sixth and the fifth strings
in order to figure out the name of the bar
cord that you're playing. I'm going to run
through the names on the six and the fifth strings
for you as a reference. Let's start with the six string. We have open sharp sharp, sharp, Sharp sharp right
there on the 12 fret. We're an octave
up from the open, then the pattern
continues as you go up. Let's cover the fifth string
now with the fifth string, we have open A sharp. B, C sharp sharp. B, F sharp sharp. Again, at the 12 fret, we're an octave up
from the open A. Then from there, the
pattern continues on. Now I went through
that pretty quickly. If you don't know
the note names of each fret of the six
and the fifth strings, rewind this section
and study it over and over until you have these
note names memorized. Let's take a minute
here to talk about the difference between
major and minor chords. If you take the
first, the third, and the fifth notes of a
scale and you combine them, you create a major chord. Let's go back to the F sharp
major bar chord shape, built on the sixth string. Here our index finger is
playing the root note, or one F sharp. Our middle finger is
playing the third A sharp. Our ring finger is playing
the fifth C sharp. Our pinky is also
playing F sharp. The one but one octave higher. The index finger barring the second string is
creating another sharp, also on the first string. The index finger is playing
another root note, F sharp. You can see that
we've duplicated some of the notes in this
bar chord shape, and that makes the
chord sound fuller. Again, this is an
F sharp major bar. If we wanted to make
this a minor chord, then we need to flatten
the third note. In this case, that's a sharp, which was the middle finger on the third fret of
the third string. If we release our middle finger, we flatten that A sharp to an A. Now this is an F
sharp minor chord. There's a quick introduction to a little bit of
music theory as it applies to the guitar and to creating major and
minor bar chords. There's everything you need to know to be able
to build and play full major and minor bar chords built on the sixth and
the fifth strings. I'll see you in the
next video lesson, where we're going to learn
how to play half bar chords.
5. Half Barre Chords: In this lesson, we're
going to look at how to correctly play half bar chords. Half bar chords are a great lead into
playing full bar chords. They allow you to create
the sounds that you want, give you the freedom to
move around the fret board, but with less effort,
to be honest. When I was first
learning guitar, I didn't learn the
half bar chord shapes, I learned the bar. But as I've taught guitar over the years to private students, I discovered that bar chords can be really frustrating
for some students. So I wanted to make sure
that I included a lesson on half bar chords so that you have the option
to learn them. As a stepping stone to
learning full bar chords, hopefully you know how to play your major open cord shape. We're going to take that cord
and move it up one fret. But we're also going to use different fingering to allow
our index finger to be free, just like we did in the
previous video lesson. Now we're going to slide
that cord up one fret. Now instead of having
your index finger across the entire neck, we're only going to borrow the first and the second strings. Then you're going to lift
up your pinky and move your ring finger to the
fourth string. Third fret. This is an F major half bar. You'll see there that I strum from strings
four through one. Just like the bar chord shapes
from our previous lesson, this major half bar chord shape is movable all over
the fretboard. This half bar shape
is a major shape. After giving this a try, I think you'll be able
to tell that it's much easier to play than
a full bord shape. To play a minor
version of this shape, just lift up your
middle finger and then bar one extra string
with your index finger. The third string,
you want to keep your ring finger down
on the fourth string, third fret, and then you want to strum from the fourth string
through the first string. By this point in the class, as we've moved back and forth between playing major
and minor chords, hopefully you can hear
the difference between the two Ir now let's look at another
half bar cord shape. Remember how we build
major cords starting from the fifth string based on
the A major open cord shape. To turn this into
a half bar cord, we're going to remove the
index from the fifth string. Then we're going
to press down on the first second with
our index finger. Then we're going to from
the fourth string through the first string to turn this
into a minor half bar cord, you want to keep
the index finger where it is on the first string. Second fret. Then move your middle finger to
the second string. Third fret. Your ring finger is going to go to
the fourth string. Fourth threat. Your pink is going to go to
the third string. Fourth threat, you want to strum from strings
four through one. Again, this is a
half bar cord shape that comes out of the A
minor open cord shape. In this case we're taking that a minor open shape
and we split it up two frets and we added the index finger onto the
first string, second fret. I want you to practice switching between these two
half bar shapes. And of course both
of these shapes are movable up and down the fret board fret. Here are some tips and
tricks for playing bards. Make sure your thumb is
pointed up like a thumbs up, and you want to place
it in the middle of the neck as a starting point. This will help you
to get more leverage and be able to squeeze your index finger across
the fretboard to bar. Sometimes you might notice
in this class that I wrap my thumb around to the front of the neck when playing
certain bar chords. This is because
I've been playing bar chords for a
really long time, and I don't have to
squeeze down as hard with my index finger and thumb
to get a nice, clear sound. But if you're just starting
out with bar chords, make sure your
thumb is placed in the center of the neck
for the best leverage. Also, make sure your left hand
wrist is nice and relaxed. It's going to make it
easier for you to play the bar chord shape
and you'll also have a better tone whenever possible. When you're forming cords, you want to place your fingers down right behind the fret wire. This will give you
the clearest tone with the least amount of effort. As you're learning all of
these bar chord shapes, you should take a
little inventory and figure out which
bar chord shapes are giving you the most trouble. If you can identify what's
giving you trouble, then you can spend a little bit extra of your practice
time on that. It's a good idea to
spend a little bit of time every day
practicing the things on guitar that are giving
you trouble that will help you make fast progress
with your playing. You should also make sure
that you try and play the bar chord shapes
that we covered in this class up and
down the fret board. There's everything you need
to know to be able to play major and minor half
bar chord shapes built on the sixth and
the fifth strings. I'll see you in the
next video where we're going to learn
how to use a capo.
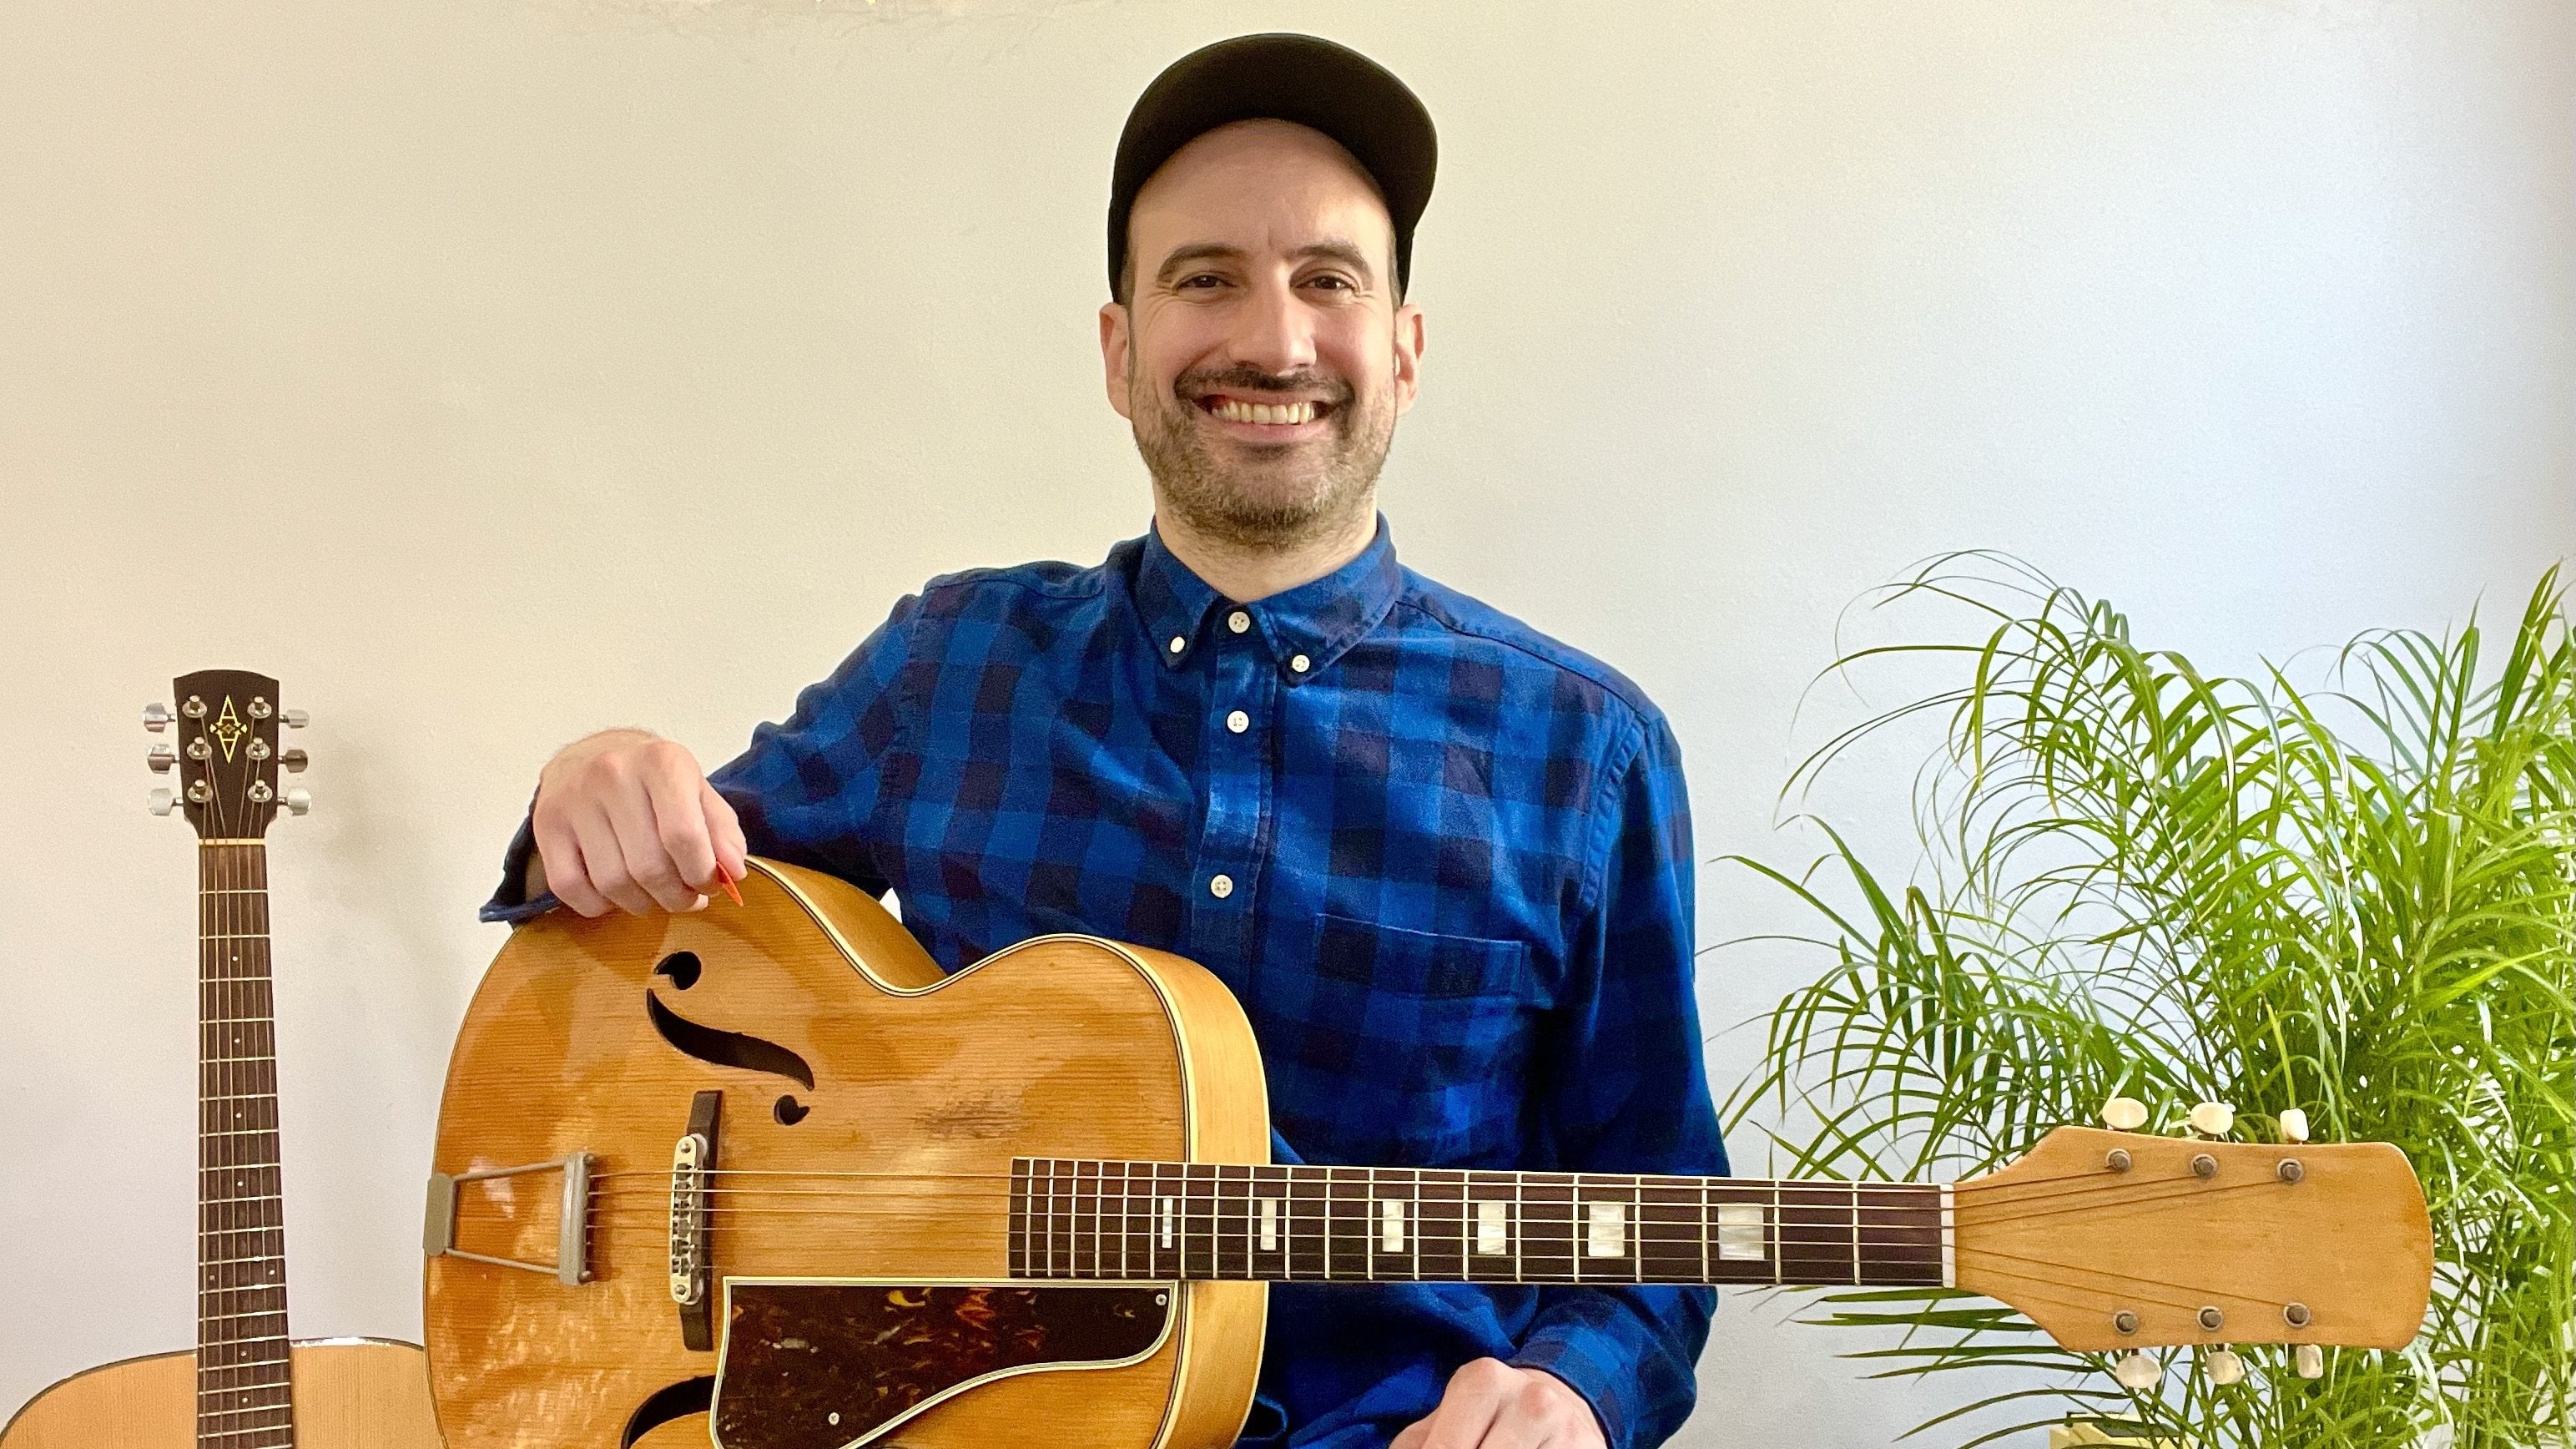
6. Using a Capo: In this lesson, we're going
to learn how to use a Po. When you're playing bar chords, your index finger is actually taking on a lot of
responsibility. Sometimes if you need to give your left hand a break,
you can use a Po. A Po is a clamp that's
fastened across all of the strings and it
helps you to raise the tuning of your guitar
by your chosen amount. Essentially, the Po
takes on the role of the index finger
when playing Bart. If a guitarist wants to play the open chords in
the first position, and they want to
move those shapes up the fret board,
they'll just use a. You just clamp the Pow and then you play your
open court shapes. The Po allows you to play those open court shapes without worrying about barring
with the index finger. It takes the pressure off
of playing bar shapes. If you need to give
your left hand a break, essentially a Po allows you to modulate or to move to
a higher or lower key. And all you have to do is take the O and put it onto
your desired fret. You can also lower the Po, so there's a nice
intro on how to use a K. I'll see you
in the next video, where we're going
to learn a new song to practice bar chords with.
7. Playing a Song With Barre Chords: In this lesson,
we're going to learn a song that uses bar chords. This is one of the best ways to practice using bar chords. I've created an original
song progression for you to practice
with in this class. I've also created a
chord chart PDF of this song for you to use as
a resource in learning it. Let's go over the chords used in this song and
the progression. Let's start with the
verse section first, we have an F major bar. You can think about
creating an major open. Then you want to
switch the fingering up to free up your index finger. Then you slide your fingers up one fret and you bar the first fret with
your index finger, You have an F major
bar cord shape. Then we have the B flat
major bar cord shape starting on the fifth
string from the F bar, we shift our fingers
down by one string each. Then we want to play our major bar cord shape that
starts on the fifth string. Remember you have
the option to bar strings 23.4 with
your ring finger. For this, you want to strum from strings five through one. The next is a major bar. To play major, all
we have to do is slide up two frets so
that your index finger is barring there's
your major bar. Then we go back to the
B flat major bar chord. And those are the
chords for the verse, for the strumming and the verse, we're going to use
all down strums with a combination of whole
notes and half notes. Let's go over the strumming and the rhythms for each chord. We start with a
whole note on 1234, then we have a bar
with two beats on and two beats on
B flat, bar 234. Then we have a bar where
it's a whole note on 1234. And then for bar four, we have two beats on C, 12.2 beats on B flat 34. Those are the chords and the
strumming for the verse. We want to repeat the
verse four times. Let's try playing
the verse together. 1, 2, 3, 4, 2, 4, 1, 2, 3 4 1 2 4 1, 2 3 4 2 3 4 1 2 3 4 2 3 4 1 2 3 4 4 2 3 4 1 2 3 4 2 3, 4, 1, 2, 3 4 2, 4, 2, 3, 4, 1, 2, 4. Now let's go over the
chords of the chorus. We start with a D
minor bar chord built off of the fifth string, coming off of the last
chord in the verse, the B flap major. We slide up so that
your index finger is barring the fifth thread. Now we have to turn this
shape into a minor bard. We'll press down on
the second string. Six fret with our middle finger. Our ring finger will press
down on the fourth string. Seven Threat. Our pinky will press down on the third
string. Seventh threat. Then we're going to strum from
strings five through one. From there we go back to
the B flat major bar ord. Back on the first fret, we play D minor to B
flat three times here. Then we move to an A
minor bar chord shape. Starting on the sixth string, we slide our hand up
so that we're barring the fifth threat across
all six strings. Then our ring finger goes
onto the fifth string. Seven Threat, our pinky goes
onto the fourth string. Seven Threat, we're
going to St six strings. From there we play
our major bard shape built on the fifth string. Third threat, it's the same
shape from the verse section. Then we end this section on the major bar chord shape built on the six
string first fret. That's the same F
major barord shape that we played in the verse. For the strumming in
the chorus section, we're going to use
all down strums with a combination
of half notes, whole notes, and quarter notes. Let's go over the strumming
and rhythms for each. We start with two
beats on D minor to two beats on B
flat major four. Then we repeat that
two more times, 2424, Then we have a
whole note on A minor, and we repeat that again, 234. Then we have 2 bars of C and we play for
44 notes per bar, and then we end on a
whole note on 1234. Those are the chords and the
strumming for the chorus. Let's try to play
the chorus together. Now let's try to put the verse
and the chorus together. We'll repeat the verse
four times and then play the chorus one time ending
on that F major bar chord. Get your F major bard ready
and I'll count us in. 1234. Second time three, Third time three, last time, three. Great job. Don't forget to download the PDF that I
created for this song. Most importantly, don't
forget to have fun learning this tune and practicing
your bar court shapes.
8. Final Thoughts: Okay, That wraps up
our bar cords course. Thank you so much
for joining me here. I hope that you had
fun in this class, and I hope that you've gained a really solid footing
for learning bar cords. Here are some final notes
about learning bar cords. Be patient with yourself
while learning these chords. It takes time to build
up the muscle memory and the strength to be able to
play these bards comfortably. Make sure that you
experiment and play all of the bar cord shapes
that we covered in this class up and down the Fred. Also, you should try to pick up the guitar every day if you can. This will help you to
build up strength, especially in your
fretting hand. And regular playing
and practice will also help to build up
your muscle memory. When it comes to this class, you can come back to any of the lessons and
review it as many times as you need to until
the material really sinks in. And definitely take advantage of the opportunities to jam along with me in
the video lessons. Just do your best and
don't forget to have fun. Also, don't forget to download the supplemental materials that I've created for this class. I hope you enjoyed this course. I have other classes on guitar,
Ucolele, and songwriting. And if you enjoy this class, I recommend that you check
out my other classes as well. Music is an infinite subject, and the more that we learn about playing guitar and
creating music, the more freedom we have to
express our own creativity. Thank you so much
for joining me. Have fun, and I hope to see
you in another class soon.
 Jason Rivera, Music Instructor