Transcripts
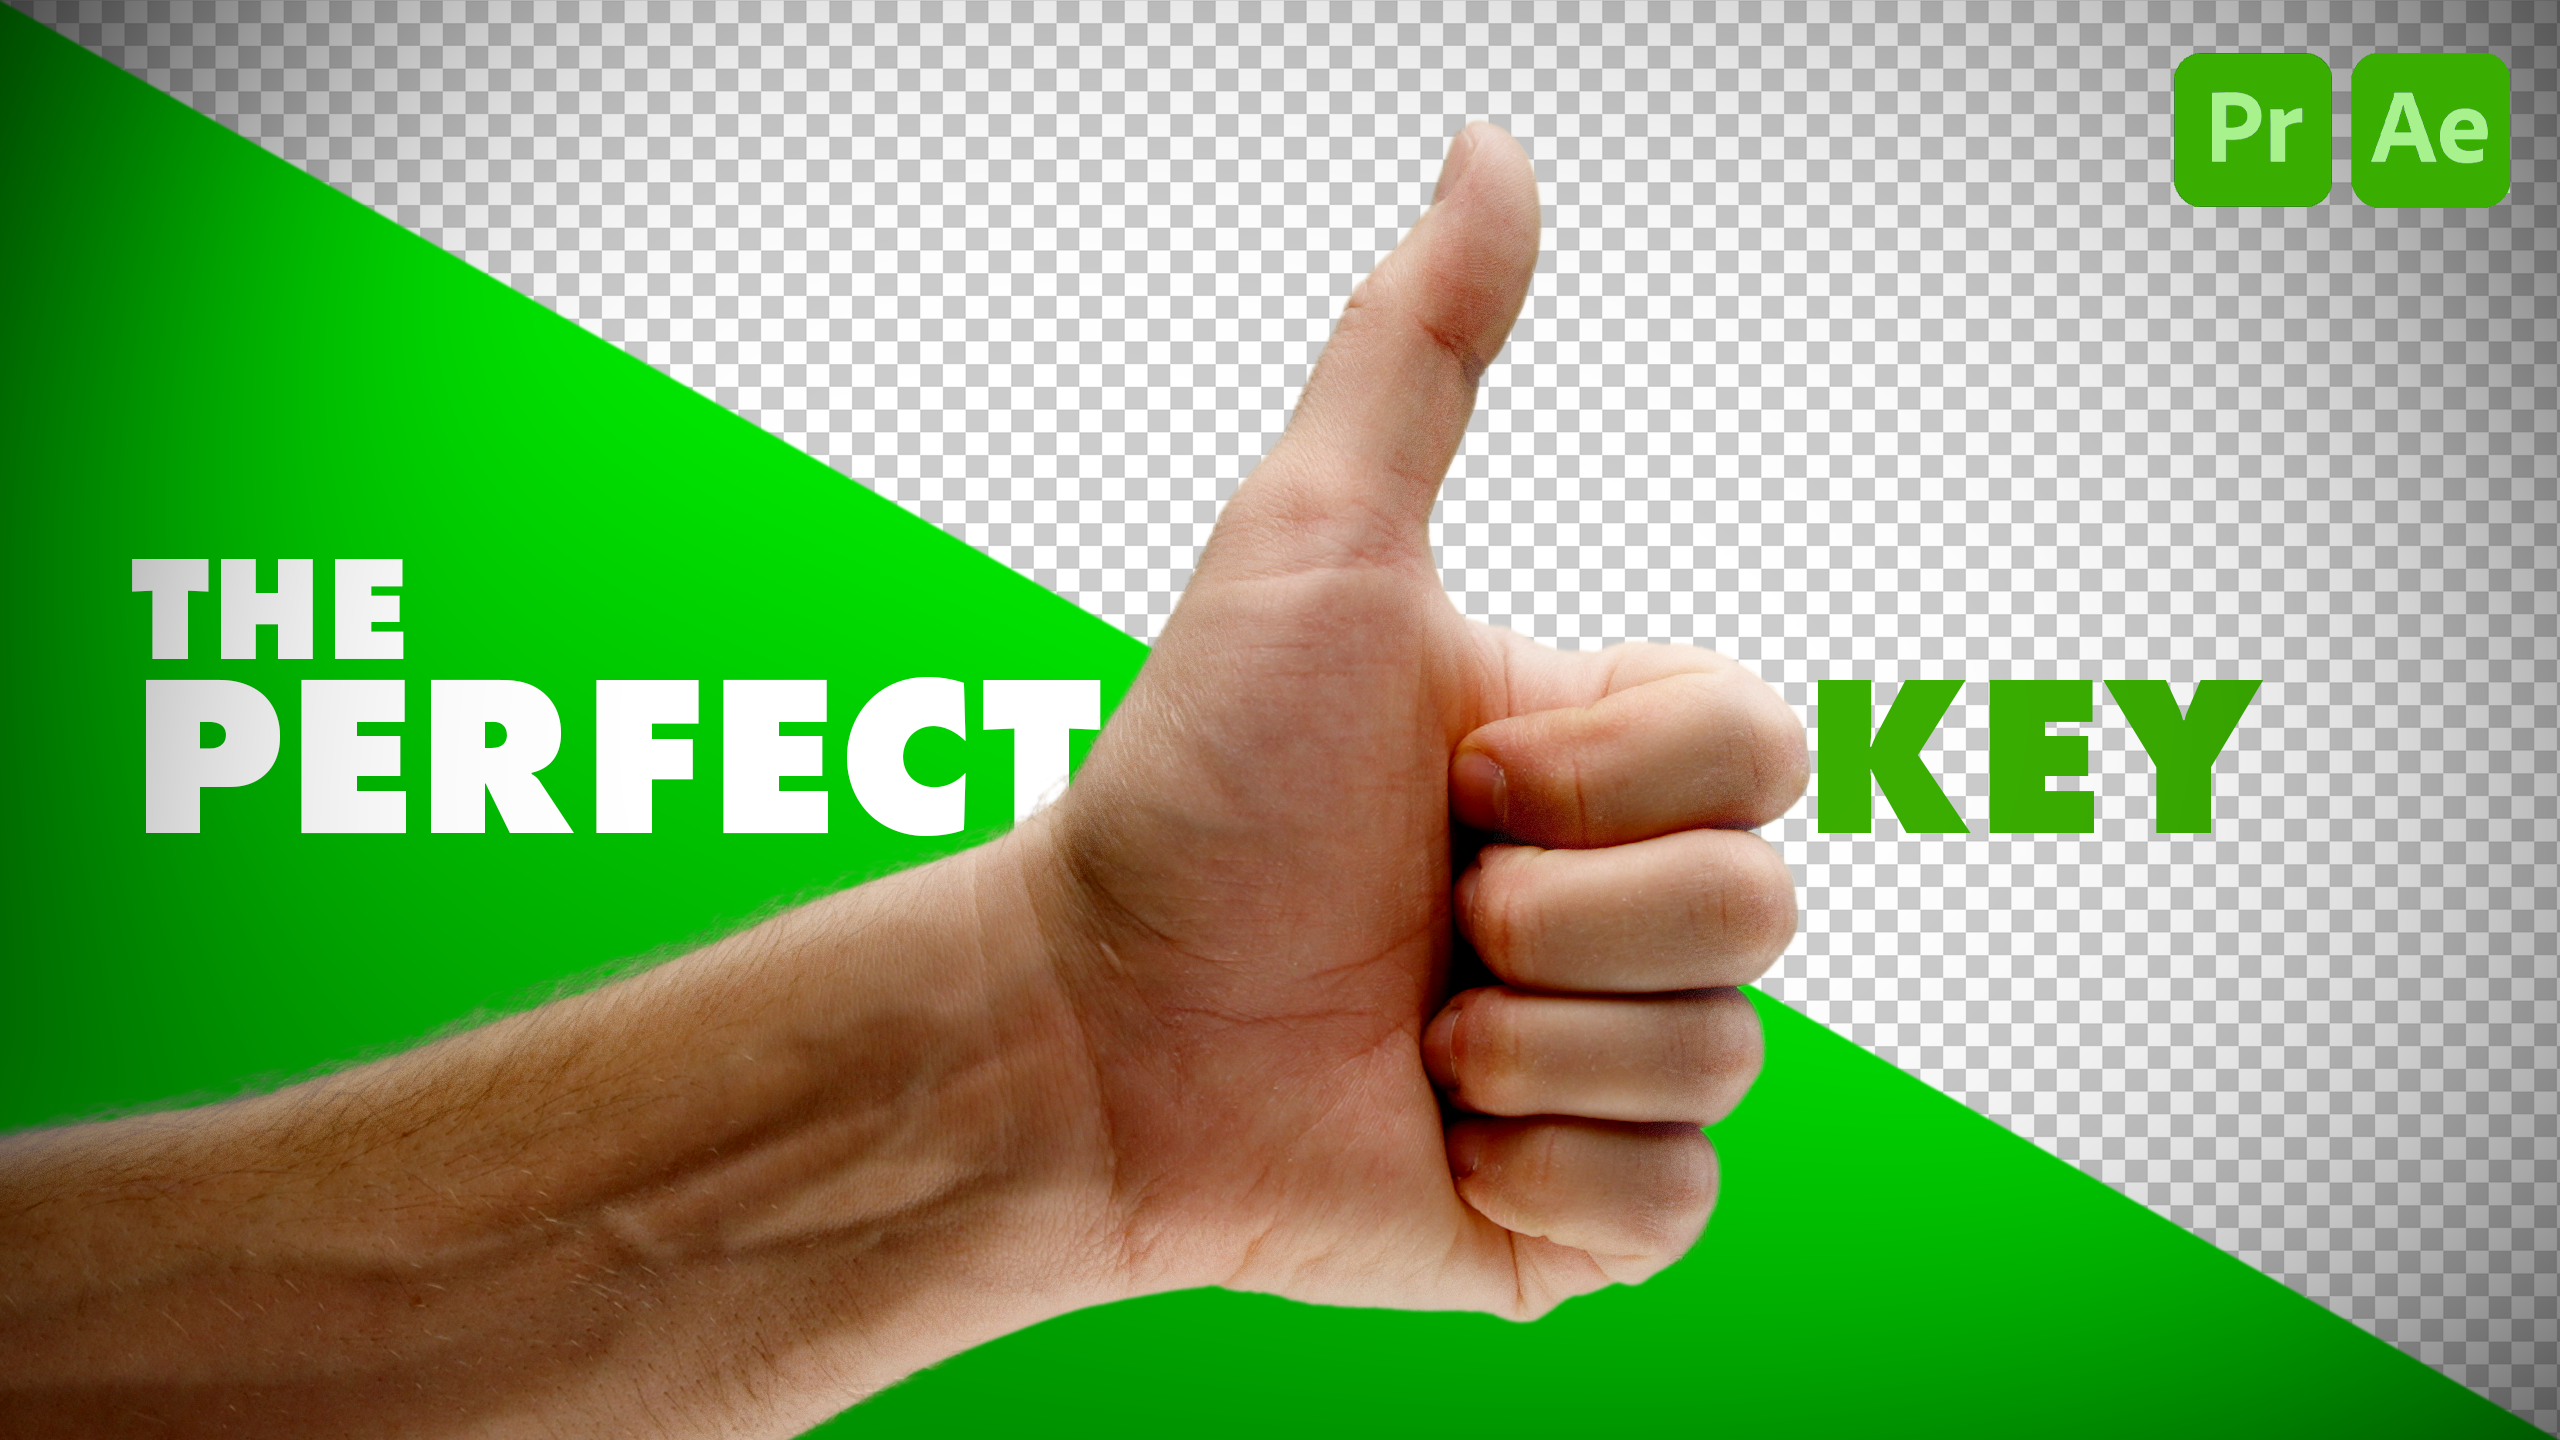
1. Your Free Gift: Come on, let's face it.
We've all done this before. Use the magical color picker to remove a green
screen without making any further
adjustments. Nailed it. You keep telling
yourself that one day you're gonna
learn what all of these sliders do and
get the perfect key. Today is the day because
in this short class, I'm going to show you the
basics of how to remove a green screen and Adobe After
Effects and premiere Pro. You'll get 30 of these
little handimojis to practice with. But
wait, there's more. You can use these hanemojis
however you like, in your own projects for
personal or commercial use. Oh. After finishing this class, you'll be able to
turn this into this. Yep. That is a lot of hanamojs.
2. Class Project: This class project
is super simple. Pick one of the shots
that you want to key, key it in after effects in Premiere Pro or both and submit
that to the project page. If you really want to get
fancy, add your settings. Share a tip, share what
you struggled with. Share something that helped
your key look better. Just focus on applying
the learn techniques and the process to your chosen
clip and do the best you can. It doesn't need to be perfect, like the title suggests. Let's get started by
opening up Premiere Pro.
3. Keying in After Effects: Why are we opening
up premiere Pro if the first lesson is about
keying and after effects? Well, we're going to
create a dynamic link, and we're going to get to that. But first, let's open up the video folder to
class project assets. You've all these clips here
that you can choose between, choose whichever one you want. You can key all of
them if you want. I'm going to start
with Thumbs up. I like thumbs up. It's
nice and positive. Load that up into the
source monitor. Nice. To create a sequence,
click and drag this clip down to
the new item icon. That'll automatically
create a sequence that matches the clip settings. Right click on the clip. Then select replace with
after effects composition. This will open up
after effects and prompt you to create a new
after effects project. Great. Now, I'm going
to treat my file name, which will be Chroma
key Thumbs up. Great. And I'll save that
to my project's folder. Save, if I navigate to the project panel
in After Effects, it's already created a comp with my premiere Pro project name. I don't love the name of this
because it's just too much. So I'm going to delete this, hit or to rename the comp, I'll type in Thumbs up Comp. Just make it simple. We want to take out as much of
the green as possible. And the way that we start this is by using what's
called a garbage mat. A garbage mat is a quick, rough mask that's used to remove a large part of a key that we don't want
to include it in our shot. This makes removing
the green screen a bit more manageable, and it reduces the
overall amount of green that we need to remove. Select the thumbs up layer, navigate up to the tools bar, select the pen tool or shortcut G. And you
got to make sure that your layer is selected or you'll create a shape instead. I will frame by frame
through this clip by holding controller command and using the arrow keys to frame
by frame through. Until I see the thumbs up. Once I have my thumbs up here, create a rough mask by clicking, using the pen tool
around the thumb. It doesn't need to
be anything fancy. There, we've reduced
the amount of green that we're going to
eventually need to key. The mask is cutting
off the shot. So what we want to do is
animate the mask very roughly. It does not need to be perfect. I'll open up the
thumbs up layer and locate the masks layer and
open that up, as well. Under mask one, select mask path and toggle the stopwatch
which toggles on animation. And it creates this keyframe, which is recording the mask that I've created at
this moment in time. So if I move back by
holding control or command, left arrow key
frame by frame back until I see it cropped out right here, it's
cropped out a bit. Select the mask. All of the points are selected. So when I click and
drag it selects all those points and
moves them around, I don't want that. I'll shift click this one point so I can now access
that point separately. Let's move that at,
too. It's a bit close. And take note that as you make more changes to this mask,
new keyframes appear. When it comes to this, we have a similar shape of the thumb. So what I can do is switch to
the direct selection tool, the shortcut V, click and
drag Alaso over the mask. We'll select all
the points at once, click and drag and move the mask so that it
roughly fits the thumb. If I double click the
mask and all its points, it will create
this bounding box, this transform box around it, which can be helpful
because in this case, I want to rotate the
entire mask so that I don't have to adjust
every single point. I can just make
one quick rotation to cover this part
of the action. I'll move through the
frame once again, double click to
rotate that mask. This isn't quite working. I can't shift, click
on this point because we have a bounding
box around our mask. To get out of this mode,
I'll just hit Enter, and that will remove
the bounding box. I could shift, click on that
point to be able to access that point individually and manually make these adjustments. Great. Now, frame by frame
through the entirety of the action to make sure that I'm not cropping anything off. Oh, and look at that. This is why we go through
everything again, make sure we're not
cropping anything off. Great. There are
quite a few ways to key out color
and after effects, but key light works the best, and it is the most professional
and effective plugin available right out of the
box within after effects. Navigate to the
effects search menu. If you don't see that,
just head over to Window effects and presets, and then type in Keylte. Click and drag the KeyltPlugI directly to the layer
that you want it to effect in the comp I know there's many options
when it comes to keying, so I'm going to keep it
simple and show you a quick, basic, but effective way
to get a good looking key. First things first,
we need to select the background screen color using the screen
color eyedropper. Find that green color and select the screen color eyedropper.
Click the green. Wow, that looks perfect
already, doesn't it? But not every situation
is going to be this easy. Now, I'm going to undo that
because another thing that you can do with this eyedropper is when you're selecting
this eyedropper, what it does is it selects
an individual pixel. But if we hold control,
the eyedropper expands, and that indicates that we're selecting a group of pixels, and it's going to choose
an average green color from those sample pixels. So it can, in some cases, give you a better result. Look at the view
options, and we're going to mostly stick
to using source, screen mat, status,
and final result. Selecting source will give us a view of the
original source clip. Selecting screen mat
is going to show us the mat created by your
screen color selection. It can kind of be
challenging to see how we can improve this key
using screen Mat. So that's when we want to
switch over our view to status, which gives an exaggerated view of the matt and
reveals problem areas. The black pixels
indicate transparency, and the white pixels are opaque, meaning you can't
see through them. And the gray pixels are
where transparency blends. So it could be slightly opaque
or slightly transparent. Clear what's going on and how we can improve this
key because all of these gray pixels here indicate that it's not true transparency. So if I go back to
my source mode, then I can re click a key. I'm going to hold control
to expand the selection, navigate down to
final result to see. Okay, that looks
like a good key, but let's check out status. Okay, it's maybe a
little bit better. We can improve this
pretty easily. And with status, now we know
what we need to focus on. Also, what I can do is use the scroll wheel on my mouse to zoom into this shot to
really see what's going on. If you click and hold
the scroll wheel, your mouse pointer will turn
into a hand allowing you to pan your view around
gray pixels in the hand, gray pixels in the arm, gray pixels in the background. And the red pixels just show what's not included in our mask. But if it was shown,
those would also be problem areas that we'd
have to take care of. We don't want gray pixels
directly on the arm, the hand or even
on the background. We want a clean key where
gray pixels only show up on the edges where that transition between transparency
and opaque happens. The white pixels are going to be visible, black
pixels, invisible. With screen gain and balance, these are best set
to their defaults. So we're going to skip
those. Screen pre blur. This will blur the
overall screen, which is better
for noisy footage. But because our footage
is pretty clean, we're not going to need this. The next step is to
open up screen mat. Now, if the background is
shown through the foreground, we want to increase clip
white to firm it up. With Status view on, we have gray pixels on the
foreground or the hand, meaning there's transparency there, so we don't want that. With clip white, we can remove the transparency on the
foreground. It doesn't take much. Slowly bring that back to 97, and that already removes the gray pixels on
the foreground. If I keep going, we start
to get this green outline. With Status view, all these
colors mean something, and green, in this case, means those are problem areas, meaning that the
key isn't great, it might be eroded,
it might be degraded. And if I change to final
result, you can see that. Taking the clip white value down too much creates problems
for that part of the key. So I'll bring it back up to 97 where we didn't have any issue, and we removed the
gray pixels from the arm and the hand.
That looks a lot better. We still have those leftover
spots on the background, which we want to be black
so it's fully transparent. Increase clip black to
clean up those spots. We'll do this slowly so we
don't tear into our subject. And remember, we
do want those gray pixels on the edge of our mat, because that indicates
the transition from opaque to transparent. Change this to final result. I'm tearing into the
hairs on my arms. If you want to retain
those details, we need to roll back
this clip black value. Navigating back to status. So those are all the hairs,
those gray pixels there. We just want to pull
back this value until there is no gray pixels
on the screen itself. We can still see, Oh, those are actual
speckles on my monitor. I have to clean my monitor because there's dust
on the monitor. So don't be fooled by
your monitor dust. Let's pull this back
up. Sometimes making these extreme movements
will help you get rid of those gray pixels. If you're having a
hard time telling what's on the background, we can toggle the
transparency grid off. I do like having my transparency
grid on because it gives me a better view
of those darker hairs. This is looking really
good. Now, next up, we're going to take
care of the edges. If you do have issues
with the edges, you have a thin outline. You might be able to tweak, clip black and white to
improve the edges, but you might want to opt to use screen shrink slash GRE with
screen shrink and grow, you can expand the edges
or contract the edges. The trick here is to be subtle. It doesn't take much to remove any fringing or thin
outline on your subject, but you want to be
very, very subtle. I don't even need to
do too much here. I don't even think
I need to do this. I can do a -0.5, and that already creates a
nice transition. Screen softness creates
a softer transition, which, again, you want to
be extremely subtle with. You do not want to overdo this, or then you create this weird halo effect around your subject. Doesn't look realistic
and will be distracting. You don't need to go crazy here. Screen despot black. Honestly, I don't know how to pronounce this depot despot. I'm just going to call
it screen despot black. What this does, it removes small black specks that might
be inside your subject. So we do have some splots
around the edges of our mat, but that is most likely hair. If you have them
inside the subject, you can use screen despot
to simplify the mask. So instead of having all those detailed edges and contours, it simplifies the mat. I'm going to really
exaggerate this, okay? It's really
simplifying that mat. No detail here. This doesn't work so great when it comes to
having hairy arms. But if you have a
subject like a hat or an object in the frame that
might not have fine threads, this could be a good option
to get a cleaner key. But for now, I'm going
to keep this at zero. Screen despot white, it removes gray plotches in the
background or the black areas. So if I take my clip
black value down, we now have more
splotches of gray. What screen despot white
does, if I increase this, it removes those splotches, coagulates all those
splotches together. If you can't get all of those gray splotches in
the background removed, you can increase screen despot white to erase those blotches. But then again, you got to
look out for those edges and oversimplifying this mat
too much, losing details. Because I can get rid of
this using Clip black, that's what I'm going
to stick with for now. Just like that, you
have a very good key. I think this looks really good. Thumbs up to us for doing that. Now all that's left
to do is to hit Save. And if we tab back
to Premiere Pro, we have this dynamically
linked clip ready to go. Looks great.
4. Keying in Premiere Pro: Now what happens if you want to key directly in Premiere Pro? Not as effective, but
you could still get a pretty good result using
the internal plugins. I'll find a clip that we've
keyed in after effects. Highlight the clip,
then navigate to effects and type in ultra key. Ultra key is the most
professional option with the best results that you're going to get
within Premiere Pro. Here, I'll navigate to the Effects Controls panel to make some adjustments
to our ultra key. We have our key color that we can use this
color picker to select. And I can also hold
control to select a larger sample size and get a pretty decent key
right off the bat. We do have some
vignetting here with the green because that
green color is darker. To get a better view
of what's going on, I can switch the output
mode to Alpha channel. A Alpha channel is similar to screen mat in after effects. The white pixels are opaque. The gray pixels are
semi transparent and the black pixels are
fully transparent. We have a little bit
of work to do here. If I change this to color
channel, in this case, it's more of a diagnostic view, so it shows the luminance or the brightness of the
colors you keyed from. So basically, how strong
that green is in each pixel. So the brighter areas are pixels closer to the
sampled screen color, and they're more
likely to be removed. Darker areas are pixels
further from the screen color, more likely to stay visible. So you can use this view when using the eyedropper to choose your initial key color to perhaps get a better
key right off the bat. Composite is the final result. Toggle down Matt generation. Transparency, 100 is fully transparent and zero
is fully opaque. That is why it's set to 45 by default because it's
somewhere in between. I can move this
over a little bit to remove more of
the background. Subtle adjustments are
going to work best here. The black background
isn't doing us much favors in terms of being able to see
what's going on. Navigate to the wrench and
select transparency grid. Now, before I go ham on
this transparency slider, let's take a look at
highlight and shadow. So if I take this shadow
slider and bring it up, it makes everything
more opaque. Shadows. If I take it down,
we're creating more transparency in the shadows of this green color here. We don't want to
take them too far down because what
happens then, again, using my scroll wheel
to zoom into this view and clicking on the mouse
wheel to pan my view. If we take too much
of the shadows out, then we remove a lot of
that hair on the arm. So I'll find
somewhere in between. When adjusting the highlights, nothing happens
because we've already created transparency within
the highlights of the green. Tolerance adjusts the range of green colors that
we've selected. So we have this color
picked green here. Increase the tolerance, it's increasing the range of
greens that are selected. So there's a lot more darker green selected, lighter
green selected, and that removes
quite a bit more of our matt without
removing the hair. The pedestal removes a lot of this noise in the Alpha channel. We want to make sure we're not affecting a lot
of those hairs. If we move this up too much, then we remove a
lot of those hairs. So now, instead of having
our tolerance ladder at 100, I might just take
this back just a bit. See what we can do here.
That looks pretty good. But here's the thing. We totally forgot to add a garbage
mat to this shot. We don't need to worry too much about these edges here.
We can add a mat. With the clip selected, select under the Opacity tab in the Effects Controls panel. The Pen tool, create a quick
mask around the subject. Toggle on animation
for the mask path. We've created a keyframe
which records all of these mask points in this specific position
within the timeline. Now that this animation is toggled on frame
by frame through, adjust my points as necessary. I don't love working with
masks in Premiere Pro. They're not nearly
as easy to work with as they are
in after effects. It just takes a little
bit of patience, though. To select the entire mask, click and drag a bounding box over all of these mask points. You can also select a
bounding box around just specific points of your
mask to move those only. Have a messier mask
in Premiere Pro, but it still gets the job done. If you want an enjoyable
time working with masks, I highly suggest sticking
to after effects, but this is how it's
done in Premiere Pro. There might even be a little bit of spill
here on the arm. You can see the fringing. We can deal with this
using mat cleanup. I don't know if I
would suggest that, but let's go through
this anyway. With choke, this
will shrink the mat. But what happens here is
we get rid of a lot of those hairs because we've created a mat
around those hairs, and those fine details are being lost when we
increase choke. And with soften, it creates a better transition around these points and removes
some of the green edge, but it really gets
rid of too much of the fine details that
we don't want to lose. Contrast creates a
clear separation between your foreground
and your background. It's not super
helpful in this case. Matt cleanup might be better reserved for harder
edged objects. And midpoint is where
that transition occurs from the background
and the foreground. Now that you know
what it is, reserve it for harder edged objects. We do have a little bit of this green fringe on the
edge of this arm here. So subtle. But we can
take care of this. And we can do this by avoiding matt cleanup
altogether and spill suppression and color
correction in the alter key. I would prefer, instead, to use the lumitry color panel. So open up the
lumitry color panel, navigate to the curves section, and find Hue versus Hue. And what this does is
it allows you to select any color and change it
to a different color. So we could change this
green fringe to something closer to the skin tone so we hide the green fringe
from our view. It's going to be
really hard to use this eyedropper to
select that green, and instead, select
the green color. We'll create a point on this graph of two
points around it. Move this point in the graph. Exaggerate this point a lot so we can see
what we're affecting. It looks green, but in fact, it might not be totally green. It might be more
of a yellow green. So let's see once
we Oh, here we go. Now we're starting to
affect the fringe, okay? So you can see that as we
move this point up to blue, it changes that fringe
to more of a blue hue. We're affecting that fringe now, but if we move it too far over, we start affecting
the skin tones. We don't want to do that. Let's move this back just a bit. Just until we don't see those skin tones anymore being
affected, it's very close. Okay. There we are. We could probably even move
this handle in as well. We only want to
affect the fringe. We don't want to affect the
rest of the skin tones. We could take this color
down to something that's closer to the skin
tone instead of green. And that would be more of a red, orange too far see we could see the pink.
Let's bring that down. That looks a bit better.
Toggle this off and on. Green. A lot closer
to skin tone. Green. Lot closer to skin tone. Very subtle, but it does make your key look a lot
more professional. We got a really good, clean key quickly
using the ultra key. It's a bit more quick and dirty. Working with masks informer
Pro is more frustrating. If you want to take
the extra step to open it up in after effects, I would highly
suggest doing that. Using key light is
a more enjoyable and better experience,
in my opinion. But with Premiere Pro, it
all stays in one place, making it easy and quick. So if you need a good enough
key, stick to Premiere Pro. If you need to focus a little bit more on
perfecting that key, replace your clip
with an after effects composition and open
it in after effects.
5. Final Thoughts: Congrats on finishing the class. I hope this has
helped make keying in Premiere Pro and after effects just a little
bit less scary. We didn't cover adding a
background or compositing your key clip into a scene,
but you're welcome to try it. You can also place the
checkered Alpha PNG underneath your keyed footage if you'd like a
simple background. Feel free to share your work
with everyone else online. Do you have any tips or
tricks you'd like to offer, feel free to include those with your class project.
Please review the class. I really do appreciate
the feedback. It helps me learn and grow
and make better classes. Be sure to follow my profile for new class releases and
occasional giveaways. And if you want to upgrade your video editing
and filmmaking, I have more free video tutorials on my YouTube channel.
One more thing. If you'd like to practice
with Key Lite and ultra key, you'll find additional blue
and green screen clips in this class as project folder. These are from my other class. Edit with confidence, step by step guide to Adobe
Premiere Pro. Check it out if
you're looking for a comprehensive project to build your skills in the
editing process. Thanks so much for watching and remember story is your guide. I'll see you next time. And