Transcripts
1. Class Intro: Hey, this class is all about
how to use gradient maps in Photoshop to transform
your visuals in crazy ways. Okay, awesome. So what is a gradient map? A gradient map is a tool
that remaps the dark to light areas of an image
to colors in a gradient. Dark tones shift to one color, light tones to another, and the tones in the middle
shift to colors in between. And here's the best
part. These gradients can have multiple color steps, and you can tweak them anytime without altering
your original image. My name is Rich Armstrong
from Tap Tap Kaboom, and I love gradient maps. They're like my secret weapon. I use them for illustration, photo manipulation, and for
graphic design elements. In this class, we'll
start with the basics of gradient mapping and end with
some advanced techniques. I'll show you how to
use gradient maps in Photoshop so that by
the end of the class, you'll know how to
create stunning dynamic visuals with ease. So if you're ready to unlock
the power of gradient maps, and roll now, let's dive
in and get creative. M
2. The Basics: Okay, gradient mapping novices, let's get into some basics. So what I got here in
Photoshop is one layer. It's called layer one, and it is a beautiful unsplash photo. The colors are nice.
There's grain. It's a great subject. Oh. There's a lot of
contrast as well, perfect for a gradient map. So how do we add a gradient map? Well, we go to layer, then new adjustment
layer and gradient map. But we can name it what we like. I'm going to stick
with the default. Okay. What this does is it
adds an adjustment layer. That means that we can
toggle it on and off. It means that we can also toggle the layers
beneath it on and off. We can add new
layers beneath it. It's very powerful,
very flexible. Now you might be wondering
what is going on here. This is not what
mine looks like. What this has done, it's
applied a gradient map using my foreground and
background colors which are red and blue. Probably not what you've got. Let's go and tap on
gradient map one, and you should see this
properties panel on the right hand side or
somewhere on your screen. If you don't tap on window at the top and tap
on properties. Like so. Pop, and
it should pop up. Now, this little drop down arrow gives you access to
all of the presets. It's really small, really small, so I don't like using it. What I'm going to do is tap
on this big gradient bar. And here we have a whole
bunch of really cool presets. So inside of basics, not a big fan of these except
for the black and white one. I want you to explore
all of these. So the blues, there's
some subtle ones. There's some really
nice, like inverse ones. Oh, purples, greens,
oranges, iridescence. Like, if you check
some of these out, you'll begin to see what's
possible with gradient maps. You might be like, Oh,
there's a whole bunch of little triangle square things. Yeah. That's really cool. So let's go back up here. Let's select
something like this, and you begin to see
what's possible. So this is your gradient, and it maps your dark colors
to your light colors. And these are called stoppers. And if you drag this one to
the right or to the left, it changes how your
image is processed. So anything that is darker
than this stoppers location, which is location 18, gets this blue color
applied to it. Anything that's lighter
than this stoppers location gets this turquoise or light
blue color applied to it. You can also change the
location using your keypad. I'll go for 70 or for this one, I'll go for ten. You can also change
the midpoint between two stoppers by draging
it left and right, and just by entering numbers
to change the location. So that is really powerful. You begin to create
your own custom gradient for your gradient map. If you want to add a new stop, you can just tap here, drag
it left, drag it right. You can then double tap on
it to change the color. So let's go for a pink. Ooh. That looks really nice. Or you can tap on
this color square or rectangle over here. Okay. So you can begin
to have a lot of fun. If you want to remove
a color stuff, just drag it up and it's gone. Let's pop it back there.
I quite like the red, actually, or the pink. Just go for a red. Yeah,
that looks really nice. Okay. So once you're happy with your gradient that you're going to use
for your gradient map, you then press Okay. And then there we go. Toggle it on, toggle it off. What's powerful about
this is that you can just go back in and edit it. If you're like,
actually, I don't really like this custom one. I want to go back
to those blues. Let's go for something
like this or that. Mm. Something like that, but I don't really like how it's reversed or how it looks like a negative
film kind of thing. So, if this is the case, you can always just
reorganize your stoppers, which is basically
what it was doing. It was mapping the
dark colors to a light color and the light
colors to a dark color, basically inversing your kind
of light to dark spectrum. So you can press
Okay or what you can do if it is doing this. Press Okay, then you tap
on this reverse checkbox. And Tara, it kind of
looks normal again. Now, this dither checkbox, I have no idea what it does, being honest here,
I never use it. Then this method,
little drop down. These are very
subtle differences between the different kinds
of methods or gradient maps. I never change these. But hey, choose
one, roll with it. If you don't like it, maybe
choose something else, but most of the time I just go back and change my gradient map. The one thing that
is very different is the stripes method. You might be like, what happened here? Well, check this out. I want to go change this, drag this slightly to the left or the right and this one
slightly to the left. I'll add a new one in here. Let's go for a red or pink. Basically, what this is doing, you can see on the
right hand side here, it's quite clear, there
are no gradients. It's like solid colors. Anything to the left of this first stopper
is this blue color. Anything after it is
also the blue stopper. Hmm. Anything at this
point and to the right or anything that's darker or lighter gets this
color stopper color. And then anything
at this point to the right gets this
color stopper color. But this is all reverse. So let's unreverse this
and let's rejig these. It might make a little
bit more sense. Okay. So here we go. So anything to the left
and to the right of this color stopper gets
this purple blue color. Anything at this
location to the right, gets this red pinky
kind of color, and then anything at
this location and to the right gets this blue color. Hmm. Very interesting,
very cool. It's kind of like a
posterize effect. Okay, let's change this back to perceptual or to smooth.
That looks great. So the last thing that
I want to show you in this video is another way
of adding a gradient map, so I'm going to delete it. Delete this layer
mask? Yes, delete. Somehow, still keeps
that gradient map, so I'm going to just
delete that too. We're back with our
original image, which again is just
super powerful. Then over here, you
hover over this, create new full or
adjustment layer, yes, I want one of those. Then at the bottom, there is gradient map, and there we go. My gradient map is back. But where are the colors and the gradient that
I used last time? Would have been helpful if
I could have saved that? Yes. That's exactly
what we're going to cover in the next video.
I'll see you there.
3. Manage Your Gradients: Okay, so we've got
this gradient map, but I really want to access the gradients that
I love to use. The colors that I love to use, how do I save them?
How do I load them? How do I group them? How do I manage my gradients? That's what we're
going to cover here. So let's tap on a
little gradient bar, and let's create a
new gradient here. Mm hmm. Let's change this one to a bit
of a lighter color. Yeah, that's looking good. Let's go for a blue here. Okay, this is starting to look really nice.
I'm happy with this. Maybe slide this to the
right a little bit, slide this to the left. Okay, that's great. Now,
where it says custom name, I'm going to say riches, cool Garrad dent, gradient, number one, go to tap on new. And there we go. It
gives me a new gradient. Maybe I want to change
this a little bit. Let's go for a darker blue. Ooh. That looks good. I'll say Rich is cool. Gradient two, tap on new. Just starts adding them
at the bottom here. So press okay. If I then delete this, yes, delete, delete, and I add a
new gradient map over here. I can then tap on this bar
or on this little drop down, scroll to the bottom and
just change it like that. Oh. There we go. That's
a really cool one. I like it a lot. Oh. Okay. Now to manage it further, let's tap on this over here. Let's right click on a gradient, and then we're going
say new gradient group. I'm going to call it Riches
gradients, gradients. It's a weird word
to type all out. Then you select this one and
then you press Shift and select another one and just drag it into Rich's gradients. You can then right click and you can then export your selected
gradients, one by one, or select two of them, do the same thing export
selected gradients, or you just tap on a folder, right export selected gradients. And here I'm going to go to my Downloads folder
and save it as Riches. Gradients. There we go. If I right click this and delete it because sometimes you
like to delete stuff, you can then right click
and import gradients. Select that. Press open. Scroll down, and there
my gradients are. Oh, it's got a folder
within a folder. Let's pop that up a bit. And then I can press backspace or right click
and then delete group. Okay. You can also right click and rename a group really easy. So I'll just be like
rich gradients. Perfect. Okay. That is how you manage your gradients inside a Photoshop, ladies and gents.
4. Using Curves With Gradient Maps: What I'm going to cover
in this lesson is using curves in addition
to a gradient map. Oof. It's really exciting. So I've got this really
cool background layer. It is an Adobe stock image, and then I've got my gradient
map adjustment layer. Mm. It just makes
this image amazing. But what I want to do is
I want to go to layer, new adjustment layer,
and then curves. Let's add one of these. Okay. So if it does go on top, I'd recommend bringing it
down below and we can have a look at what it does if it's above the
gradient map or below. And what I'm doing here is it's almost like a gradient map. You've got your dark tones, the left, you've got your
light tones to the right. And if I drag this
point down, I'm saying, all of these darker tones, I want them to be a little
bit darker like that. If you're saying
the lighter tones, I want these to be darker, you can see what begins
to happen to the image. So let's pop off the
gradient map for now. And pop off the curves, and you can start to
see what's happening. You can also say this point, I want this one to be
lighter, or this point, I want it to be
darker, so you can bring in some really
nice contrast, which is amazing already. And then you pop
on a gradient map. And it's almost like, you know, a posterize effect
what we're doing here. So here, essentially,
I'm saying that I want my darks to be darker or my
mid to darks to be darker, my mid to lights to be lighter, but you could also,
flip it around. You could also make this
really interesting. You could be like
all of my lights. I wanted to, you
know, be darker. The light light lights, I
want to be darker, too, and it becomes a
lot less contrasty. So we take off the gradien
map. It's very gray. With the gradient
map, it's very pink. So with this tool, you begin to have a
lot more flexibility and you can have a lot
more fun very quickly. Now we pop this on top, it changes things a little bit. It brightens up or
darkens those darks, I brightens those bright. Again, you can make
it quite posterized, but now you're dealing
with the colors rather than the black and white. So yeah, something like
that might be really cool. So yeah, this is another
fun tool to play with, especially in conjunction
with a gradient map. That's all I want to
share in this lesson.
5. Photo Editing With Gradient Maps: In this lesson, I'm going
to show you how I use gradient mapping when
doing some photo editing. So what I got here is a beautiful photo from
Unsplash. I don't know. It's just beautiful. I kind of tells a story. I'm very curious
about this lady, this woman, like,
what's happening. But I want to change the color. So I have a couple of options. One is to go full on creative,
which I'll show you first. And then the next
option is to be a little bit more subtle about
how I edit this image. So I'm going to add a new
adjustment layer, gradient map. Already, black and white
looks really, really nice. Now let's go and have a look. Double tap here. Let's go for some blues. You might see a pattern. I really like blues and reds. So maybe a darker kind
of a blue would be good. Maybe let's go for a pink here. Oh, that looks really nice. You can see how
creative this is. And maybe if you have more
fine art kind of photography, these kind of effects
would work better. If it's everyday
kind of photography, maybe something a little bit more subtle would work better. Okay, that looks great. Let's add another one in here. Maybe let's go for a blue. Ooh. Something like that looks really nice. Perhaps make a doll. Yeah. Okay. So that looks really nice. Wow. Really, really nice. Okay, so this is one
example of how you can create something a
little bit more extreme, a little bit more creative, you know, using gradient maps. Now I'm going to hide this one and add a
new gradient map. Let's go and add a new one. And now I'm going
to go for something a little bit more subtle. So I'm going to start off
with it being quite extreme. And what I want to do is I want the darks to be kind of blue. Like that. Oh, that
looks so good. And the warm colors double tap to be red or a
little bit orange. Sorry, the light
colors to be warmer. So already, that looks really interesting, really,
really cool. So okay. Then I'm going
to use some blend modes, and let's have a look
at what happens here. So Oof, that looks really
nice. Like the colors. Oh. There's something about that.
That just looks amazing. Multiply looks great. Caliburn but dark. Darker color, looks pretty good. Lighten, maybe a little
bit too light, but again, this feels pretty
arty, lighter color. Overlay might look pretty good. Soft light may look pretty good. So we're just making
those darks bluer, so maybe we can create slightly darker blue
here. There we go. Change that a bit. So
this is just warming up the mid tones almost. The mid and light tones. So maybe just add
another one in here, make this maybe a
little bit more yellow. Okay, let's bring that
back a little bit. Mm, very, very nice. So this is a little
bit more subtle, but still you might
be thinking, Oh, it's pretty arty,
pretty intense. So let's drop the opacity
to something like 40 right. So it just makes it a
little bit different. Kind of maybe feels a
little bit more normal. The lights are gonna be warmer. The darks are gonna be cooler. Brings about really
different kind of feeling to the image. Let's do another example here. Maybe let's go for completely, like, cool kind of a feeling. Let's go for some blues. Oh, that's already really cool. Maybe something like
that, and then we go for a soft light or Ooh. Some
of these are really nice. This one kind of feels like I don't know, she's
in the underworld. But yeah, soft light
might be the best. And then for the opacity,
let's go for 40. Yeah, it just makes it
feel a little bit cooler, and we can change this to some reds or oranges to
make it feel warmer. Yeah. Looks nice. So something like that
might work pretty well. We can change the values. But yeah, some really
simple editing that we can do with gradient maps to change our photo
editing process. Alright, so that's the end of this lesson. I'll see
you in the next one.
6. Adding a Clipping Mask: In this lesson, I want to show
you the power of clipping masks when used
with gradient maps. So check this out. We've got layer two, which is an image
that we've already used in this class
and layer one, again, an image
we've already used. But I've cut them
out, put them into a new document with
a white background. Okay. So let's go for layer, new adjustment layer, and we're going to go
for a gradient map. Okay. Cool. Let's change this to let's go for
some pinks this time. Oh, that looks very nice, but maybe let's make it a
little bit more contrasty. Okay. Good. Okay. Now, I'm
going to hold down Option or Alt and
then tap over there. And now this just applies
to the layer beneath it. This is the base layer,
and this is now the layer that is using layer two as a clipping mask,
which is powerful. It means that this is only
applied to layer two. Ooh. You can also apply
curves or something. So let's go for,
you know, curves. And it's also just
applied to layer two. This is clipping masks. Amazing. Then we're going to go over here and add a
new gradient map. Let's go for some
oranges, maybe. Beep. Okay, and reverse. So that already
looks really cool. This gradient map is applied to everything below it
and nothing above it. But if we arrange this above, it applies to
everything beneath it. So let's put it over
there, and then I'm going to hold
down Alt again or option and then tap and just applies to
the layer beneath it. So it's using layer one
as its clipping mask. And so begins to get
really, really powerful. You can put different
gradient maps onto different layers
or different groups. Whoo. It's really cool.
So that's what I wanted to show you in this
lesson. I hope it helps.
7. Draw Using a Gradient Map: In this lesson,
I'm going to show you something really cool and fancy using a brush
and a gradient map. So first, let's go and create our gradient map.
So, there we go. Let's go for maybe some
pinks this time or purples. Oh, something like
that might be good. Yeah, or this one. This one. Okay,
let's reverse that. Oh, that looks really good. Okay, then I'm going
to tap on layer one, add a new layer here where
I'm going to do some drawing. And then let's go
for our brush panel. So window brushes.
Oh, it's over there. Okay, I'm just going to go
for, like, general brushes. Gonna go for a hard round. And then over here,
the brush settings. Well, let's go for
shape dynamics. So the size jitter, I want to go for pen
pressure. Alright. That's just with my mouse. This is with my Apple pencil. Okay, that looks good. So that does the size
according to the pressure. But then I also want to
change the color according to the pressure between
black and white or foreground and background. So let's go for color dynamics, apply per tip, foreground
background jitter, control, pen pressure. Okay. Let's try this out. There we go. Okay, so at the
moment, it's applying this different color between foreground and background
between red and blue. So I'm going to tap
on this button, which goes between
black and white, which is going to be far better. So let's create a
new layer here. I'm gonna hide this one.
It's on layer three. Let's do some drawing. And here, I'm going to
press hard and soft, and Wo you can see some
really cool effects. This is really hard. Really hard as blue. Okay. And you can just
see, like, how flipping, powerful this is. Just beautiful. So you can begin to create
some really amazing, you know, doodle bum collage kind of work, illustrations on top of photos. Amazing. Like, sure, drawing on your iPad and photoshop with the pen pressure
alone is amazing. But when you combine it
when it combines, you know, your foreground and
background color, depending on how hard you
press with a gradient map. Ooh. Amazing. And then you go back to your
gradient map, tap on this. Maybe we're going to go for red. Oh, that looks good. Huh? Look at that. And then you might be
like, Okay, I like that, but I just want to apply it to the illustration,
the drawing. So then you hold down
option again and you use the bottom layer or
this drawing layer as the clipping mask. Whoop. Oh. Let's try some
more like that. Okay. Oh, wow. So that is really cool, right? I absolutely love this process.
8. Draw Using The Stripe Method: In this lesson, what I
want to show you is what I alluded to in the basics lesson, where I was like,
there's something really cool that you
can do with stripes. And this is the lesson
where I show you. It's to do with brushes again, but with that stripes method on the gradient layer on
the gradient map layer. So let's go to the gradient map. Let's change the
method to stripes. And what we got here is this kind of gradient,
which looks good. Kind of means we'll
have three colors. I'm going to create a new layer and just put it underneath
gradient map one. And for now, what
I'm going to do is make sure that I'm
on black and white, and my brush, let's
go for hard round, shape dynamics,
let's put that on. So let's go for pen pressure. And then color dynamics, we've got foreground background. Let's take that jitter off and the control
is on pen pressure. Okay. So what we've got here is it goes from
black to white, which is pretty cool and also the size changes really nicely. So that looks really cool. Then I'm going to put
on my gradient map. And because it's on stripes, oh, looks really cool. But there's a white background, so I could actually remove
that, and you can see it, or I could put on a
clipping mask just holding down option and making shrimp in between these
two layers and tapping. And there we go. We have
this really cool effect. So as I go lighter or as I press lighter, the
color gets lighter, harder, goes pink, harder still, goes to blue or purple. Now, what's pretty cool
is if we go down to the brush settings again
and we up this jitter. Let's go for 100%. We can kind of create a really nice
generative art kind of feel. Check this out. Just like randomly gives
us a light to dark value. With the gradient map applied, you get these
really nice colors. Wow. That looks great.
Really interesting. Then what's so cool
about this is that you can add another
color in here. Perhaps it's black, perhaps it's a light pink or something. Oh, that looks so good.
So interesting, right? Or you could be like,
you go to press Okay? Let's tap on this.
Let's go for purples. Change it up. It just makes it so dynamic to
have fun like this. So, that is the
advanced cool technique that I wanted to show you with
stripes and with a brush. Alright. I'll see you
in the next video.
9. Selection Tool Trick: In this lesson, I'm
going to show you how to use a layer mask just to add a little
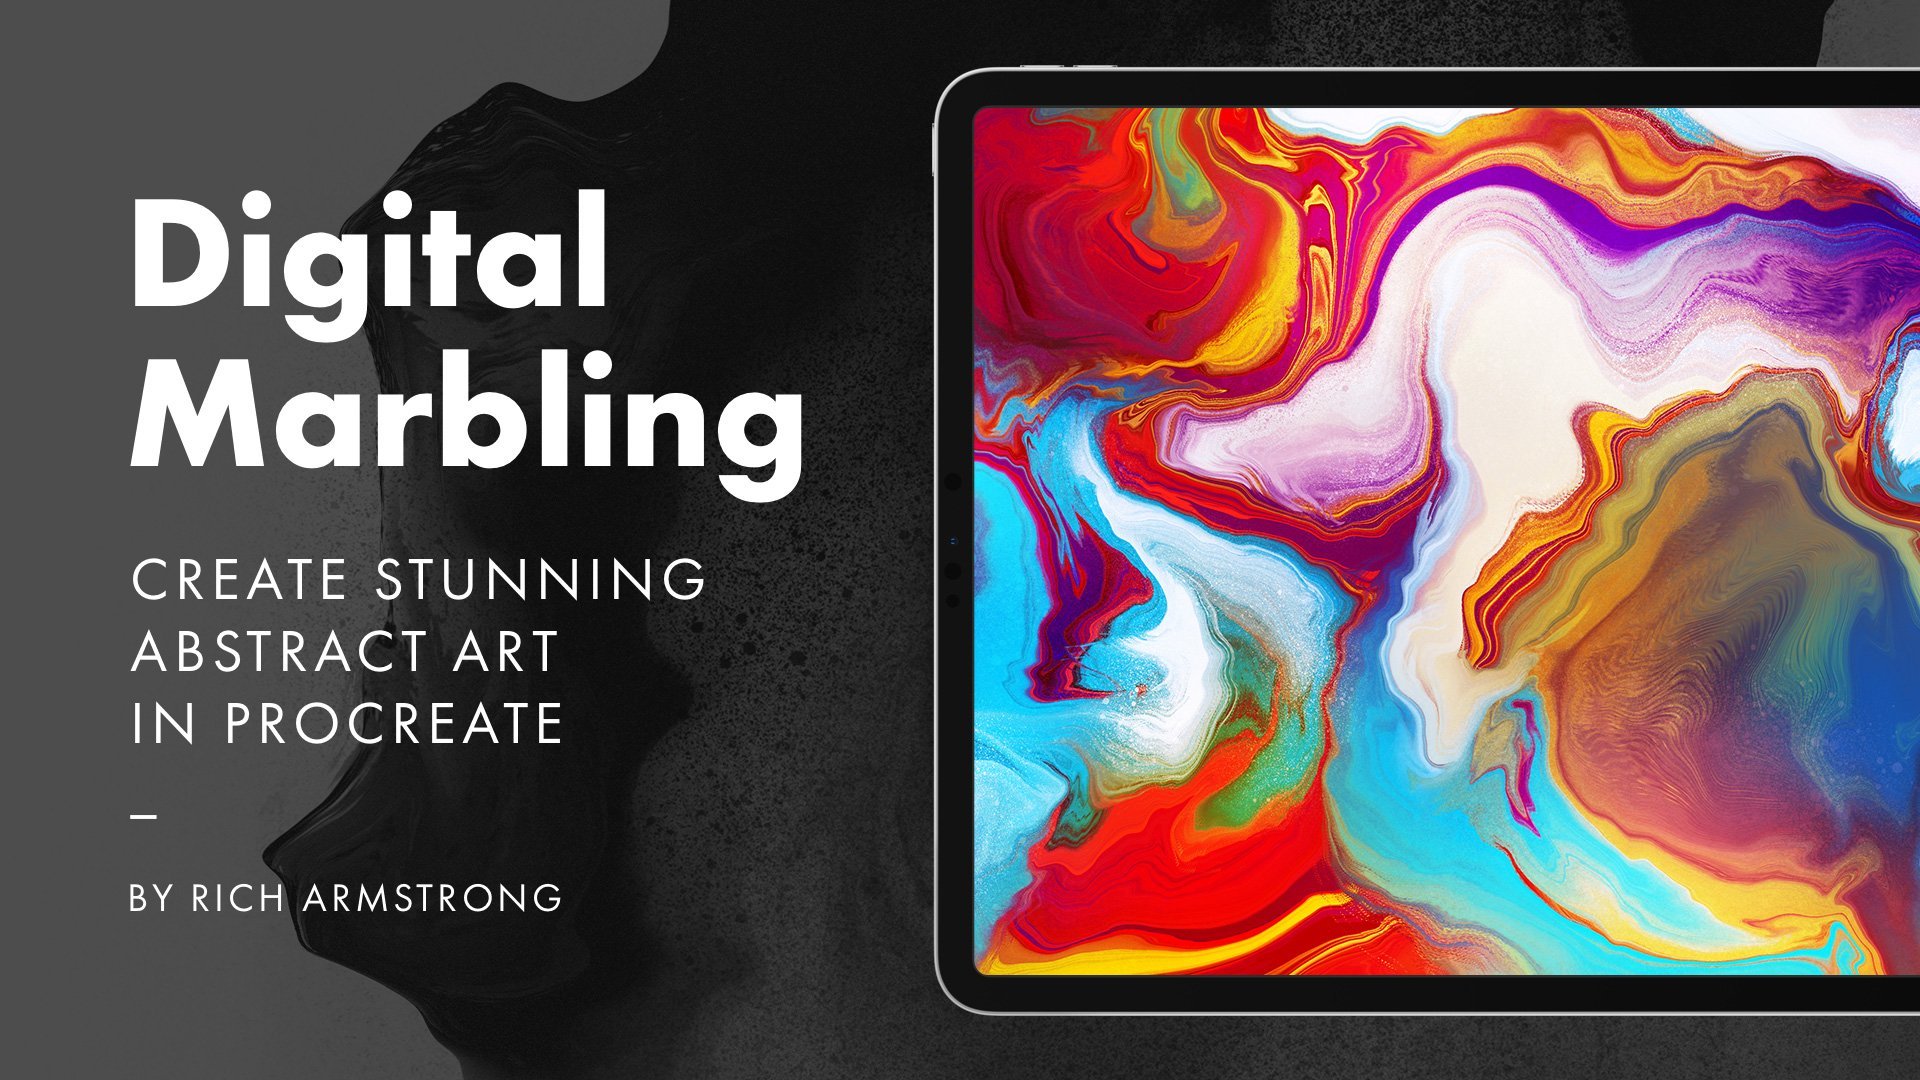
bit of something special to a piece of artwork. So what I got here is
some digital marbling that I've created in Procreate. I have a whole class on that. You should check
it out. And then it looks really nice already. Black and white is beautiful, but let's create a gradient map. Black and white kind of
doesn't change it too much. Now let's have a look. I'm gonna go for something
like a purple and maybe, like, a really light
pink or a blue. Oh, that looks pretty
nice. Maybe like that. Yeah. Maybe a
little bit lighter. Okay, maybe let's
add a little bit more in here. Perhaps a red. Ooh. That looks really
nice. Really nice. And yeah, let's add a little
bit of something here. Okay, so that begins to
look really interesting. I like it. I like
it. There's a lot of stuff that we can do here. But what I want to show
you here is how to add just a little bit of
something extra to this background layer
or to the piece of art. So with your gradient
map on selected, let's go for your Marquee tool. If you don't see it up here,
maybe you see something like elliptical marquee
tool or something, hold down on it and then release on the
rectangular marquee tool. Then I'm going to
create a little strip yeara by dragging
and then letting go. Then I'm going to tap on
this button over here, which says add a vector mask, which doesn't
really do anything. Then I'm going to go for
my paint bucket tool. If you see the gradient tool, make sure it's on the
paint bucket tool and then with black selected, I'm going to then fill that. You might be like,
Okay, that's good. Then I'm going to
press Command or Control D to get rid
of the selection. Then I'm going to
make sure that I'm on this middle one rather than
this one on the right. So the middle one with
a little black strip, and then going to go
to image adjustments and invert or Command
I or Control I. And here, what this does
is it just allows me to create this really
nice little rectangle that's just like boo, a pop of color in this
black and white image. Now you can do a whole
bunch more stuff. Here, you can use all
kinds of selection tools. You could smudge this. You could use some blending
modes, perhaps. Stuff like this begins to
look really interesting. But this is just the start of
adding a little bit of pop, a little bit of color, a
little bit of interest to an image at the bottom. And yeah, again, this is all
just with a gradient map. You can change it.
It's flexible. You could even, you know, create this selection from this
image and move it around. Becomes really, really powerful. So yeah, that's how to use a layer mask with a piece
of artwork at the bottom.
10. Your Project: Okay, so for your
Skillshare project, I'd like you to use
the graded Map tool to transform a photo, an artwork or piece of
design, and ideally, show us a before
version and an after version so we know what you've done and how
you've transformed it. I can't wait to see
what you create.
11. Conclusion: Alright. That's it for me. I hope you've had fun learning about gradient
mapping in Photoshop. I would love you to
review this class. Let me know what you liked,
what you didn't like, and what can be improved. I love these reviews, and I know students find
them extremely helpful. And finally, for more
tapped up Kaboom content, follow us on YouTube
and Instagram and join our mailing list
at taptapkaboom.com. Okay, BifidL. I'll see
you in the next class.