Gouache Painting Tutorial: Paint a Peaceful Landscape | Jui | Skillshare
Search

Playback Speed


1.0x


  • 0.5x
  • 0.75x
  • 1x (Normal)
  • 1.25x
  • 1.5x
  • 1.75x
  • 2x

Gouache Painting Tutorial: Paint a Peaceful Landscape

teacher avatar Jui, Art Enthusiast

Watch this class and thousands more

Get unlimited access to every class
Taught by industry leaders & working professionals
Topics include illustration, design, photography, and more

Watch this class and thousands more

Get unlimited access to every class
Taught by industry leaders & working professionals
Topics include illustration, design, photography, and more

Lessons in This Class

    • 1.

      Introduction

      0:55

    • 2.

      Materials Required for the Class

      1:22

    • 3.

      Let's Start with the Sketch

      1:43

    • 4.

      Painting the Sky

      2:55

    • 5.

      Painting the Ground

      1:27

    • 6.

      Painting the Pathway

      1:27

    • 7.

      Painting the Grass Texture

      6:33

    • 8.

      Painting the Mountain and Trees

      3:57

    • 9.

      Adding Finishing Details

      1:45

    • 10.

      Final Thoughts

      0:36

  • --
  • Beginner level
  • Intermediate level
  • Advanced level
  • All levels

Community Generated

The level is determined by a majority opinion of students who have reviewed this class. The teacher's recommendation is shown until at least 5 student responses are collected.

2

Students

--

Projects

About This Class

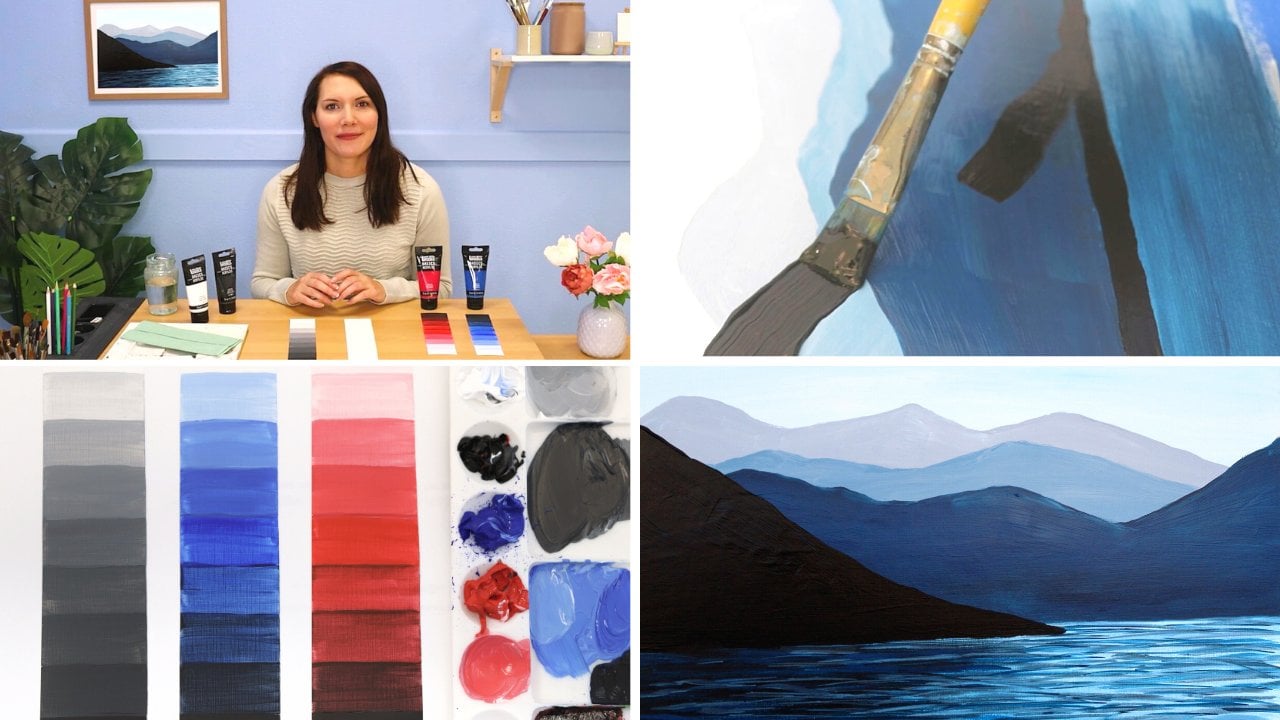
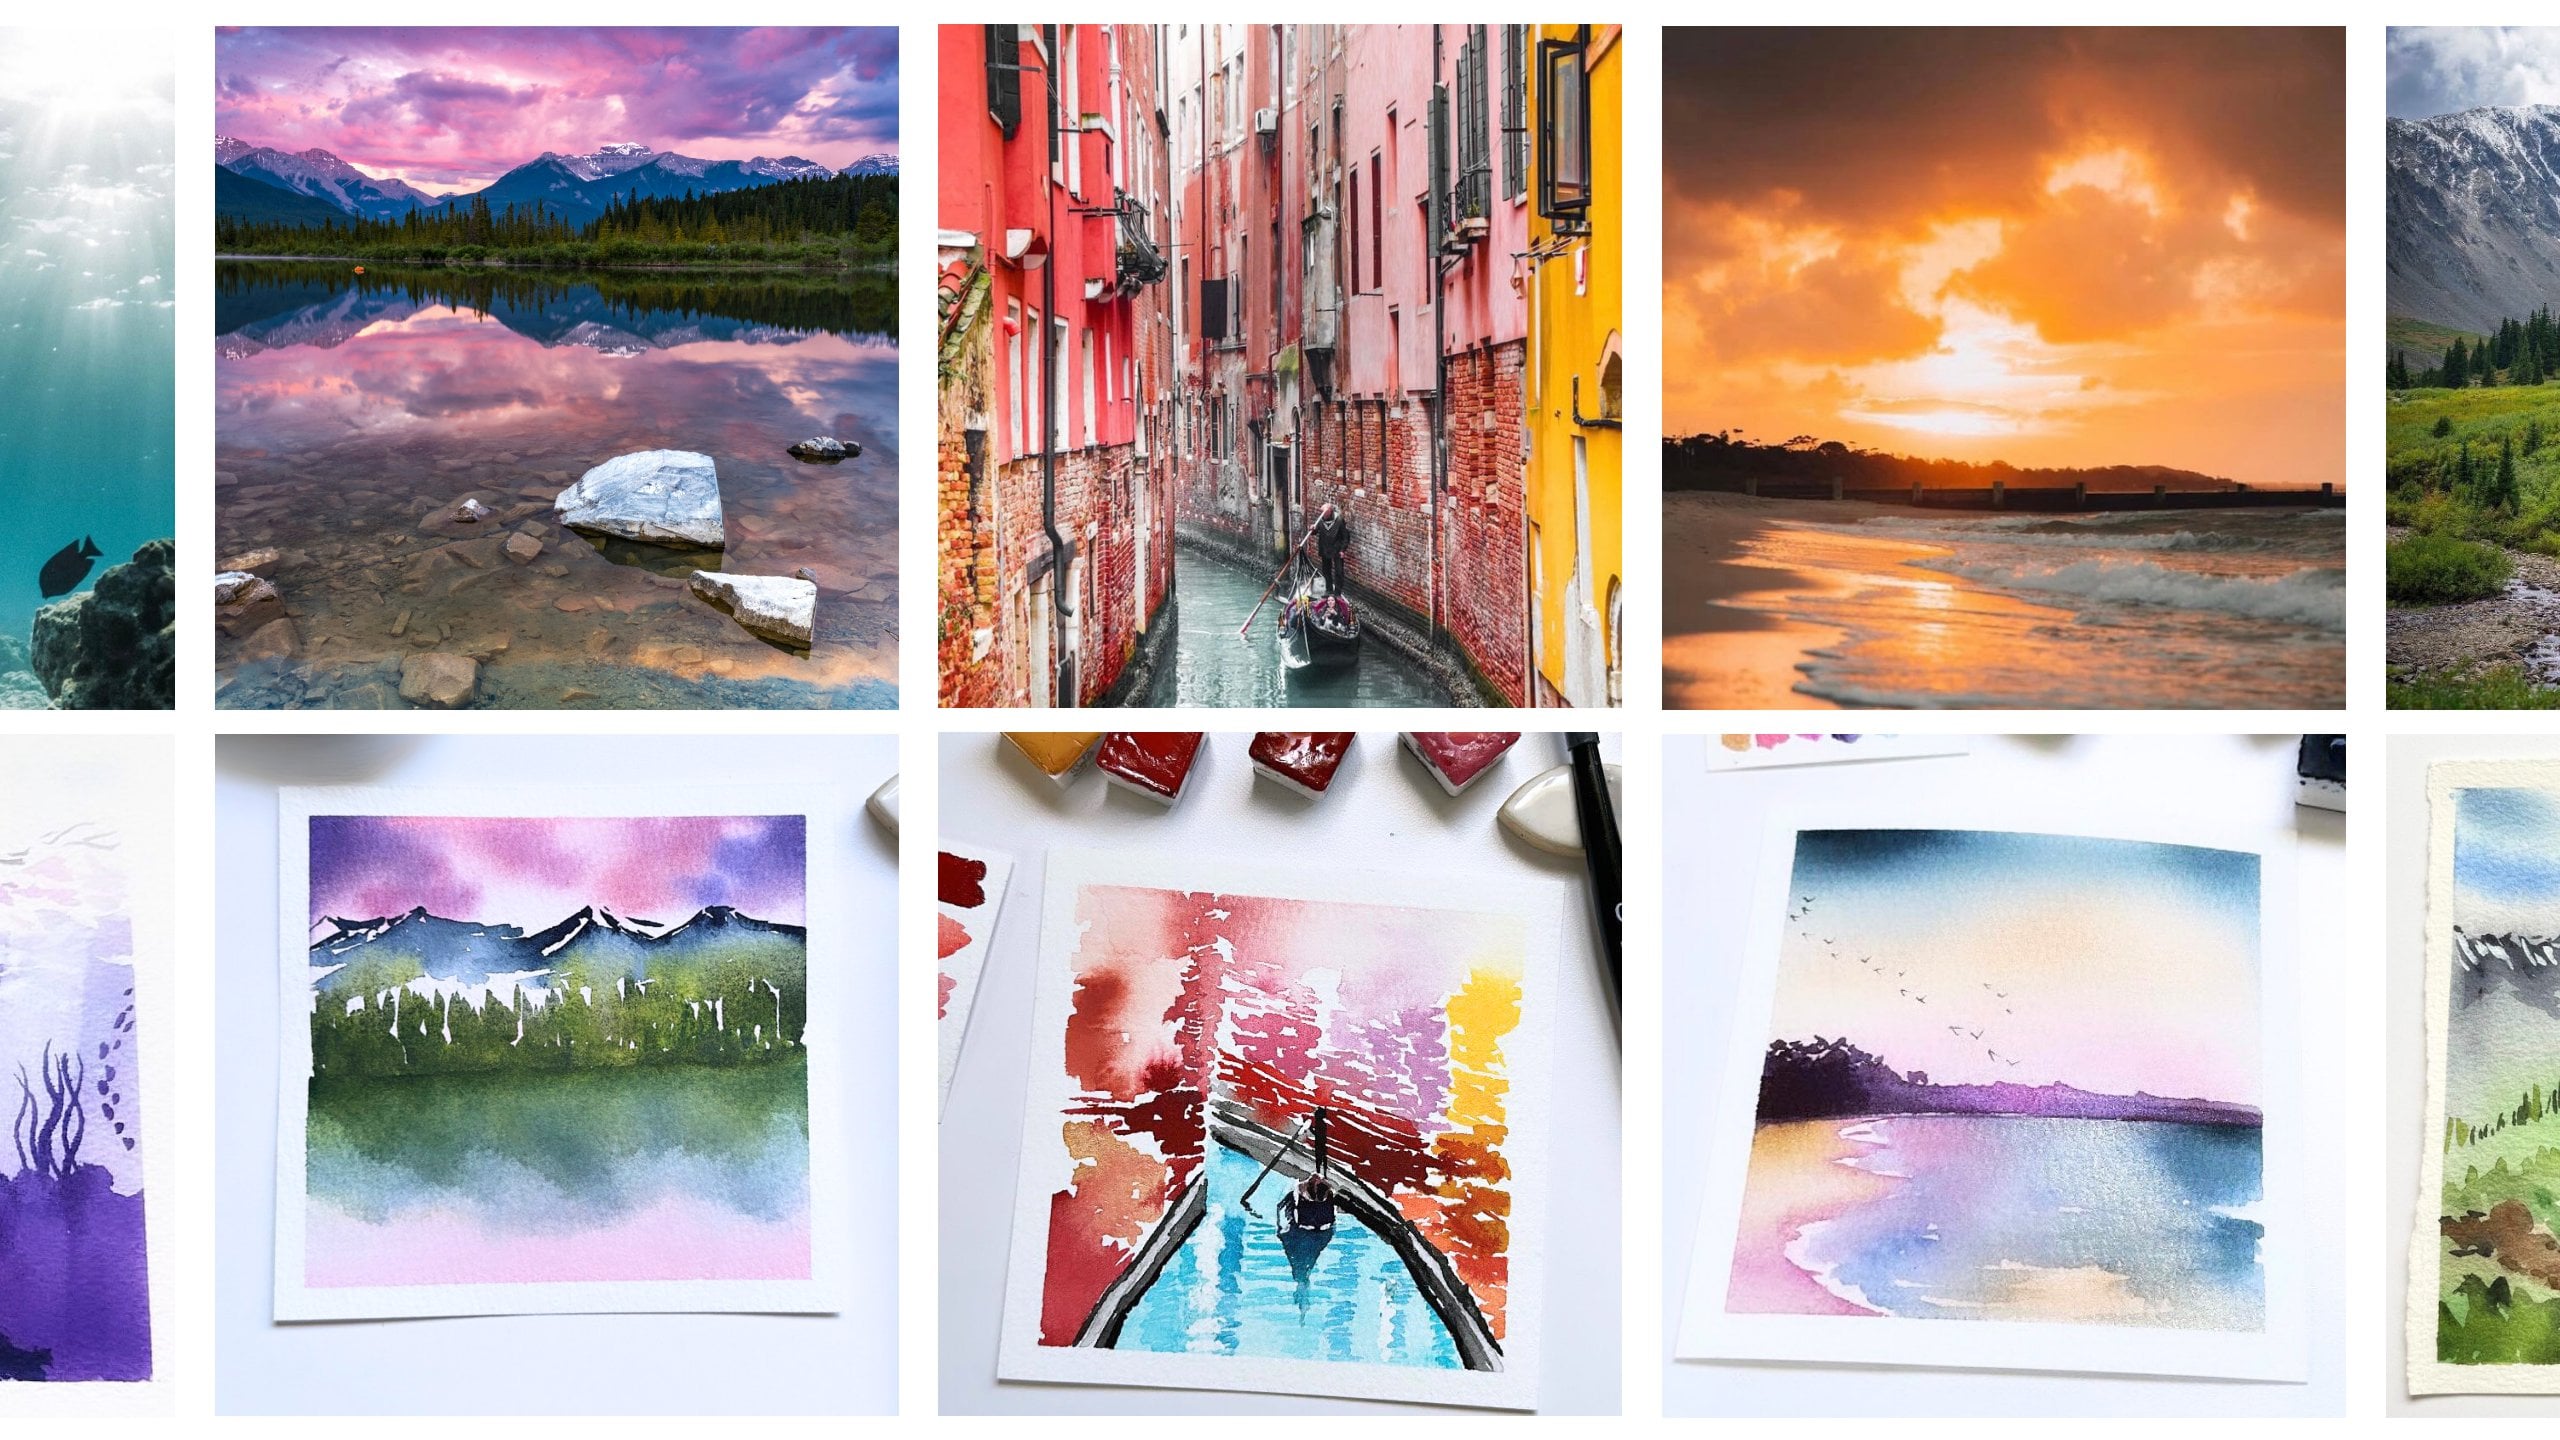
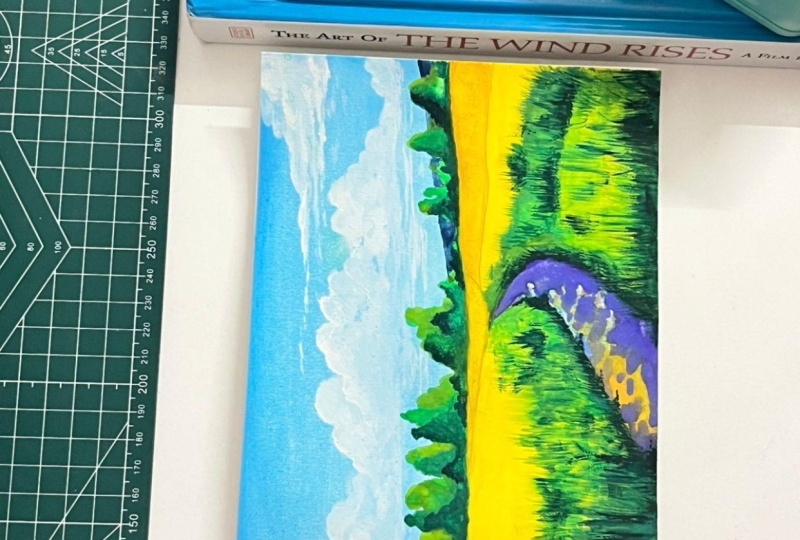
In this calming landscape painting tutorial, we’ll create a simple yet serene countryside scene featuring a soft pastel sky, beautiful grass fields, a winding pathway, and gentle distant trees. Perfect for beginners and nature lovers, this step-by-step lesson will guide you through sketching, blending colors, layering textures, and adding details to bring your painting to life.

At the end of this class, painting a simple landscape with Gouache will be an easy task for you. So grab your brushes, take a deep breath, and let’s paint a moment of stillness together.

What You’ll Learn:

  • Painting a soft, dreamy sky
  • Painting fluffy clouds
  • Painting layered grass fields
  • Adding texture and details in grass
  • Creating a natural-looking path
  • Suggesting depth with distant trees

Materials Used:

  • Saunders Waterford 300 gsm cold pressed paper size 10*7 inch
  • Pencil & Fine Liner for sketch
  • Chinese Calligraphy Brushes or any round brushes (sizes required 2, 4) from any brand
  • Silver Brush Atelier Blending Quill no 80
  • Shinhan Designer Gouache Aqua Blue, Turquoise Blue, Indigo, Cobalt Violet Hue, Permanent Yellow, Naples Yellow, Permanent Green, Sap Green, Titanium White
  • Tubs of Water
  • Microfiber Towel or Tissue Paper

Suitable For:

Beginners, Intermediate or Experts, Hobby Artists, and anyone who enjoys painting landscapes inspired by nature.

Join the class and enjoy Gouache Painting!!

Don’t forget to follow me on Skillshare
Click the “follow” button so that you get my latest notification of the new class as soon as I upload it.

Join me on Social Media (Link)

See you soon!!

Meet Your Teacher

Teacher Profile Image

Jui

Art Enthusiast

Teacher


Hello Friends,

My name is Kankana Nath Purohit aka Jui, a Gouache Artist. I have done a Masters in Arts in English Literature. Currently I am working as an HR professional in a MNC. I have a deep passion for capturing the beauty and tranquility of nature.

I'm endlessly inspired by Studio Ghibli art style. My work is rooted in capturing not just the look of the landscape, but its' emotion and atmosphere. I find solace in capturing the quiet poetry of nature - misty mornings, mossy forest, countryside pathway and soft skies filled with light.

My journey began in childhood, not with a brush, but with music. I learned Indian classical music since I was 5 years old, I learned to listen closely to feel the rhythm and flow - the skills that now shape the way I paint. I... See full profile

Level: All Levels

Class Ratings

Expectations Met?
    Exceeded!
  • 0%
  • Yes
  • 0%
  • Somewhat
  • 0%
  • Not really
  • 0%

Why Join Skillshare?

Take award-winning Skillshare Original Classes

Each class has short lessons, hands-on projects

Your membership supports Skillshare teachers

Learn From Anywhere

Take classes on the go with the Skillshare app. Stream or download to watch on the plane, the subway, or wherever you learn best.

Transcripts

1. Introduction: Hello, everyone, and welcome to this peaceful landscape painting tutorial. I'm Jewell, an artist, instructor, and youtuper. I love to paint whimsical nature. My goal is to create art that brings a sense of calm. Today, we are going to create a simple, yet dreamy scene, a soft sky stretching over a grassy field with distant trees and a quiet little pathway leading through the calm. This painting is perfect for beginners or anyone who wants to relax and reconnect with nature through art. We'll take it step by step, and by the end, you'll have a finished piece that captures the gentle beauty of the countryside. So let's jump on to the next tutorial where I'll show you the material which I'm going to use for this painting. 2. Materials Required for the Class: Before we begin, let's quickly go over the material you will need. I'm using 300 GSM cold placed watercolor paper. For paints, I'm using designer gouache State from Shinhan. It's highly opaque, and I really adopt this set. You'll obviously need a pencil for stage, and I'll also use a fine liner for the border. I'm going to use this quilt brush from silver. And I'm going to use lots of Chinese calligraphy brushes, but you can use any round brushes from any brand. I'll also need a flat brush for painting the sky. Next, you need a mixing palette so I'm using a ceramic palette. I'm using this microfiber towel, but you can use any tissue pepper. And obviously, you'll need a clean bowl of water, so I'm using two bowl of clean water. So keep everything ready, and let's get started with the next lesson. 3. Let's Start with the Sketch: Hello, everyone. Welcome back to the son. Let's begin with a light pencil sketch. Draw horizontal lines slightly below the center of your paper. That's our horizon. Then sketch a faint curve or line leading into the distance for the pathway. On either side, we'll keep the space open for our grass field. Add some soft rounded shapes in the distance where the mountain and trees will go. So nothing will be too detailed, just a guide. Keep the lines light and simple. We'll build the st with a I'm also going to skage with a fine liner on top of it so that I don't lose the lines in quash. If you're tired of your lines getting lost in highly opaque quash, this trick will help you for sure. So the sketching part is almost done here. Now I'm going to use an eraser to remove the pencil sketch, and we'll jump onto the next lesson where we will paint the sky. 4. Painting the Sky: Let's paint the sky now. I'm going to use this inch brush to wash the paper with clean water. Apply the water thoroughly on the paper and let the paper soak it for a few seconds. I'm going to use aqua blue and white color to create a pasta skitone Let's use few drops of water and create a creamy consistency. So begin from the top and gently apply horizontal strokes moving downward. As you move lower, add more white to the mix to create a soft gradient that fades into the horizon. Now I'm going to use white colour and add clouds on the sky. Make sure that blue colour of the sky is not dried completely. Otherwise, the cloud won't look soft and fluffy. You can add more white to highlight the cloud and create the shadow as per your choice. Remember the goal is to keep the sky aria and light like a quiet spring morning. So our sky painting is finished here. Now we will move to the next lesson. 5. Painting the Ground: The sky is dry, we'll begin with painting the grass field. I will start by mixing a base of permanent yellow and nipple yellow. For the distant field, we'll mix little permanent yellow with nipple yellow and start painting the ground. Slowly we will paint the ground with more permanent yellow, and we will build the base of the ground. Here, if you want a complete green grassland, please keep the permanent yellow. Instead of that, you can use lemon yellow. Now, the ground base is ready. We will add the grasses in the later part of the tutorial. So let's move to the next lesson where we will learn to paint the pathway between the grass beds. 6. Painting the Pathway: Hello, everyone. Welcome back to the lesson. Let's paint the little path now. So first, we will wash the sketched pathway with plain water. Next I'm using a blue undertone on the path. This is because I want to create deep texture and more unified look to the pathway. Now I'm going to use cobalt violet hue. You can use any violet color which is available to you. With the violet, I'll dept more texture on the pathway. Next I'm using naples yellow for the highlight part of the path. So apply a little bit of colour on the lift side of the road and on the right side, we'll paint the shadow. Next, I'm dabbing few shadows of violet and blue mix to give it a natural look. Keep the edges slightly uneven and soft to blend it naturally into the filed. Part my painting is complete, let's move on to the next lesson where we paint the glasses. 7. Painting the Grass Texture: Hello, everyone. Welcome back to the lesson. We will paint the main subject of the painting, which is realistic grass field. Now I'm taking sap green and indigo colon. I will paint the grasses, mixing these two colors and a little bit of permanent yellow. First, I will wet the grass field with plain water. I'm going to use this flat brush to paint the grasses, so the brush should not be too wet. You need to remove the excess water and dip the brush in sap green colour and slowly paint the grass plates with quick upward strokes like shown in the video. Remember to add little strokes in the distance grasses. In some areas, let a little yellow peek through for highlights. For the distant grasses, I will mix little sap green with permanent yellow and add fewer brush strokes. We don't need to show high details in the distance grasses. Now I will mix little sap green with indigo colored and create darker green colour to paint the grasses in the front. As the grasses will be long compared to the tistm grasses, we'll add long upward brushstrokes here. Now, with a smaller round brush, start adding rush textures with a slightly darker green to suggest blades of the grasses. Remember, we don't need to paint every blade, just the illusion of movement and texture. I'm adding more tiny grass players in the distance just to create tip to the film. So our brass field is ready. Let's move on to the next lesson where we painted distant trees. 8. Painting the Mountain and Trees: Welcome back, everyone. Now we're going to add mountains and distant trees in the background. I'm using turquoise blue for the mountain, as the mountain is very far, we're not going to add any shades to it. Just simply paint it with a round brush. Now for the distant trees, Bill makes a permanent green and little sabgren to paint the first layer of the trees using a round brush. Dab softly along the horizon line to create clusters of rounded tree shapes, keep them light and bloody. They're far away, so we don't want sharp edges. Now add a second layer with a slightly darker tone to give some depth and shadow to the trees. Let's make some permanent yellow and green and add highlights to the trees, and we are done. Painting trees are almost done, so let's move on to the next and final lesson of this class. 9. Adding Finishing Details: This lesson, I will show you how I add the finishing touches to the painting. I will add tiny plates of grasses which are near to the pathway to make it look more natural and wild. I'm adding the details on both the grass fields to add more shadow and tape so that it looks realistic. Add some random brush strokes as well, to make some uneven shaped grasses. I'm adding a bit more shadow to the pathway with the cobalt violet hue color so that it looks more natural. Shadows and highlight are crucial for painting the pathway as they define form, create depth, and guide the viewer side. My painting is finished here. Let's move to the next video where I share the final thoughts. 10. Final Thoughts: And we are done. Now I'm going to remove the page from the paper pad with a palette knife. So you have just painted a soft, peaceful landscape with a dreamy sky, realistic grass field, and gentle path. I hope you enjoy this journey and feel more connected to your creativity and the landscape around you. Don't forget to recreate this painting and post it here. I'd love to discuss if you have any doubt, so don't hesitate to comment on your queries.