Transcripts
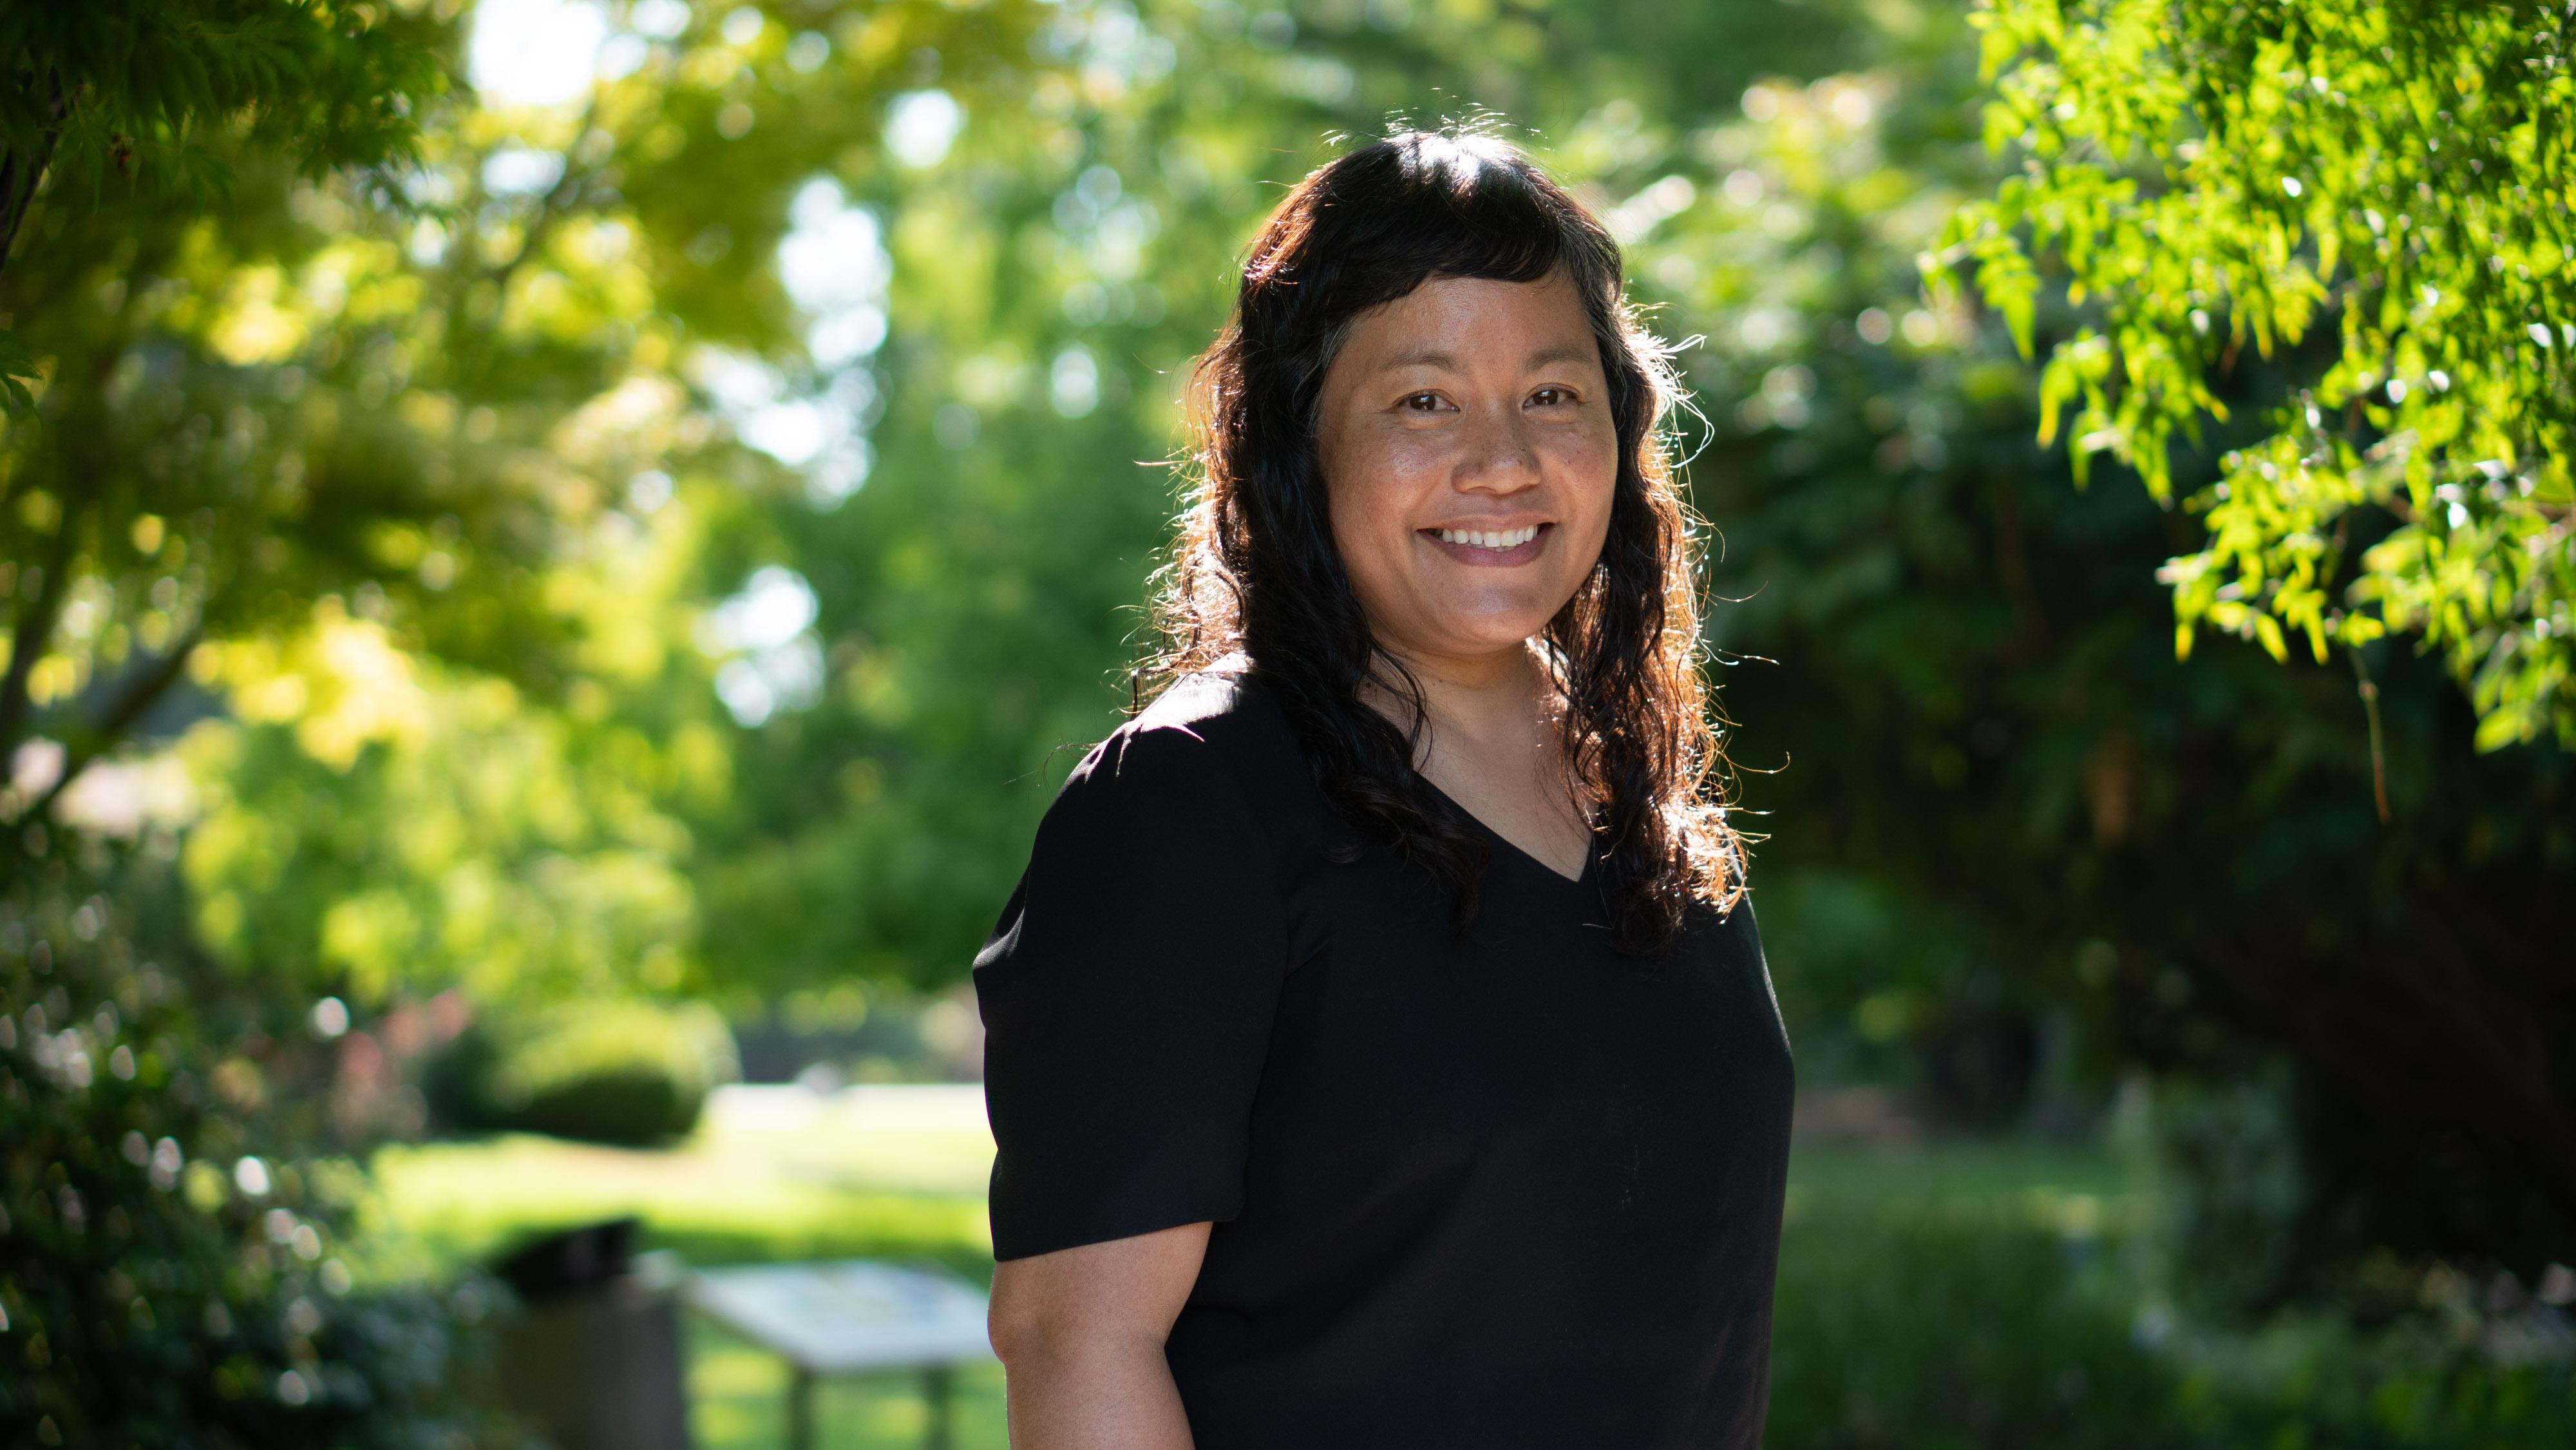
1. Introduction: Same, same thing. I'm sure you've seen those gorgeous golden
hour portraits that professional
photographers post on their websites and
Instagram feeds. You know the ones smiling, happy families, all backlit and glowing with
hope and promise. As an amateur photographer, you sigh and wish you could
one day be as good as that. Well, I'm here to tell you that today is that day
you've been lying. It's far easier than
you might think, and I'm going to show you
how to achieve that look. Taking you through the steps
of selecting a location, which camera settings to use, how to take the photo, and which light room
settings to use when editing. Let's go.
2. Project: For the project,
you'll be taking a photo of a subject outdoors, then you'll be
editing the picture in Adobe Lightroom Classic. The end product will be a gorgeous golden portrait with light ******* your
subject's hair with a soft, beautiful background
steps you'll be taking, You'll be sourcing a
location on a sunny day. You'll be taking the photo according to the
directions I give you. You'll edit the photo in
just a few easy steps. Then you'll export the photo and upload the photo
to your project. So.
3. Lesson 1: What You'll Need: To get the most from this class, you'll need a DSLR or a mirrorless camera with
a 50 millimeter lens, which has an F stop of 2.8 or less if you're not
quite there yet. An iphone with a portrait camera setting can
do in a pinch. You'll need a willing model who's comfortable in
front of the camera. You'll also need Adobe
Lightroom Classic installed on your computer. If you don't have
that. A free version of the app is available
for the iphone, ipad and Android devices.
4. Lesson 2: Planning: The ideal day will
have full sun. Yes, I know people have
told you that a bright, cloudy day is great for
photos and it can be, but not for this exercise. Ideal time of year is late
spring through to early fall, since the foliage greatly
enhances these shots. The best time of day is one
to 2 hours before sunset, which is actually
the golden hour. A very useful app that
I use is called Helios. What it does is it tells you when the golden hour
is on any given date, either 1 hour after sun rise
or 1 hour before sun set. In the lower right hand side, you'll see a little
button that says Tools. There's augmented reality lens, which when you open it shows you the trajectory of the sun at
a particular time of day. What you do is you point your camera at the
scene and it tells you where the sun will be at
any given time in that day. Or you can even choose a
different day in the future. What this does is help
you plan your shoot. So if you have a particular
location in mind, then you know exactly where
the sun will be and how the shadows will be falling
at that time on that date, a day or two before the shoot, take your camera to the
pre selected location. Select a park or natural
setting with a lot of foliage. You'll want flowers or
grasses, and large trees. Take a model with you
for the test shots. Most friends are thrilled to get a free portrait shoot to use in their linked in profile
or other social media. Go at the same time of
day as the planned shot. This is important because
you need to know where the sun will be shining
and at what angle. Using your model, select three to four locations which have interesting
foreground foliage, interesting background foliage, and interesting composition. And dappled shadows
are always fun too.
5. Lesson 3: Camera Settings: Here are the camera
settings you'll need. I recommend Camera Raw, which is a format that
allows you great flexibility in editing without actually
damaging the image. Someone told me
once that shooting a camera raw allows
you the ability to basically retake the photo inside your editing software, which is a really neat
way to look at it. The only two things
you cannot fix and post are blown out, highlights and errors in focus. Anything else you can fix? You'll want to set
your camera to manual mode for full control. Set your F stop, also
known as aperture to 1.8 This low F stop allows
for shallow depth of field. It creates a blurry background and makes your
subject really pop. You may also be familiar
with the term boca or bocce, which is a Japanese term. It refers to the
beautiful circles you can get when the light hits your background a certain way. You want to set your ISO to 100, adjust your shutter
speed to expose for the background the
subject will be posed. This is important to know,
this is okay because we are going to fix the underexposed
subject later on. In light room, auto
white balance is okay. Or you can choose
shade or full sun. If you're using your phone, you'll want to use
portrait setting. You can slide the exposure
up and down like this.
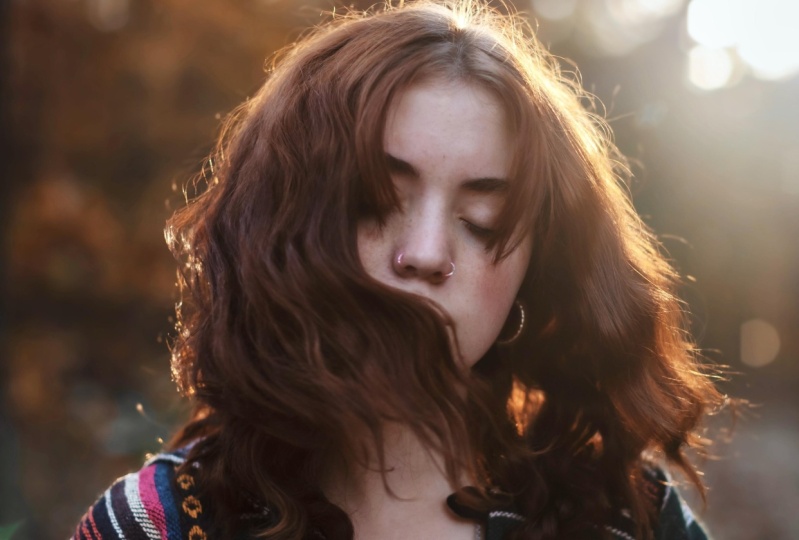
6. Lesson 4: Posing and Framing: Here's how to pose
and frame your shot. It's a sunny day.
Your model is in a good mood and we're
in a park like setting. Position your subject
so the sun is behind their head and
it rims their hair. The best way to achieve
this is actually making sure that the shadow
of their head is in a. So you can get the subject to participate in their own shot, which is fun. And you can just yell, Sun Blob. And then they can go
find it themselves. If your model is standing, have them angle their body
away from the camera. This is a more flattering pose than just shooting
them straight on. You can also get them
to sit on the ground, but to make them
look comfortable, ask them to pretend they're
settling down to read a book. Often the model will get
that and they'll position their body in a nice,
comfortable, casual position. Make sure they're not right
up against a background, like a hedge or a rose bush. You'll need space
between them and the background for the
full bocce effect. Use angles to your advantage, like vanishing lines
and perspective. It adds more to the shot and if you're
feeling extra creative, including some leaves or
flowers in the foreground, it can make your shot
look extra professional. They will be blurred out, but you'll see what I mean when you take a look at
these examples. It just adds an extra little
oomph to your photos.
7. Lesson 5: Editing in Lightoom: Although this is not a lesson on how to use light room per se, I'll quickly show you how
to import your images. Down the lower left here
you'll see an Import button. When you click that,
you'll see a pop up on the left hand
side, the source. If you have inserted a SD card, it'll appear over here. What you'll do is you'll themes and you can check
them all like this. The workflow basically goes up over you either want to copy, move, or add to your
light room database. Then over here you
continue to go down, you should see a menu,
something like this. You can rename your
files custom text. You can specify a
destination folder, you can even if you wanted
to add a subfolder. Then you select
where you'd like to go and then you're
going to hit Import. Once you've imported
your images, you'll see something like this. When you see an image you like, what you'll do is
you'll click it. Then up here, the tab you want
to select is develop Nail. You have a full screen preview here with all your controls
over on the right hand side, make sure you have the basic
toggle arrow facing down. We're just going to very gently control the overall exposure
here using the slider. Then we're going up to the
temperature slider and just dragging it over towards the yellow just to warm it up. Just a bit quick note
about color temperature. It's measured in Kelvin. What color temperature
means is basically the warmth or the
coolness of the light. Incandescent bulbs are
around 2,800 Kelvin. Daylight, surprisingly,
is actually on the cooler side,
it's 5,000 Calvin. A really great feature
light room has is the ability to add a mask. What a mask does
essentially is helps select an area or an
object in your picture. For example, a human subject, an animal, the sky, All with a simple click of a button and the
AI does the rest. Now we're going to add a
mask to select the subject. The AI does an amazing
job with the hair. What we're going
to do now is just lighten up the exposure
for the subject. And again, warm them up ever so slightly for that
golden hour look. Now what we're
going to do is add a radial gradient in
the upper corner, you can see where
the sun's already peaking through
there a little bit, I'm holding down shift to make
sure it's a proper circle. Now I'm increasing the exposure
just to mimic the sun. Again, I'm going to
warm it up here. Using that temperature slider, you can drag the inside circle around to move it
around a little bit. You can also change
the size using the white dots around the edges. Now for a final stage, we're going to do a
reverse vignette, which brings in
some dark corners and it really makes
the subject pop. Now I'll show you what it
looks like in the mobile app here you can see on the right hand side there's
the edited version. But what we'll do is
we'll open this raw, unedited version here in
the lower right hand side. You'll see the mask option here. What I'm going to
do is choose Mask. And I'm going to hit this
little plus button here, select Subject. I'm going to just
tap Select Subject. It's having a little think. And it's select the
subject, which is great. Now what we want to do
is tap on the color. We're going to slide over here to warm
it up a little bit. We're going to tap on the
light, change the exposure, and we're going to
brighten up there. Now we're going to hit the little check mark
to add the sky radial. We're going to
make another mask. I'm going to tap that, I'm
going to tap radial gradient. And then I'm going
to tap the sky here, move the circle around,
make it bigger. Then again, I'm going to
brighten up the exposure a little bit and then change
the color temperature. Yeah, there's our fake sun. I'm going to hit the check
mark in the lower right. Boom, there you go.
8. Conclusion: Congratulations, I'm
sure you now have a beautiful golden hour photo you can share with your
friends and family. Just to recap, what we learned
is how to scout locations, how to plan for where the sun will be at any
particular time of day. You learned how to rim your
model's hair with light. You learned how to fix the
exposure in light room. I hope you will continue to use these
skills in the future. Please upload your
project so I can give you feedback and encouragement.
Happy shooting.
 Beth Doman, Creative Professional