Transcripts
1. Intro: Hello and welcome to my course. My name is Dan Berges and I am, among other things, a
musician and a web developer. And we're going to learn how to create a generative art
program that runs on the browser using JavaScript and a JavaScript
library called p5.js. So we're going to draw an NFT style design using code. And then the program
will generate a unique variation of the
design with each page refresh. You will also be to save the images that you generate
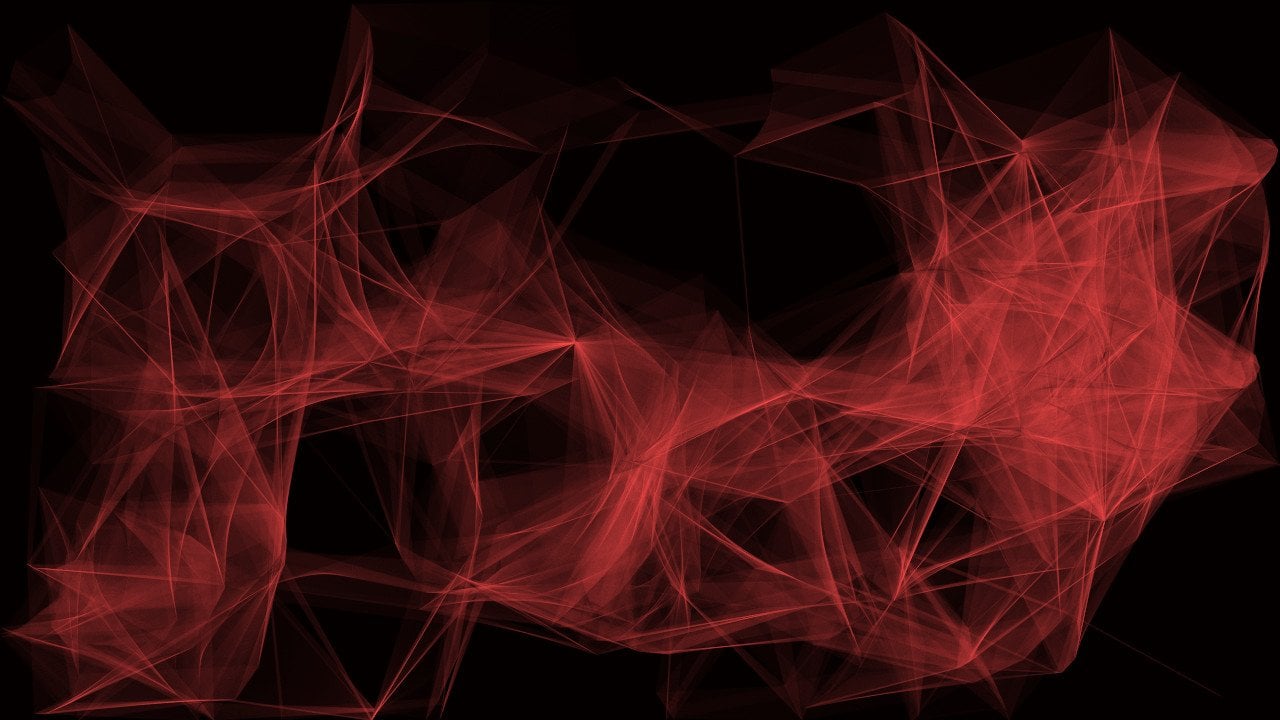
to your hard drive. What you are seeing now on
the screen are some examples. So if you've been wondering
how NFT variations are done, This course will be a
great introduction. So just click on the next lesson and code along with me.
2. Environment Setup: Okay, so for this
project we're going to use Visual Studio Code
as our code editor. I have it already
installed in my computer. But if you don't you
can download it and install it right
from their website, which is
code.visualstudio.com. So I already have it here. So within Visual Studio Code, we're going to create two files and save them
in the same folder. So I'm going to click New File, and we're going to save it. And I'm going to call
it index dot HTML. I'm just going to save
this in my desktop in a new folder called genart. Okay We need one more file. I'm going to save it in the same folder and
call it script dot js. I'm now in the index.html file. We need some boilerplate
HTML that is very easy to do on Visual Studio Code we just type HTML. And it gives us, here are different options
for different formats. I'm going to select the
one ending in five. And here we have our
basic boilerplate HTML. The last thing we need to do is we need to include in here in the HTML file three dependence well two dependencies
plus our script. So for that, right
below the title tag, we're going to add a script tag. Ask the source. We are going to add p5.js. This is the dependency
we're going to be using and the link will be
in the description below. So I copy it this version, 1 dot four dot 0, Min and paste it here. And we need one more. This one. The link is also in
the description. It is this package here
called p5.js dash SVG. And if we scroll here on GitHub, it's right here
at the beginning. We just need to add this
line to the project. So it already has
the script tag. So I'm going to replace
the whole thing. And we also need our
script, this one here. So it's a script, script dot js. We save. We are good to go the script.js. We're going to leave
it blank for now.
3. Drawing Our Design: So if I open the general folder with our project in my
desktop right now, an eye-opener, index.html,
and my browser. Nothing's going to happen
because the script, we don't have it in there yet. So let's write basic version of the script in which we
draw our basic design. Okay, So in our script.js file, we're going to add a
JavaScript function. We're going to call it through all this really all we need we can start
throwing in here. So first of all, I'm going
to set our stroke weight. Let's set this to five. Now, let's do our background. So let's say for example,
background block. Let's save. And I'm going
to open the index.html file in my browser again
and see what happens. Okay, so we have a
background here. It's rather small,
but it is here. So that means it is working. Okay, so we're going to add another function right
before the trough function. And we're going to call
it setup all lowercase. And within this function, we are going to be able to
set the size of our canvas. So that's going to
be create canvas. I'm going to pass in
600 by 600 pixels. And as the third argument, we just want to put
as VG in all caps. So I'm going to open again
our file with my browser. And right now it is 600 by 600. Okay, so for my background, instead of using black, I'm going to use an ax, well, HTML color hexadecimal number. And I'm here at HTML
color codes.com. I'm going to leave that link in the description and
I can just pick a color and it will
give me the hex code. So for example, something
like this, this red. I'm going to copy this. Okay, so I'm going to save and refresh the document to see if it's working and
just working perfectly. So I'm going to draw
the body of my design. So I'm going to use a
different color for now. I'm going to say fill the fill. And let's do, for example, some kind of yellow inside single quotation
marks will go. And we're going to
draw an ellipse on, let's give it as the
coordinates plus 2, three hundred six hundred ninety six forty for 40. Going to refresh. And here is our body. So where am I get in
these two functions, setup and draw from
like how do they work? Well, basically since
we are using p5.js, sorry, p5 js as a dependency. We're just using
their conventions. If we go to their documentation, I'm going to leave that
link in the description. We see that it works
exactly like that. We need a function
that is called setup on within
it, create canvas. And we pass in the
width and the height. And then a function draw
in which we draw stuff. And there are different
things that we're going to draw it like background
like we did, or we can draw an ellipse
just like in here. So in the ellipse, we are passing in four
different parameters in here. So if we go to the p5.js documentation and
we go to reference. Here under shape, here
is the ellipse function. And we see that it takes
four parameters just like we pass n. And here it
says what they mean, says by default, the
first two parameters set the location of the
center of the ellipse. So we're giving it 306, 90. And the third, fourth
parameters set the shapes, width and height. And that is where we are
given at 640 and for 40. Okay, So after the body, we are going to draw the ears. We're going to say
fail to choose a different color for
some poll, some green. And then we're going
to need two ellipses. So for the first one, I'm going to pass in, let's say a 125, 135. Let's do 170. 170. For the right ear. Let's do four, 75, 135 swell. So they are at the same
height in the background. And also 140, sorry, 170, 170. So they are the same size, k. So let's refresh.
And there we go. Here are the ears. Okay, So let's now do the
inner part of the ear. Fill on a different
color to a darker green. And this is going to
be two more ellipsis. So let's so 125, just like the outer ear. Let's do 135, same center, and then let's do 140 and 140. So it's smaller, smaller. And by the way, we're
using the ellipse tool, but these are all circles because the height and
the width of the ellipse, Here's hi, here's the
width are the same. And the other one you
just did is going to be an ellipse and it's going
to be 475 and then 135, and then 140 and 140 to go. So let's refresh and
see what that looks like. And there we go. So let's do the face. I went to say fill. Let's give it another color. Let's do some blue, another ellipse. And we're going to give it 300. Let's do thirty four,
fifty, four forty. Let's refresh. And there we go.
There's our face. So let's do the eyes. Fell on yet another color. Let's do purple. Okay. That's an ellipse. And let's go to 30 to 50. Let's draw a 22
on the other eye. So another ellipse. We're going to do 370. And the same values, 250, we want it at the
same height and then the same size, 282. Okay, let's refresh.
There we go. So let's do the PBLs. So they're going to
have the same center, but the fail is
going to be black. So we could just write black, or we can use the
hexadecimal code, which is just this. All zeros. So ellipse. And of course the center
is going to be the same, so it's going to be two
thirty and two hundred fifty. And we want to make
the pupil smaller. So let's do 30 for
example. The right one. So it's going to be 375, 250, and then 30 and 32 years. Well, let's refresh.
And there we go. Okay, so let's do this note. Fail. Well, let's pick another color. Okay, and this is going
to be another ellipse. So let's go through 100, 390. And let's do 200 by 200. So it's a circle again. Let's refresh. And there we go. And let's do the mouth. So I'm going to make it black. On the code for
black is all zeros. So that's six zeros. And in here, I'm going to
do something different. I'm going to do an arc, an arc. And if we look at
the documentation, we will to reference. Here is our arc. This is how it works. If called only with x, y, w, a to start and stop, the arc will be drones failed. It's an open pie segment. So what we want to do in here is we're going to do
exactly That's true. 300, that is x. Let's do 420, and
let's do 70 and 65, the width and the height. And then for start and stop, we're going to do, Let's start right at 0. And let's end at Pi k. So let's see what
that looks like. Yeah, perfect. And we're
just missing the nose. Just going to be black as well. So if we didn't do anything, it will still be black because the last time we call fail, we said was black, but are still going to
write it again in here too. So it's Xeon has its color
like the Clara explicitly. So 000, 000, 000, 000. And this is going
to be an ellipse. And let's do 300, 350. And let's make it
a circle again. So just 80 by 80. Okay, so let's refresh. And here is our bear.
4. Getting Random Colors from a List: Okay, so we have
hard-coded all our colors, rectangle with a
chlorophyll way. We have it right
now we have a color that Claire, so
these one change, but we want the colors
to change every time that we refresh the page just
to make it general idea. So for that, we are going to take the colors out of
here of the fill function. And we're going to place them in a JavaScript array and let the computer randomly
pick one of those colors. So for that, at the very top, we're going to add an array. Okay, cons, colors. It's going to be an array. And in here we're going to add all the colors that
we want to use. So we can add this one. And we can add all
the other ones. So here's another one. Oh, okay, so there we go. I have added all the colors that we had been using
in our example. So now it's time we
call the fill function. Instead of hard-coding the
color like we had before. Now all the colors are here. We're going to
pass in a function that will randomly pick one of the colors of this list here of this JavaScript array that includes all the colors
that we want to use. So let's write that function. Okay, so let's call it
function grand color. We're not going to
pass in any arguments. And this is how we
are going to do it. Let's create a variable called index that is going
to be Math.floor. And there's going to be math dot random multiplied by callers dot length, which is the length
of this array. So this is 1234567. And then we're just
going to return caller's the array with the
random index that we have generated. Okay? So this here, this index picks a number for a position
in the array in here. And then we return the color
in that position, he sue. So now every time that
we used our color, instead of having
the coloring here, we're going to call the
rand call caller function. Okay, so I'll do that
also for the body. For the ears, for
the inner ears, for the face, the eyes. I'm going to leave the
pupils black, smoke. Okay. I'm going to
leave the mouth and the nose black. Okay. So I'm going to save and
refresh and see if it works. Okay. So it didn't work. Let's figure out
what happened here. Okay, Yeah, I forgot
the parenthesis here. We want to execute the function. Let's make sure that I put
in all the other ones. So let's refresh and see
if it works this time. And it does not work. Yes, I have a typo in here. It's length. Okay, so we're getting
something very trippy and this is
not what we want. The reason why is
because we are calling the function right in here, inside of the draw function. So instead of downward, we are going to do is
set the colors for the different parts of the body to some variables
outside of the function. And then we'll just use
the variable in here. For example, we can say let BG color equals FRAND color. And then in here, we'll say B to color. So let's try that. And there we go. Now the
background is a static, so I'm going to do
that same thing for all the other
parts of the body. So let's do that. Body color equals R1 color. We'll substitute in here. Same for the IRS, same for the inner ears, and same for the eyes. And lastly, same for the snowed. So let's refresh. And we forgot the inner ears. What's wrong there?
Yeah, here it is. We have two substituted
for the variable. Okay, perfect. And you will see that every time we refresh, our script is now selecting
different colors randomly. However, this is a little
bit too colorful for me. I want some colors to match, for example, the
phase and the ears. So we are going to use less variables for
the different colors. So I'm going to keep
one for the background, going to keep one for the face. And I'm going to keep
one for the eyes, but that's about it. So for the ears, inner and outer,
and for this note, I'm just going to
use the body color. So here is the phase also
uses the body color. This node uses the
body color. Okay? Yeah, that makes a
little bit more sense. However, sometimes
callers are repeated at, for example, in here, this script is using
the same colors, the same color for the eyes, and for the body,
the face, et cetera. And I don't want that.
So we're going to modify our random
color function. And we're going to
say the following. First of all, we're
going to create an array here that we are going to call. Use callers, indexes, okay, and this is an empty array. So now here in the
function we're going to say while used, callers in exists,
dot includes index. So that means if in this array we already
have this index, then we're going to
rewrite the value of index by generating a new one. If it is not in this array
like this right now, because this is empty, then this value will stay. And the last thing that we
want to do is after this, after we have an index, we're going to add this
index to this array. So we're going to
say use colors in the Porsche index. Okay? Now if we refresh, we'll see that now the three
colors are always different.
5. Eyes Fix: Okay, so our script
is working great. I'm just going to add a
little detail to the eyes. I'm just going to
add some white. So for that, what do
we have our eyes here? Well, we're going to do is we're going to copy this whole thing. Okay? And we're going to have an
outer ellipse that it's really a circle that takes
the whole space. But this one, we're
going to make it white. We could just write here white. Or we can use the
HTML color codes, which is FF, FF, FF, FF. And then the second one,
we're going to leave it with the ice color that is
generated by the script. But we're going to
make it smaller. So let's say 59 by 59. Same on this one. Okay, I'm going to
save and refresh. That will go. This is better.
6. Lightening Some Colors: Okay, So we are using the
same color for the body, the phase, the snowed, the ears, et cetera. But I'm going to add a little function just so we have different shades
of this color. Particular what I'm
planning to do is that I will make the face, the outer ear, and the
body is slightly lighter, and I will leave the
actual car that has been selected for the inner
ear and for this node. And then the background,
I'm always going to make it lighter
than the actual color. So for that, there
will be a link in the description to
this GitHub file. And it is a function
for Leiden in a color, this one, it's kind
of complicated. Well, we can just copy and paste it and then we'll include
it in our script. So I'm going to copy and
I'm going to paste it. And I'm going to paste it at the very bottom. There we go. So this function
takes a color in the HTML format that starts
with the pound sign, and then it's going
to take a percent. Okay? So I'm going to
use that function. Let's see in the background. So instead of background color, we're going to use the function light and
color parenthesis. And we pass in the
background color. And then let's say 30. So let's refresh. Okay, yeah, let's pick a color for
the background and it's automatically making it
lighter than it originally is. So we're going to do
the same thing with the body color parenthesis. And then we pass
in the body color. And then let's just do
10 percent in here. And I'm going to copy
this whole line. I'm going to use it as
well in the outer ears. I'm also going to use
this in their face. And I'm also going to use this thing that
said in the body, in the ear and in the face. And that should work. So let's refresh. Yeah, perfect.
7. Downloading the Files: Okay, And the very
last thing that we're going to do is we're going to add a little
function at the bottom. And this function is going
to let us download the file. It's time we refresh. So it goes like this. It goes document, dot,
add event, listener. The type of event we're
going to listen to, It's going to be
DOM content loaded. And what we are saying is when the document
content is fully loaded to the following and we are going to
pass in a function. This is called an arrow
function in JavaScript. So it's a set of
parenthesis and R0, which is the equal plus
greater than sign. And then curly brackets
with a semicolon. And here inside of a
function with we're going to do is set timeout. And this is going to take another arrow function
as the first argument. And in here, we're
going to do is open curly braces and
close curly braces. And inside, we're going
to say Save as V, g parenthesis, and then
SVG, all lowercase. And then a comma after the
closing curly bracket. And 500, which means
500 milliseconds. It means to do this
after 500 milliseconds. So let's save, let's refresh
and let's see if it works. Yes, it's asking
us to download it. So I'll download it again. Okay. Here, if I
open my Downloads, here are all my
little teddy bears.
8. Modifying the Color Palette and the Shapes: Okay, so in the
very last lesson, I want to show you how
to experiment with this, a script to create your
own original design. So first of all, I'm going to comment out
the function that we added in the last lesson. And for that, there are
different ways to do that. We can just do this forward slash asterisk and then we
add another one at the end. Asterisk forward slash,
or the other way around. And now this function
is going to be ignored. I'm just doing that. So it doesn't ask ask us to download the file every time we refresh while we
are experimenting. Okay? So basically, you can
experiment first of all, by modifying the colors. You can have different
colors, you can add more, you can take out some colors. The only thing is that you
should respect the syntax of a JavaScript array with all the different
strings for the callers always enclosed in
single quotation marks. And you add a comma at the end in all of them
except the last one. So now we have few colors. And we're gonna go
through HTML color codes.com and just experiment, try and add in some new colors. So let's add this one. And let's add some kind of gray. Let's light gray as well. Okay? And we're going to
have as many colors as we want in here, since the function for
generating a random color is taken into consideration
the length of this array. It doesn't need to be
any specific land. You can use as many
colors as you want. So let's refresh
and let's see how. Now the script is also
pull in the new colors. Here's our gray. Okay? And then the other thing you can do is in the draw function, you can modify all of these. For example, if we modify
the stroke weight, the lines that are drawn
will be way thinner. Like this. Also, you can modify each individual element or you can even create
elements from scratch. You can experiment with the
lips with the posterior name. Remember the first two
parameters are x and y, which determine the positioning of the center of the
ellipse within the Canvas. And these last two are the height and the
width of that ellipse. So for example, we
could make the phase, we could make it slimmer by modifying this one
which is the width. Let's make it 400. There we go. And we could also add something
to the background. We could add an
ellipse, for example, that has its center right in
the middle of the canvas. Since the canvas is 600 by 600, will be 300, 300. And then we can make it take the whole canvas and
it will be a circle in the background that
takes the whole canvas six hundred, six hundred. We can make that a
different color. So fill. And we can add a new
variable for that. Circle color equals sram color. Let's say circle color in here. Let's see if it worked. There we go. So in the description
section and you're going to have a link
to my whole script. You can check it. There's if you make any
mistakes, et cetera. And feel free to, feel free to experiment and modify all
the different parameters and even try to draw something from scratch with ellipses on arcs. And if you feel
very adventurers, you can even read the
p5.js documentation and use different new
shapes that we haven't even used in this course.
 Dan Berges, Entrepreneur & Web Developer