Fundamental Of Character Drawing for Beginners
 Amelie Braun, Artist & Cartoonist
Watch this class and thousands more
Watch this class and thousands more
Lessons in This Class
-
-
1.
Introduction
1:06
-
2.
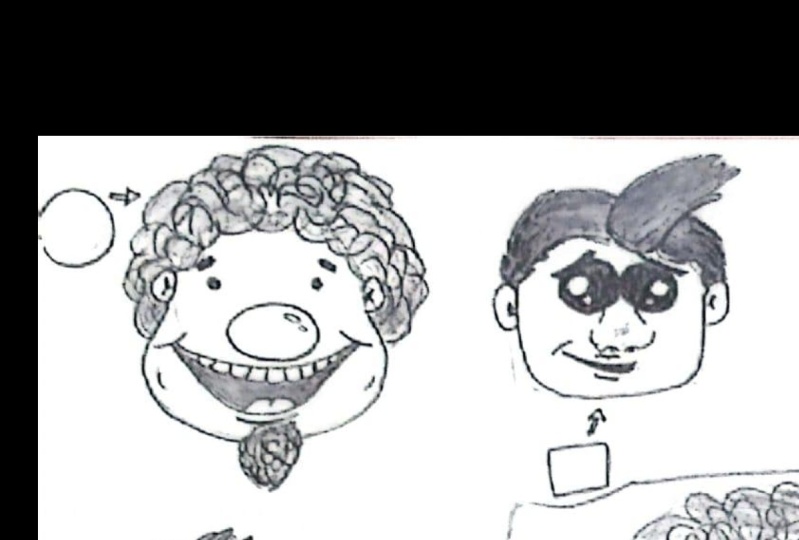
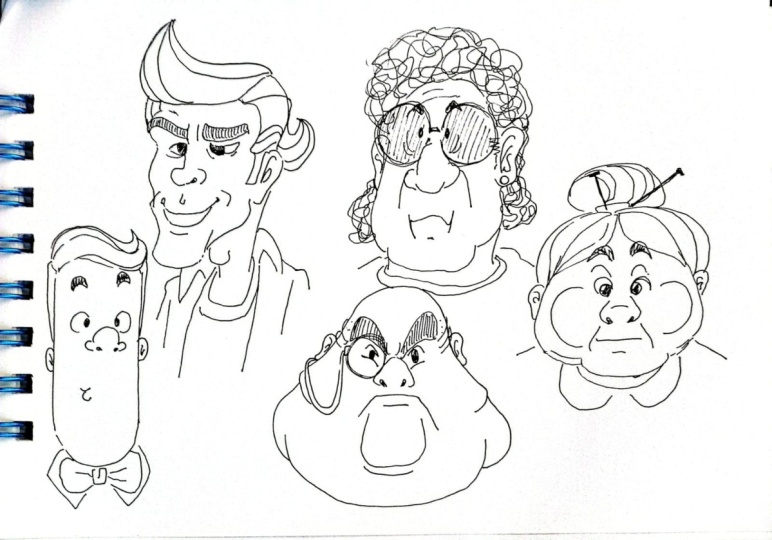
How to draw a cartoon character head
13:32
-
3.
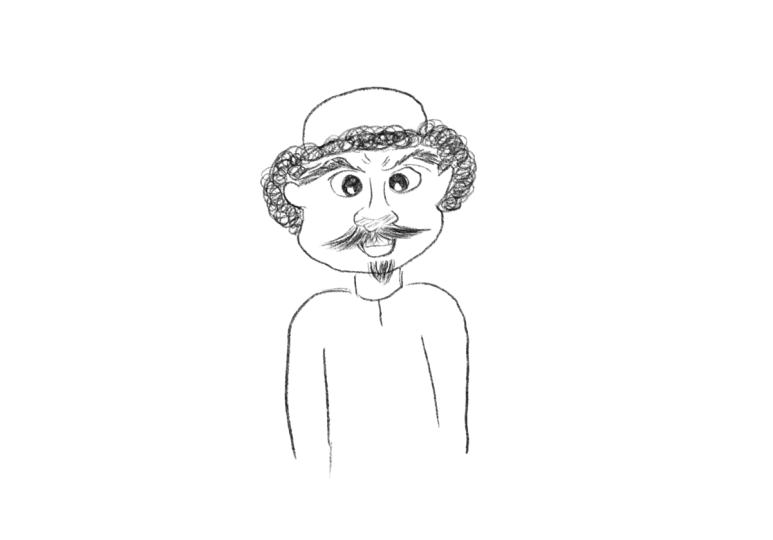
How to draw the character of an old man
11:37
-
-
- --
- Beginner level
- Intermediate level
- Advanced level
- All levels
Community Generated
The level is determined by a majority opinion of students who have reviewed this class. The teacher's recommendation is shown until at least 5 student responses are collected.
52
Students
4
Projects
About This Class
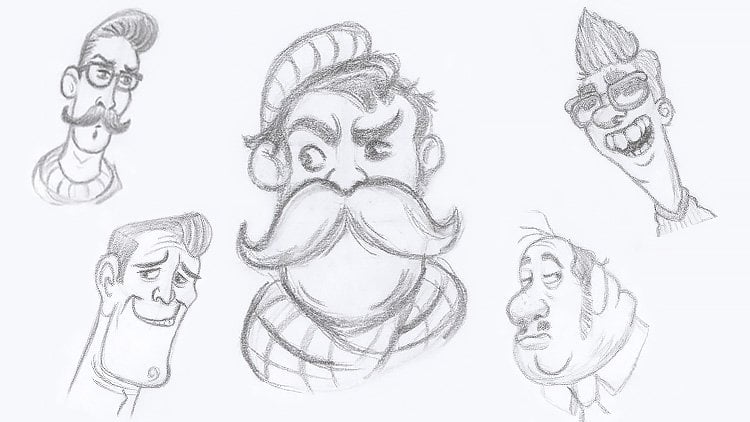
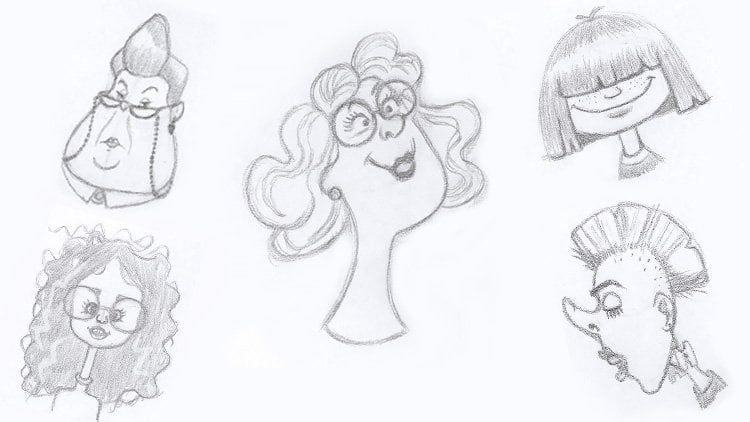
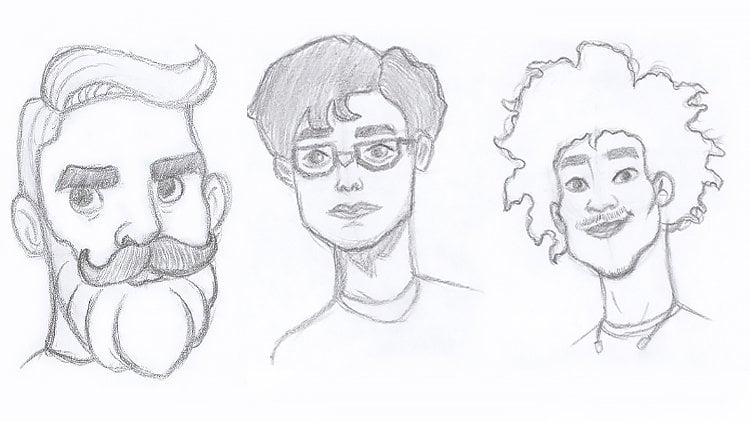
Character drawing is the art of creating visually appealing and memorable characters that captivate audiences and convey stories. It is a vital skill in various creative fields such as animation, comics, video games, and illustration. Whether you're a budding artist or someone with a passion for storytelling, learning the fundamentals of character design can open up a world of creative possibilities.
Class Description:
Are you ready to bring your cartoon characters to life? Join my beginner's character drawing class, where you'll learn how to draw amazing cartoon characters using just a pencil, eraser, and paper.
In this class, I'll start with the basics of drawing a cartoon head, teaching you the essential principles of facial proportions and features. This foundational step will help you create unique and memorable faces that will capture your audience's imagination.
After mastering drawing the head, I'll guide you through the process of drawing a complete cartoon character. From head to toe, you'll learn how to give your character personality, style, and movement.
This class is designed as an introduction to character drawing, providing you with the first steps on your journey to becoming a skilled character artist. You'll get to practice and refine your basic drawing skills, setting the stage for more advanced character design techniques in the future.
Learning Outcomes
By the end of this class, you will:
Understand the Basics of Character Drawing: Gain a solid foundation in the principles of drawing cartoon heads, including facial proportions and features.
Create Unique Characters: Develop the skills to draw faces that are both unique and memorable, with distinctive personalities and styles.
Enhance Artistic Confidence: Build confidence in your drawing abilities, enabling you to express your creative ideas effectively on paper.
Develop a Personal Style: Start to identify and develop your own artistic style, making your characters stand out in a crowded visual landscape.
Practical Drawing Skills: Hone your practical drawing skills, using simple tools like pencils and erasers to create professional-looking artwork.
Meet Your Teacher

Hello, I'm Amelie.
I started drawing with a pencil when I was sixteen, initially focusing on pencil drawing classes. During these early years, I developed a strong foundation in portrait drawing, figure drawing, and facial features design. I also honed my skills in working with colored pencils, ink pens, and watercolors. These diverse experiences have given me a comprehensive understanding of various techniques and styles.
As my interest grew, I discovered a passion for character design and animation, which led me to pursue professional character design classes. My university education in the field of animation further deepened my expertise. At the age of twenty-four, I began teaching character drawing with a pencil, combining my knowledge of traditional drawing techniques... See full profile
Hands-on Class Project
Please share your projects in the "Create a Project" section and ask any questions you may have. I am always here to guide you and provide helpful feedback.
Project 1: Drawing Your First Cartoon Head
Objective: To apply the principles of facial proportions and features learned in class to create a unique cartoon head.
Instructions:
- Choose a reference image or create an imaginary character.
- Sketch the basic head shape, focusing on proportions.
- Add facial features (eyes, nose, mouth, ears) while considering their placement and size.
- Experiment with different hairstyles and accessories to give your character a distinct look.
- Refine your drawing with clean lines and add shading if desired.
Outcome: A completed drawing of a cartoon head that demonstrates understanding of facial proportions and features.
Project 2: Creating Expressive Faces
Objective: To practice drawing multiple cartoon heads with varied expressions, capturing different emotions.
Instructions:
- Draw six different cartoon heads on a single sheet of paper.
- Assign a different emotion to each head (e.g., happy, sad, angry, surprised, confused, excited).
- Focus on how facial features change with each emotion (e.g., eyebrow shape, mouth position, eye size).
- Add details like wrinkles, blush, or sweat drops to enhance expressions.
- Ensure each head is distinct and clearly conveys the assigned emotion.
Outcome: A series of six cartoon heads, each showcasing a different, clearly identifiable expression.
Project 3: Designing a Full Cartoon Character
Objective: To create a complete cartoon character from head to toe, incorporating personality, style, and movement.
Instructions:
- Start by drawing the character's head using the skills from Project 1.
- Sketch the character's body, paying attention to proportions and posture.
- Design an outfit and accessories that reflect the character's personality and style.
- Draw the character in a dynamic pose to convey movement and action.
- Add final details and clean up your drawing for presentation.
Outcome: A fully designed cartoon character that demonstrates an understanding of character proportions, personality, style, and dynamic posing.
Class Ratings
Why Join Skillshare?
Take award-winning Skillshare Original Classes
Each class has short lessons, hands-on projects
Your membership supports Skillshare teachers
Learn From Anywhere
Take classes on the go with the Skillshare app. Stream or download to watch on the plane, the subway, or wherever you learn best.