Transcripts
1. Introduction: Hi. I'm Tabatha. And in this photography class, we're going to be taking
a picture of texture. This kind of shot is awesome
for a feed or portfolio. It helps kind of break it
up by adding this more of an abstract close up
feel to your work. You can use these images on your website for just a
little touch of flare, maybe a cookbook or a puzzle, or just a beautiful piece of
art to hang in your home. There are so many use cases
for this kind of shot, and it's a really fun way to add some personality or
mix up your workflow. So I hope you will join me
for this click music class, and I hope that you feel inspired to share the
images that you create. My name is Tabitha. I'm a lifestyle product and food photographer and
teacher here on Skill Share. I've been doing what I do
for just over eight years, and I'm really excited
to share all my tips and tricks that I've picked up
along the way with you. So let's get started.
2. Project and Equipment: Thanks so much for joining me. For the class project, you're going to need a camera and something to photograph. For your something
to photograph, consider maybe herbs or
ingredients, fresh produce, peanut butter,
something that you can spread out so
that it hits edge to edge of all the edges
of your frame near photo. We are going to be photographing it all
on the same plane. And so it's important that
whatever you choose can be relatively flat so that the whole image can be in focus. I'm going to be shooting
with my Nikon D 750 DSLR and a macro
105 millimeter lens. I love this lens. It offers
me a lot of flexibility, and it has a really nice
minimum focal distance, so I can get really close to my subject, and it
will still focus. I don't know if you've had
that issue where you try to take a picture of
something, and it's like, it won't focus because
you're too close, and you have to back up, and then your
framings all weird. The macro doesn't do that. It means I can get really close up pictures of my subject, and I can also back
up and get more of the shot in the
scene as well. You don't need a macro
lens for this class, but I would recommend a lens
in the focal range 50-120. Anything wider than 50, it's going to be tricky to
not have a lot of distortion. It's going to be tricky
to get everything in the shot because you're going to be seeing a lot
more of the scene. And then obviously on the
other end of the spectrum, you're going to have to be
so far away from your scene to get it framed well that
it'll be tricky that way. So if you have a Zoom lens, I would try setting
it to 50 millimeters, maybe 85 millimeters,
and playing around. With that and see what
you like in that range. For my demo, I'll be using my continuous light with a
light dome attached to it. You can do this
picture with a window, and I will show
you that as well. So if you will join
me in my kitchen, we'll grab our cameras
and get shooting.
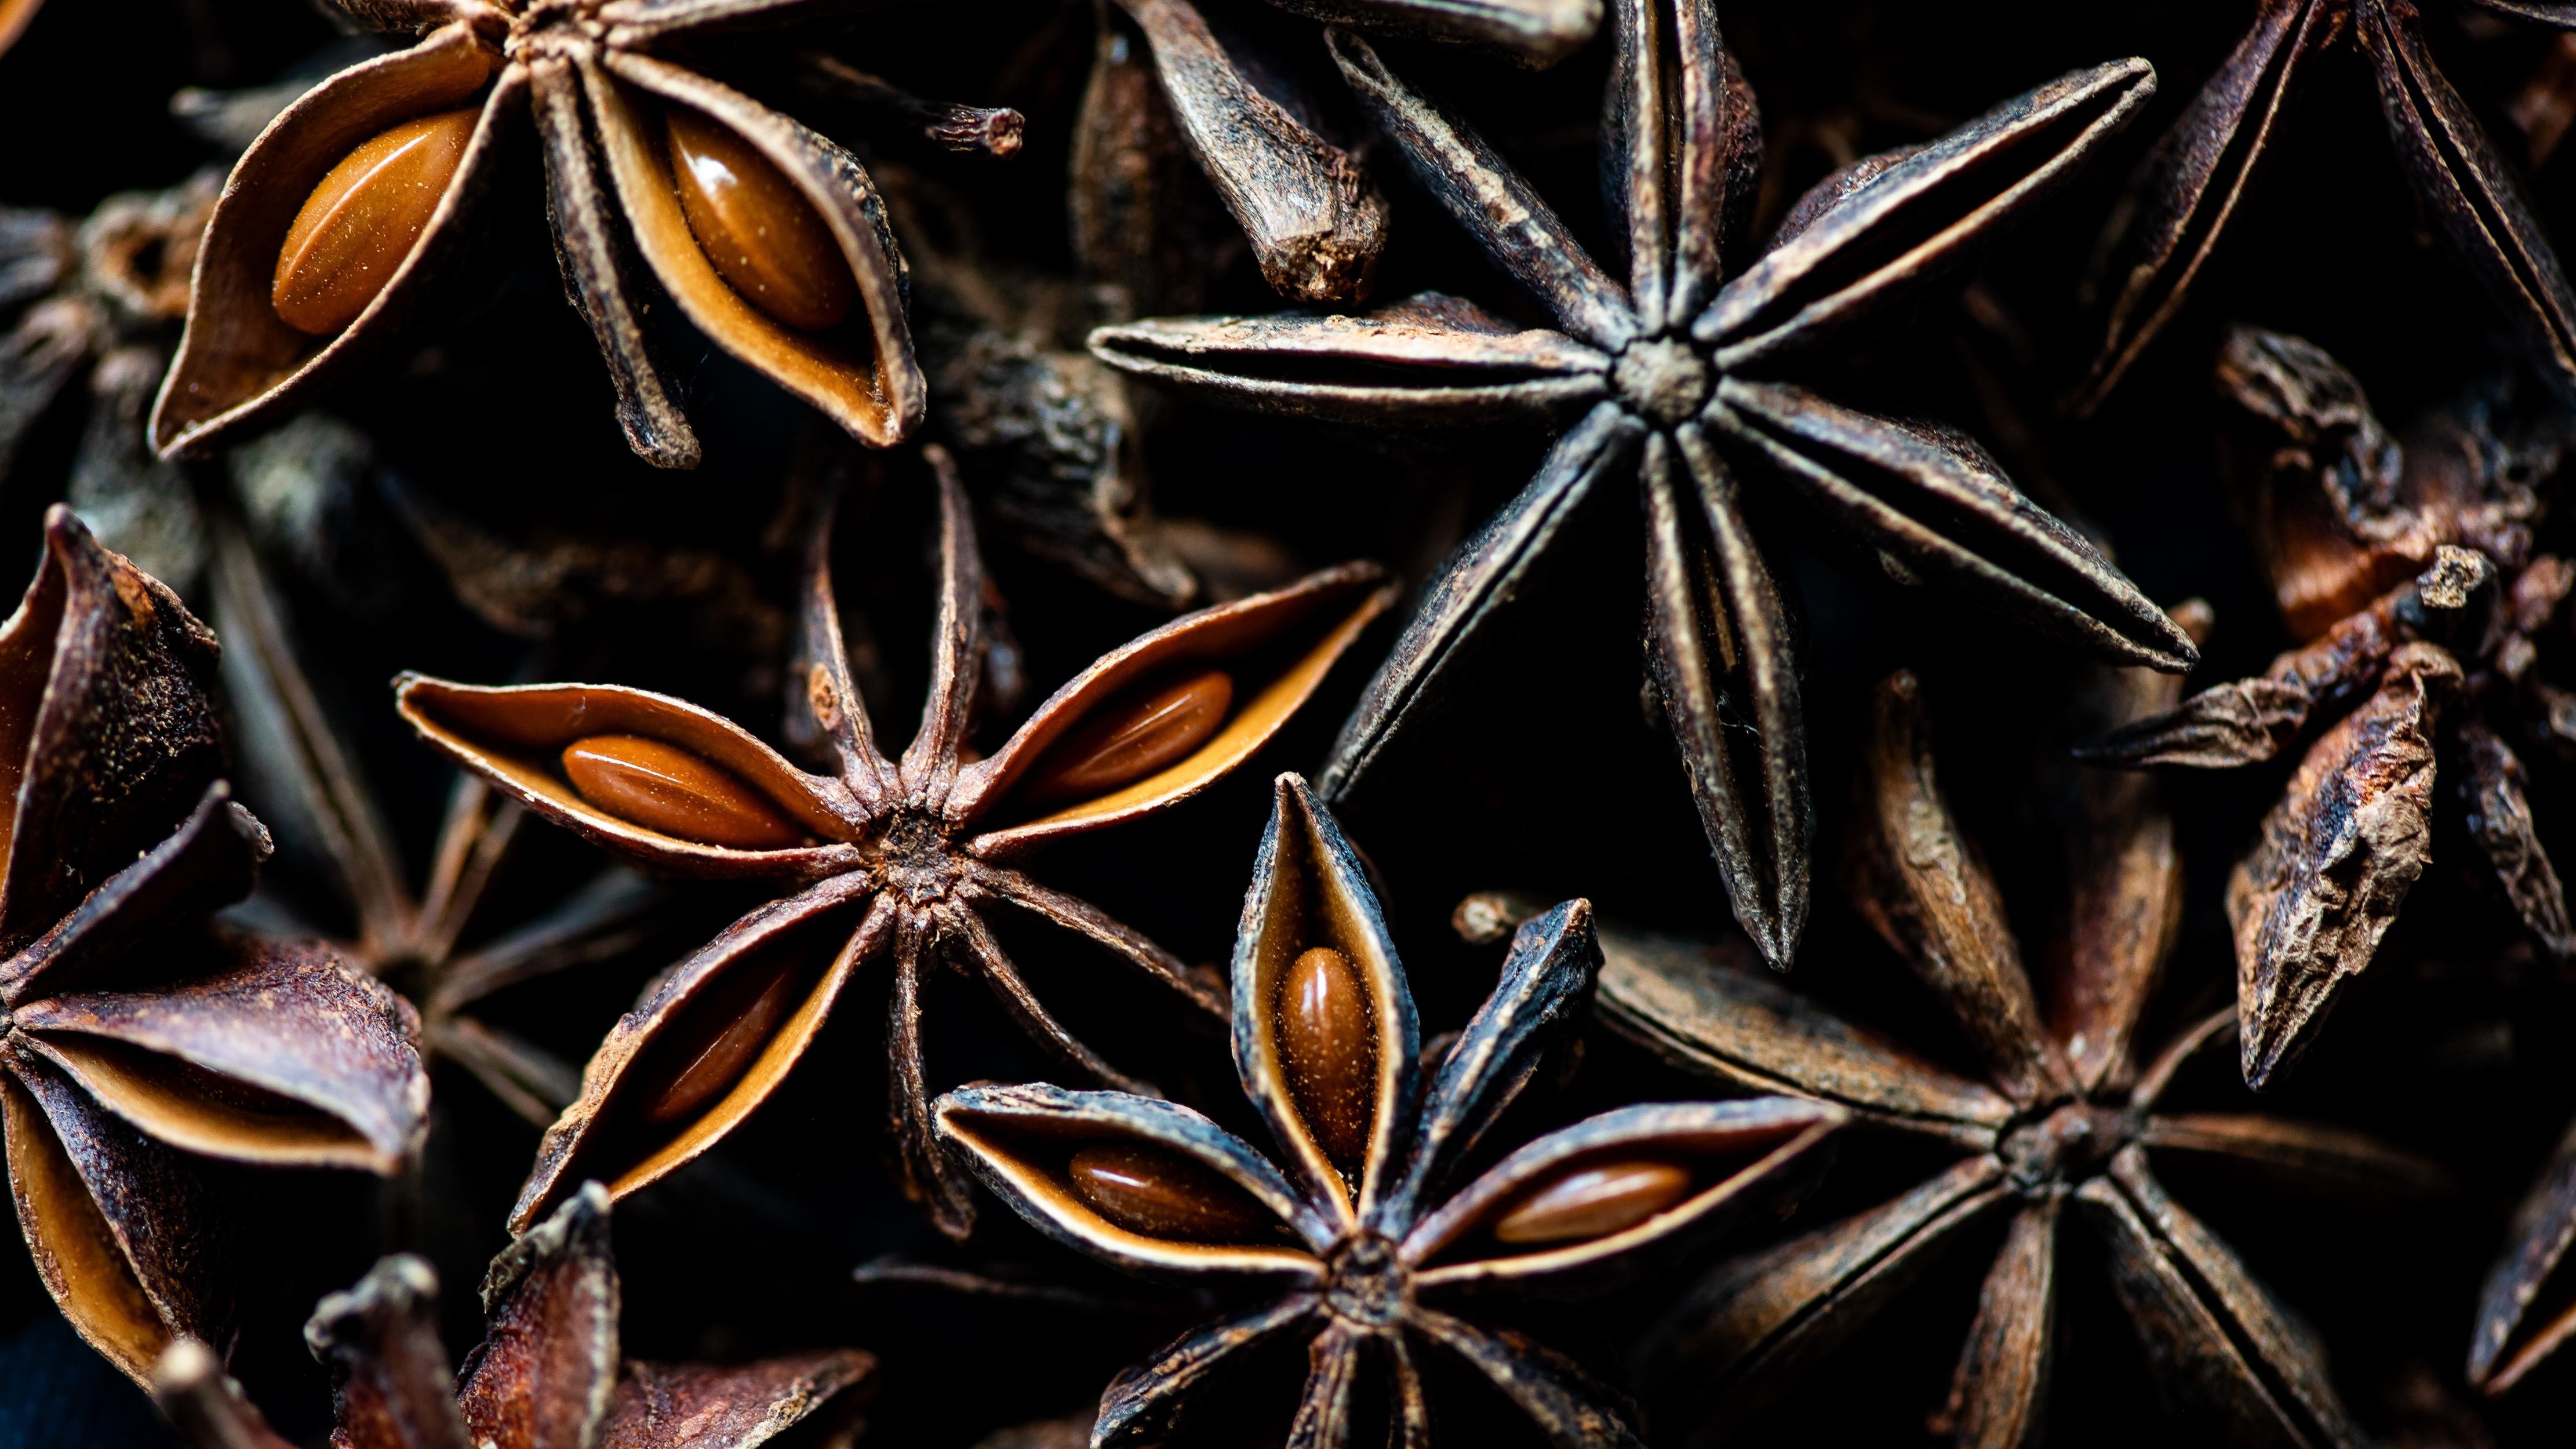
3. Photoshoot: For my shot demo, I'm going to be
photographing Star Anise. I've got a bunch just
laid in a pile here, and I'm going to take an
overhead flat lay style image. I have my light dome setup here with the honeycomb
grid attachment. I chose this one because
it's the happy middle. Using the diffusing
panel was too soft, and using a bare bulb gave me too harsh of shadows.
This is perfect. This will help give these
edges texture and contrast. Position my light
from the side so that it scrapes across
the top of my scene. This is called raking light. This is where the light hits the mountains and cast
shadows in the valleys. This is what we need to have our high contrast texture shot. So I'm going to jump in. I'll put my settings
on the screen so you can see where I am at. Basically, I have layered these so that they're
about two layers deep, and I put them on black so that you can't really
see that they end. I want to imply that these
go on and on and on, and they're very gratuitous. And I'm going to try to make this pile look bigger
than it actually is. So I have flipped a few to show the shiny little
ani seeds in there. And those are going to catch the light in a really nice way. I want to position
enough of these so that you can see the really
pretty star texture, and it's not just kind of
like muddy blocky ugly bits. So I'm really happy
with how this looks. I'm going to try to
get these kind of three as the main
focus in the center. So I'm going to adjust and I'm really
happy with how this looks. I'm going to get even
closer because I can. I typically go for
tall compositions because a lot of my work ends up being shared on Instagram. And so I want to make sure that I'm composing for that crop. However, once you have a
setup like this already done, it benefits you to capture
wide shots as well, because you never know
when you maybe want to license your work to
be used elsewhere, and you'll be glad that
you have a copy of it from the other orientation. Awesome. I really love
how this turned out. If you were going to try to take this picture with your phone,
if you have an iPhone, I recommend tapping
the one x twice to get to the 35
millimeter lens. This is the main camera lens. It's not the macro lens. I found that the macro lens, which is also the
wide angle lens tends to be lower quality and have more pixel noise and
just grain in general. I found that it's harder to get a high quality image
with that lens. So I just use the main camera
lens and I tap to 1.5. And then for this, I
want to get as close as possible without triggering
that macro lens. And so I can't get super close. But being able to
take a picture of the whole scene and
then crop afterwards, I feel like you're going
to get a very similar effect using just your phone. If you want to mimic the look of a light
dome or a strobe light, basically this
situation with a grid, but you only have natural
light to work with, I recommend finding a window
that direct light comes through and then diffusing that direct light with a
piece of tracing paper. This is going to
give you a really bright but diffused light. And then from there to
make sure that your lights coming from just the side
rather than all above, you can take a fill card or a piece of black
foam core and block the top half of
that light so that only the side light spills
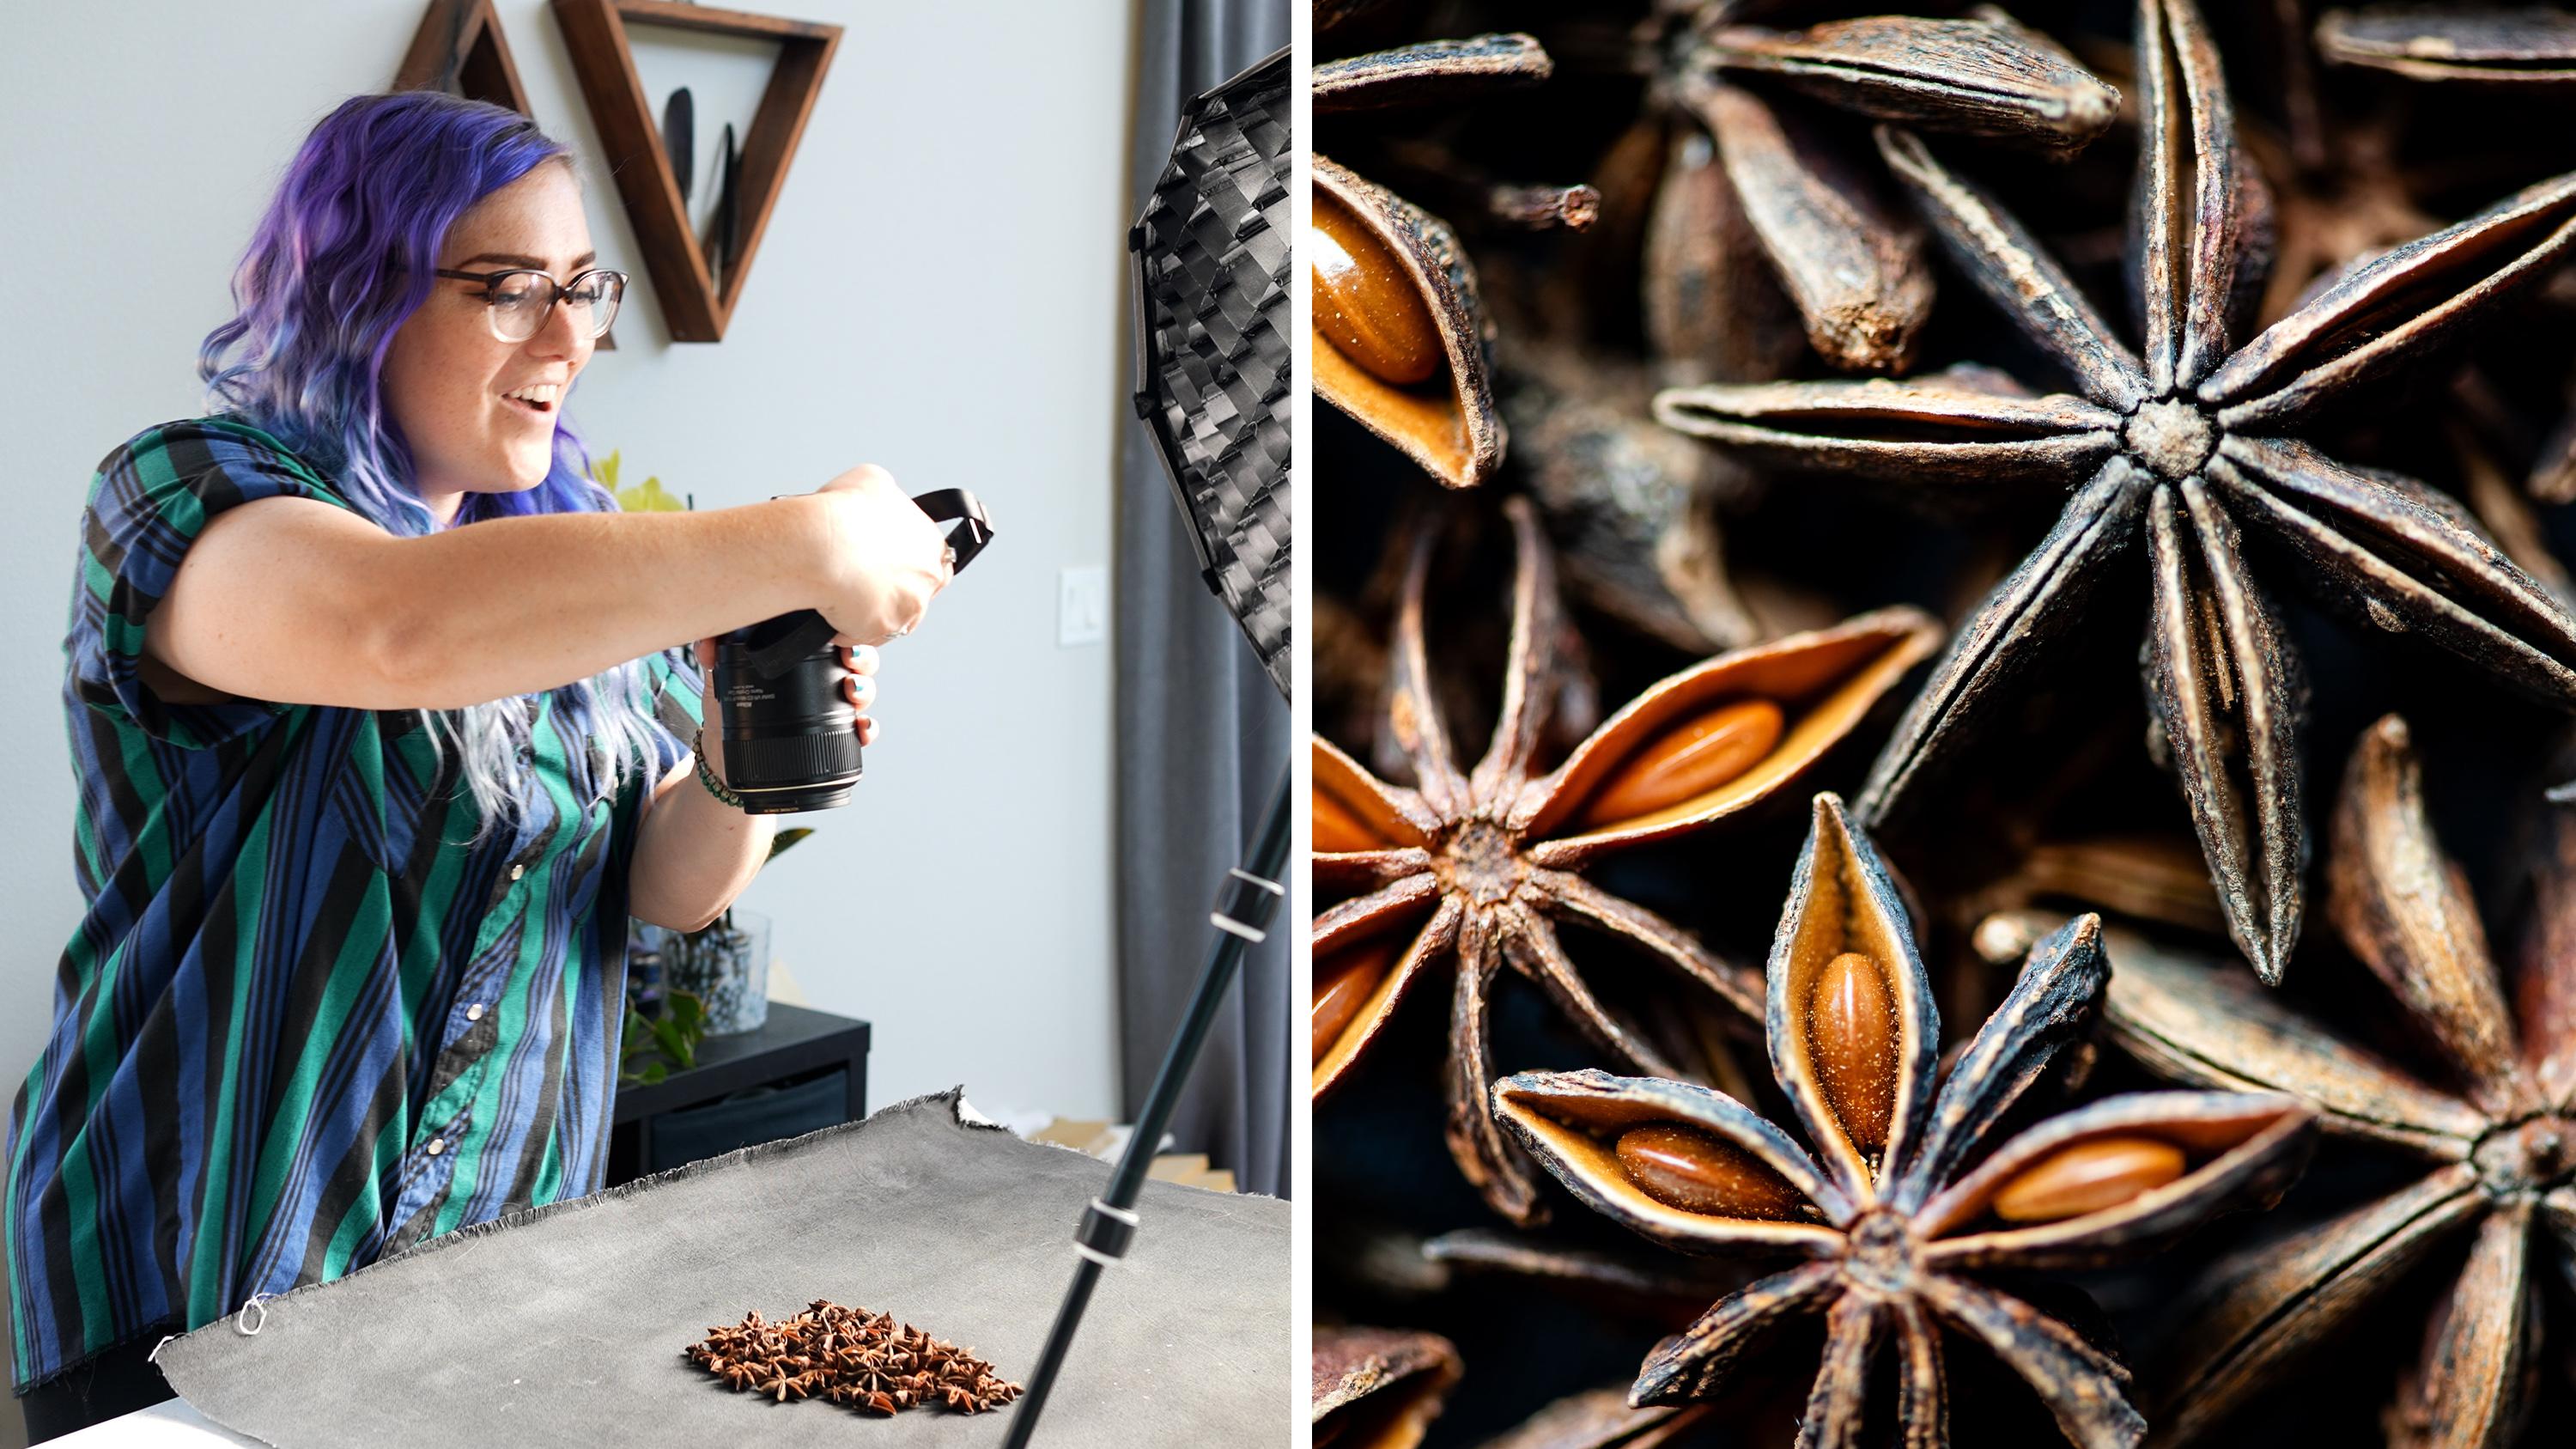
over and not the fill light. Here is the two
images side by side, one lit with the
light dome and the other lit naturally
using a window. And I feel like the result
is very comparable. To edit this image, I'm going to punch up the contrast and sharpen
it really, really well. I'm going to remove any
distracting elements from the picture and make
sure that I'm keeping the most important part or the most eye
catching part on one of these four crosshairs
following the rule of thirds. Here is a few quick edits that I would use
on these images, cropping 24 by five and being able to share
on social media.
4. Final Thoughts: And that's everything. Thank you so much
for taking my class. I hope that you enjoyed it. I hope that this was
insightful to be able to take a peek into how I
would craft a shot like this, sculpting my light,
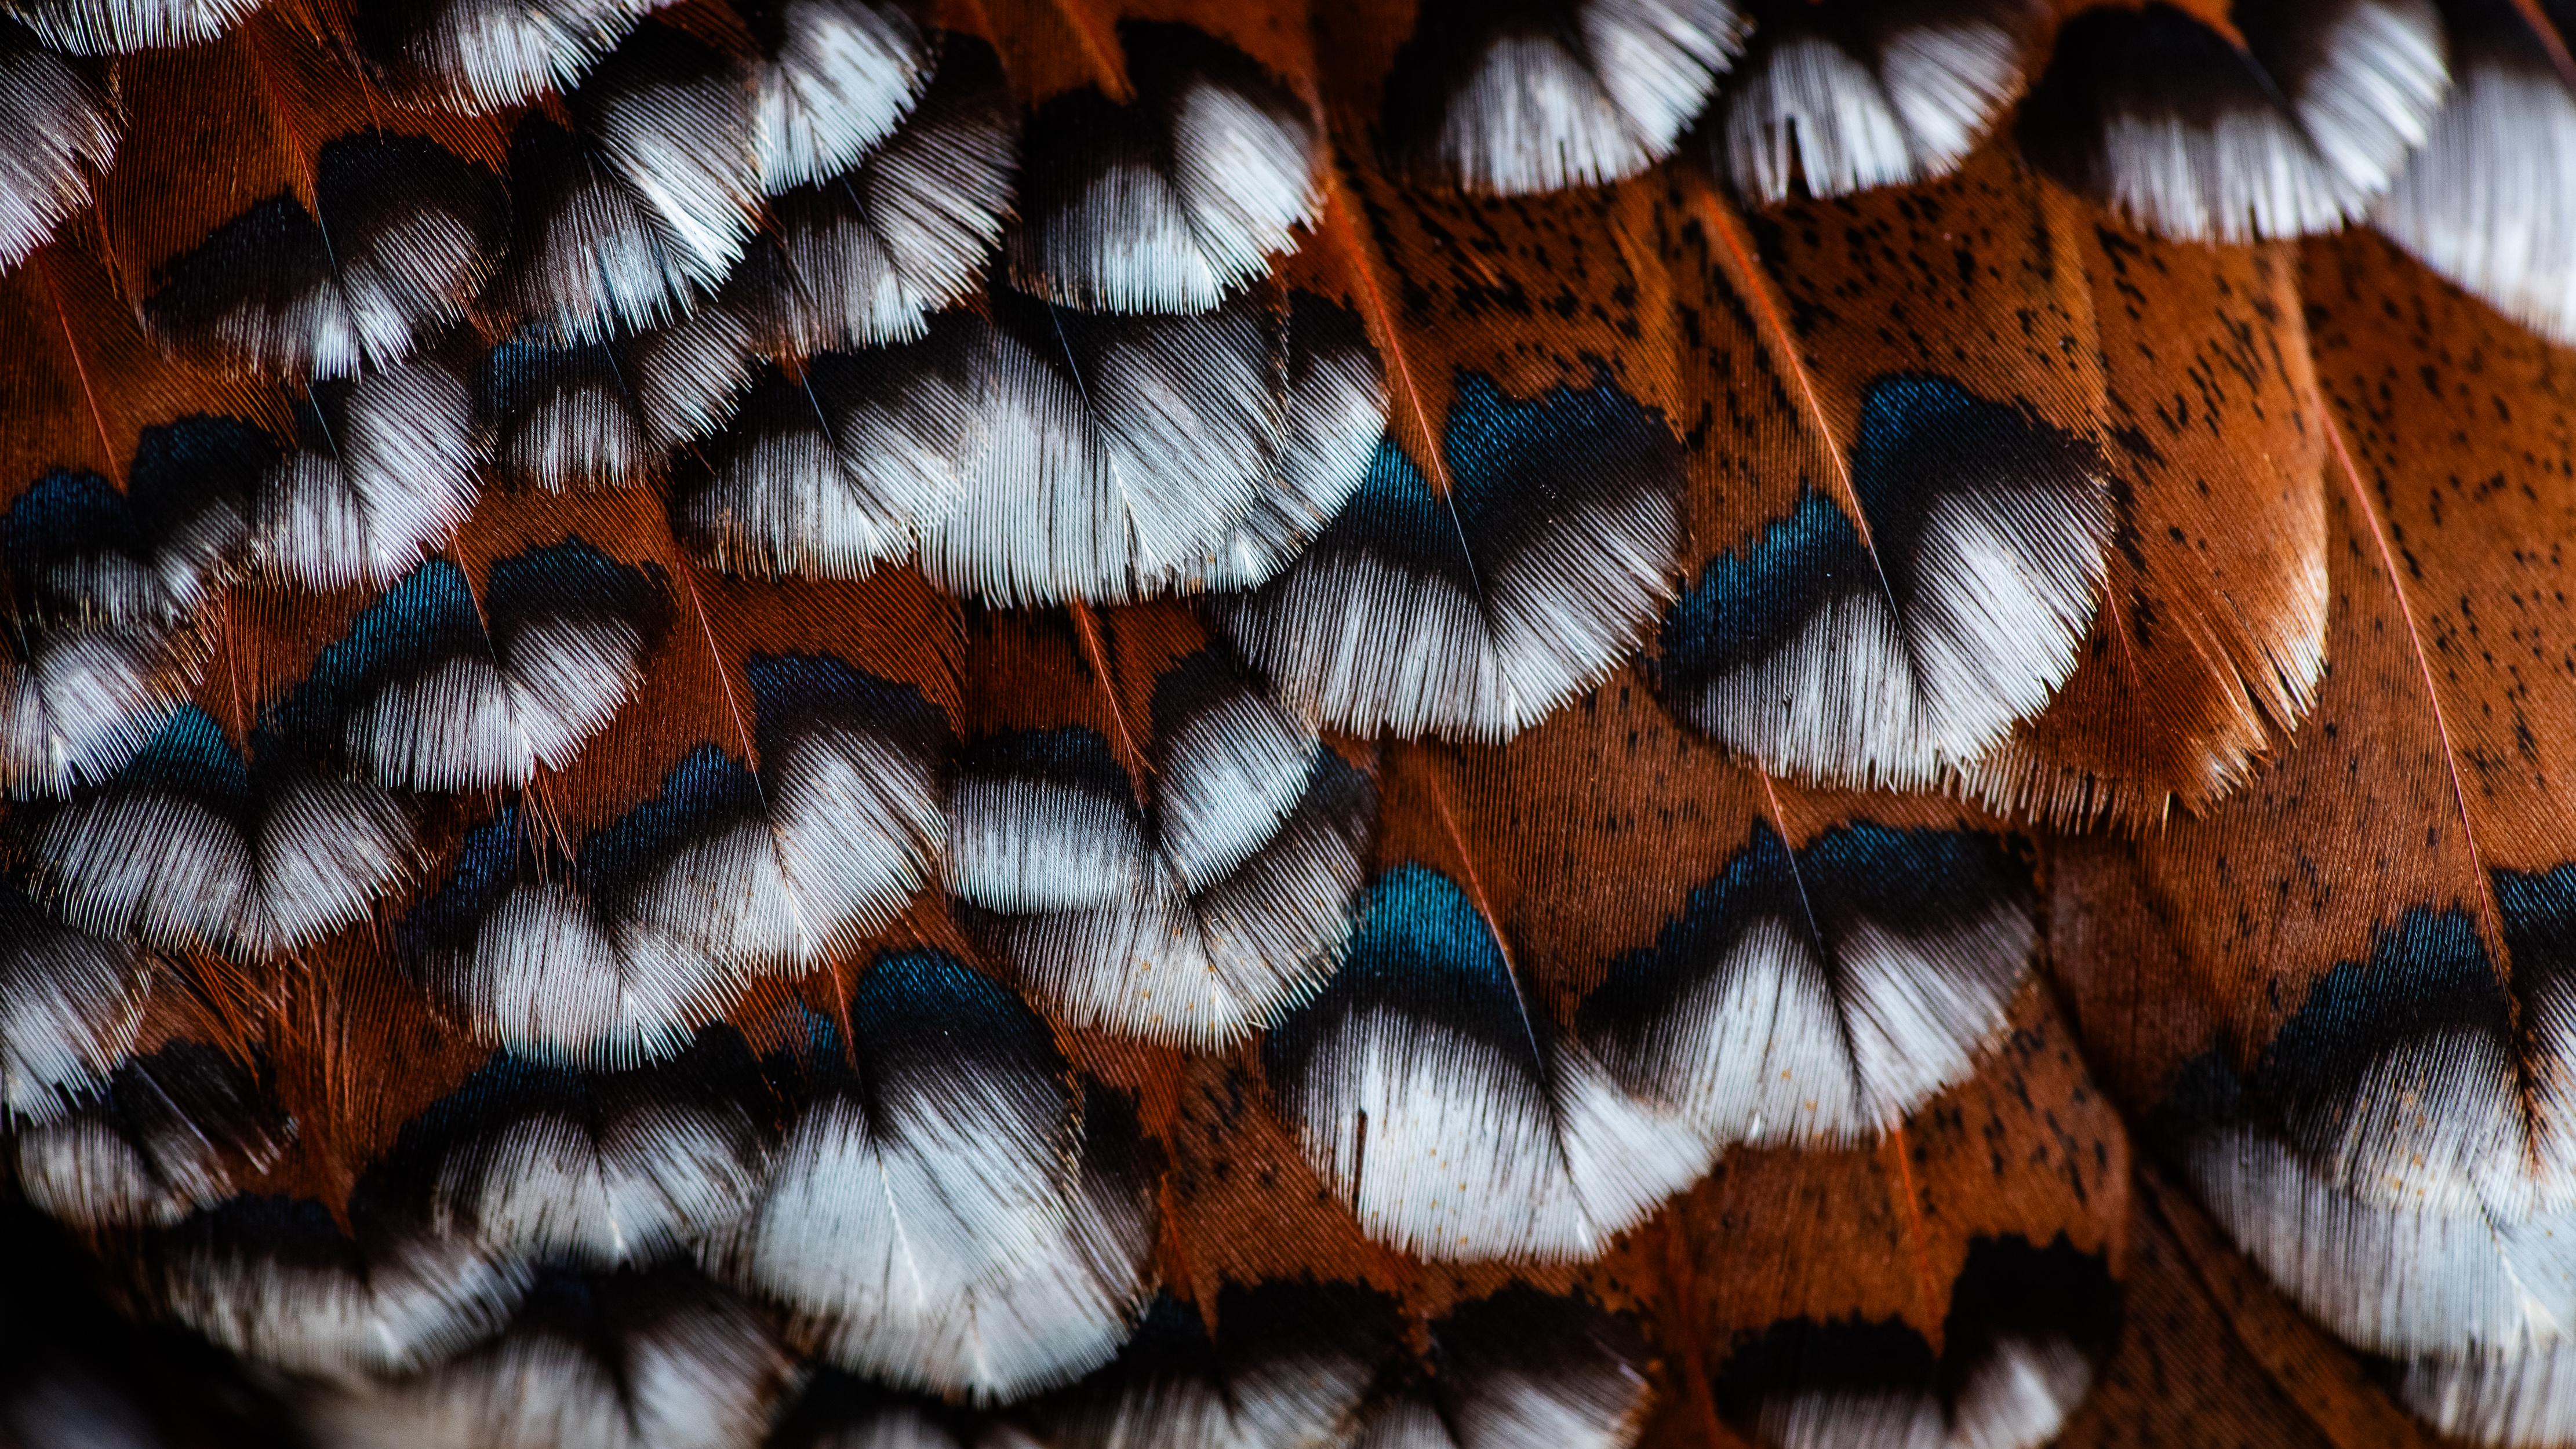
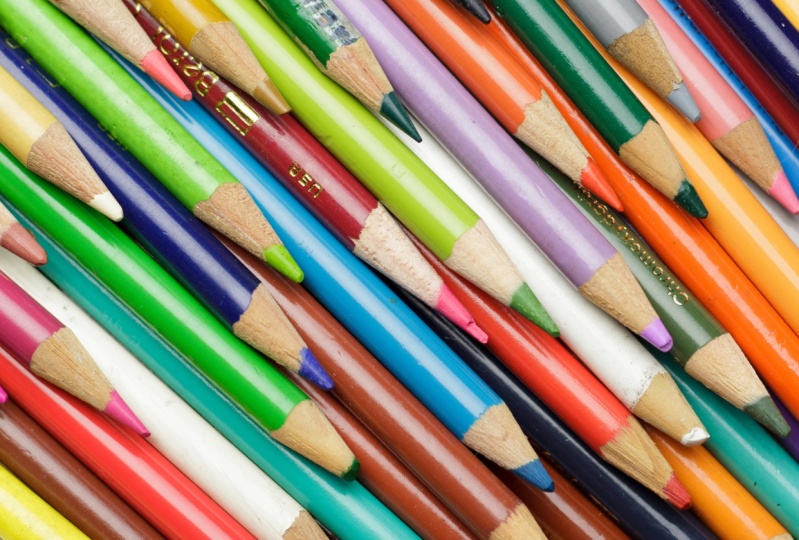
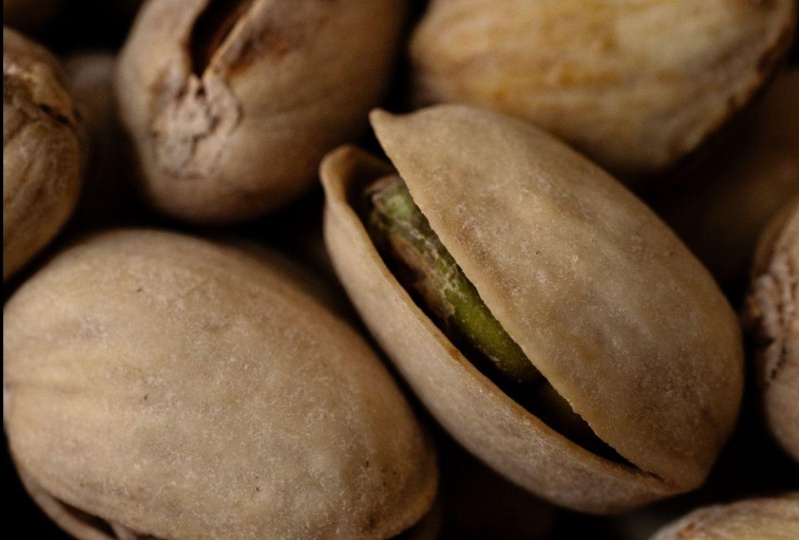
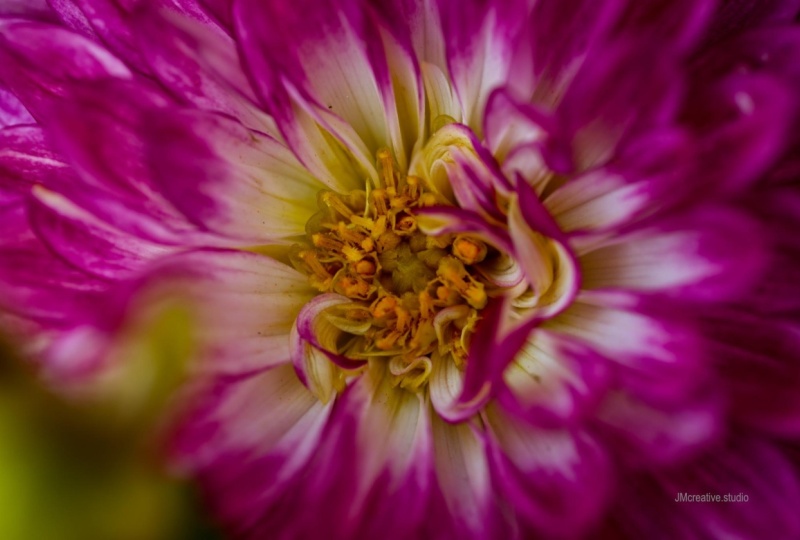
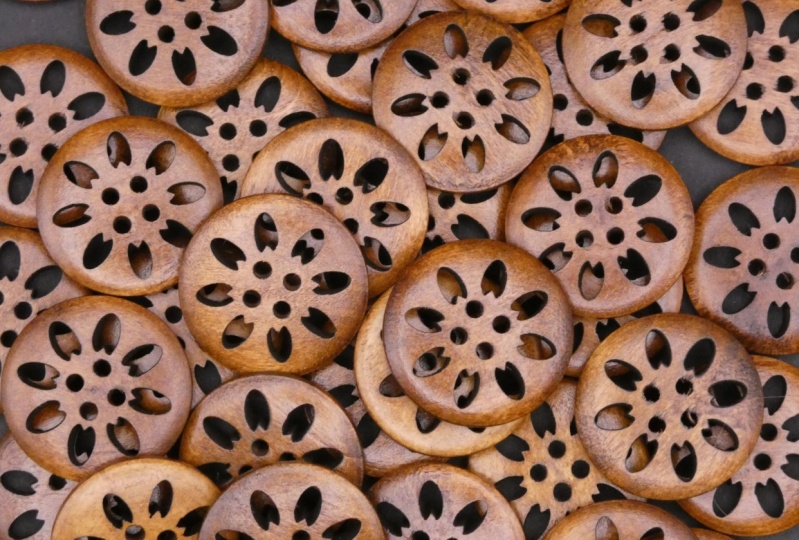
and editing it to make it look its best. Here's some other example
photos of this concept. I hope that you feel inspired to take a texture shot of your own, photographing something that you feel drawn to, whether it's a wood pile or an
array of candy. Maybe it's the soft swirl of butter cream
on top of a cake. Whatever you decide
to photograph, I hope that you
keep these tips in mind and get it
to look it's best showing off that
texture and letting the image be a piece
of art on its own. Ever you photograph, I hope that you share it in the
project section, so I can see I always love
seeing what you create. If you share on Instagram, make sure to tag me, my handle
is just tap of the park. If you enjoyed this class
and you want to watch more, I have over 36 classes
here on Skillshare from photographing product and food to making your own
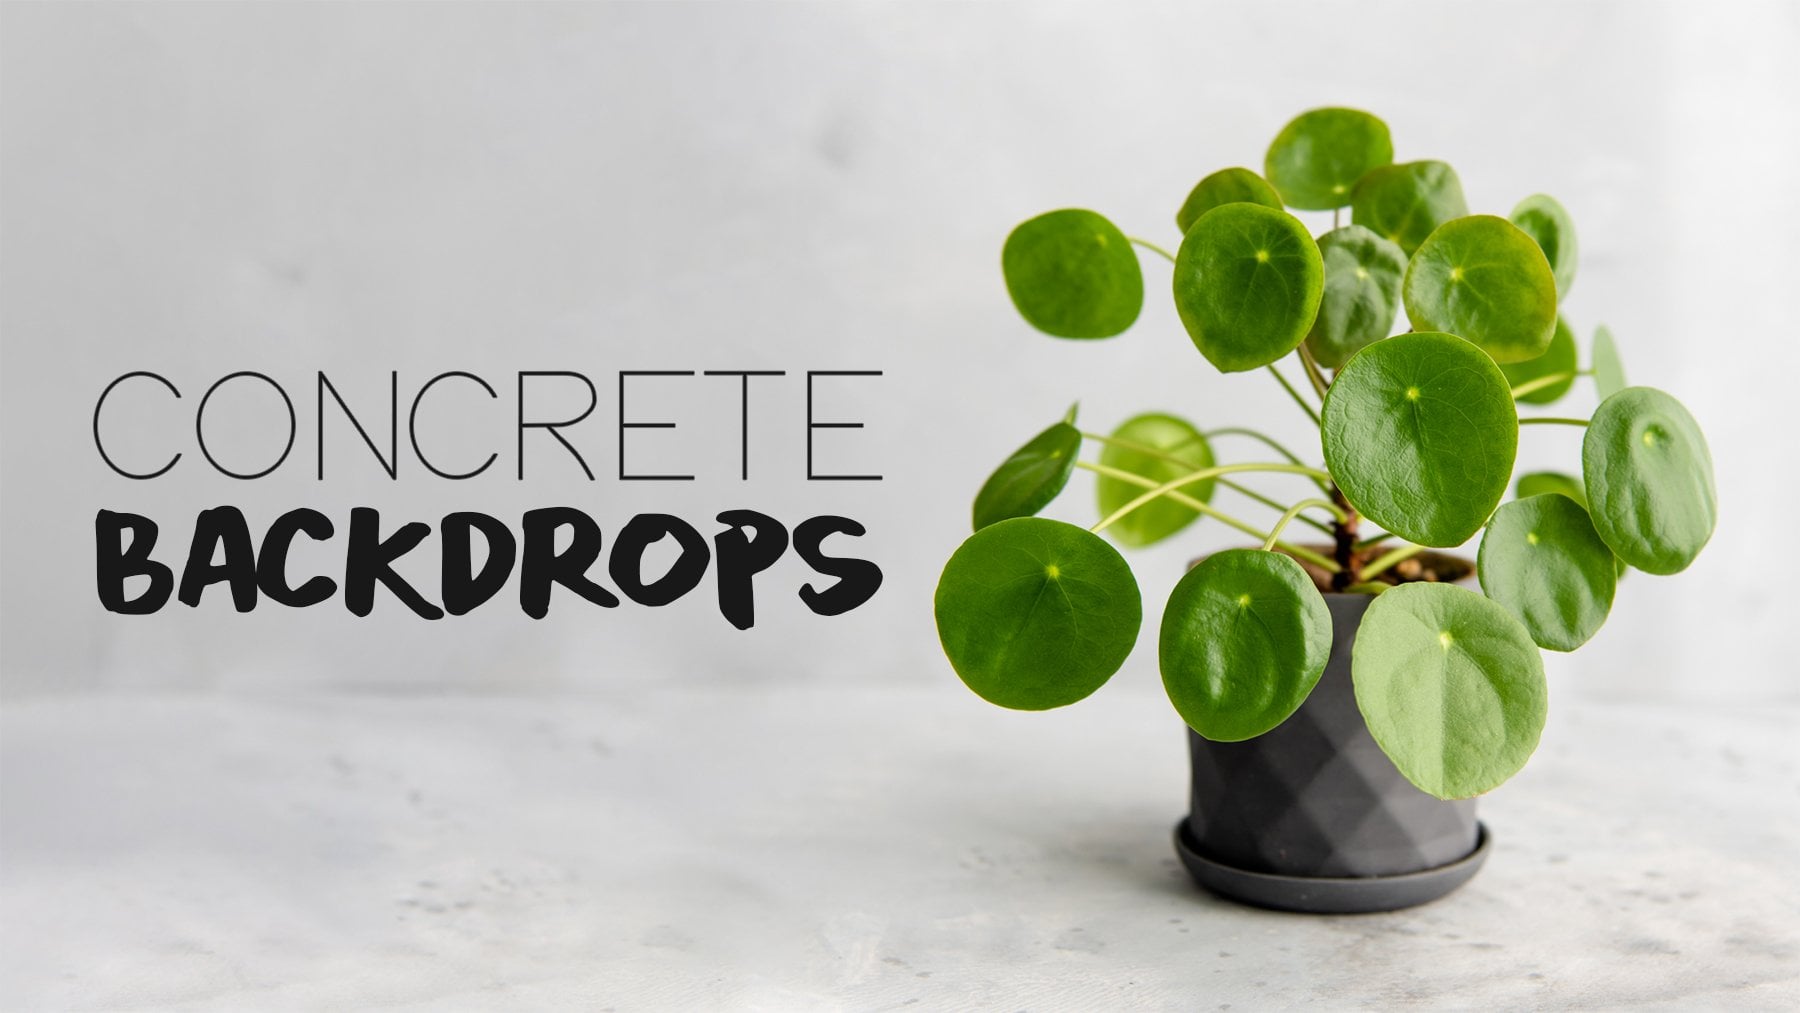
backdrops like this one. Thank you so much for your time, and I will see you
in the next one.
 Tabitha Park, Product & Food Photographer