Transcripts
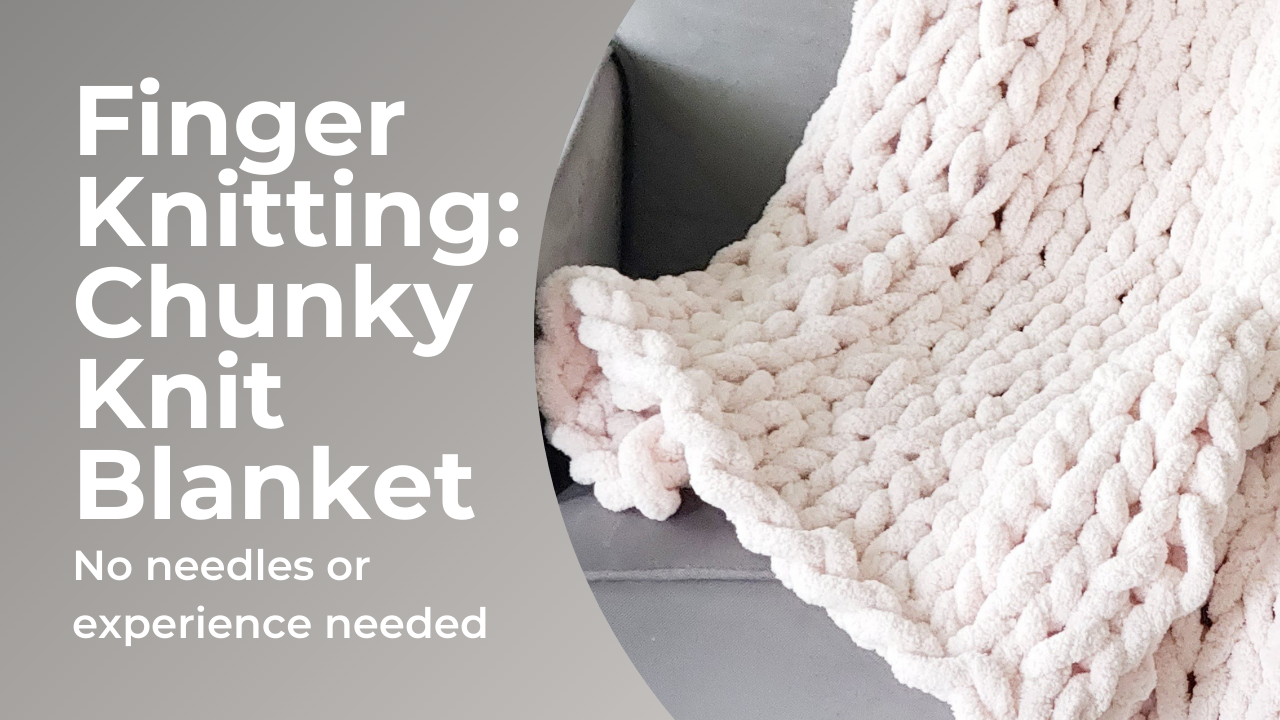
1. Finger Knitting: Chunky Yarn Banket: What if I told you,
you could make one of these $200 blankets for under $35 in one afternoon
with no previous experience. I know what you're thinking. Jessica, that's not possible, but I'm here to tell
you it totally is. And by the end of this class, you'll have the skills
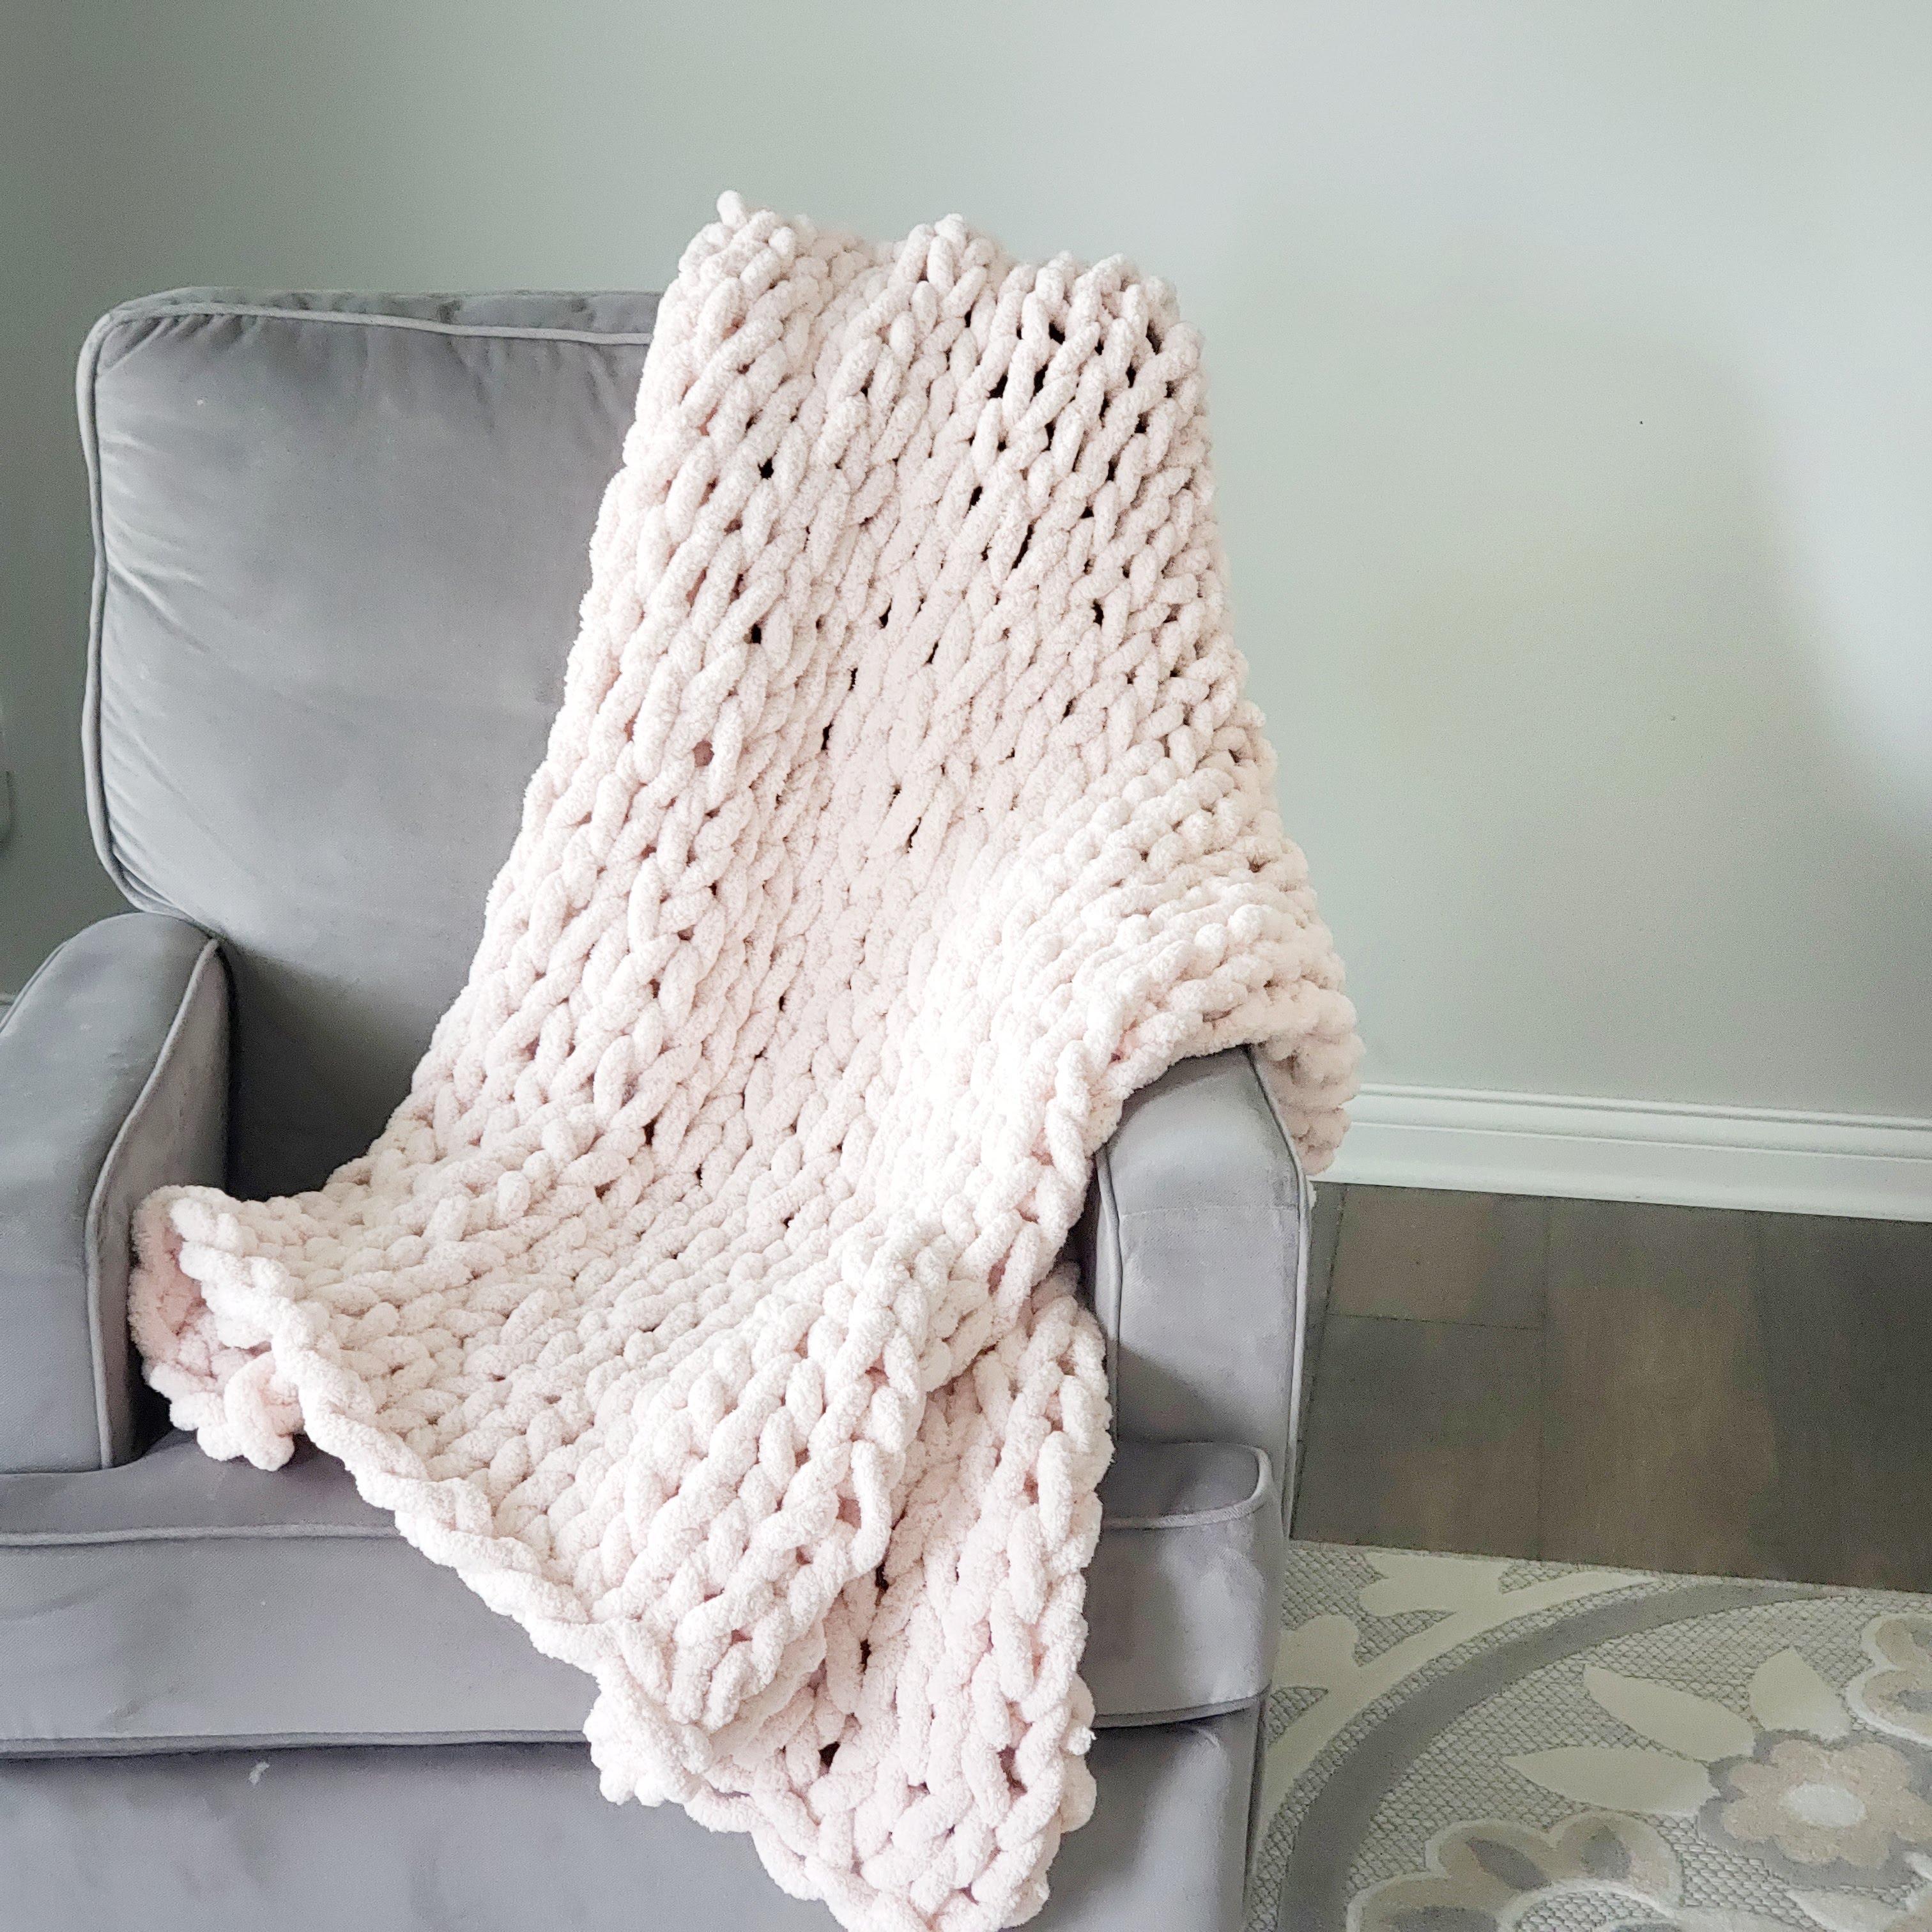
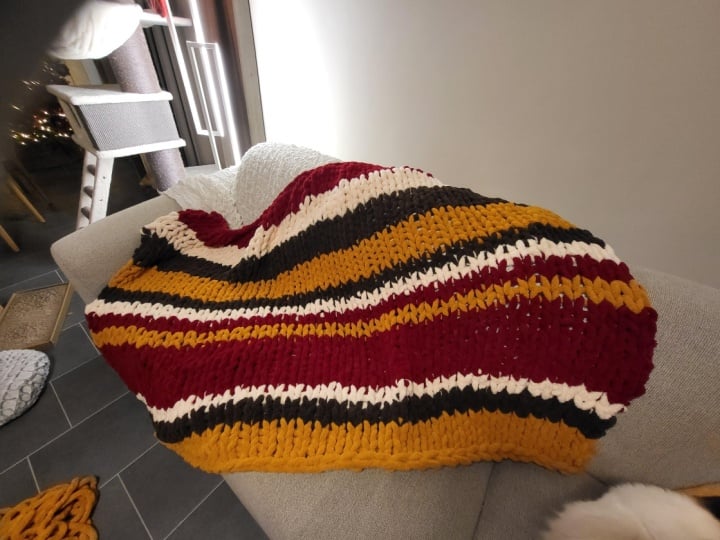
to do exactly that. Pretty awesome, right? In this class, I'm going to show you exactly how to make one of these gorgeous
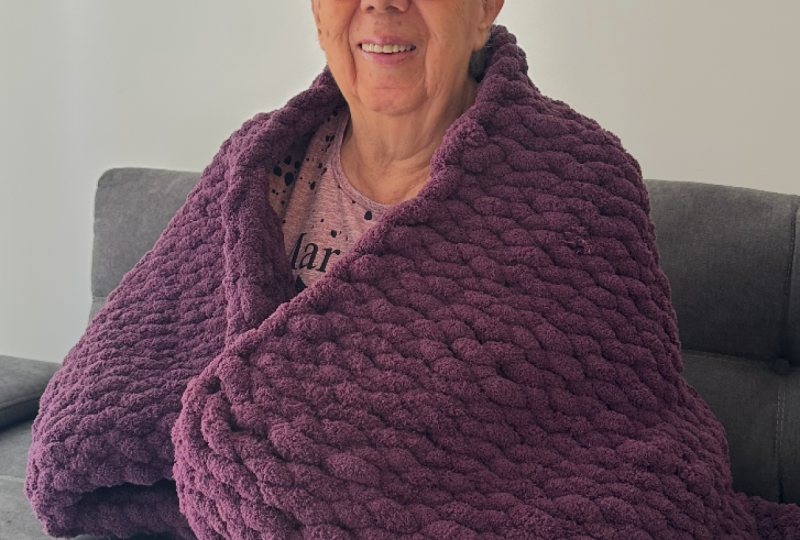
squishy chunky knit blankets to snuggle up with or give as a quality
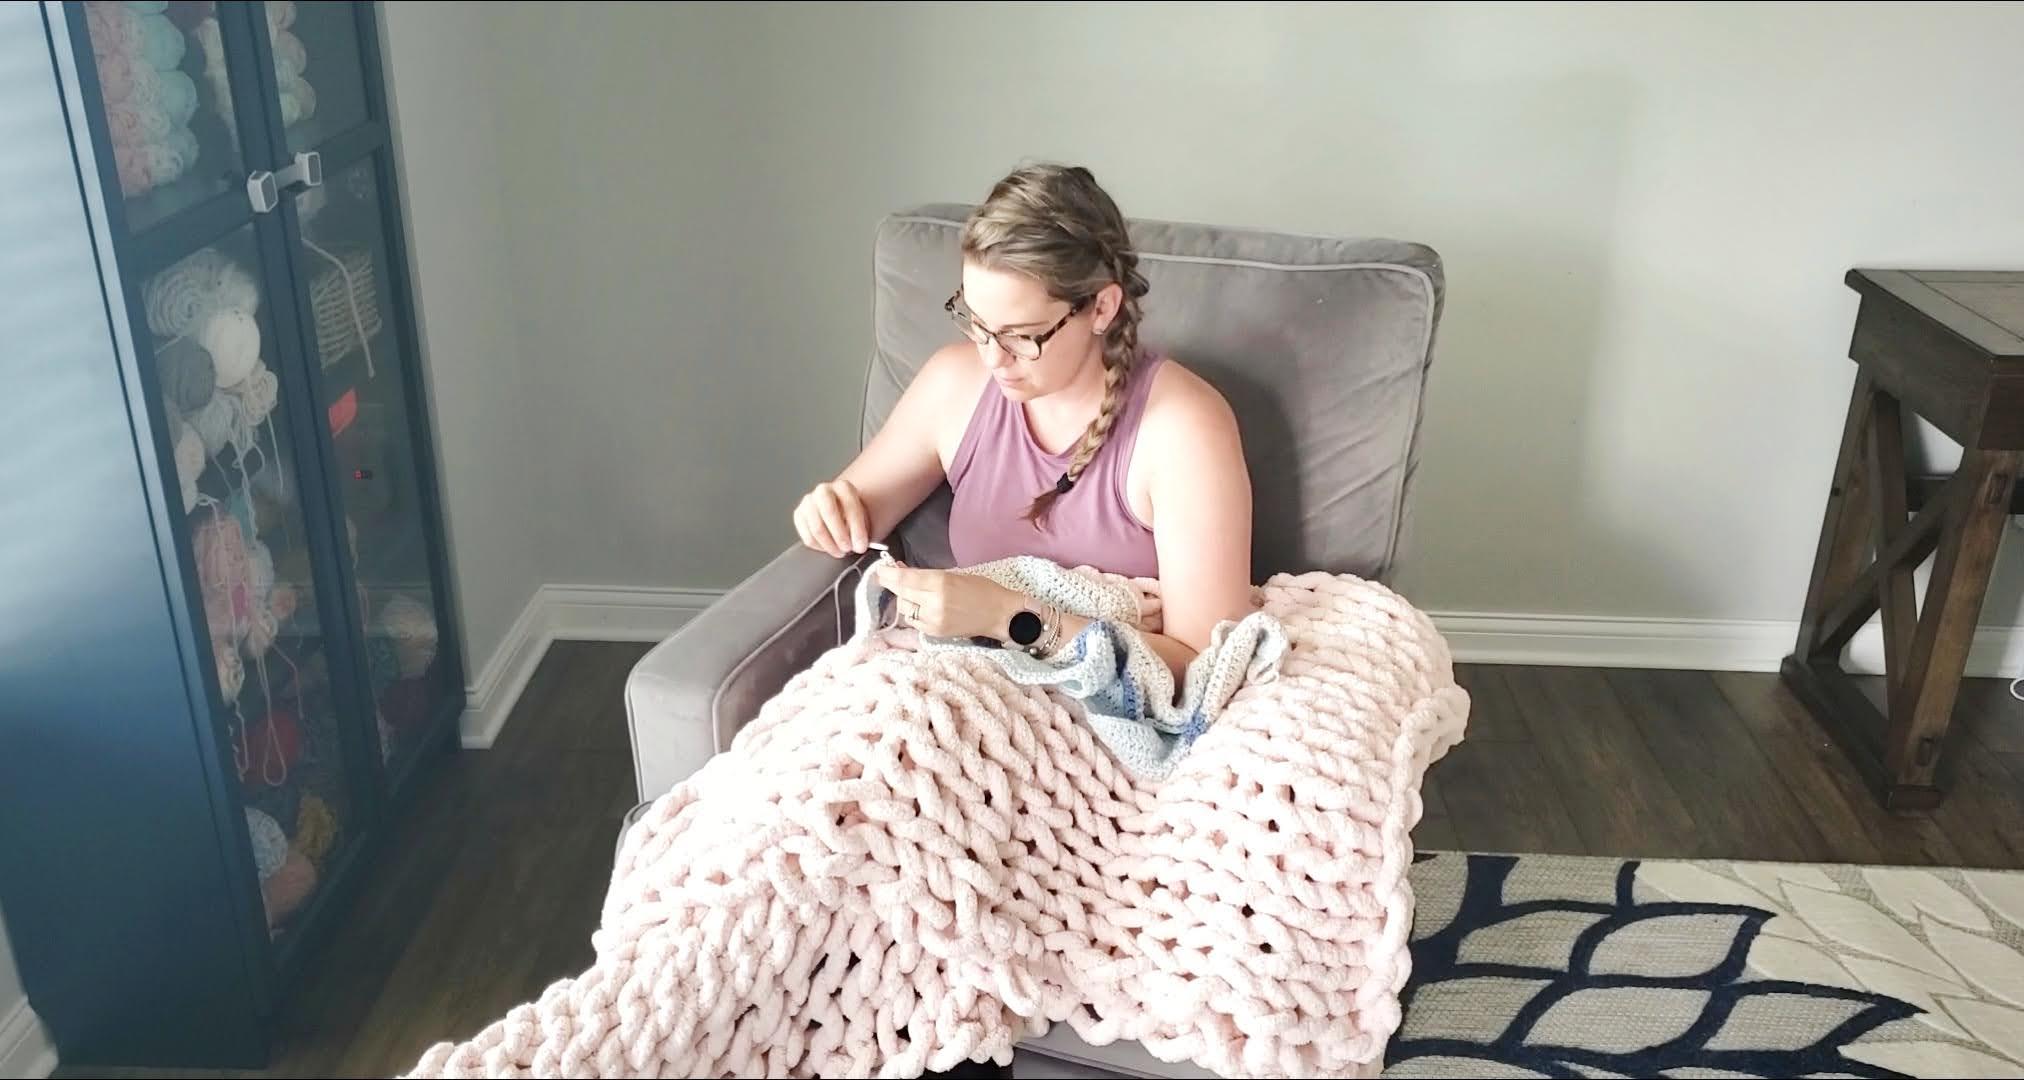
present for a loved one. Hi. I'm Jessica, your
crochet teacher. Only today, we're not
talking about crochet. I'm the owner and maker
behind but first crochet. And when I'm not
playing with yarn, I'm working in healthcare and taking care of my family of six. I picked up my yarn
habit years ago, and I love it so much that
I want to teach you how fiber arts can be such a rewarding hobby
and stress reliever. Okay. Join me in today's
class to learn all about creating a chunky knit
blanket with only your hands. We will go over
the best materials for creating the blanket, chaining, finger knitting, attaching a new skein of
yarn, and binding off. By the end of the class, you will be snuggled
on the couch with a beautiful blanket made
by your very own hands. I'm so excited to see
your finished blankets. Let's get started. But one
more thing before we jump in. If you are eager to
learn more about all my latest classes,
updates, and projects, follow me on Skillshare
and on Instagram at first crochet and
but first crochet.com, kind of like but first
coffee, only it's Yarn. Let's go straight into
the first lesson.
2. Yarn and Chaining: For today's class,
you're going to need six balls of yarn
be eternal bliss. I use the color soft pink. This is a extra extra bulky yarn that can be found
at Hobby Lobby. It's a ounces for 28 yards. Red heart has a similar yarn. It's called irresistible. Then all you need is your
hands and some scissors. That's all we're going to be
using today for materials. So open up your skin, and it's pretty bulky yarn. So it's a lot easier if
you unravel it first and get everything situated before
you begin your project. I'm just going to
unravel some here. First, we're going to
start with a slip knot. Okay. Basic slip knot that
you would use in crochet. Just cross your yarn over, pull your loop
through, tighten it. You want it to be the
width of your hand because you're going
to stick your hand in the slip knot to begin chaining. I'll slip my hand through
here and pull through, and that's one, pull two, pull through three, four, five, For this blanket, I'm going to chain 24. You can make your blanket
larger or smaller. Of course, if you
make it larger, you're going to need
more balls of yarn. But you want to chain to the width of the
blanket that you want. And mine's just going to
be a throw for the couch. So this will be the size of like an Afghan throw that you would use to snuggle
up on the couch with. You'll want to make sure
as you're chaining that you're making your chains
about the same size. You want to keep
the same size loops throughout the whole project so that you maintain
consistency in the stitches, so they look like they're
even throughout your work, and that's going to
be really important. So as you get your rhythm down, your stitches will start
to form more consistently, but just, you know, Keep in mind how big or small
you want your loops to be. The bigger your loops,
the looser your blank is going to be the
tighter your loops are, the smaller your blank is going to be and the holes are
going to be a bit smaller. So keep that in mind. Now
that we have changed our 24, we are going to continue onto
the body of the blanket.
3. Finger Knitting: We are now going to continue our foundation row by moving
back the other direction. We're going to be
putting our yarn through these little loops at
the top of the chain. We're going to make a little
loop through on each one. Pull the first one up like so. Take your yarn. Pull up a loop. Make sure it's about
the same size. You want each loop
to be the same size as you work your
way down the chain. Pull up a loop. Open up
the top of the chain, and pull your loop through, and you're going to
continue this process all the way down to
the end of the chain. And I will meet you there. I'm getting towards
the end of the row, the last couple of loops
pulled through here. And if you count, you should have 24 loops.
Double check that. Make sure you have 24 loops pulled one through each chain. And I have my 24 loops. Come back over here
to the other side. The next step, we have
to chain up in order to begin to knit across
back to the other side. Grab your working yarn, pull it through the loop, and move your yarn over
because you're going to now be working in
the opposite direction. All you're going to do is pull little loops through the loops. Pull a loop through the
loop from the bottom row. Again, make sure your
loops are the same size. Keep the same size
loops going on each time and just keep
pulling each loop, careful not to skip any. Okay. For the rest
of the blanket, you're going to
repeat this process. You're going to pull a loop
up from the loop below. When you get to the
end of each row, you're going to chain
up just like we did there to move back
onto the other side. Keep pulling your loops. Continue this process until
you reach the end of the row. We've almost worked our way
back to the end of this row. Here is the last loop. You've completed another row. Next, we need to chain up again, pull your yarn through
to create a loop. Now you're going
to begin pulling your loops and working back
to the other side again. So we're going to keep
repeating this process until you reach the height that
you want of your blanket. And once I get to the
end of this skin, I'm going to show you how
to attach your new yarn. I'm nearing the end of this row. Again, repeat the same process. You're going to chain up one and begin to work
the opposite direction. Continue to pull
those loops nice and consistent so that your stitches remain the same size
throughout your work. Okay.
4. Joining New Yarn: Magic Knot: We've reached the
end of our skin and need to join our new yarn. We're going to use the
magic knot method. Take your new yarn, put it
underneath your working yarn. Drape it over. You're
going to take the tail and pull it through
the top and tighten. You're going to take
the short piece, put it under over, pull the tail
through and tighten. Then grab the two long
sides and tighten them. They'll form a knot. Then you snip the short
ends as close as you can. And it is tight. It's not going anywhere.
I love the magic knot. No ends to weave in
and keep going. Okay.
5. Finishing: Binding Off: It's time to bind off
and finish the blanket. We're nearing the end of
the row with one loop left. Don't finish off that loop. What you're going to do
is take the inside loop, pull it through the last loop. Then take your working arn and pull it the
opposite direction. Pull it through the next loop. Take the inside loop through the outside loop and pull over. Repeat this. Working,
pull up loop, inside loop to the
outside loop. Over. Make a new loop. Inside
loop to the outside loop. Pull over and it's
making a braided effect, and this is binding off your blanket in order
to complete it. You're going to repeat
this process all the way down to the other side. You're putting the inside loop
through the outside loop. Pull up loop in through the out. Just keep repeating
this all the way down. Alright, we are nearing the end and I am
almost out of yarn. I hope I have enough. I will win this game of Yarn chicken. Okay. I have about 12
" of yarn to spare. That was a close one. Here I am at the end, and I'm just going
to tie a knot. Nothing fancy. Just tie a knot, make sure that's
nice and secure. And then just weave
that tail in go in and out in and out a few times just so it blends
in to the side. And you are done. These make awesome gifts. What would be a $200 blanket
you have made for under $50. I hope you enjoyed this class, and I will see you in the RNIO.
 Jessica S., Crochet Made Simple