Fine Art: Painting A Landscape With Oil Colors | Mandar Marathe | Skillshare
Search

Playback Speed


1.0x


  • 0.5x
  • 0.75x
  • 1x (Normal)
  • 1.25x
  • 1.5x
  • 1.75x
  • 2x

Fine Art: Painting A Landscape With Oil Colors

teacher avatar 
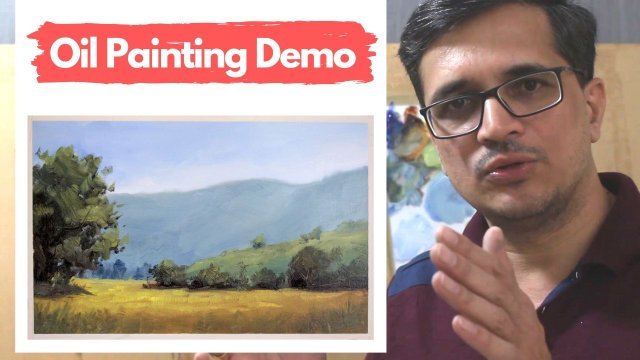
Mandar Marathe, Fine Artist, Sculptor, Illustrator, Designer

Watch this class and thousands more

Get unlimited access to every class
Taught by industry leaders & working professionals
Topics include illustration, design, photography, and more

Watch this class and thousands more

Get unlimited access to every class
Taught by industry leaders & working professionals
Topics include illustration, design, photography, and more

Lessons in This Class

    • 1.

      Introduction to Oil painting class

      1:13

    • 2.

      Composition and basic colors

      1:17

    • 3.

      Basic drawing with paint

      2:09

    • 4.

      Pre mixing the oil colors

      1:59

    • 5.

      Painting trees, field and first mountain

      3:58

    • 6.

      Painting the crop and distant mountain

      3:17

    • 7.

      Painting the sky

      2:26

    • 8.

      Painting final details of the landscape

      3:14

    • 9.

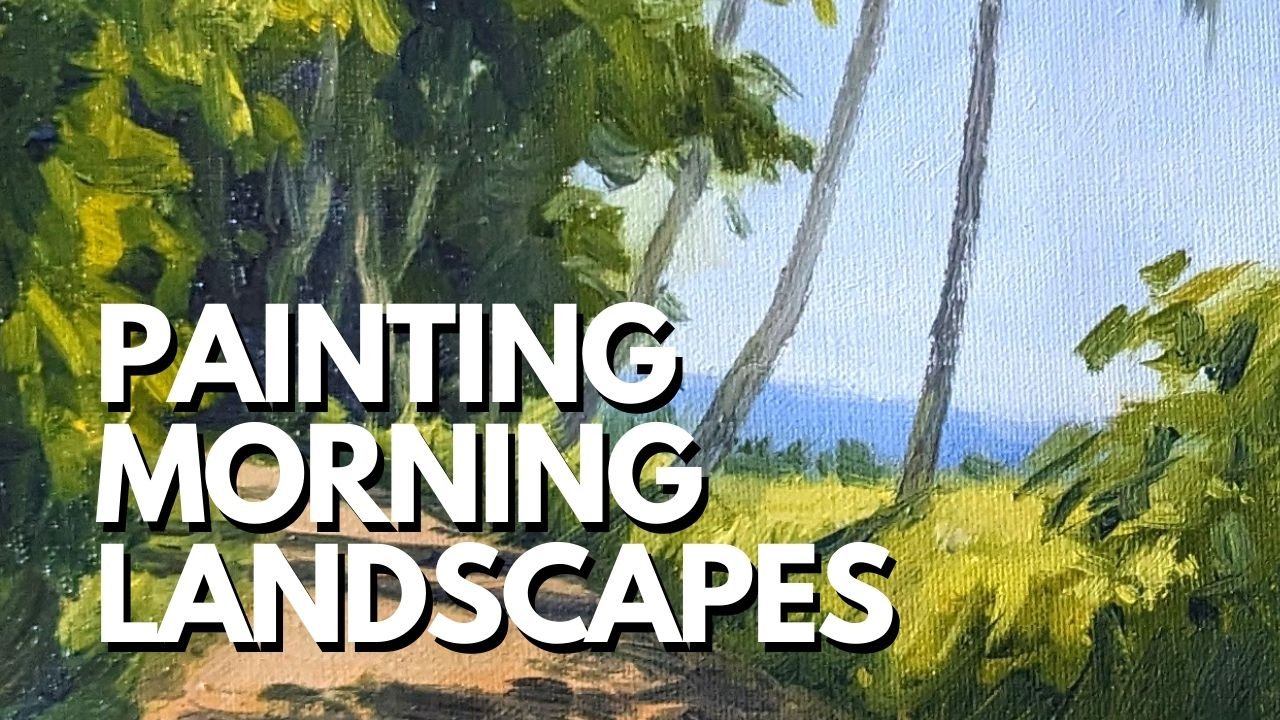
      BONUS Video: Painting 'November green'

      5:25

  • --
  • Beginner level
  • Intermediate level
  • Advanced level
  • All levels

Community Generated

The level is determined by a majority opinion of students who have reviewed this class. The teacher's recommendation is shown until at least 5 student responses are collected.

834

Students

3

Projects

About This Class

​Painting with oil colors is not difficult as it seems to many people. Oil colors are actually one of the oldest mediums of painting and also one of the most flexible mediums to work with.

I am a fine artist and have been painting with oils since last 20 years. He has had several shows of his paintings and his paintings are in private collections of companies and private individuals in 9 countries.

You do not need prior experience or a lot of expensive material to take this class and learn to paint using the method he shows.

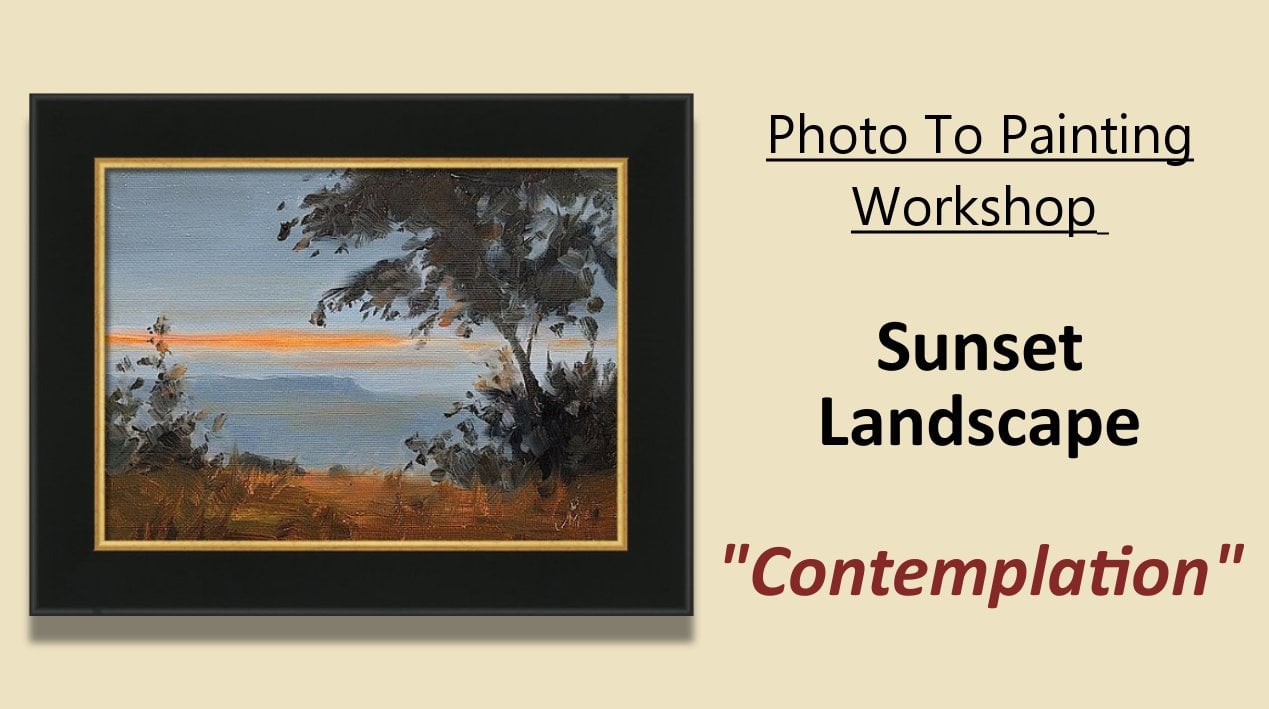
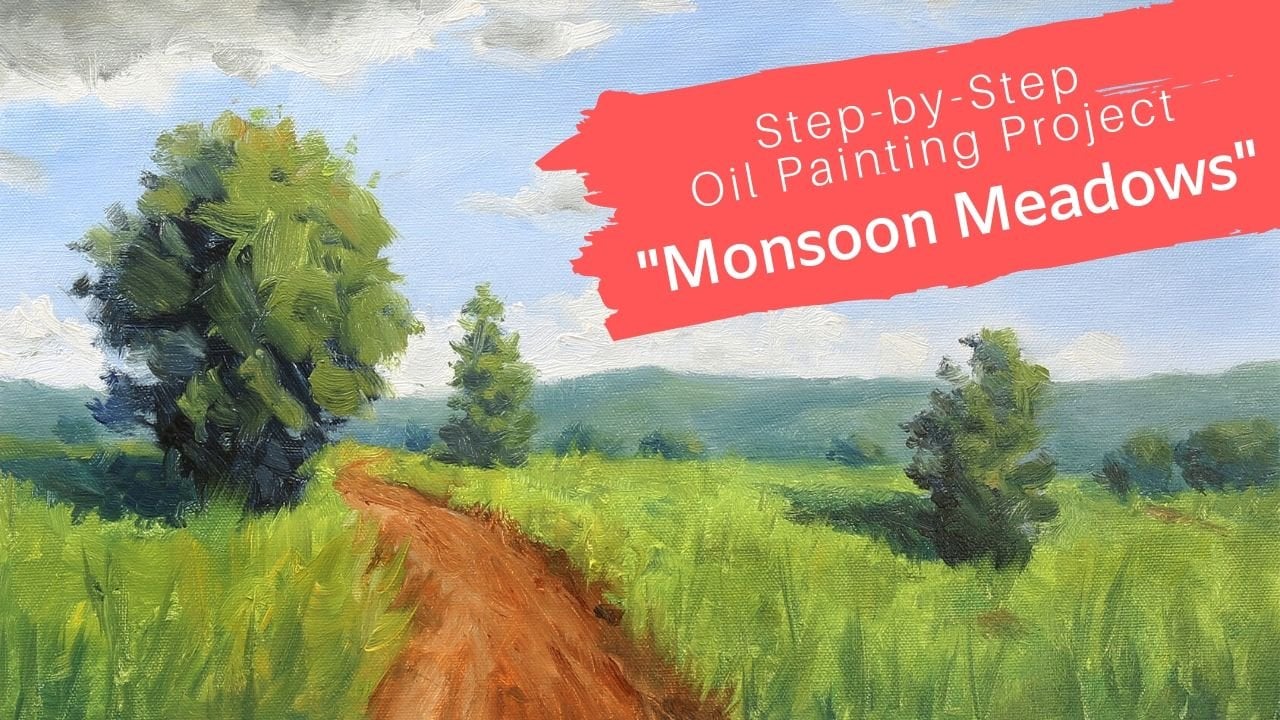
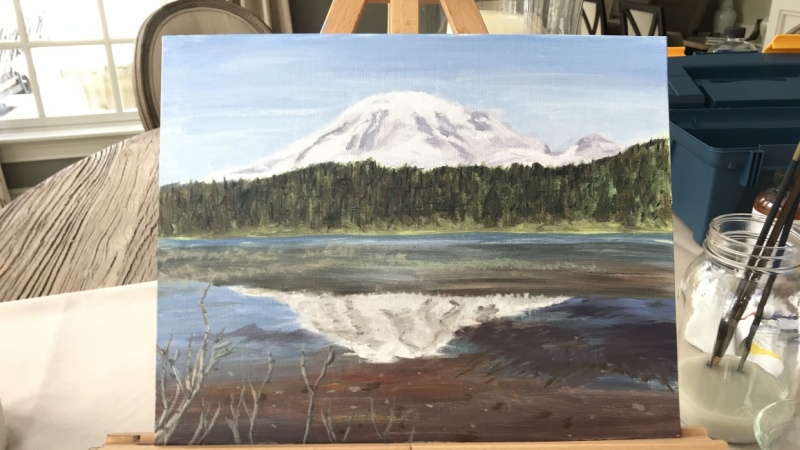
In this class I'll walk you through his process of creating a painting based of a photo he clicked on a weekend trip. I begin with showing how I make various compositions based on the same photo and make the preliminary drawing on the oil paper using a thinned burnt sienna.  

Then I mix all the required shades of secondary and tertiary colors using a limited set of colors. Now is the time to start applying colors to the painting one by one, starting from darkest dark to lighter colors. While applying every new color, I compare that color and it's value with colors already applied to the painting.  Once all major shapes are painted, I use a small round brush and palette knife to add just enough amount of details to the painting.

Then I sign the painting and remove the masking tape border, to give the painting a finished look.

Join this class to experience a painterly journey that starts from a photo and leads us to an artistic painting!

ART, DIY, PAINTING, CREATIVITY, DRAWING

Meet Your Teacher

Teacher Profile Image

Mandar Marathe

Fine Artist, Sculptor, Illustrator, Designer

Teacher

LOOKING FOR SOME GUIDANCE IN YOUR ARTISTIC JOURNEY?

Download my ebook. 


I am a fine artist, illustrator, and sculptor based in Pune, India.

I chose to become a full time artist in 2011 after 15 years of corporate career in manufacturing and IT.
During my education and corporate career I made art on weekends and exhibited it through solo and group shows. But I wanted to make more art and more often!

After quitting my day job, I've created and sold my own art more often and have taught 20000+ students through my workshops, courses and membership.

My art teaching method got refin... See full profile

Level: Intermediate

Class Ratings

Expectations Met?
    Exceeded!
  • 0%
  • Yes
  • 0%
  • Somewhat
  • 0%
  • Not really
  • 0%

Why Join Skillshare?

Take award-winning Skillshare Original Classes

Each class has short lessons, hands-on projects

Your membership supports Skillshare teachers

Learn From Anywhere

Take classes on the go with the Skillshare app. Stream or download to watch on the plane, the subway, or wherever you learn best.

Transcripts

1. Introduction to Oil painting class: Hello and welcome. My name is Madonna. Monarchy, and I'm a finalist in this class, I assure you, I read this painting based on this photograph, all you colors is one of the oldest painting mediums and also one of the most flexible. First, I'll explain how I compose the picture from the photograph and then show how I makes all different colors and shades from just a few basic colors. Then I'll show you every breast talk that I mean to paint this painting right from developing a basic drawing. Final adjustments to signing you do not need prior experience on a lot of costly materials . Take this class and learn to paint using the method I show. So I invite you to join me on this intelligence. Just hit the end all button and see you in the class. 2. Composition and basic colors: Welcome to the class. Here is the photo based on which I'm going to paint the landscape today in this class have tried different compositions based on the same photograph, and here they are. I want to follow the rule of thirds and want to keep a low horizon line. If you want to know more about composing a picture, please have a look at my other class. How to make better compositions and take your are to new heights. So, out of these variations, I'm selecting this composition for my painting. Here I have my color palette and the paper ready. I noticed that the aspect ratio off my paper and the composition I selected is the same for obvious reasons. The paper I'm using is a paper when suited for taking on oil colors, and it's called oil paper. The ballot I'm using is a piece of glass. I'd be painting this painting with a few basic colors. I'm a drama in blue, chrome, yellow, Venetian, red, burnt sienna and white. The brush is I'll be using out of simple, few flat half inch processes on a small round brush 3. Basic drawing with paint: I'm using Ah, 50 50 mixture off linseed oil and turpentine as medium, and I'll now be making a base drawing with a thinned out burnt sienna. This dying gives me our reference to paint on. Later, Throughout this class, I'll be speeding up the video playback whenever I'm not talking and just painting this will make the video easier to watch. 4. Pre mixing the oil colors: pretty. Mixing the colors is a good way to start a painting. Here. I'll be mixing a dark green for the shadow parts of the trees, a lighter green for the highlights and the trees. Ah, blues green for the first mountain. Ah, more light and blue green for the farthest mountain on a degree for the clouds. These colors will be enough for me for about 80% of the bending. I'll makes other 20% shades as our progress into the actual painting process. 5. Painting trees, field and first mountain: Now I'll start the actual painting process. First. I'll be putting down the darkest darks, then are the lighter greens and then paint the first mountain in the background. While doing that, I'll be constantly checking the value and you off one color with the reference to the colors already laid down on the painting. Then I'll go and add the pain to the field with burnt sienna on some ultramarine blue to make it darker, yeah. 6. Painting the crop and distant mountain: Now I'll be painting the green crop, - getting a properly three. I'll have some cerulean blue. It's now time between the distant mountain on I just a nuts. The color, lighter value order darker value wherever needed. 7. Painting the sky: Finally, it's time to paint the sky with dark green and white combination. I'm looking at the photo, see the general shape of the cloud. But I do not want to make the sky to detail as I wanted your supreme more attention to the foreground and not with time. 8. Painting final details of the landscape: Now I'll be using my small round brush to paint a few highlights on the trees on a few leaves at the edge of the three. Comparing the electric pole. I'll be using my ballot knife as no brush can give me such a thin line when the paint is still wet. You will also see me how I correct the mistake that happens while painting the full way . The last thing I'm going to pain is the green of the tiny plants that are just crowding out from the red where the farmers had planted the seeds. Then a few final and adjustments to the sky and the trees. And this time to sign the thinking. And the moment of truth is here. As I remove the tape, you would see the printing becomes ready with nice and clean edges. Hope you have enjoyed watching this class and learn a few things about my printing process , and now I look forward to your paintings as you make them on post images in the project section of this class. If you have any queries about my process, please post them in the discussion section, and I tried, wants a happy plenty