Transcripts
1. Chevron Intro: My name is Kelly diamond and I'm a metal smith and teacher
here in Syracuse, New York. And today I'd like to
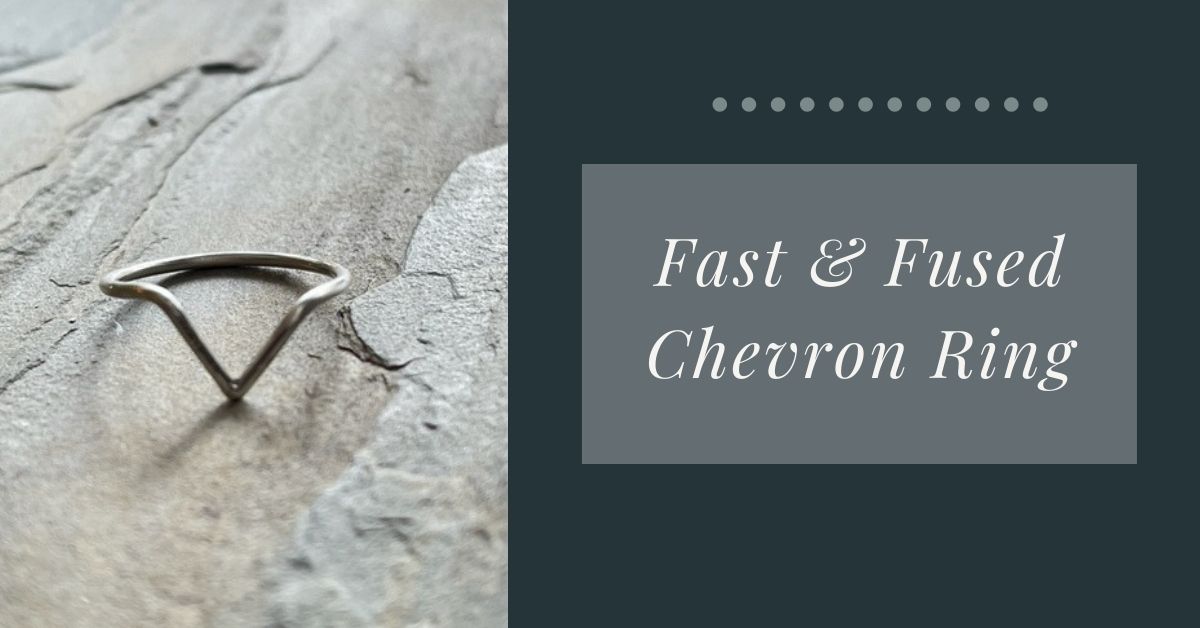
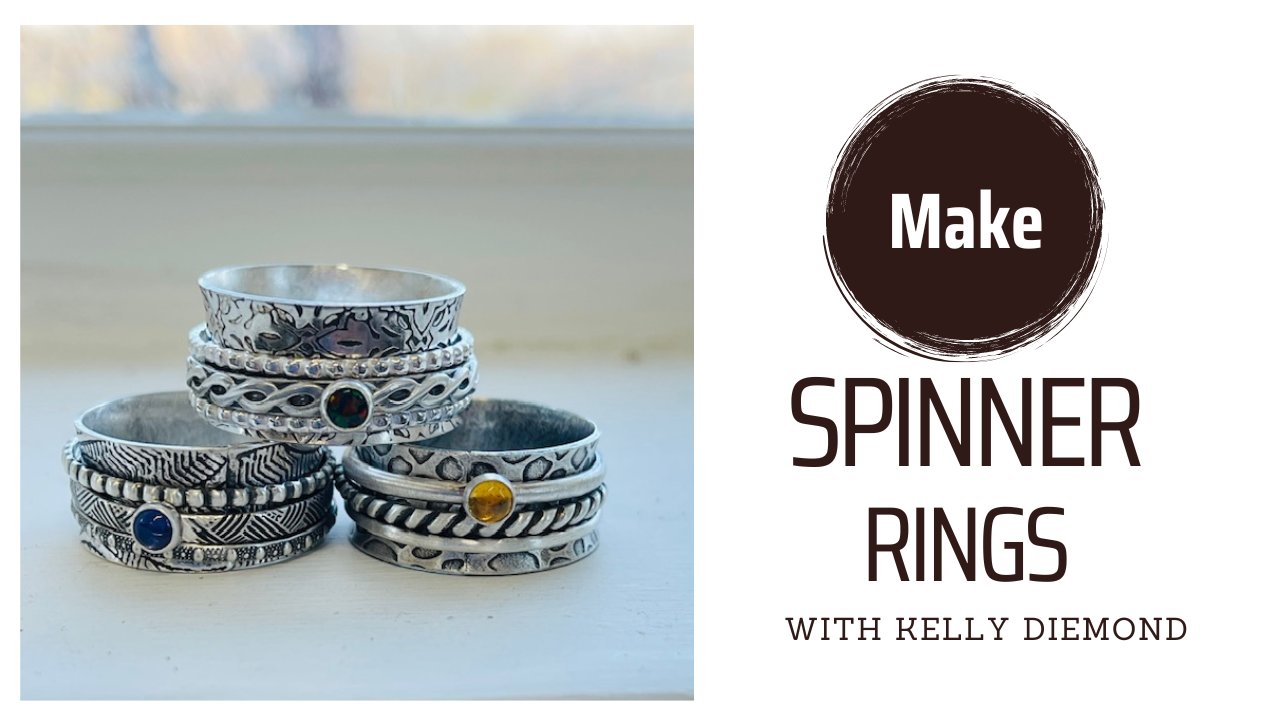
show you how to make the fused our Gentium Chevron ring. We're going to use
our Gentium silver, which fuses to itself
without the need for pickle, solder flux, anything like that. So it's an easy entry
into working with metal. And you can make, once you know how you can
make them for every finger, you can stack them. You can make them for your
friends, whatever you like. So it's pretty easy
to get started with. And when you're done, I'd love it if you
post what you make in the student's section
so we can cheer you on.
2. Materials and Supplies: So for this project, for making our chevron ring, we are going to use a few
different tools and materials. One of the first
things you'll need is a ring sizing chart. This one I printed
from Rio Grande. But you can call them anywhere else on the Internet as well. Just a free chart for
doing your ring size. You'll need a rawhide
or plastic palette. You will need a ring
mandrel with sizes on it. You will need a
flat nose pliers or a pair of flush cutters
with the flat side. A micro torch or source
of heat similar to that. Digital calipers or a ruler
with millimeter sizes, you may potentially need
a steel bench block if you have to do any
flattening of your ring. You'll need a metal
file with a flat side. And you'll need some
polishing devices. So this is a flash shine
or in a polishing pad. That's one option. You'll also need
for your fusing. You'll need the wire. We use a 16 gauge,
our Gentium wire, and we need a SATA right board or some other type of soldering surface
such as a fire brick, a charcoal block, whenever
you're preferred method for soldering is it's best when you're fusing to
have a relatively clean board. A lot of our boards in the
studio get crusty and nasty. We want a nice clean area so that nothing interferes
with our fusing. And then you need a
fireproof surface, such as a tile, a cookie sheet,
ceramic tiles, great. To protect your
surface underneath. And that's about all we need to do this project,
as you can see, we didn't need any
flux and a solder, any pickle, things like that. So just a few simple supplies
to get started at home.
3. Finding your ring size: So before you start to
make your chevron rang, you're going to
need to figure out approximately what
your ring sizes. Because these rings have
some flexibility in them. You don't have to be terribly precise about the size
that you are going for because there's going
to be some room to maneuver this around
due to its shape. But to get kind of a ballpark, what you could do is if you have a ring mandrel available, you can take a ring that
fits you for the finger that you want and you can
measure it on the ring mandrel. We use the central line
method in the studio, which means where it falls across the
center of your rank. So this is, this is a
little bit over a size 5, not quite a size
five and a quarter. And that fits me fine. So I would actually probably
do a size 5 for this k. The other things you can
do there are lots of ways to link in Google how to find my ring size and use
one of those methods. In the studio, we use an
actual ring size or to measure our fingers and
you can buy those as well. They are available online. Okay? So you just really need to get an approximation of
the ring size that you need so that you
can begin to make your teardrops shape
for your chef.
4. Measuring the wire: Okay, so now we're going to find the length of
wire that we need. And I'm going to use a size eight ring and we
have 16 gauge wire. So where the two of those
intersect is at 60.92. This is a free ring sizing chart I printed out from Rio Grande. There are other free ring
sizing charts on the Internet. If you just do a Google search, I'm sure you can find some. And these are
obviously in US sizes. So I'm going to add eight
millimeters to that number to accommodate for the
fold that we're going to put into
our chevron ring. So basically I'm going to
round that 16.92 up to 61. And then I'm going to add
another eight millimeters for a total of 69 millimeters. Then I'm going to use my ring. Well, not my ring,
but my caliper. I'm going to turn it on, make sure it's set for millimeters and make sure that
it's all zeroed out while the jaws are closed. And then I'm going
to slide that out 69 millimeters or close enough
to it, 69.6, that's fine. Then I'm going to down
and I'm going to use the length between these two bottom jaws
as my measurement. I want to make sure
my wire is straight. And I also want to make sure that the end of that I'm
starting with is a flush cut. So this right now has
that little divot on it. So I'm going to just trim that
off with the flat side of my flush cutters so that
it's straight to begin with. And then I'm going to
measure the distance between the two tips of the caliper. And then I'm going to
make another flush cut to the part that I'm keeping. You can mark it with a
sharpie if you prefer, or you can just cut
it flat like I do. He wanted to make sure
you haven't between those two tips. Okay. Then you're going to
file these edges flat. Just give it a little
quick flatness and get ready to shape it. We're going to use
way more filings, so I'm just going to stop there.
5. Shaping the ring: Next we are going
to shape our metal into a teardrop shape
using are bringing man. And we're going to find
the size where we, that we chose for our
ring measurements. So I chose a size eight
and I'm going to place my wire right on the size
8 on my ring mandrel. And then I'm just
going to basically have even amount
on each side and I'm going to use my
thumbs and my fingers. Just going to hold up my thumb and I'm going to
use my finger to bring it around so
that those sorry, I got off the camera there. I'm bringing it around, just
wrapping it around with my fingers to form the
beginnings of a teardrop shape. So you can see I
kinda have a U shape, but if I were to
bring these together, I'll get a teardrop right? Before I bring them
together though, I want to file my edges at a 45 degree angle
right about here. And I want these two, basically this arm of
that I call them arms. This arm that I'm filing
right now is going to sit and rest on the upper arm. And so when they come together, I want there to be a nice
smooth drawing right there. And I want it to sit
and rest nicely. And that's why I'm filing
it at a 45 degree angle. This one here. Also a 45 degree angle so
that when the two meet, they just filed some
of my fingernail off there isn't unusual for me. So when the two meet, we can do more of that
after we fuse it to, but so that we have a nice
smooth join there as well. But we just like when
we're fusing anything, we want to have a really
nice tight fit here. There needs to be tension
and you can't have any gaps. So you shouldn't be able to
get your fingernail in here. Everything should feel level and smooth and there
should be tensions. So sometimes you have to push the arm past each other, right? The arms past each other so that there's tension when this is leaning against
the other one. You want it to be nice
and tight right there. So that's looking
pretty good to me. And now we're gonna go
ahead and get that fused.
6. Fusing: We are now ready to fuse our, our Gentium ring and
we're going to make sure we have thought right board with some type of fireproof
surface behind us. So a ceramic or this is a
slate tile, will work well. We're just going to use once
again our microbe torch. And we are going to just think there's a
few different parts of the torch you need to know. One is the safety latch, the other is being lighter, and the third is
the hold button. So the safety latch
needs to be pulled out. And then you hit the executor
until you get a flaming. Don't always get it
on the first try. So sometimes you have to
pull it down again and hit Ignite again. Will
there we have a claim. We're going to hit
the hold button and now we're ready to use it. And we're going to just
start to warm up our piece. I'm looking for it to get
sort of a pinkish glow to it. And it's starting to
get that pinkish color. It's kinda hard to see
on the camera, I'm sure. And once it gets that, I'm going to focus on
fusing this one area, okay. And I'm looking for it
to get a glassy color. So we're bringing it up
to the molten stage, but we don't want to pass that molten stage
and go into melting. So it's sort of a fine line
between fusing and melting. Sometimes you can even see those molecules in there start. If it gets really red
hot and nothing happens, then I would stop there because we're going to
overheat and melts. I'm going to stop there and I'm going to check and
see how we did. The key to using our jumped him is to not move it
while it's hot. If you do, it will break. It's a very vulnerable
while it's still pink and it's very fragile. So unlike sterling silver, where you can pick up and
quench right away our Gentium, you need to let it cool for a little bit
before moving in. So I'm just going
to let it air dry and then we'll check
out, see how we did.
7. File and polish: Okay, So taking a look at this, it looks like we did a good job. Everything is solid and tight
and everything is together. Well, this side looks
a little cleaner than the front side where we
were originally fusing it. So this is the side
that I'm going to want to have facing out. And the other side I
will have facing under. But it's still pretty
sharp right here. So we're going to need
to do some filing to just smooth that out with. And what we're wanting to do
is just use our file and a rounding it sort of round our hand while we're doing this because we can do it from
different directions. If we just go flat
across the top, we'll just get a
flat spot there. We're going to get that smooth. And then the next step
is good to polish. And I like to use it. If I'm in the studio, I
would just throw the sum of the tumbler after
it's all shaped. But if I'm going to polish with something like
a flash shine or I like to do it while
it's flat because it's easier to get in there. And once again, these flash INRs are
a three-step process. So you first use
the gray side of the Scheiner than the green
side and then the white side. And it's just a
process of buffing it. So you'll just
take the gray over the whole entire surface,
cleaning everything off. And once again, it's kind
of an annoying sound. So I'm not going to
do the whole thing. And he would do the green over the whole thing
front and back. And then you would do the white. And once you get to the white, you're going to really start
to see the shine come out. So other options are the Tumblr. If you have a polishing machine, if you have a buffing
wheel on your flex shaft, anything like that would
work just as well. But this is a nice, handy, easy thing
to have at home. I also use these
polishing pads to get to the inside of my ring as well. So these are great. They can do it. You can do the whole
thing with this as well in lieu of the
flesh Scheiner. So a couple of options for getting everything
nice and shiny. And then our next step
is to get it all bet.
8. Bending the Ring: Now that our ring is shined
and all smooth on the tip, we're ready to actually form it into the Chevron ring shape. You also want to just try it on the finger that we want to wear it on and make sure
that it fits pretty well. It's not too loose. If you find it is
not the right shape. Now would be the time to put
it back on your ring mandrel and just get it formed around
the size that you want. Mine is for an eight, but I actually like how
it's fitting right there. So I'm not going to
push it any water because it fits perfectly. There's a lot of forgiveness
in here because of that little tip that
we have on the end. So I want to take that little. Then I want to bend it
down and I want to use, we want to have the smoother of the two sides in the front. So this is the smoother side. This side still
has a little line right there which I could
fall out if I wanted to, but it's the bottom of my rank, so I'm not too worried about it. It's going to be turned under. So I'm going to just use a
pair of flat nose pliers. And I'm going to grasp
right about here. So you can make your point
if you come down here, you can make a shorter point
if you come way out here. But I measured for a to have about four millimeters
on each side. So I want to leave about four
millimeters on each end. So I'm going to measure it
and market if you'd like and put your your tool on the marks. But I'm always an eyeball or so I'm just going
to eyeball this. I think I'm going to
go right about here. I'm going to support
with my thumb. And then I'm just going to turn my metal down so that it's pressed flat up
against the tool. And you want, if you want to, you can even take your little
hammer and tap it down. Not necessary though. You'll get just a
cute little bend. And then when you put it on, you have your little chevron. And once again,
you can go back to polish it a little
bit if you want. If there are any
scratches in there, mine has a little bit of
a scratch right there, so I would go over that
with my buffing wheel to get some of those
scratches out or you can go over it with
some sandpaper. But otherwise, it's all
shaped and ready to wear.
 Kelly Diemond, Jewelry Teacher at Metal Morphosis