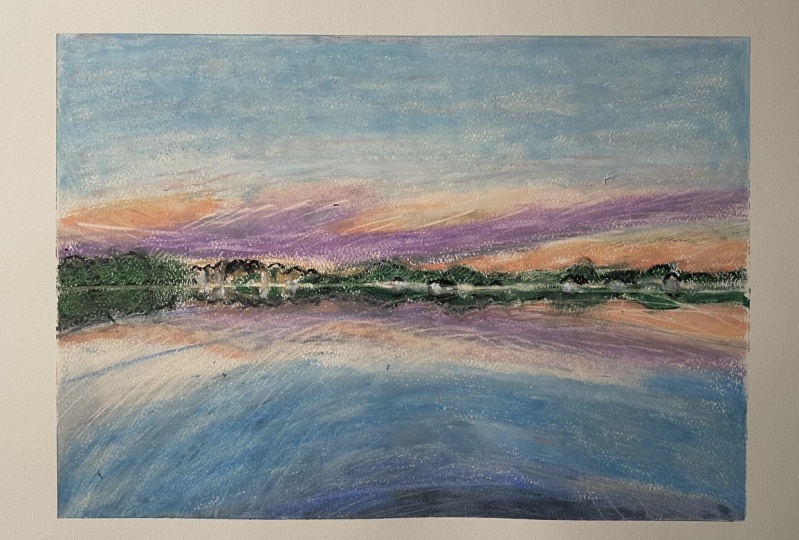
Expressive Landscape With Oil Pastels: Scraping Technique
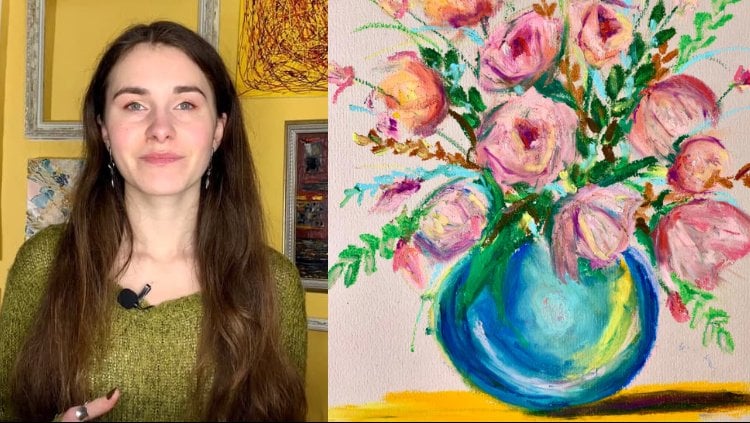
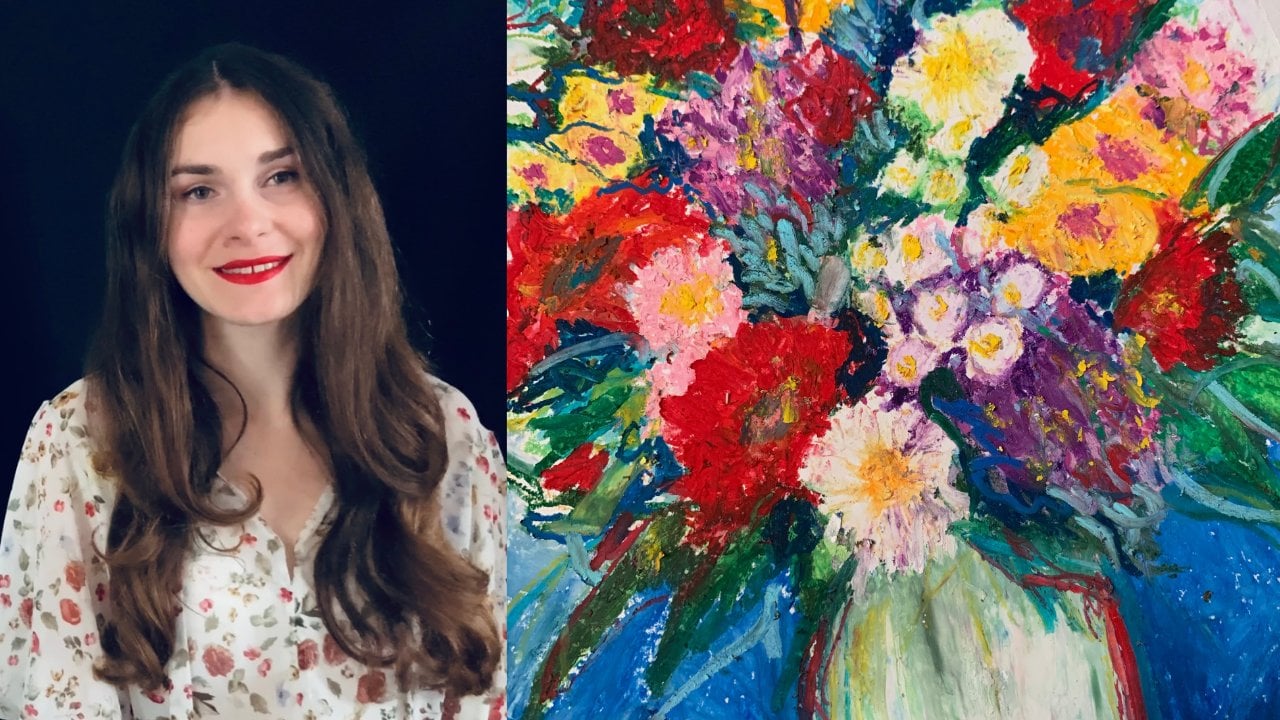
 Alina Harvi, Ukrainian Artist
Watch this class and thousands more
Watch this class and thousands more
Lessons in This Class
-
-
1.
Introduction
1:05
-
2.
Tools & Materials
0:51
-
3.
Scraping Oil Pastel Technique
4:00
-
4.
Landscape Drawing
21:00
-
5.
Final Project
0:47
-
-
- --
- Beginner level
- Intermediate level
- Advanced level
- All levels
Community Generated
The level is determined by a majority opinion of students who have reviewed this class. The teacher's recommendation is shown until at least 5 student responses are collected.
385
Students
9
Projects
About This Class

Welcome to the Oil Pastels Class!
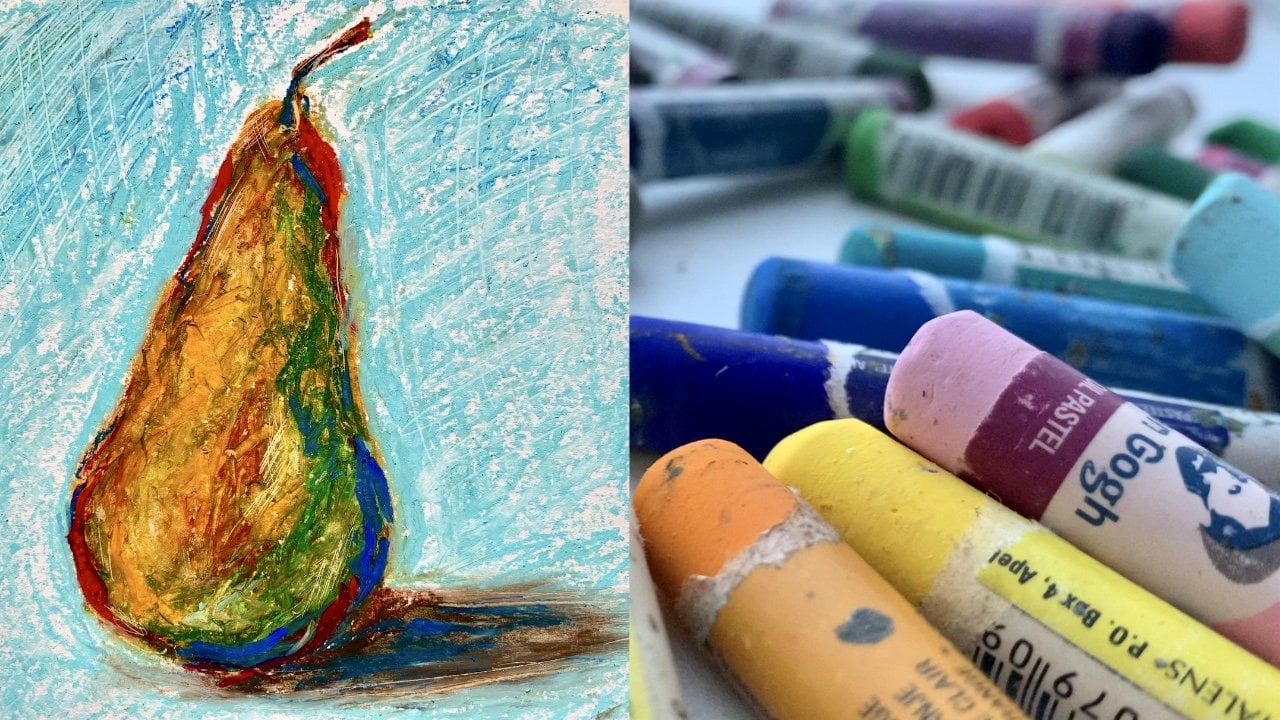
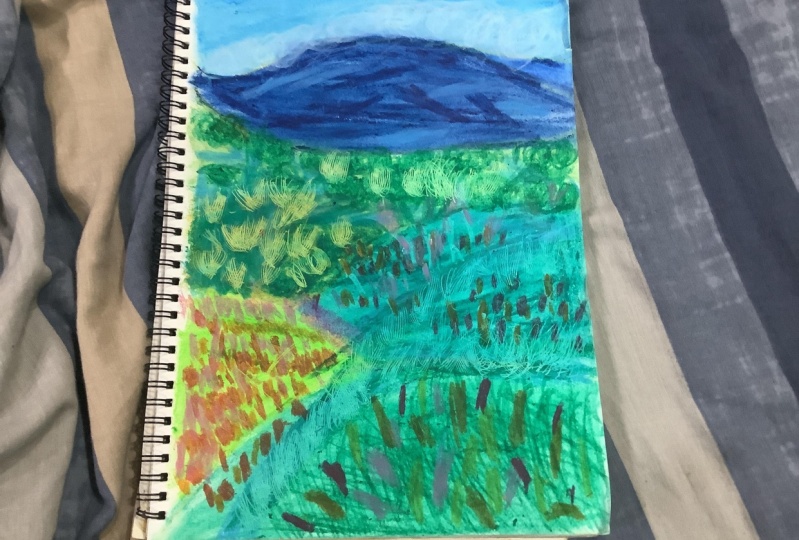
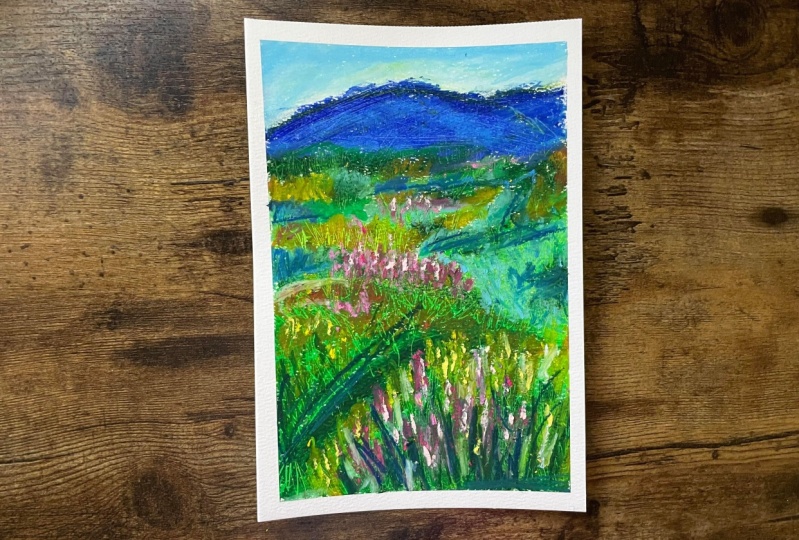
In this class, you'll discover another great oil pastel technique - scraping. Unlock your creativity and enjoy this refreshing unique technique a lot of artists love and use every day. Create your own expressive landscape using oil pastels and your creativity. This class is a refreshing discovery of the unique medium.
You will learn:
- What tools & materials to use;
- How to use scrapping technique;
- How to use a scraping technique for landscapes;
- + Tutorial on how to create an expressive landscape using scraping technique.
This class is especially great for beginners who always wanted to discover new unique mediums. You don’t need much to take this class: simply oil pastels, paper, and any pointy object will do!
Visit Guide To Oil Pastels class to learn more about oil pastels :)
Meet Your Teacher

Hi! I’m a Ukrainian artist currently based in France and I’m here to guide you into the world of oil pastels and colorful drawings and paintings :)
Hope you enjoy!
__________
YouTube Art Channel
Support me on Patreon
Hands-on Class Project
The aim of this class is to help you discover and fell in love with oil pastels. Take your time to fully appreciate and enjoy this refreshing unique medium you are about to discover.
After learning all about oil pastel scraping technique, practice with your oil pastels and find your perfect tool for scraping. Following the Landscape Drawing Tutorial lesson, create your own drawing using the oil pastel scraping technique you’ve learned. You can use any photo reference, your imagination, or use the reference photo you'll find in the Resources section.
Don't forget to share your expressive and impressive landscape drawings in Project Galerry, so that all can appreciate your efforts and talent! :)

Class Ratings
Why Join Skillshare?
Take award-winning Skillshare Original Classes
Each class has short lessons, hands-on projects
Your membership supports Skillshare teachers
Learn From Anywhere
Take classes on the go with the Skillshare app. Stream or download to watch on the plane, the subway, or wherever you learn best.