Transcripts
1. Course Introduction: Hello, hello. Welcome.
Thank you for joining me. I'm Mark Mulachk. I'm your host here for this class on creating expressions in Adobe
After effects, the After Effects Expressions one oh one, if you
wish to call it that, where I'm going to show you how we can create
some expressions, how we can do some
amazing stuff. So for example, let's see, so for example, we'll make
some bowl animating like this. Oh, maybe like that
with an expression. So we don't have to do
a bunch of keyframes. These animations will only have two or three keyframes in here. Or how about adding these stars which appear
and disappear as well? And we don't have to
create all these keframs. No. Oh how about
some wiggle here? Hmm. So get somebody like this. Okay? Or how about this one? We can have this clock
animating with an expression. This actually doesn't have
any keyframes at all. This is all done with
expression in here. Or how about a
recizable text box where as you add more text, This box this box, this box is resizing
automatically in real time. Now, these are two separate
shapes. Two separate layers. But there is
expression. We can make the shape layer
resize as the text, which is separate layer is getting bigger or
longer or shorter. And how about some animated
statistics as well? So we have something like this. So if you can't wait as much
as me, let's get started. Let's start adding
some expressions. I'll keep it simple. I'll keep it easy, so
you don't have to worry about if you don't like code, don't worry, or keep it simple
is not a rocket science. And let's get started with
creating expressions in Adobe After effect with me,
Mac MulchiF macmlogic.com.
2. Prepare for Looping Expression: Et's start looking at expressions by maybe
make a new project. I've got one already
because I just opened it, and I'm just going to save it. I'll put it right
on our desktop here maybe let's put it
right on the desktop. And let's say expressions.
I'm going to call it. Okay. So as we get
started with expressions, obviously, we need to
make a new composition. Let's see. Maybe we'll use different comps for different
expressions as well, so I can keep an eye on them. So what I was thinking,
what we could start with is as we started looking at
how you can get expressions, we'll do a looping
animation first. So I'm going to call it looping. The usual full HD, 20 ours per second, 10 seconds. Now, as for duration, so all we do is
make an animation, and we'll make it. Let's say, I'm going to
make maybe bouncing ball where it's going to
animate for 2 seconds. 1 second to go down and
1 second to go back up. So if the duration
is 10 seconds, it's going to play five times. It's going to look four times. So I was thinking maybe
we can make it longer. So maybe 20 seconds
this time, at least. So it's going to
look more times. Okay so click okay. Just to keep it simple
or draw a shape. I'm going to draw
a circle here with the ellipso and just far forget, I'm going to move the
anchor point with layer transform center
ca point layer content. Okay right in center. And I just going
to give this shape maybe a regular gradient
for the fell in here. And for the actual fell, I'm just going to
quickly reset this. So I need to remove
some of these stuffs. All I need to here, which you normally get
by default anyway. And I'm going to use
different shades of red, so have a lighter
ret and a darker ret maybe and this could
be really bright red. And swift selection tool
I just going to add this gradient to make this look more like a reflection so that this will actually
be somewhere on the edge, maybe the And actually, I want to reverse the colors. So go back to the green dital and I was going to swap this. It's actually the opposite.
Something like this. And then this can go here. Here we go. And
this can go here. Maybe something like
this. Just an idea. Okay. So let's make it animate.
Let's make it bounce. So with the lay selected, I'm going to do P for position, add a key from at the start, and then 1 second
later, 1 second. We'll move the ball with selection tool sets at
the bottom of the screen. Say here. As we create this
initial animation, we need to make sure that our next keyframe or the
last one at 2 seconds, it's identical to the first one, so we can just copy and paste. So I'll just select
this keyframe, control a command C to copy. I'll go to 2 seconds, and then control a
command V to paste it. So the first keyframe at the last one at the
moment, are identical. So for example, now, we're ready to add expression
to make this loop. If we want to kind of test it, if you want to see
if it's going to look seamlessly because
that's the idea. I want it to be
seamlessly looping. I would place I would move the end of the
work area to here with the end and I'll just play it to see if it's going
to look seamlessly. It does look seamless. We want to make sure there's no jump between the first in and the last one or
when it's going to loop and no This one looks perfect at the
moment, so it's all good. Because it's all good, now we're ready to add
an expression, which we're going to
do in our next video.
3. Looping a Bouncing Ball: Once we have our composition
ready with some animation, keep in mind this could be
any animation you want. We just want some movement
as an example in here, and we'll just make it loop. So make sure you have some animation,
something like this. Now, I'm just going to
reset the work area. So it's the entire composition, not just 2 seconds. Because this comp
is one -20 seconds. This is going to play ten times. So it's going to nine times
as we once we finished. Okay. Now, when you
add expressions, you add expressions you add an expression to a
property on your timeline. In this case, this is going to be the position
property in here. So the property we have
keyframes, like a position, for example, where you
have the stopwatch, which is in blue at the moment. If you put a case
over the stopwatch, you get a tool that says
that you can add expression with the old click
option click on a Mac. Not just before we
do that in here. Because we want this
animation to look, and we want it to look after it's done this one
set of motion, we need to make
sure that our CTI, our playhead is somewhere where the animation
doesn't play anymore. Now, your CTI doesn't have
to be on the keyframe here, but we need to be at least on the keyframe or
after the keyframe. Anywhere here is fine, it
doesn't matter, really. Just make sure you move your CTI after the animation stopped, and now we're going to hold old key option Kinema we'll click on the Stopwatch this
will add an expression. You see the expression here
in the timeline there. Keep the expression highlighted, and we'll just start
typing something. As you add expressions, you're going to get some help. There will be some drop
downs from after effects. Okay? So you need
to know everything. So for example, we want to
make this animation loop. So if you start
typing the word loop, LO, you get this drop down. Or if you type in
loop, here we go. And in this case, we're
looking for loop out. So I'm going to use
the down arrow key on the keyboard to move
down to loop out. And you can add a
double click on this, or you can press
End on a keyboard to add this expression. Now you just click
away to deselect it. Don't press Enter because this will just make a
new line of code. So just click away,
and that's it. That's it above right.
So if you play it now, this is going to keep
playing on a loop. I want to say forever, but
this will just keep playing for as long as your
comp is going to play. Someone is going to do
this animation ten times, is going to loop nine
times after 2 seconds. Also, in this case, just something to
keep in mind is that if you were to export this animation
as an animated gift, this will look automatically because you have animated gift. So you don't have
to do this. But if we export this comp as a video, we apply expression
like we did here, so it's going to play over
and over again for ten, 20 or 30 seconds or
as long as you want, then it's going to stop in here. Okay. Now, another
example I want to show you with the looping animation is how you can apply
it to any property. So let me show you another
example in the next video. So let's keep it open. I
will continue next video.
4. Looping Blinking Star: Let's do one more
example of the looping. And I thought what we
could do is this time, we could make a
different property loop. So I was thinking maybe
like a blinking star. Always the same composition. Going to dissect the layer, so we make a new shape layer. I'm going to use the
start tool for that. I just draw a star.
Just a small one. Okay. I was going to
make the background dark go to composion settings
too dark in the background. So I can see this
better because I want the star to be more
visible in here. I'll leave the
closes. That's fine. Well animate, say just the
opacity of this layer here. So the layer selected.
I'll do T opacity, put a CT at the beginning, and add a key frame with
opacity set to zero initially. So we can't see the star yet. And we can focus on
the star right now, I'm just going to
solo this layer. Again, I'll give it
1 second to fade in. So 1 second, opacity 100. And again, we can just copy the first keyframe
with Control or Command C, go to 2 seconds and paste
it with Control command V. Again, if we just set the end of the work area here and play it, the star will just
fade in and fade out, fade in and fade out. Okay. So let's reset the work area. Remember, you can at well, at this in case of loop
or loop out expression, you can add it to any property. So again, we'll move the CDI after the animation
finishes right now. So anywhere here. And this time we'll hold click on the
Stopwatch for the opacity. This time we'll add in
expression to the opacity. That expression is
going to be the same. So loop out and we just
click away to accept it. And now we preview
it's going to make the star appear and disappear,
appear and disappear. We just fade in, fade
out, fade in, fade out. We could then nest this
comp in another comp. Oh, for example, I just wanted to show you
what we could also do here. Oops. What we can also do here. Let me just zoom out in the timeline is we can
duplicate this layer. Let me just name it star
to have more stars. So the lays elected,
you can just do Control or Command D
to make a duplicate. I'll shift it a little bit, so it starts a little bit later. Let's say maybe half a
second later so 12 frames. Okay. And I'll move the stars is not in
the same location. So selection tool, move
it maybe somewhere. And I have two stars which animate at slightly
different times. Then we could duplicate
this layer again. So control command D. We shift it by another
half a second. So do 1 second and shift the layer to make
it start at 1 second. Oh, 1 second. The move the star, so
it's somewhere else. Maybe maybe here. Now, have three stars
that appear one by one. We can do just a bunch of them, so you can do it again. Maybe, well, let's
say do one at a time, Control Command D, S one, 12, and we just shift it. So it starts here, and we move it someplace else, maybe here. I'll do one more
control a Command D. This will start at 2 seconds. And this will appear
somewhere else. Maybe that in the corner. So have five different stars that appear one by one
and they keep linking. You can have as
many as you wanted, and you can also add them
to a different column. Remember, this background color doesn't really exist.
This is all transparent. So you could place them on
a different background. And as we duplicate
in the layer, it's duplicating all
the layer properties, including the keyframes and including the
expression as well. Now, in the next video, I'm going to show
you a variation of loop out expression. H.
5. Looping Pingpong Expression: And this time we'll do a variation on the
looping animation. Always the same looping comp and maybe just a
quick animation, but this time, we'll
do just two keyframes, the first and second keyframe
without the third one. Let's if I'm going to
select the layers again, or I could do layer
new shape layer, and maybe again, any shape. Let's say ellipse will
be fine or a circle. This time I'll make it move
sideways, for example. And that's the
layer, PFO position. At the beginning,
the first key frame. And then let's say at 1 second. I'll move it across the screen. I'm going to ignore the
anchor point right now. Let's say it moves maybe here. So the moments just
moving sideways. Let me just disable solo
from the stars for now, so I can focus on
this layer here. At the moment is just
doing this. That's it. It's only go This is the ball. This only got two keyframes. And it's only going
to have two keyframes in here because we have a variation on the
loop out expression. So he's going to do. We're going to stop
the playhead as usual, we'll add the expression to the position property with
Old click like we did before. But this time, when we
do loop out, loop out, in the brackets,
we'll add a property, excuse me, in double
quotes called Ping Pong. So when you type
in double quote, you get a drop down, I
would ooePingPong here. Okay? That's it. I would just click away. And when you preview, this is going to animate
forward and backward. It's going to move back to its starting
position automatically. So if you don't want to bother
with the third keyframe, if you want to quickly do it, you can just use the
Ping Pong property on the loop out expression. Okay. In our next video, we're going to look at
another expression, different expression this time, or we're going to have some say random movements for an object. You're going to use the Wigle
expression on the next one. So let's keep it open.
I'll continue next video.
6. Wiggle Expression: Let's make a new composition,
which I'm going to call it. We go. Same as before. Maybe I was going to
shorten the duration to 10 seconds, the usual, okay? W some object. So any object, any shape, I'm going do a circle
again, say somewhere here. Maybe to lead by example, I will move the ancha
point as well with layer transform and sent Anca
point layer content, okay? Now, this time,
which is going to add an expression to the
position property in here. So I'm going to do PFO position. A click on the stopwatch. We're not doing any
key pens this time. And what we'll do is
we'll do Wiko here. Wig, okay? And wiggle will have
two properties in here. The first property
is going to be for the frequency of the
wiggle or the movement. Let's say we do
one for now, okay? 1/second. There would be a comma to
separate the properties, and the second one is going
to be for the amplitude, how far we want it to go. Let's say if we do maybe
100 to start with, I will click away, I
will just play it. It's going to do this. It's going to move by up to
100 pixels once every second. If you wanted to wiggle
more, we can change. So let's say would the second
value to be maybe 500. So you get more movement.
It's going to move further. We can also make it
wiggle more frequently. So we can change one
to say maybe three. So you get more movements. You know, we could
duplicate this layer. Control Commandi
to duplicate it. This will also have
an expression here. And if I just move
this one maybe here, we can have a bit more
random movements here. This could be used
for some simulations for, I don't know, the way bacteria or some cells move inside the body or
something like that. So the wiggle, you
got two properties. The first one is the frequency, how often is going to move? And the second value
is the amplitude. How far from its starting point it can move in any
direction here. I got three. For frequency, it moves three
times every second, and it moves up to 500 pixels away from the
starting point here. And you can have as
many as you want, so you could make
another duplicate, Control D, and I just move this one maybe to the
center to start with. So I got three of them moving. Okay, that's the WigoEpression. In the next video,
we're going to look at expression called time.
7. Time Expression: In this video, we're going to create a shape or use a shape, and we'll make it rotate. Rotating rotating would be a
good example for the time. We can have a shape rotate at a certain amount of time.
So here's an example. I've drawn some shapes
and got two red lines, one for the hour arm, which is shorter, one for the minute arm,
which is longer. That's the minute arm. Okay? This is the arm. Okay. Let's just double check.
Also draw these lines. This is like a clock, okay. But let's just double check. Now, we need to make sure
that the anca points are at the bottom of these shapes where the
center of the comp is. So on the arm, there's
the anca point. Okay. Let's just sololo
it for a second. Okay. And then the minute
arm just checking, make sure they all study
the same position. And the minute arm also has the anchor point here
at the bottom, okay? Right. So here's
what we'll do now. I'll start with the arm. Look into well, we're not doing any animation,
by the way, okay? Not as per se, okay? But we do need
rotation property, and we'll add an expression to rotation with Old click
on a Stopwatch, okay? And now we'll use the time
expression and then times. So you know the symbol
on the number eight on your keyboard when
you multiply things. Okay? Now, our arm should
rotate more slowly. So let's say now, so we're doing some rotation
per second in here. So let's say, for example, let's say this one in
1 second is going to rotate maybe up to here. To 3:00. So this
would be 90 degrees. If I'm correct. Let's see. So if I click
away and play it. Okay. Let's just double check.
So if we move the CTI to 1 second, it goes to 3:00. At 2 seconds, you go to six. Now, it's working. Maybe
you'll make it slower. I'm actually thinking
maybe we can make it do 3:00 in 2 seconds
or do 45 degrees. Okay? Oops. No antach. So it's going to go from
12:00 to 3:00 in 2 seconds. Because going to rotate 45
degrees every second, okay? This will make it
go more slowly. Okay, so what about
the minute arm? So let's do rotation
here as well. Click on a Stopwatch
with the old key. Okay, so again, we'll do time. Now, at 2 seconds is 3:00. So it means that the minute arm has 2 seconds to do full circle. So it's going to do 180
degrees in 1 second. If I math is correct. Let's see. Okay. 3:00, 6:00,
9:00 and 12:00. Okay? So as we start
here at 2 seconds, it's going to be exactly 3:00. At 4 seconds, 6:00. At 6 seconds, 9:00. We can tweak the
timing, obviously, but the idea here is so we have these two arms which are
rotating at different speed. The hour arm shorter
one more slowly. The longer one, the minute arm, much faster to
show passing time. And this will normally stop
at the end of your comp. It won't look when
you expose a video. That's how you can use
the time expression in your animations. What we'll do in the next
video is well let's see. We'll have a different
expression. Keep it open.
8. Resizeable Text Box: Okay. In this video, I'm going to show
another expression where we'll have this shape, a box behind the text, which is going to resize itself automatically to fit
the text inside. So if you make a new
composition, add some text, just a normal text layer as usual and add a shape behind it. So I've got this text layer, just a normal text layer here. With the rectangle, there
are the corners behind it. It's just a normal
rectangle with rounded corners,
just a normal shape. There's nothing
special about it. Just a couple of things
I did here is I did place the text right
in the center of the comp just to make it easier. So it's center aligned. And also the shape is also
center aligned, okay? So there in the
center. Also, the text is center aligned
within itself here. So the text will expand from the center to both
left and right, okay? Now, we have an expression
which we're going to add to the shape layer, okay? So if we open the shape
layer properties, we're looking for
the actual shape and for the size property
in here, okay? And I've got the coat in here because it's a bit
longer this time, okay? So I'm going to attach it
so you can download it. Someone's going to
highlight this code in here and copy. Okay. Now here, we're going to add an expression to the
size of the rectangle. Then we do Control V or
command V to paste it. And then we just click away. So I got this
expression here, okay? Now, as we customize the text, so say the text layer, we put some text in here. Text. You go. And the box is expanding
automatically. This is a resizable box. Maybe something like that. Okay? The expression is in the document in the text file
attached to this lesson. And this is the expression. It's quite a long one, actually. So there's a bit more here. Here we go. I can open
it so I can see it, but here we go. But it's quite a big one. Here
you have it. Here you go. And this makes the
shape, any shape, resize itself to
accommodate the text, which is actually
a separate layer. It's not really inside the box, but it's looking
at this text layer and it's adjusting the width and the height of the shape as you customize the text.
How cool is that? Hmm. And this is the expression. We go. This is the entire
expression. We go. I can see the enti
expression if you prefer it here. Have fun.
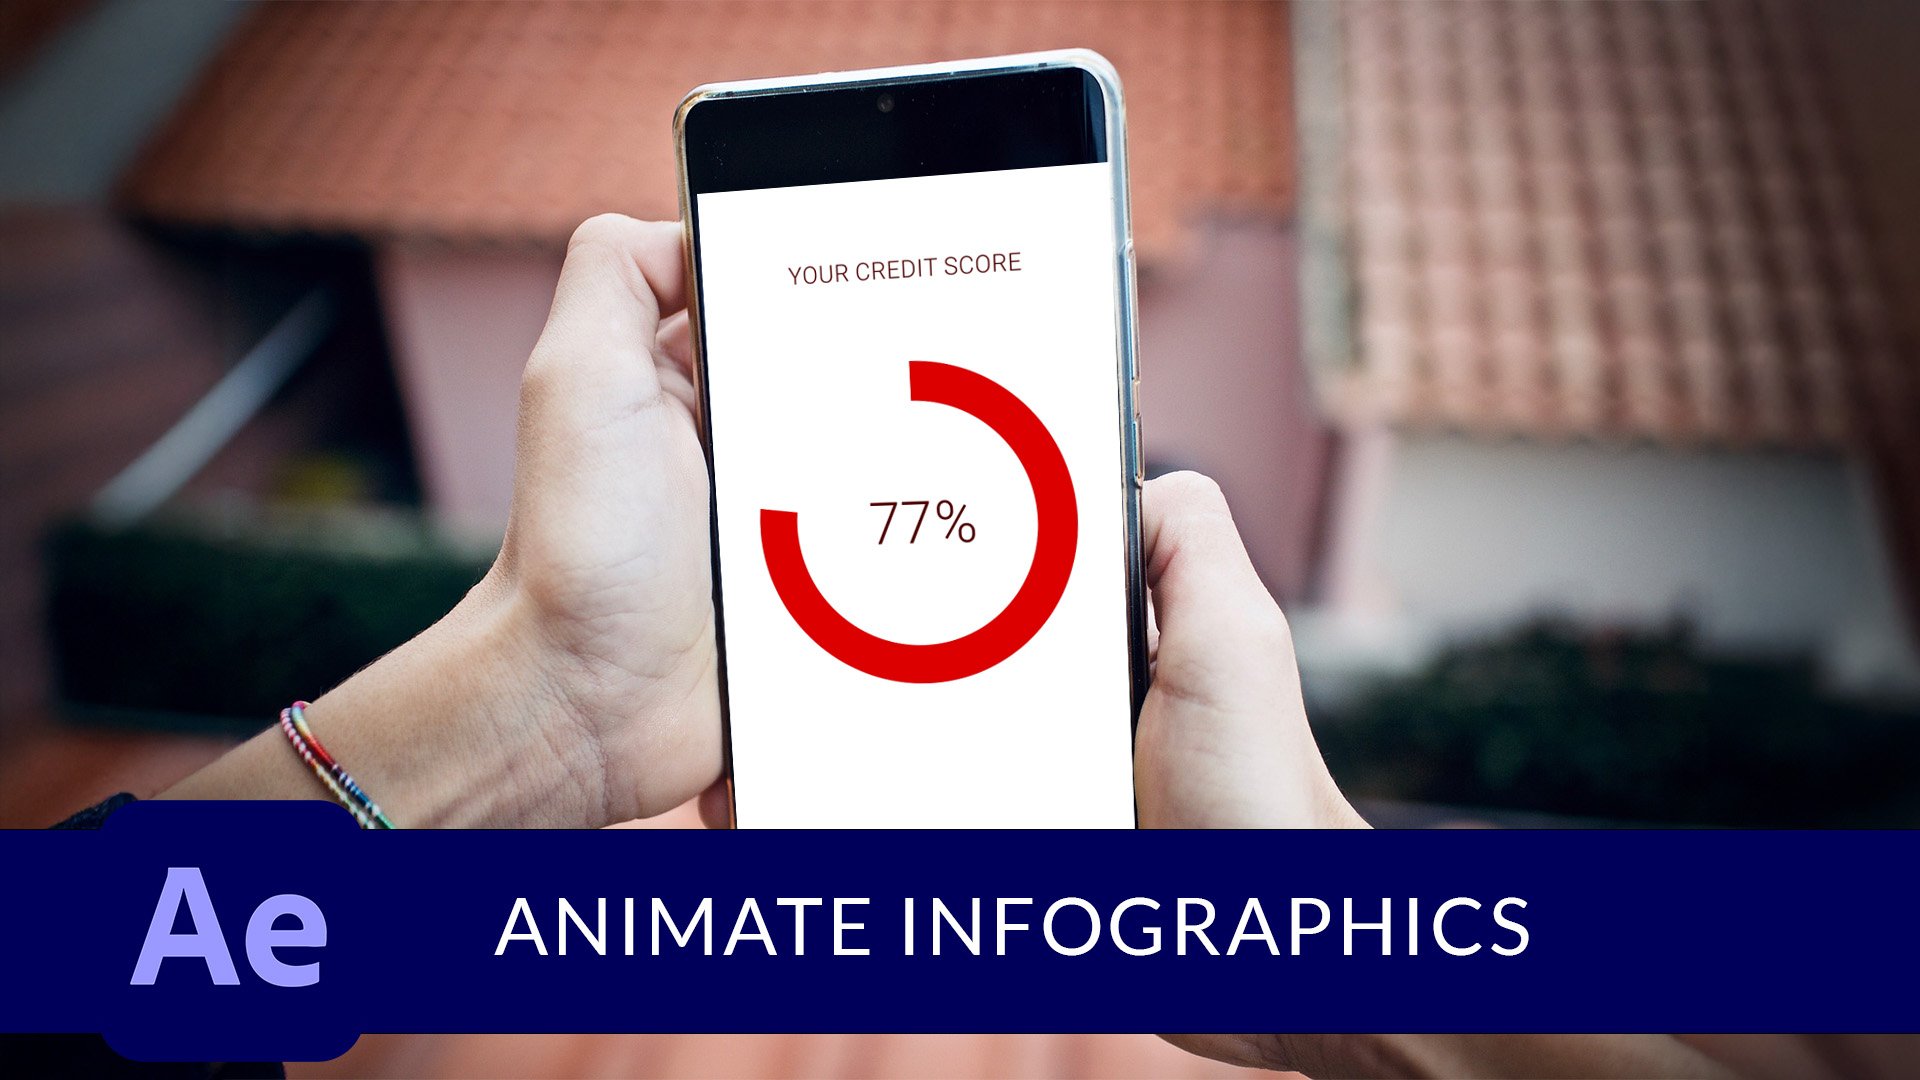
9. Animated Statistics Expression: And now one more expression,
one more exercise here. This time, animated statistics, a very popular expression used to make the numbers animate, make the numbers change from certain value
to certain value. So a good example here would be with when you log in to say
credit score, for example, into your account, it shows
you credit score number, say, out of 100, for example. And the numbers animate
to reveal your result. I'm a new comp already. It's vertical mode this time to make it look like a
mobile app as an example. I put a headline
in credit score, and now we just
need a text layer with a number in the center. So I'm going to use example
where we have a number out of 1,000, which represents
percentages. Say, if we get 83%, this will be 830 as an example, and this should be nice and big. Let's see how big 150
maybe or even 200. I'm going to put this text
right in the center as well. O no. Okay. And zooming close as
you can see this better. Here we go. It's just a
number, a text layer. Okay? Now, this is going to be a bit different from the expressions we've
been doing so far. This time, on this layer
with the layer selected, we need to add an effect to it. So you go to effect menu, expression controls
and slider control. So we add in slider control
effect to this layer. Okay? To get a slider control. I'm also going to show
you a different technique of applying an expression in this case to make it a bit easier so we don't have
to write everything. Now, we need to connect the text on a text layer with this effect we
just created here. So if you open this layer in
your timeline and open text, click on we'll click on a stopwatch for source text
here to add expression. Here we go. Don't worry
about the composition panel. Just ignore it for a second.
It's as we fry boot. That's fine. Now, just so we don't have to write
the entire expression, what you can do this
time is you can click on this Piquip icon, the snail. Click Hold the
mouse button down, and we drag it into the effect
controls panel to point it to the slider property on
the slider control effect. That's where you're going
to drop it. This will write the expression for you. Here. Now you can click away and everything
will go back to normal. The number will change to zero because the slider
value now is zero. But if you try to change
the slider value, see how the numbers are
going to change as well. What we'll do now is we'll key frame the slider
control effect. The CTI at the beginning,
we'll click on a stopwatch for the slider,
we'll keep it at zero. I'll give it quite
a few seconds. I'll move the CTI to say
maybe 4 seconds in here. Will change the slider
control effect, slider value, so minus 830. So
when I apply it. Now we may get decimal point. That's okay. We'll fix it next. Don't worry. But the
numbers are going to change from zero to the
number you specified. Mine are changing to
830 in 4 seconds. Now, we need to add just
a tiny bit of code to our expression to remove
any decimal points. So I'm going to click
on our expression, put a cursor at the end. I would dot VI I
will select value. Dot TOF two fixed, and zero between the brackets. Now you can click AI to
close this expression, and now there'll be
no decimal points, just full digits,
just the integers. If you want some
integers, you can well, the number in between
the brackets, this number here represents
the number of decimal points. So you may want
maybe two integers, two numbers after decimal point. So you can do two here. So
you get something like this. But in this case,
we don't want any, so keep zero in between
the brackets here. Here we go. I can make your
animation longer, short. We can also apply
some easing here, the usual You can use this
technique with any numbers. You can use it with countdowns where you're going to
countdown from maybe ten to zero because
you keep framing the slide control
effect and you decide what number you want
to start with and what number you want to
finish with as well. You can start from 830 and finish at zero for
anything you like. Okay. Okay, I hope
you enjoyed it. I hope you enjoyed learning some expressions
in after effects one oh one or basics of adding expresis in
Adobe After effects. If you enjoy it, if you like it, there's so much more you
can do with expressions. This is just to get you started, just to show what
expressions are like, how they work, how
we create them, how we add them, how
we customize them. And there's so much more you
can do with expressions. So I hope you enjoyed
it. Thank you for watching and have fun.
 Marek Mularczyk