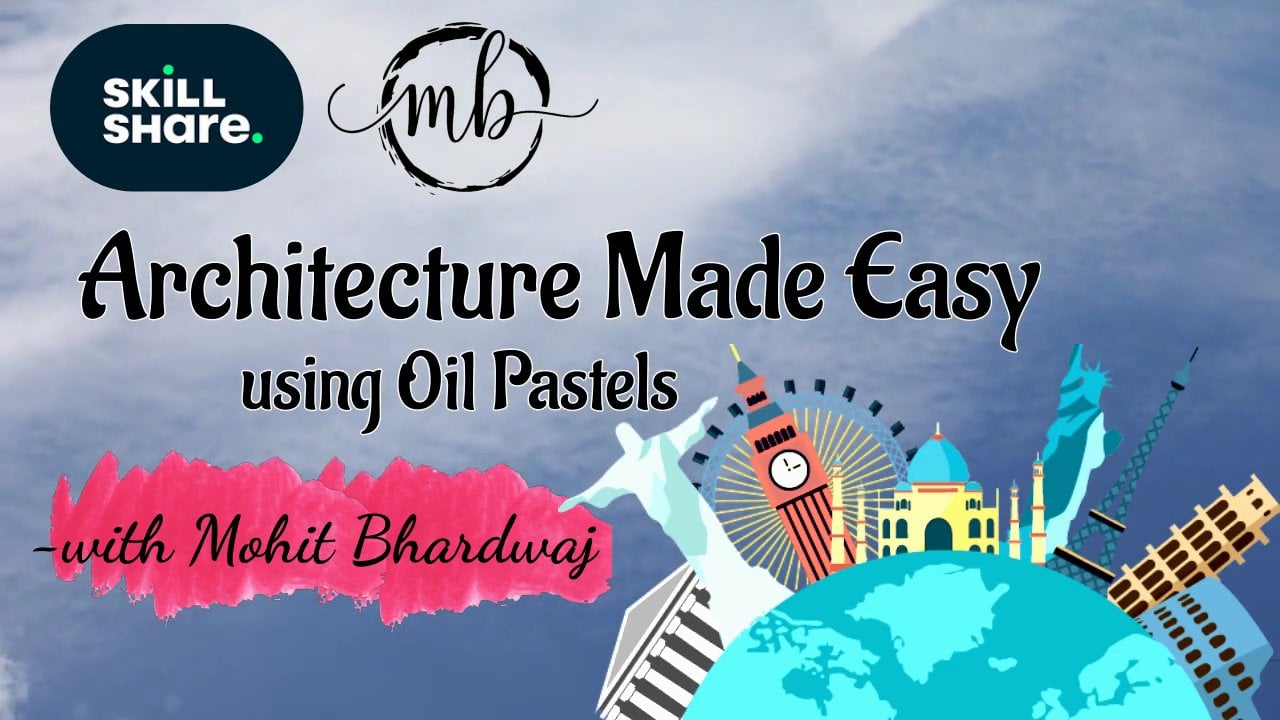
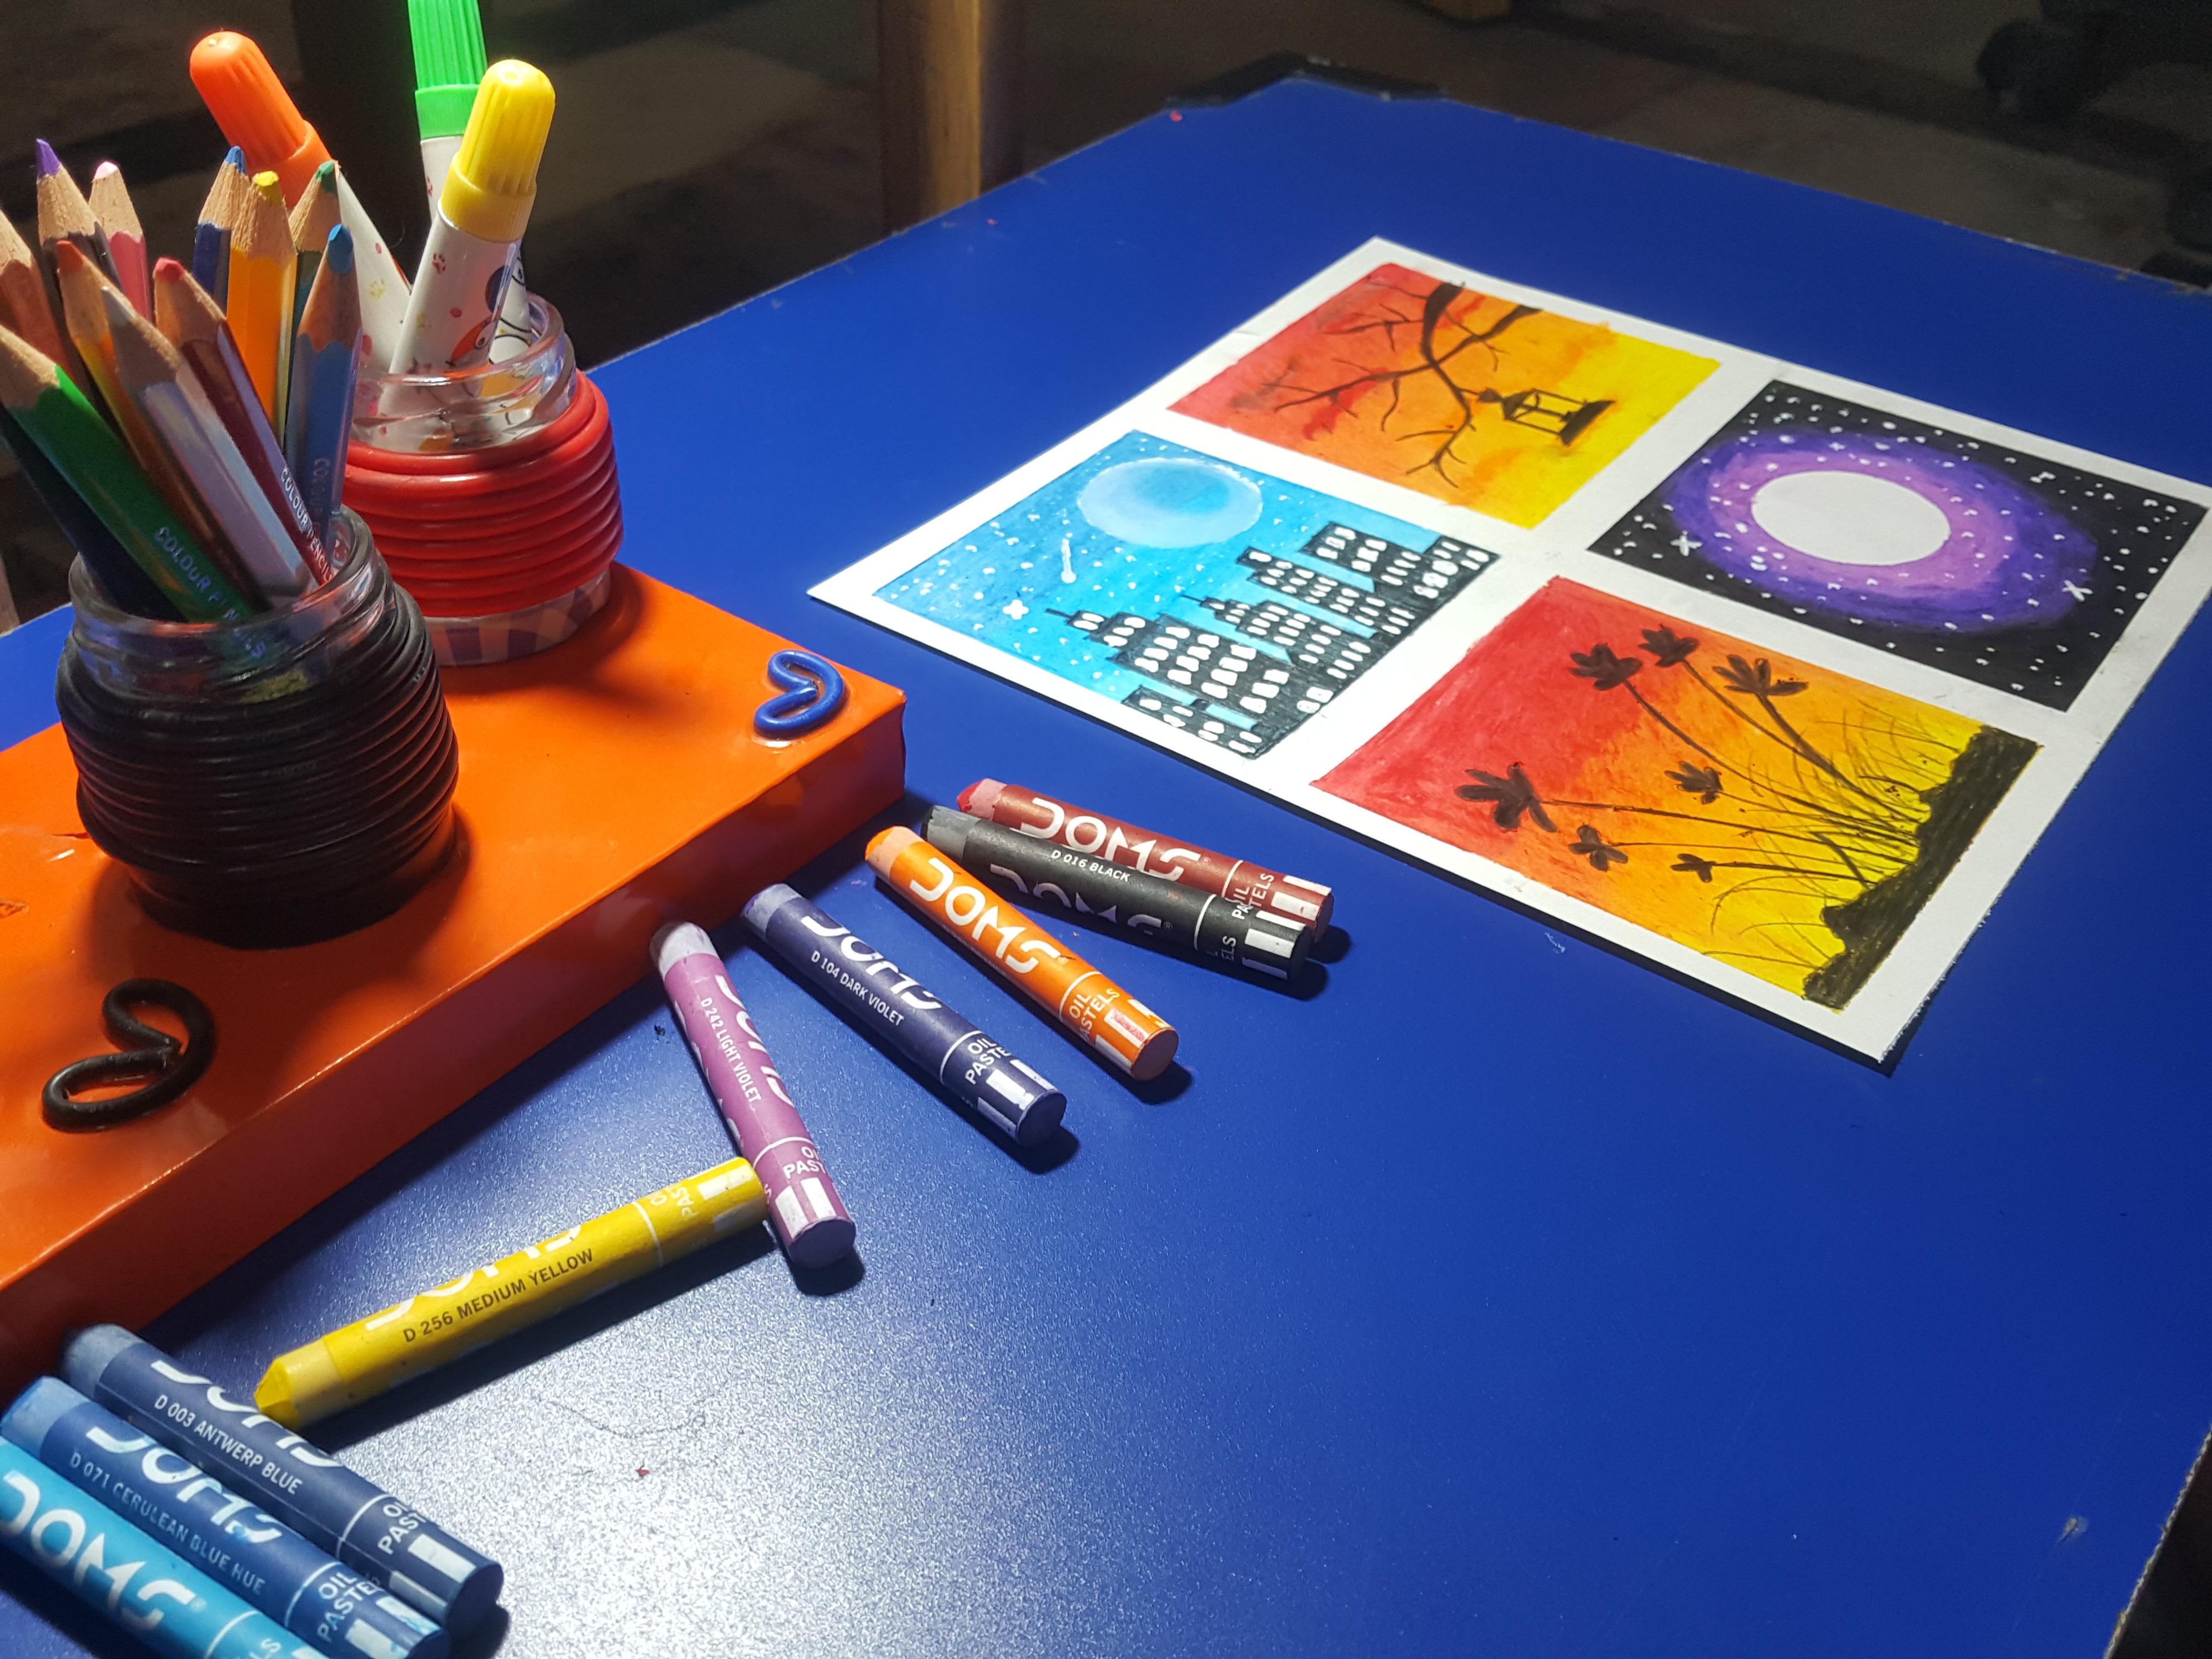
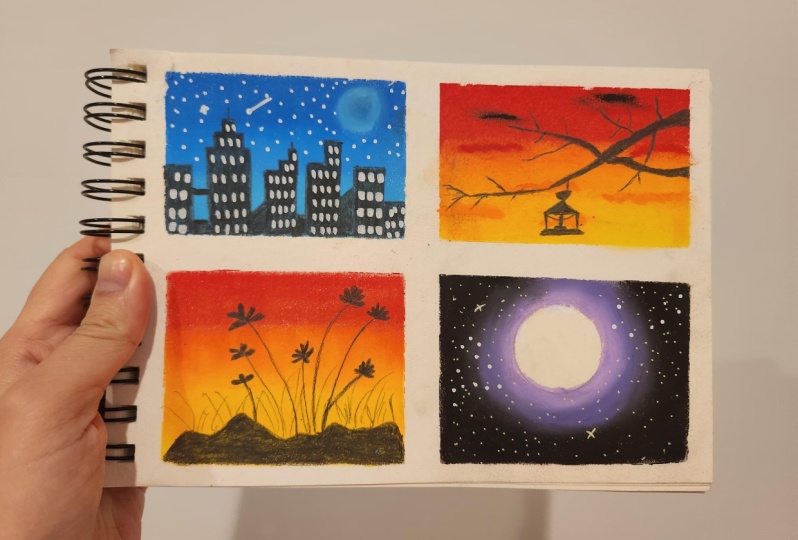
Experiments with Oil Pastels : learn to make 4 simple yet beautiful scenery
 MOHIT BHARDWAJ, Creative Explorer
Watch this class and thousands more
Watch this class and thousands more
Lessons in This Class
-
-
1.
Introduction
0:40
-
2.
Material Required
0:26
-
3.
Create the workspace
1:09
-
4.
First Background (Night Sky)
2:54
-
5.
Second Background (Sunset )
2:51
-
6.
Third Background (Sunrise)
2:27
-
7.
Fourth Background ( Dark Night)
3:57
-
8.
The City Look
7:09
-
9.
Feel of a Beautiful Evening
4:13
-
10.
The Moon and Stars
1:10
-
11.
Finally The Fresh Morning
5:31
-
12.
Project Work
0:27
-
-
- --
- Beginner level
- Intermediate level
- Advanced level
- All levels
Community Generated
The level is determined by a majority opinion of students who have reviewed this class. The teacher's recommendation is shown until at least 5 student responses are collected.
176
Students
7
Projects
About This Class

Hi, I’m Mohit Bhardwaj and I welcome you to this class named "Experiments with Oil Pastels"
Oil pastels. They’re not crayons, but you can colour with them. They’re not paints, but you can paint with them. They’re not quite like any other medium, and can be kind of tricky to work with.
In this class we will do some experiments with oil pastels. You’ll learn how to blend them and of course - make art you love with them. You won’t believe how versatile these sticky little crayons can be. I use them often in my work, and will show you how to make your oil pastels a go-to medium for your own creations. Whether you work figuratively or in abstract, you will enjoy this class

Material you need for this experiment
- Oil Pastels (Whatever you have is fine to start with.)
- Any white Sheet
- Pencils (Graphite)
- Masking Tape
- Tissue Paper
- Correction Pen
- and A Cutter
Whatever you can gather from that list will be helpful. At the minimum, you’ll want oil pastels, white sheet , A Pencil and Tissue paper. That’ll be enough for this class .
Meet Your Teacher

I'm Mohit Bhardwaj, an Engineer, Artist and an Explorer from New Delhi, India.
I started Art as a hobby but with time it became an important part of my Life. I find my inspiration in my day-to-day life See full profile
Hands-on Class Project

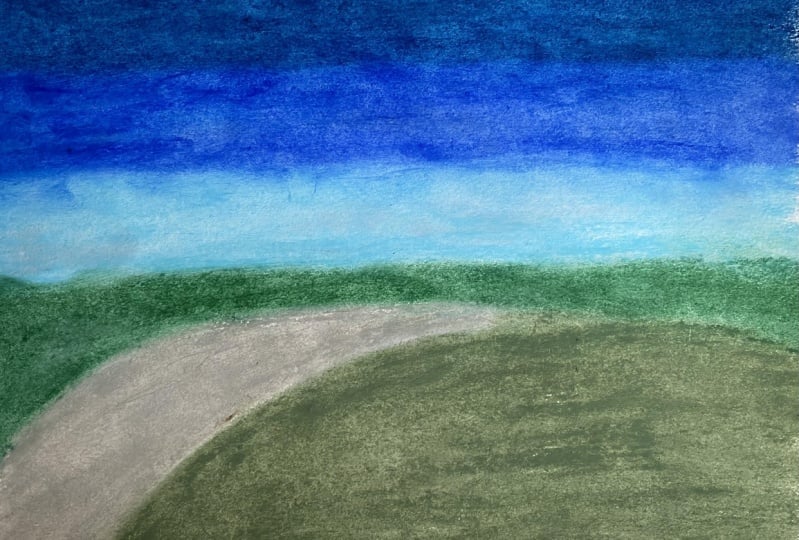
Your project is to try making a scenery of the place you visited recently using these Oil pastels.
Click Pictures of your work and upload them in "Your Project section".
I can't wait to see what you create!


Class Ratings
Why Join Skillshare?
Take award-winning Skillshare Original Classes
Each class has short lessons, hands-on projects
Your membership supports Skillshare teachers
Learn From Anywhere
Take classes on the go with the Skillshare app. Stream or download to watch on the plane, the subway, or wherever you learn best.


Related Classes