Transcripts
1. Me and Pysanka Eggs: Hi, I'm Melinda. Wow, Welcome to another session of
experience water commerce. You know, I never really
talked about myself much, but just so you get
to know me a bit, I've been painting for over 35 years and
teaching for over 30. My mom always used to say to me You Shi going
to teach her. And I'd say to her
mom, I am a teacher, but I think she
was thinking more in the traditional at school since I do more adult education, but I do volunteer work
at the school as well. I'm a mother of a blended
family of five lovely children. I have four beautiful
grand babies. And I live and work here on Gabriel island on the
West Coast of Canada. In this class, I have placed a project at the beginning
called bonus project. I recommend you to have
a go with that first. It'll just give you a leg up to be that much more successful for your main project in
Unity full class. In this class you're going
to learn how to make plump around Easter eggs. We will talk about glazing colors over one another
to create new shades. We will do cast shadows, and I'll teach you how to make a nicely nest to
cozy your eggs into. Most of all, we're gonna
have a lot of fun. I've put everything you need
in the project section, including transfers
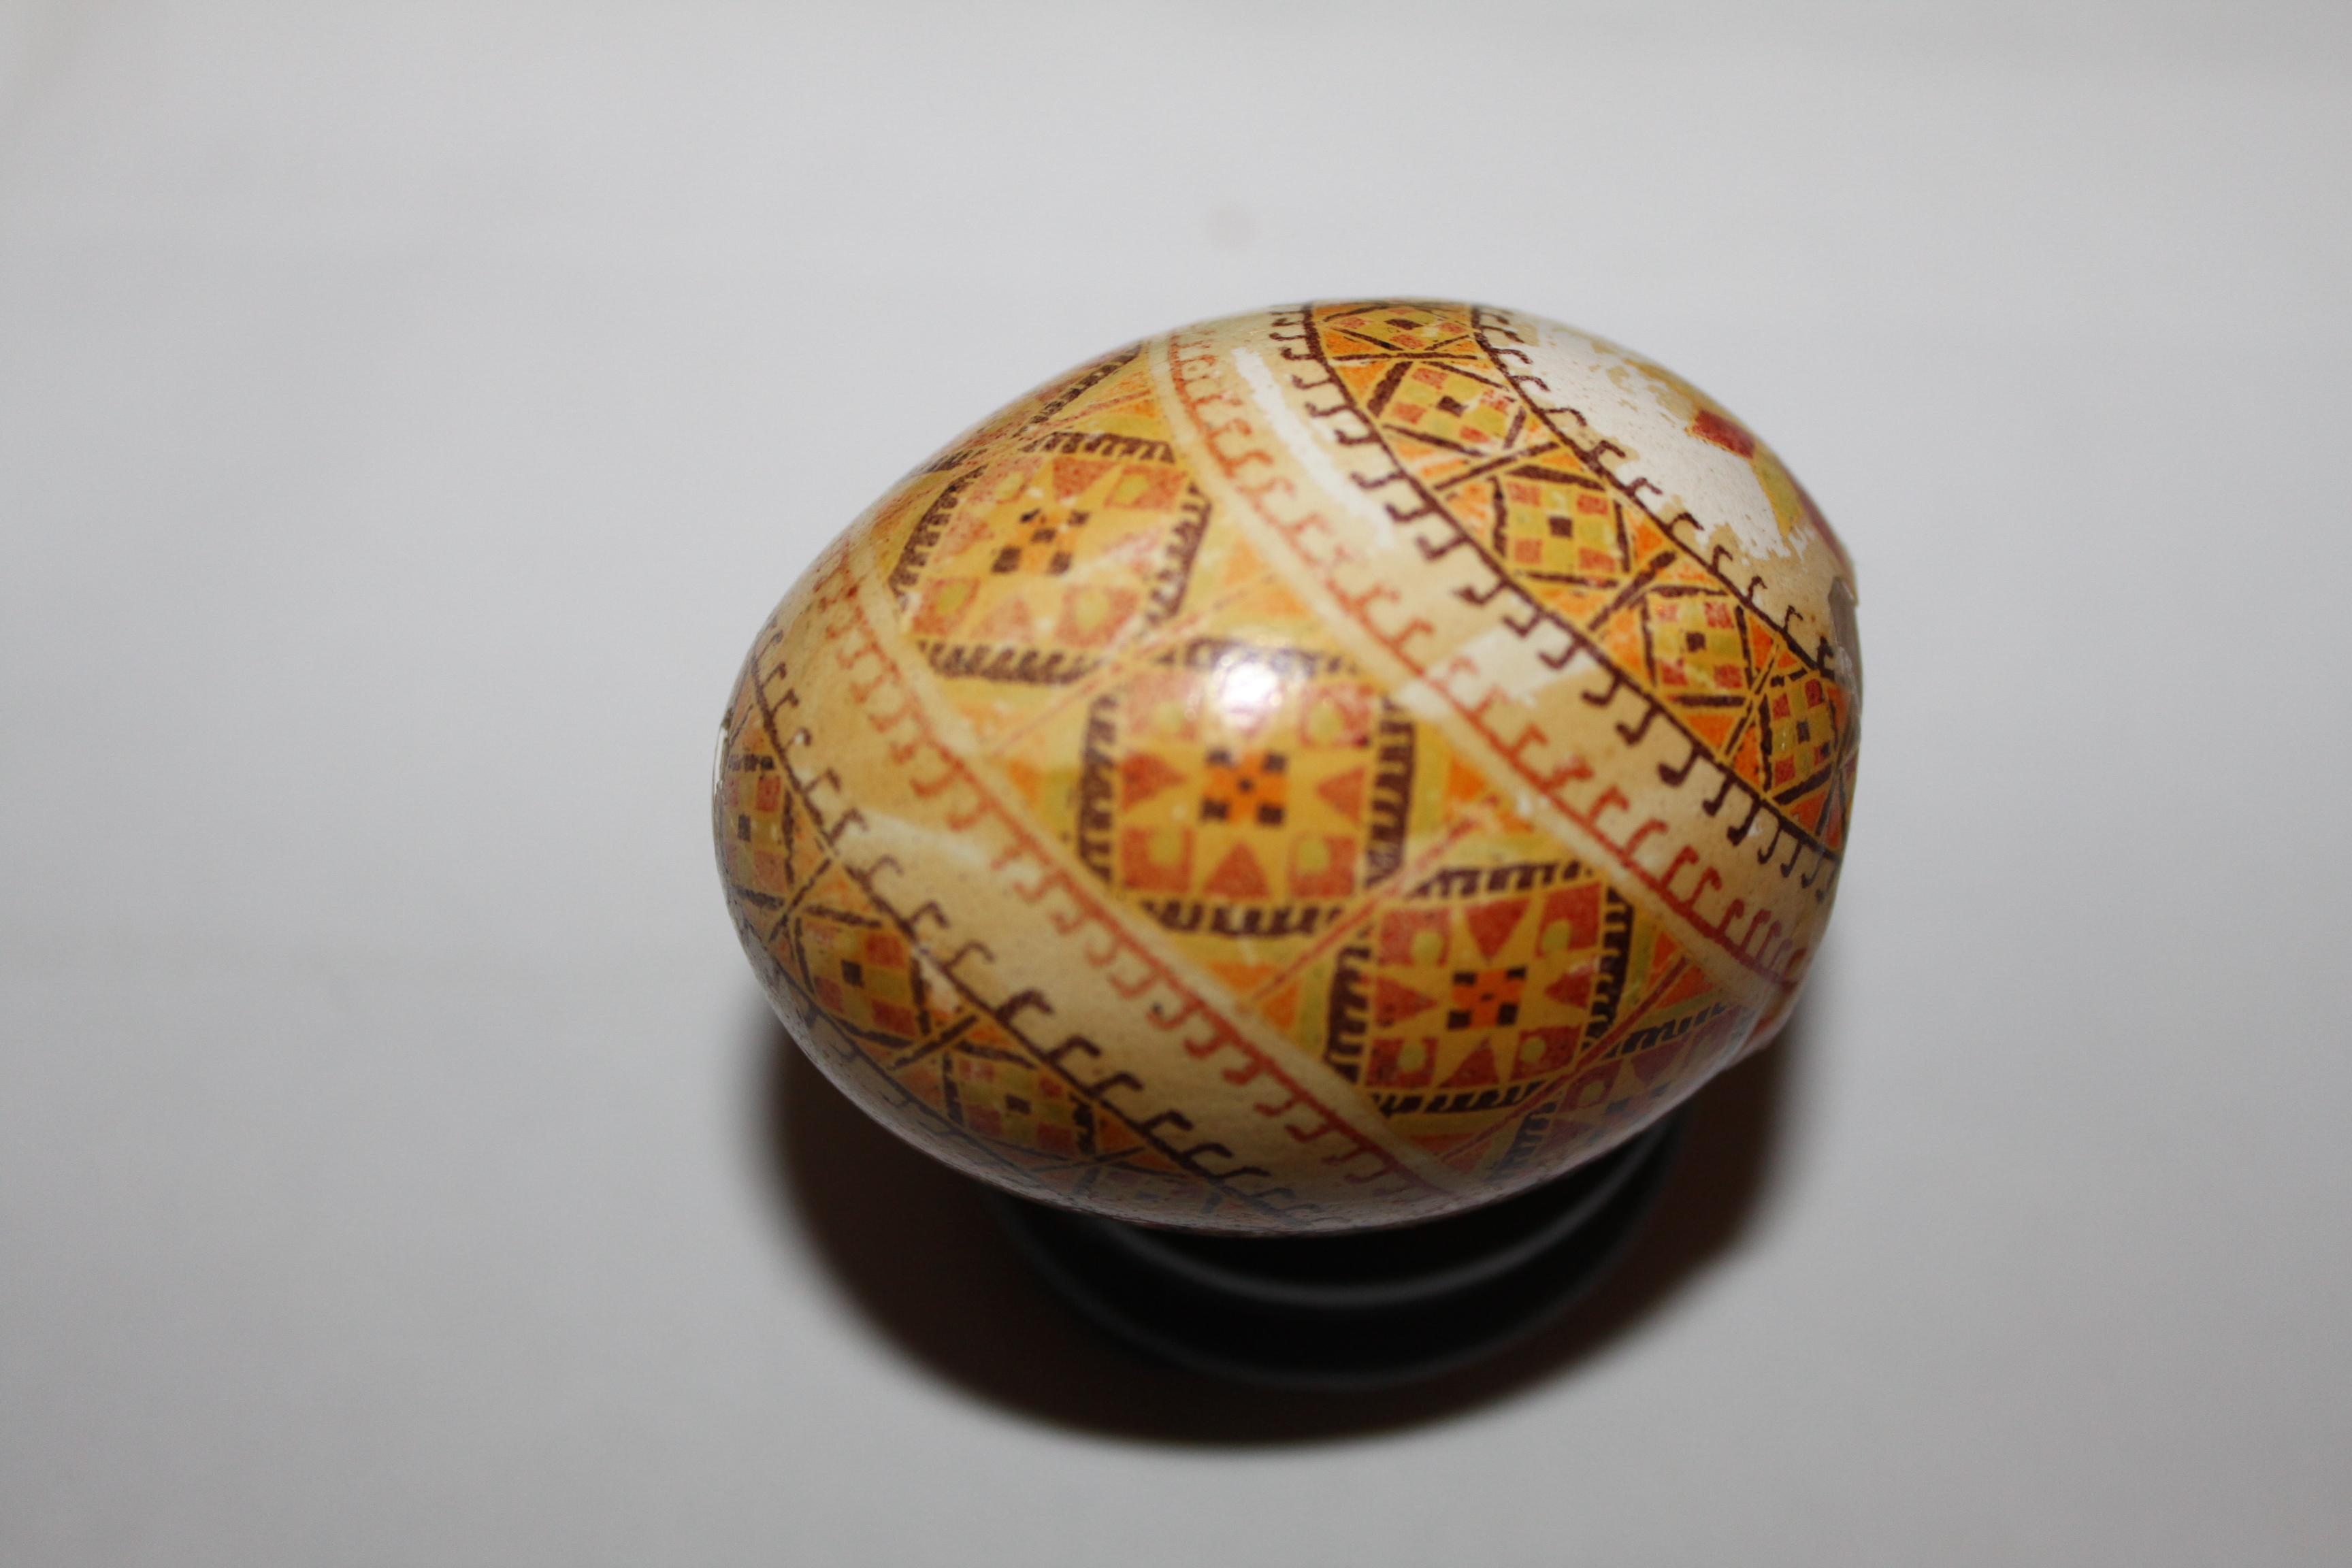
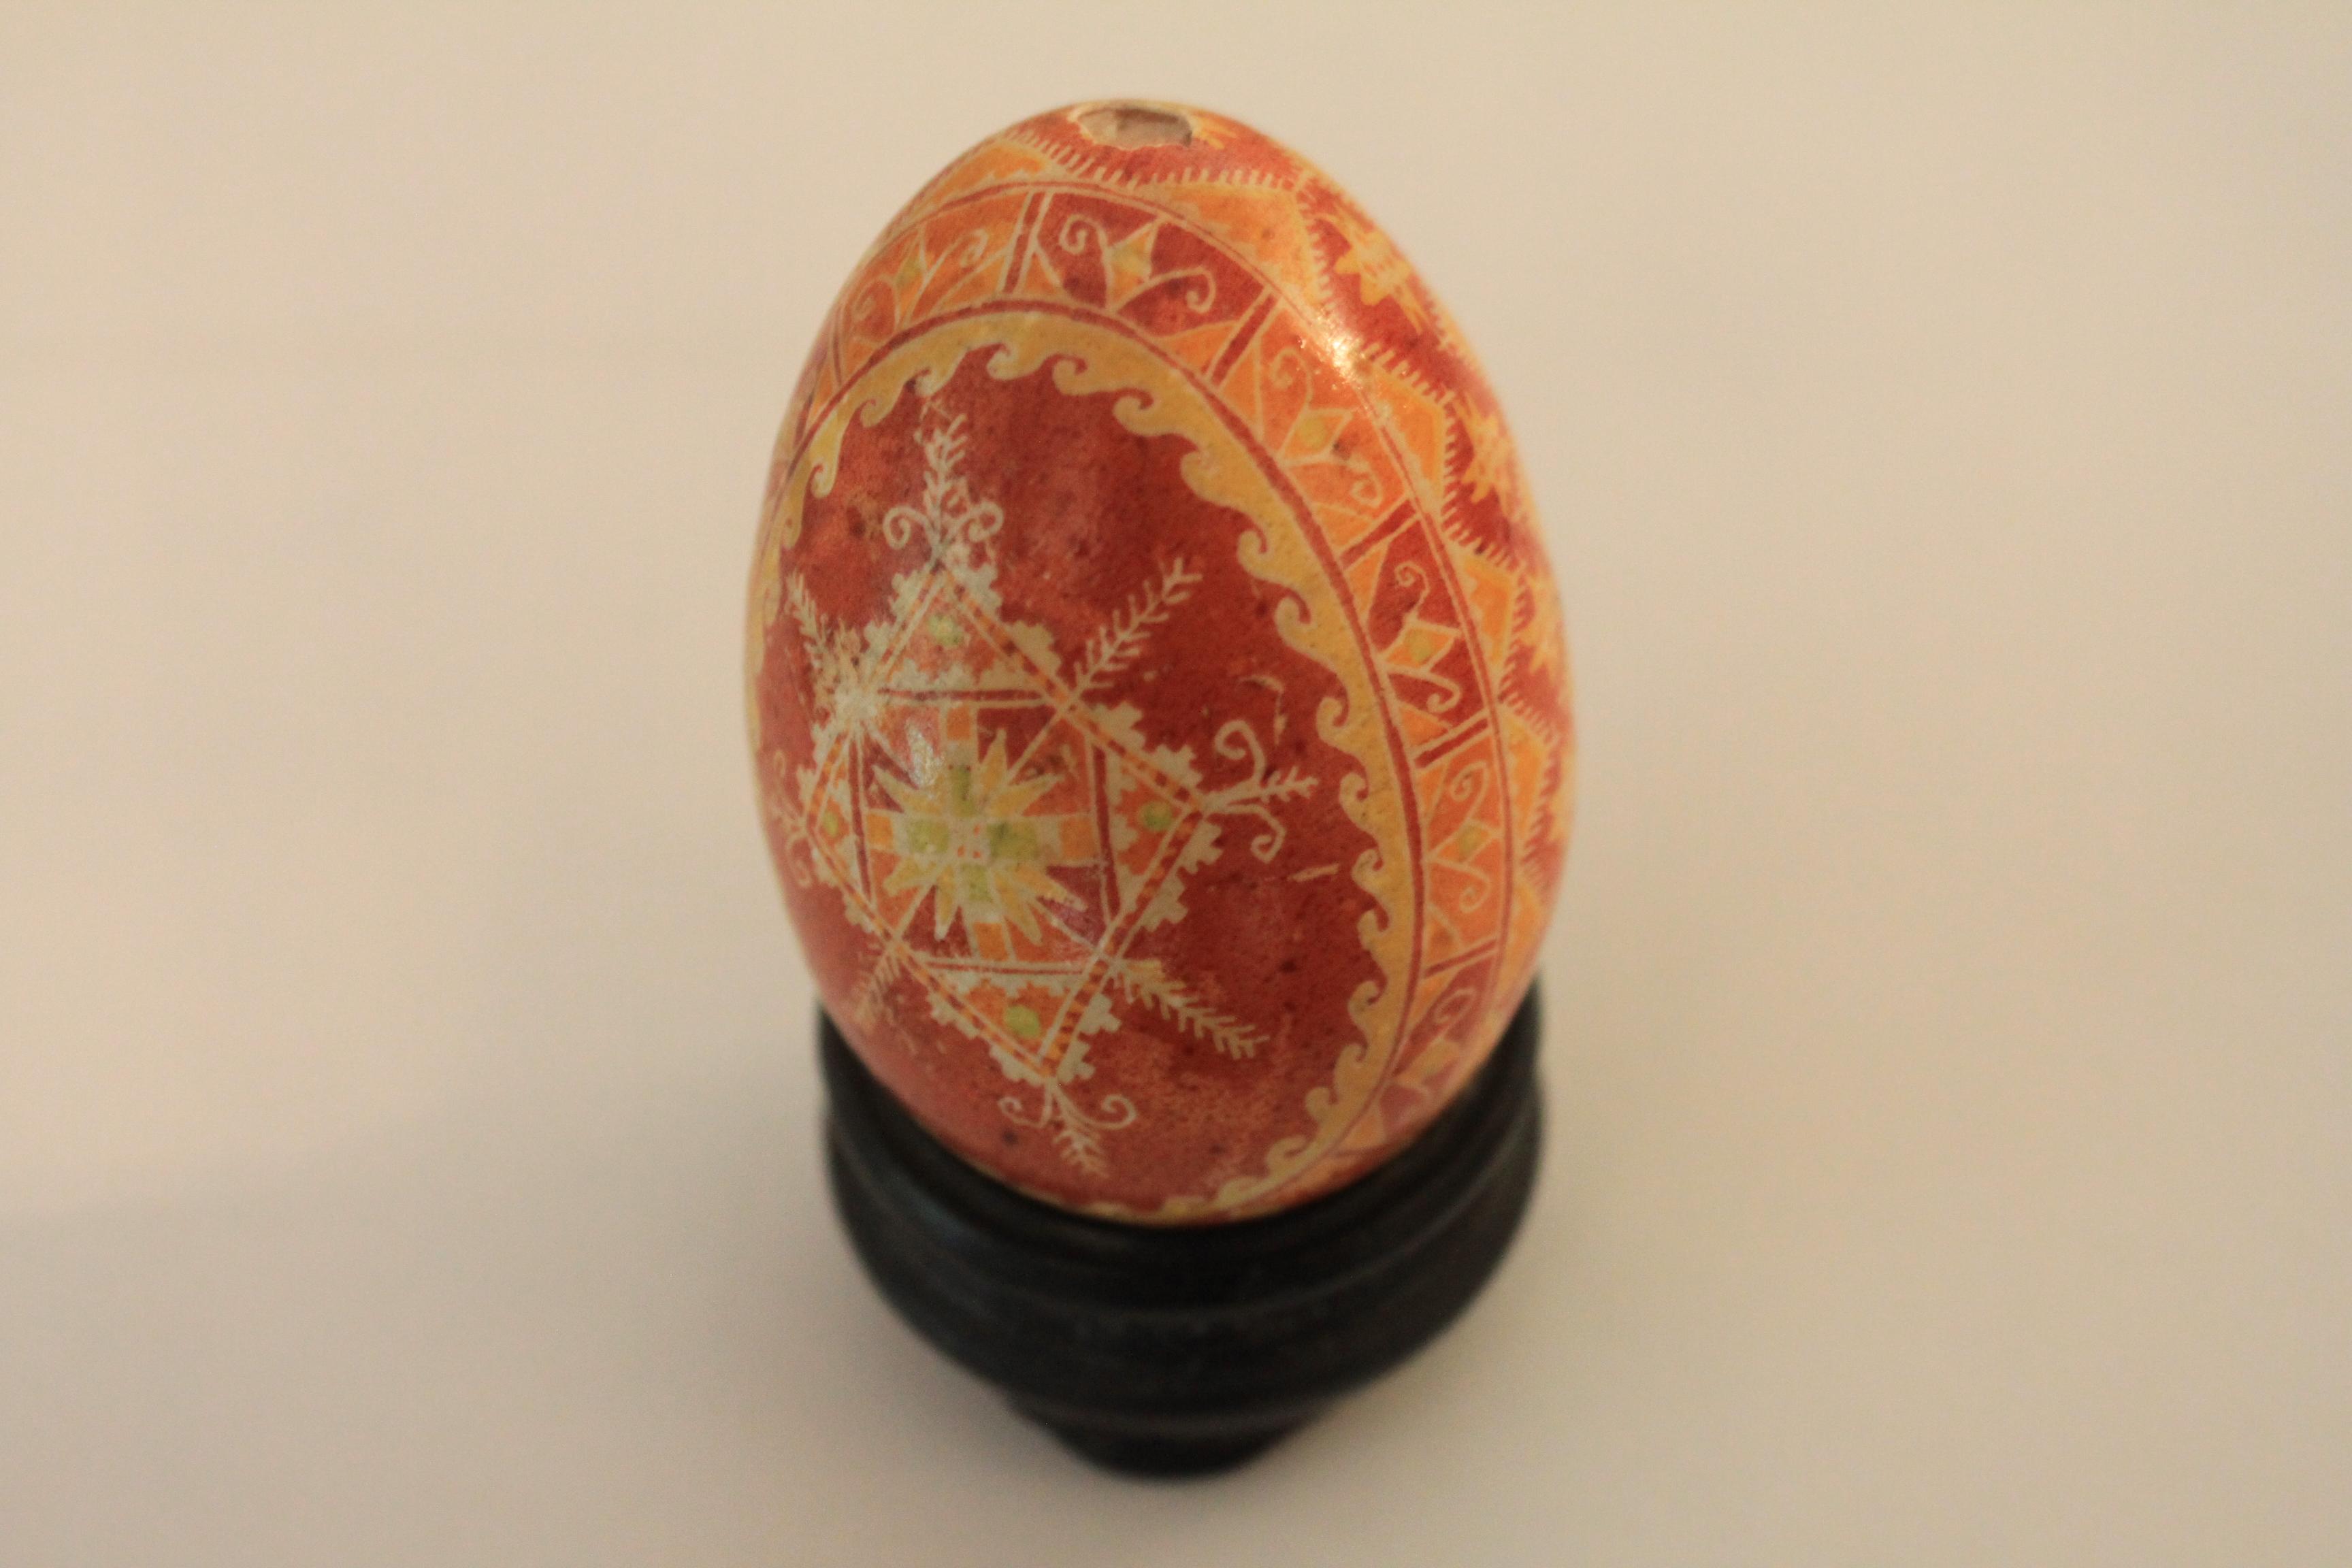
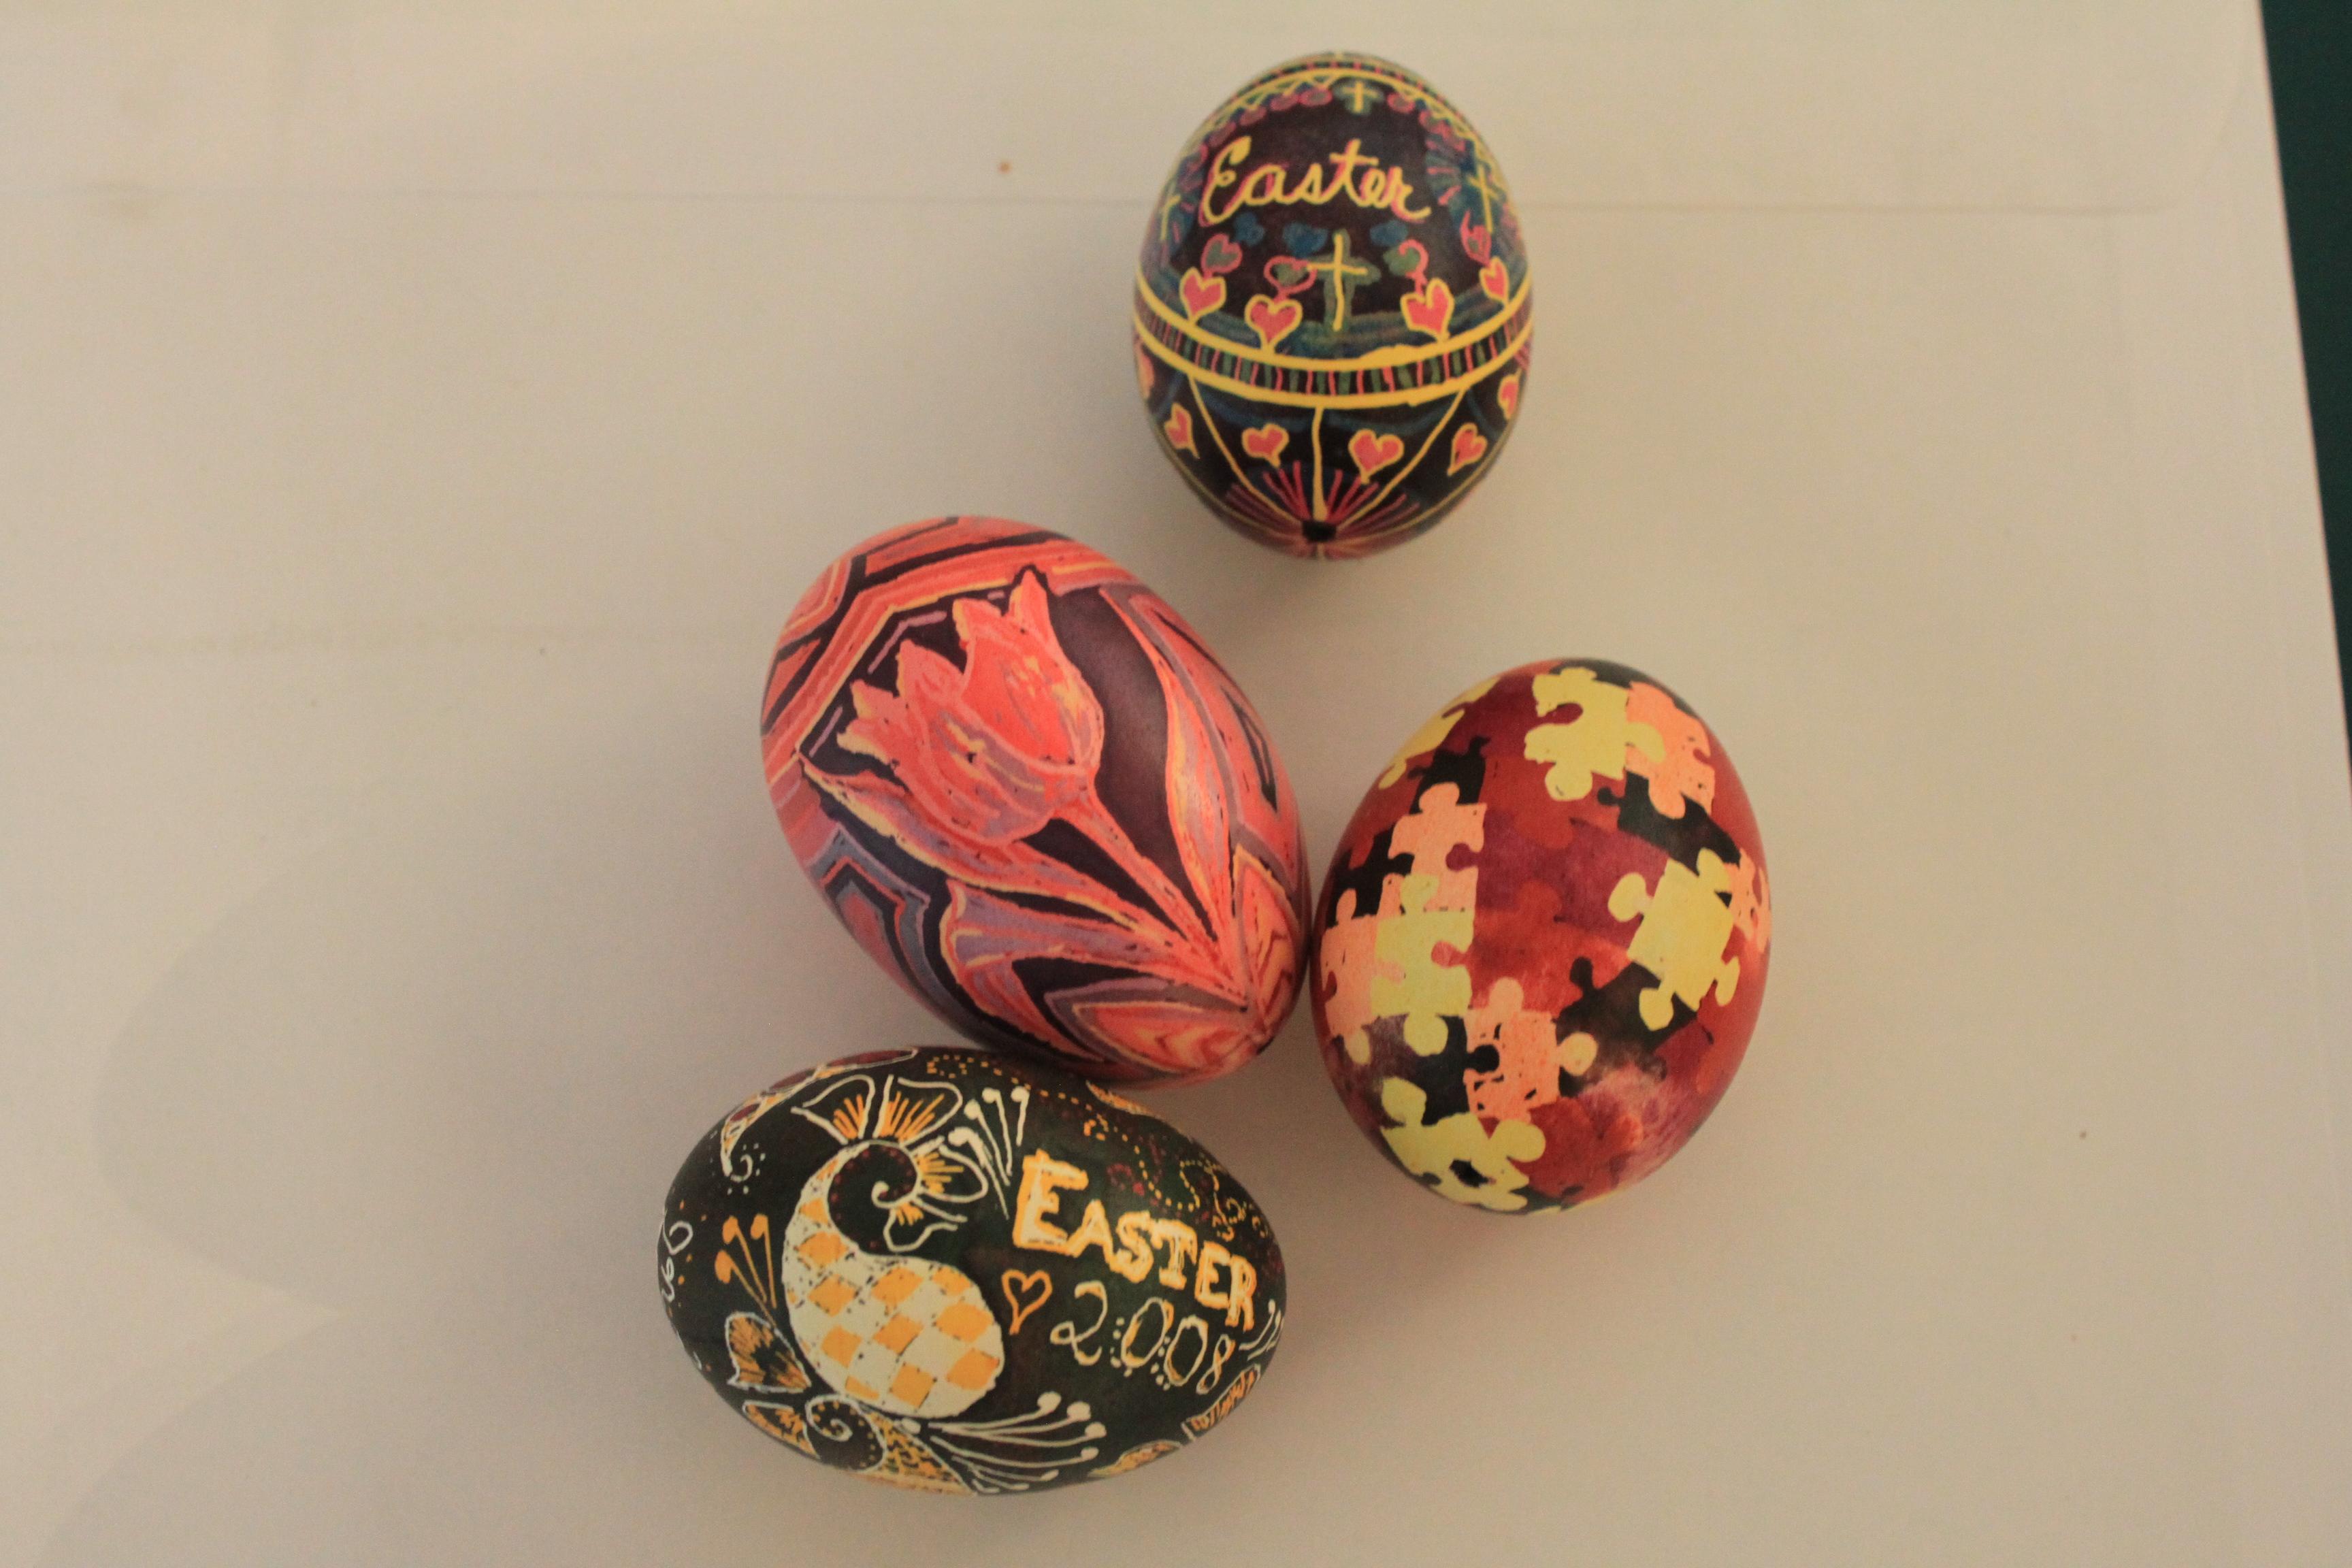
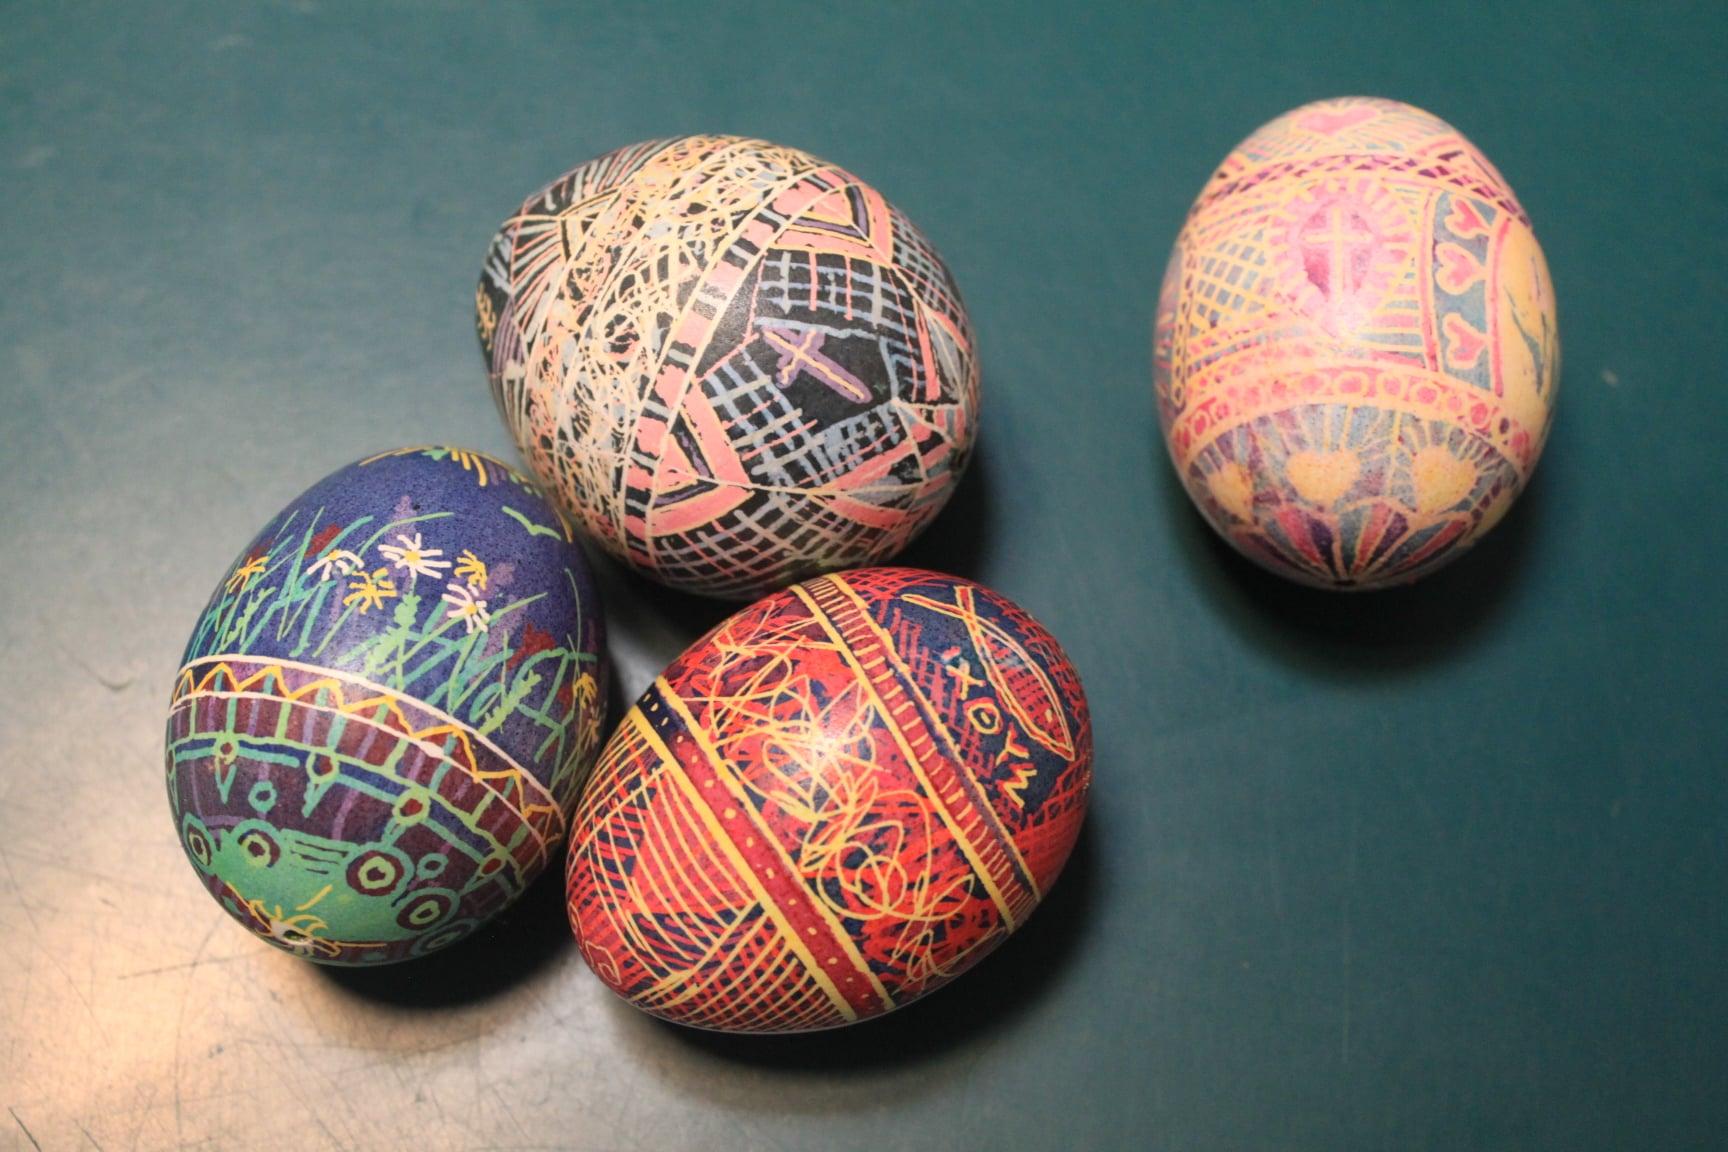
for the Easter eggs, a bunch of photos
for inspiration from my husband's very talented grandmother's antique
Easter egg photos and some pictures of eggs my
kids and I have made over the year just to give you
some ideas for patterns. There's also a photo of a
painting I did to maybe inspire you to take what
you learned from this class and putting
into a larger painting. I want to thank you
for being here and encourage you to
upload your artwork. I would love to see what you do and do reach out with any
questions that you have. Let's get to the studio.
2. Bonus Project: As I recommended in
the introduction, I think you should try
this project first before you begin the main class. I'm just going to
cover this egg. I have transferred the large egg onto my watercolor paper, and now I'm just going
to paint it over with a nice coat of yellow. Then I'm going to dry it
and then we'll get started. The beauty of doing this
first is you'll get a feel for pigment to water ratio
is how much paint to put in your brush and how much water to
have in your brush so you don't get a puddle mass. And you also maintain a certain amount of
transparency so that when you lay the colors
on top of one another, you're able to see as they intersect another color
that they create. I'm gonna drive this
and we'll get started. I've taped down my watercolor
paper to stop it from curling up on me while I'm
trying to paint lines. Also, I hope you
can see I've just put these slight lines to show the direction
of my strokes and I'm not going to
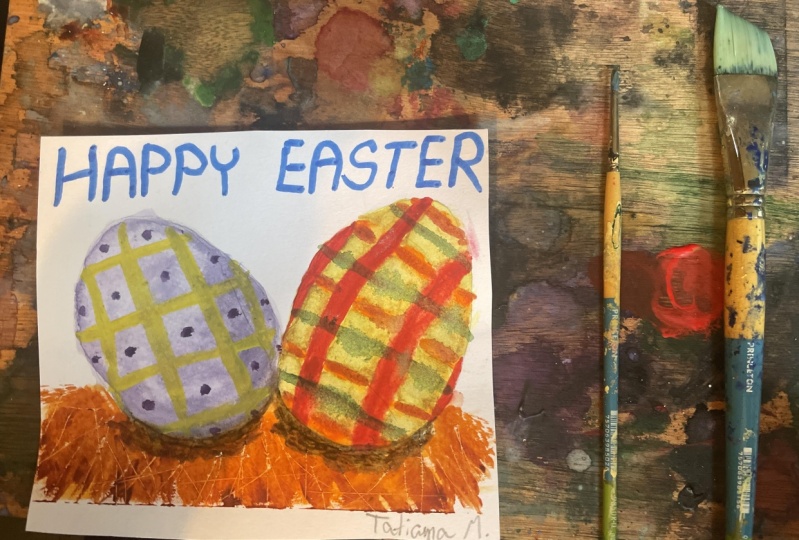
worry about making any fancy geometric designs. I'm just going to do
stripes on this one. I will end up with
kind of a plaid egg. It's really quite meditative. So get yourself a cup of tea or coffee and sit
down and relax. And here we go. As far as colors go, the sky is the limit. You can use whatever
whatever grads. Yeah. If you end up putting
on too much pigment, very easy, clean out your brush, make it a bit thirsty on your rag and just sweep
back a long top of it and you can thin
it out. Here we go. That's not quite enough.
You get the idea. Just blotting your brush, making it thirsty
so it will lift up some of the pigment can be a great way to just take back a little too much
if you get it on there. Same thing if it
gets to puddles. Just make your brush
thirsty on your rag, and then run it over
the area that has either too much pigment
or too much water on it. As we get towards the end, you may decide you want
a few sharper darks. I'm going to go into
a deeper purple here. Just place a skinny line
in-between some of these shades. Now you can stop right
here with this project, it's probably given you a rough
idea of how much pigment, how much water to put in these
little spaces on your EKG. But if you decide
you want it to look a little plumper and rounder, we can do a technique
that we did first in the main class, but just do it at the end in this one if you decide
you want to try it, let's just put a little bit of ultramarine right
around the edge here. Then we'll take our
clean thirsty brush and just soften that off. Don't want a stroke too much, I will end up lifting
up what's underneath. See right here. This is the
beauty of doing it first. But for this exercise, I just wanted you to
have a go at pigment to water ratio is and not worry too much about the 3D aspect. But if you decide you
do want to do it, it can be done like
this afterwards. You just have to be a little bit careful about not
stroking to off. Just put a little bit there. It just starts to make our
EKG look plump and round. Let's do this side here, too. Clean, thirsty brush,
just softening the edges. Here we go. Okay, that gives our egg a
little bit of a 3D look. Now onto the main class.
3. Supplies and Transfer Technique: Here's our little
project for today. You'll notice I have nestled
my eggs into a bit of straw. You can choose to
do that or not. I will show you
how in this class, the other thing is
there's a myriad of possibilities for
color and design. The only thing for
sure that you need for this class is a brush that points fairly fine
and some masking fluid. And the masking fluid is to
produce these white lines. Now if you decide
you don't want any white on your egg,
that's absolutely fine. And then you don't need
any masking fluid. If you do want to
use masking fluid, a handy tool is a
masking fluid pen apply because it can give
you these skinny lines. But you don't have to
have that because you can also just use your
basic toothpick, dip it in your masking
fluid and you can draw the mask include on in very fine lines with
a toothpick as well. Okay, The other thing
I'm going to include, if you look in the
project section, you'll see I'll give you
transfer of the eggs. And I've put on them these little dots besides
the outside edge. I've put these little
dots to suggest how the pattern should run
on your egg so that your EKG looks round
rather than flat. Now of course, you
can choose to use these lines as part of your pattern if you like,
but you don't have to. That's why I just
dotted them in. You can put a myriad of
designs within these. Or you can add more
layers of stripes, whatever works for you. Also, I just wanted to show
you about speaking of the plump and roundness just
to give you an idea. So you see how flat this
looks when the lines are perfectly straight as opposed to following the
curve of the egg. In the project section, I have this for you
plus in a larger size, should you chose to
do a bigger egg. And I just want to
show you now how to transfer this onto your
watercolor paper without making, you know, eraser marks. So we'll just turn it over. And if you have a
pencil that's 246, be anything in the B category, you can use an HB, but it just doesn't work quite as well. And then you're
just going to draw over top of the
design on the back. If you can't see it by
laying it flat on the table, just put it up against
a window and then you can go over top of
it with your pencil. Like so the idea is you want to get a whole lot of
graphite on there, because that's what's
gonna transfer. Now if you decide you
want the lines by all means go over
top of them as well. Then I'll just show you it over. Lay your watercolor paper down. Then you can take a
slightly harder pencil. An HB or an H work just fine. And you just draw over top
of the design, like so. And then you can check, make sure that
it's transferring. There you go. And you see it's
transferring onto the watercolor paper without
us having to do any erasing. Erasing is okay on
your watercolor paper, but eventually it does
wear down the surface. And if you can get a good
start without having to erase, I think that's wise. Here we go. We're starting to get
the design there. And you can reinstate the lines
a little bit if you like, because sometimes
they're a bit hard to see when you graphite them. Another thing you can do is you can purchase,
you don't have to, but you can purchase
graphite paper that comes in a sheet like so. There's a dark side
and the light side, you put the dark side down. Then you put your
pattern on top, draw over top of that and
it will transfer as well, very nicely, very easily, but you don't have to
buy graphite paper. You can just do what I call
the poor man's transfer, which we just did here. Or you can, even if you
want for future reference, you can just take
a piece of paper sometime when you're
sitting around having a cup of coffee, take your soft pencil and just
cover the whole paper and graphite and that acts
just like graphite paper. Turn it over, lay
your design on top, draw over top of it and
it will transfer as well. The one thing I
would caution you about is leaving
this anywhere in your sketch book or
anything because it will rub off on everything. So what I do is I just
fold it up like that so it doesn't rub off in anything and shove
it in my sketchbook. And then I always have
my transfer paper ready whenever I need it.
4. Shade for Plumpness: So I've transferred my pattern
onto my watercolor paper, and I've just very lightly
placed in the interior lines to suggest where I might want to put a pattern just to
help guide me a little bit. But they're not going to be. It's not written in stone. As you go along,
things will evolve. Anyway. The first
thing we need to do is create that plump
roundness on our eggs. So I'm going to moisten an
entire egg just one at a time. By the way, I've put my paper onto a little bored and
I've taped it down. I just like that feeling
of the security of it, having it planted and secure and not gonna be
sliding around on me. I like to do that. Okay, back to this moistening
the way then I'm gonna take pure ultramarine on my brush and just run it along the edge. And the moisture
that I've laid in the egg is going to pull it
into the center of the egg. I'm going to add a little bit more of it down at the bottom, more as a wider band of the pigment, not
necessarily darker. And then just run it all the
way around the top here. Make this guy look nice
and round and plump. Before we get started
cleaning my brush, making it a bit thirsty
and just going to pull some of that pigment
out of here. I want to make this
edge a little sharper. I'm just going to draw that in a little bit sharper. There we go. Thank heavens. Eggs
aren't all perfectly shaped because of this
one certainly isn't. Here we go. Plump egg. Now I have to dry
this one before we do this one because I don't
want them to run together. So let's hit the dryer. Let's do a second
one, a little tip. If you're blow drying and
your paper gets very warm, don't, don't attempt
to paint on hot paper. It dries, kind of wonky. I just recommend that you
let it cool before you start to paint your
next little thing. Ago, just moistening. Little more than moist actually
it's almost a bit puddle. Grabbing my ultramarine again, culture means a
great shading color. I think I'll come in
from the top this time. We're ready for the next step.
5. Mask if Desired: So I've drive both my eggs, they're looking plump and round. Now it's time for masking fluid. Now, I'd like to
just put my masking fluid onto a little
piece of square paper, garbage paper instead of
dipping into the bucket. But anyway, you can do
it however you like. And as I mentioned earlier, don't have to use masking fluid at all if you don't want to. I'll show you the two
implements will use the masking fluid pen gives
you a nice skinny line. And it goes for quite
a distance in the pen because it fills up and
it goes quite a distance. Whereas the toothpick,
which works as well. But you have to be
a little bit more tenacious refilling it
because it doesn't go as far. But it can be used. Okay. I will use my masking fluid
pen for time sake here. You can lay your white wherever you want on
your EKG or not at all. And you may wonder why do the white after
the shading wealth, the white itself would
have to be shaded as well. So this way, that's all taken care of because we've
done our shading first, then we mask out our WIP
and then we go to Color. See that one got a
little thick on me, so I just made it a little
thicker. That's fine too. Now over here, maybe
I'll put some zigzags. I think that's going to be
enough white on my egg. That's about all I want. So I'm going to stop there, but you have add or make as
much or as little visualize.
6. Colour Eggs!: One of the really
fun things about this exercise is you get to see how colors blend together
when they overlap. So for instance, I've
made a couple of straight streaks of
a lemony yellow. Now I'm going to go
over it with a pink. You see you get the pink
and the yellow and then the in-between color of how they look when they're
overlaid one another. I'm going to grab
a little bit of my ultramarine and
do the same here. Just gives an interesting, very interesting
because you get to see how the colors
blend together. Let's try a little bit of
orange on top of that. Probably won't make
a huge difference. So yellowy, orange. There we go. Now the trick is not to
get the colors too strong. If the colors go on too strong, then what you end up with is just a solid line
of a dark color. That's okay if that's
what you're after, but just be aware if
you're looking for that overlapped real
person can look. I recommend keeping your
colors fairly soft. Let's try some turquoise. Just soft. Go. Might even be a
little too strong, but you get the idea. Let's move to our aches. My masking fluid has dried. So now I'm gonna start with that soft lemon
yellow that I used. The demonstration. I'm going to dry
that we must dry between layers of color. So we'll drive that
and be right back. Okay, I've dried that now
let's pick another color. I think I'm gonna
use that soft pink again because I like
that it's quite pretty. And maybe we'll make
some vertical lines. Now ideally, if you've
used masking fluid, you want to cover all
the other whites so that your white that
you've asked will pop out. I'm going to just carry
on film in many of these colors in areas that
are not filled in yet. Now that we've got our
eggs completely filled in, we can go to slightly
deeper colors. Just as if you were doing
an Easter egg with die, he started off with
a lighter ones and then move into
the deeper ones. This is where they're
super fine brush can come in handy
because we can make all kinds of interesting
little tweak II designs. If you find your edges between
colors, aren't that great. This is a good way
to clean them up, take a deeper color, and just do a line right
where they connect. That can clean up your
edges quite nicely. As you can see,
the darker colors make it much more dramatic. So let's just carry on until this one with
some darker colors. Again, here's that fish symbol, which is, if you're
of the faith, the Christian faith, that's
a very important symbol. This this time a year. Guess I kind of made
that one backwards. Oh, well, there we go. As you can see, you can
use a myriad of designs. I've used some V's, I've used some x's. Where are we? Somewhere around here there were x's there we go. Polka dots, fish, symbol, waves. Sometimes it's fun to
do something that is, well, just let more like rather
than a geometric design. Let's see, we could do,
we're hitting here. We could do some leaf
designs. There we go. You could draw
flowers, whatever. The sky is the limit. Now it's time to remove
our masking fluid.
7. Cast Shadows: You can remove your
masking fluid with either a masking fluid
remover or an eraser, please. No fingers. It gets
oil on your page and then it doesn't want to
accept the pigment as well. All right, Now we've
got all of that done. Let's lay in some shadows
so we can kind of ground our eggs down so
they're not floating. We have to think
maybe it's gonna be somewhat overhead light maybe
slightly from the left. And I'm going to just
with my ultramarine, run it right up to the
edge of this guy here. Then maybe just
leave a little gap. The shadow would be a
little bit long here, so let's fill that in. Then it would run right into
the shadow of this guy. We go. Now sometimes when you do this, they don't connect with
each other very well. Sometimes you have to take a little bit more of your
ultramarine and run it along the bottom of your egg just to make it connect with the
shadow a bit better. Clean, thirsty brush,
and just soften the edge so you don't get
a hard edge because we want our eggs to
be smooth edged. Going to take a little more
of that ultramarine and actually just make this a
bit of a smoother edge. This guy here too a
little bit smoother edge because their eggs and
they have smooth edges. Then let's just add a little more shading
to this guy as well. Kind of disconnected
from his shadow. Here we go clean, thirsty brush and just soften that line. Here we go. Now we're eggs
are sitting on the ground. Alright, let's talk
about putting them in a nest or a little bit of straw.
8. Make a Nest: Up until now we've been
using a fairly small brush. This might be a good
time for you to move into a slightly
larger brush or not, you can use your round whatever. I'm just a big
one-inch flat fan, so I'm going to use my
one-inch flat for this. And so far we've been using somewhat transparent colors now we're going to lay
them on really thick, almost like if you were
painting with acrylic. And I'm just going to create this little bed to
nestle my eggs into a very nice thick pigment that's a bit of yellow. It's kind of an
orangey yellow boy, it looks really
orangey on the camera. Then I'm going to take
some burnt sienna. Just fill in some of
those gaps that I left. Suggesting straw
shape at the edges. We want to come right
up to these guys because we want them
nestled right in there. Pigments fairly
thick, as I said, because we want to be
able to push it around. I'm going to add a little
bit of orange in there. Maybe go back and add
a little more yellow. Here we go. Notice our shadows are
disappearing a bit. We may have to reinstate them, but I wanted to show you the shadows because
I thought you might not want to do the straw. There we go. Now I
have to let that dry. There's a point of dryness that is just right for scraping. The shine is just about gone and that's the
best time to do it. You can use some brushes, have these handy-dandy
chiseled edges on them. Sometimes you can just
use a credit card, which I find works
absolutely beautifully. Let's just test and
see if it's ready. Getting ready, see
how we're scraping out the shape of straw. Starting to get
ready if you scrape and it just runs right
back in the color, you're too soon. Here we go. I think we're getting to
just about the right time. When you scrape makes sure
they overlap each other. Don't want to have
it looking like somebody laid each piece of straw down in a
nice neat little row because it's a nest. We go, I think that
works quite well. A little bit wet and here
didn't want to separate, but now it's starting to. There we go. Let's try that.
9. Tweek if You Want: So I'm fairly happy with my eggs nestled into
their little nest here, but there are a couple of
tweaking things we could fix. I think we're work on the shadow underneath them could be reinstated
a little bit. Plus, when I painted the shadow, it was as if these guys were
sitting on a flat surface. Now they're on a rumbly surface, so we kinda have to make the
shadow a little bit rumbly. I'm going to reinstate it
down in here and just get the edge a little
bit less smooth. Here we go. Along
with that idea. If this is getting really picky, you definitely don't
have to go here. But each one of these pieces of straw would have a
little cast shadow or little shadow on it. If you really want to get picky. You can get in there with
your fine brush and just create a little more
edge on your straw. Totally not necessary. Might call it even
a little bit anal. But your choice. Okay, then there's another little thing that's bugging me. I don't feel like these guys are turning away from me enough. So I'm gonna go back
into my ultramarine, which we originally shaded the eggs width and just run a little more along
the top here. Maybe right around this side. Then clean my brush, making it thirsty on my rag. And just softening that edge. Just feel like that makes the egg fold away from
me a little bit better. I might even do a
bit on this guy. Again, clean, thirsty brush
and just soften the edge. When you soften the edges, don't stroke too much
because what you'll end up with then is lifting
up the colors underneath. Just be aware of that. And if you feel
like it might be a bit dangerous for you,
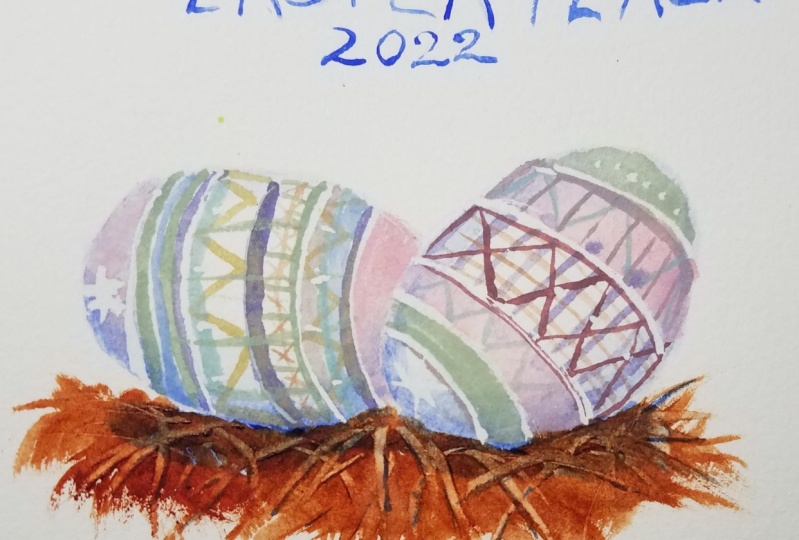
just don't do it. We are our lovely
little Sangha eggs. Happy Easter.
 Melinda Wilde, master teacher of watercolours