Transcripts
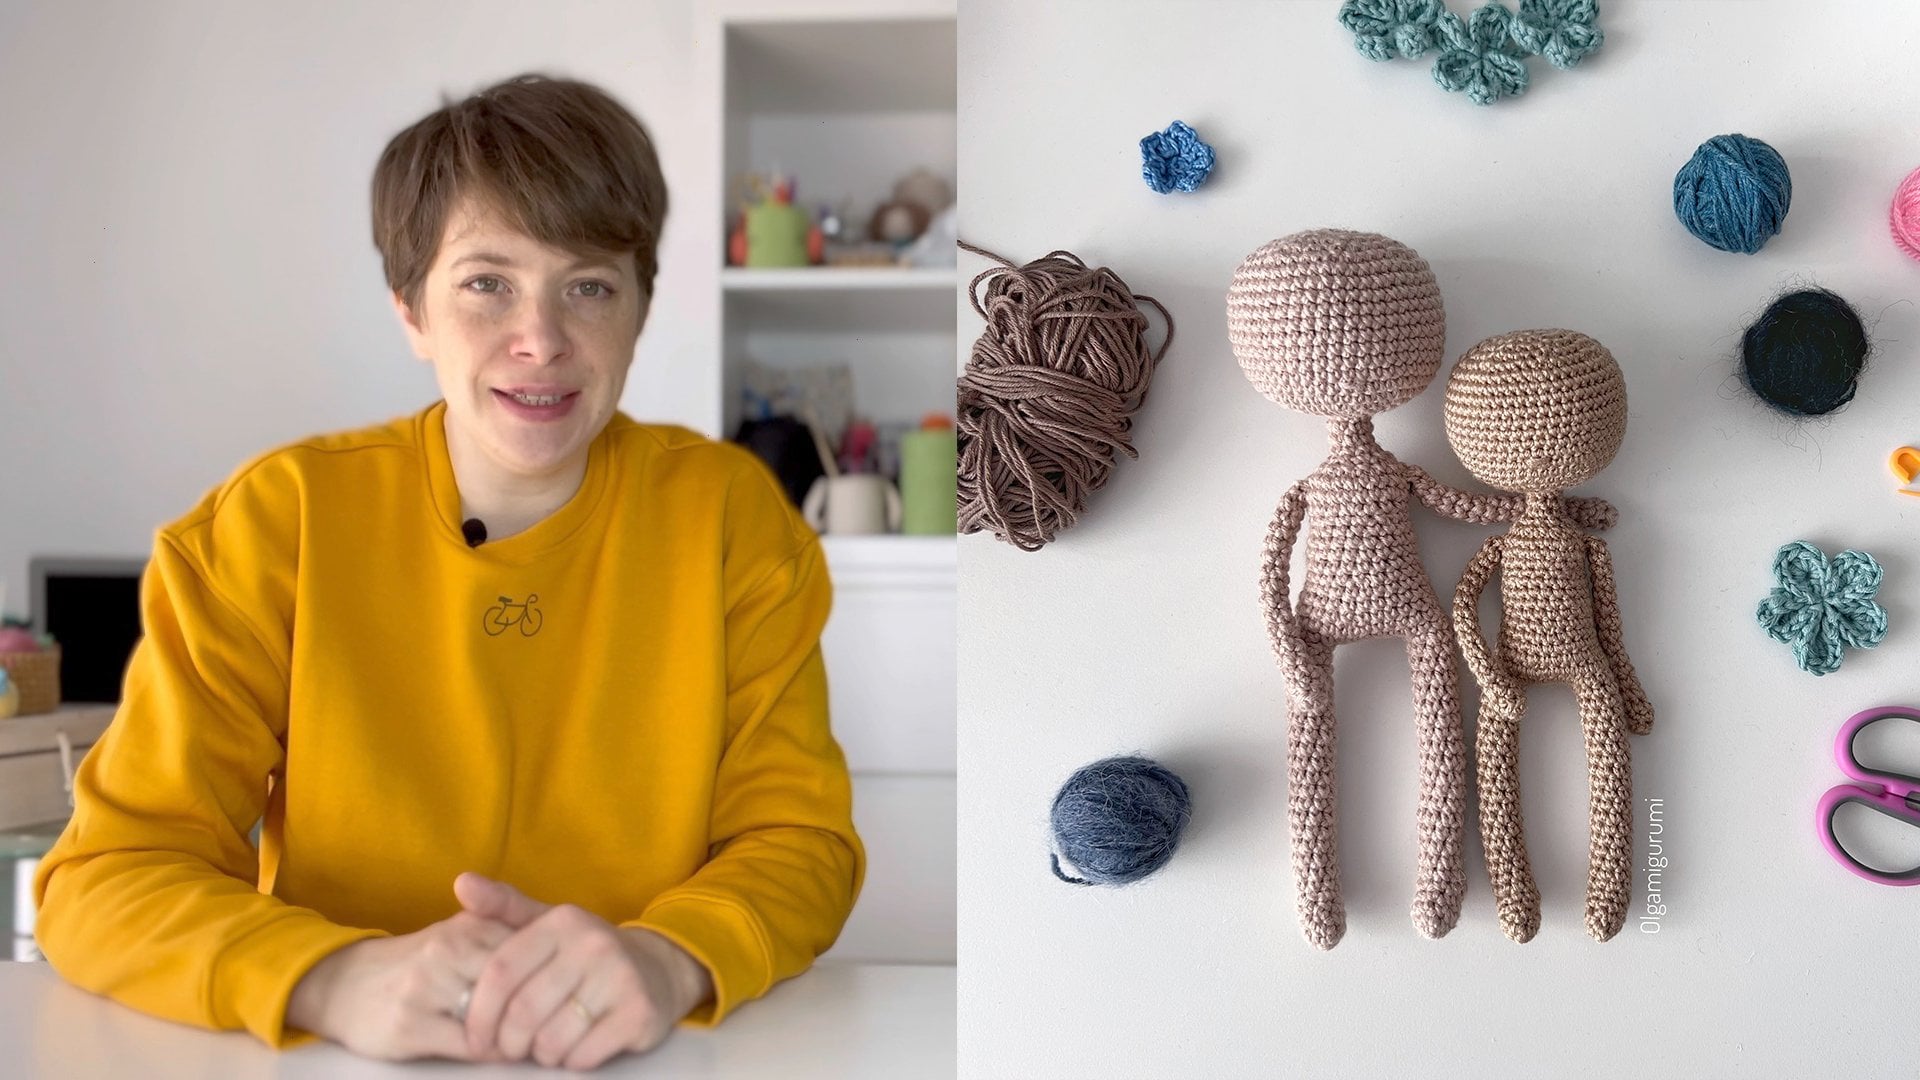
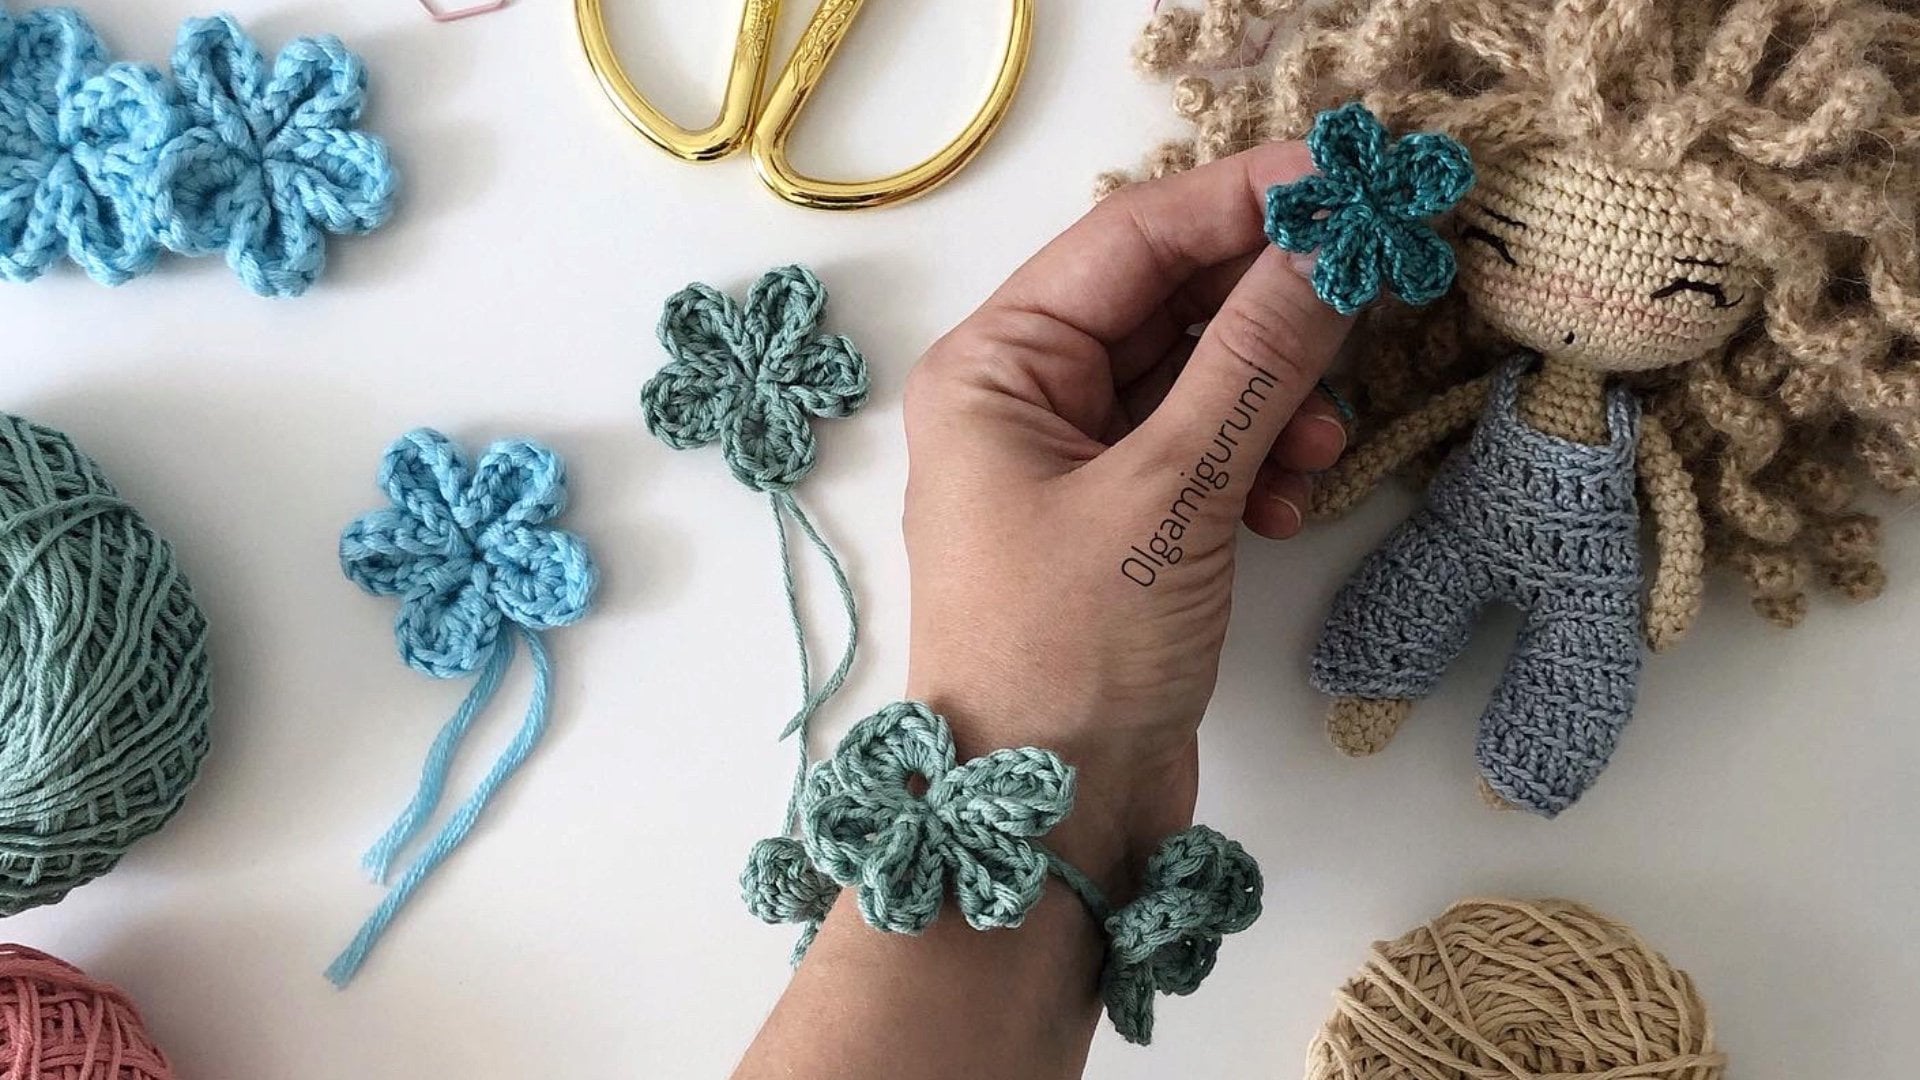
1. Introduction: Hello. My name is Olga. I'm a doll maker, a crochet designer,
and a teacher. I started to make dolls in 2017 when I was staying with
my baby boy all day long. So I grabbed a hook and made
my first crochet dolls. I published them
on my Instagram, and people started to ask
me for the instructions. So I learned how to make crochet instructions
for other people. Now, I sell my
crochet patterns on different platforms
at Etsy or Ribblr. I make dolls for people from around the world and I create tutorials on YouTube,
Instagram, and Skillshare. Amigurumi is very popular now. You can make almost
everything just using a crochet hook
and a bit of yarn. I think that embroidering
is like drawing. You can draw the face of your
character using threads. You can feel yourself
as a child creating tiny characters and making
their clothes and accessories. Throughout this class,
I'll teach you how to embroider the face of
an amigurumi doll. You'll then be able to
combine different styles. This class is great for you if you like amigurumi
and you want to make different expressions
of your characters or learn to make
them more adorable. You will be able to make
adorable handmade dolls or animals with
different expressions for yourself and your family, or make beautiful
custom dolls for sale. This class is for
beginners in embroidery. You shouldn't have any special knowledge
about embroidering, but you will need an
amigurumi doll's body. You can learn to make
it with me in my class, Crochet Your Unique Character: Basic Amigurumi Doll's Body. By the end of the class, you will have a cute little
character with personality. Let's start to create.
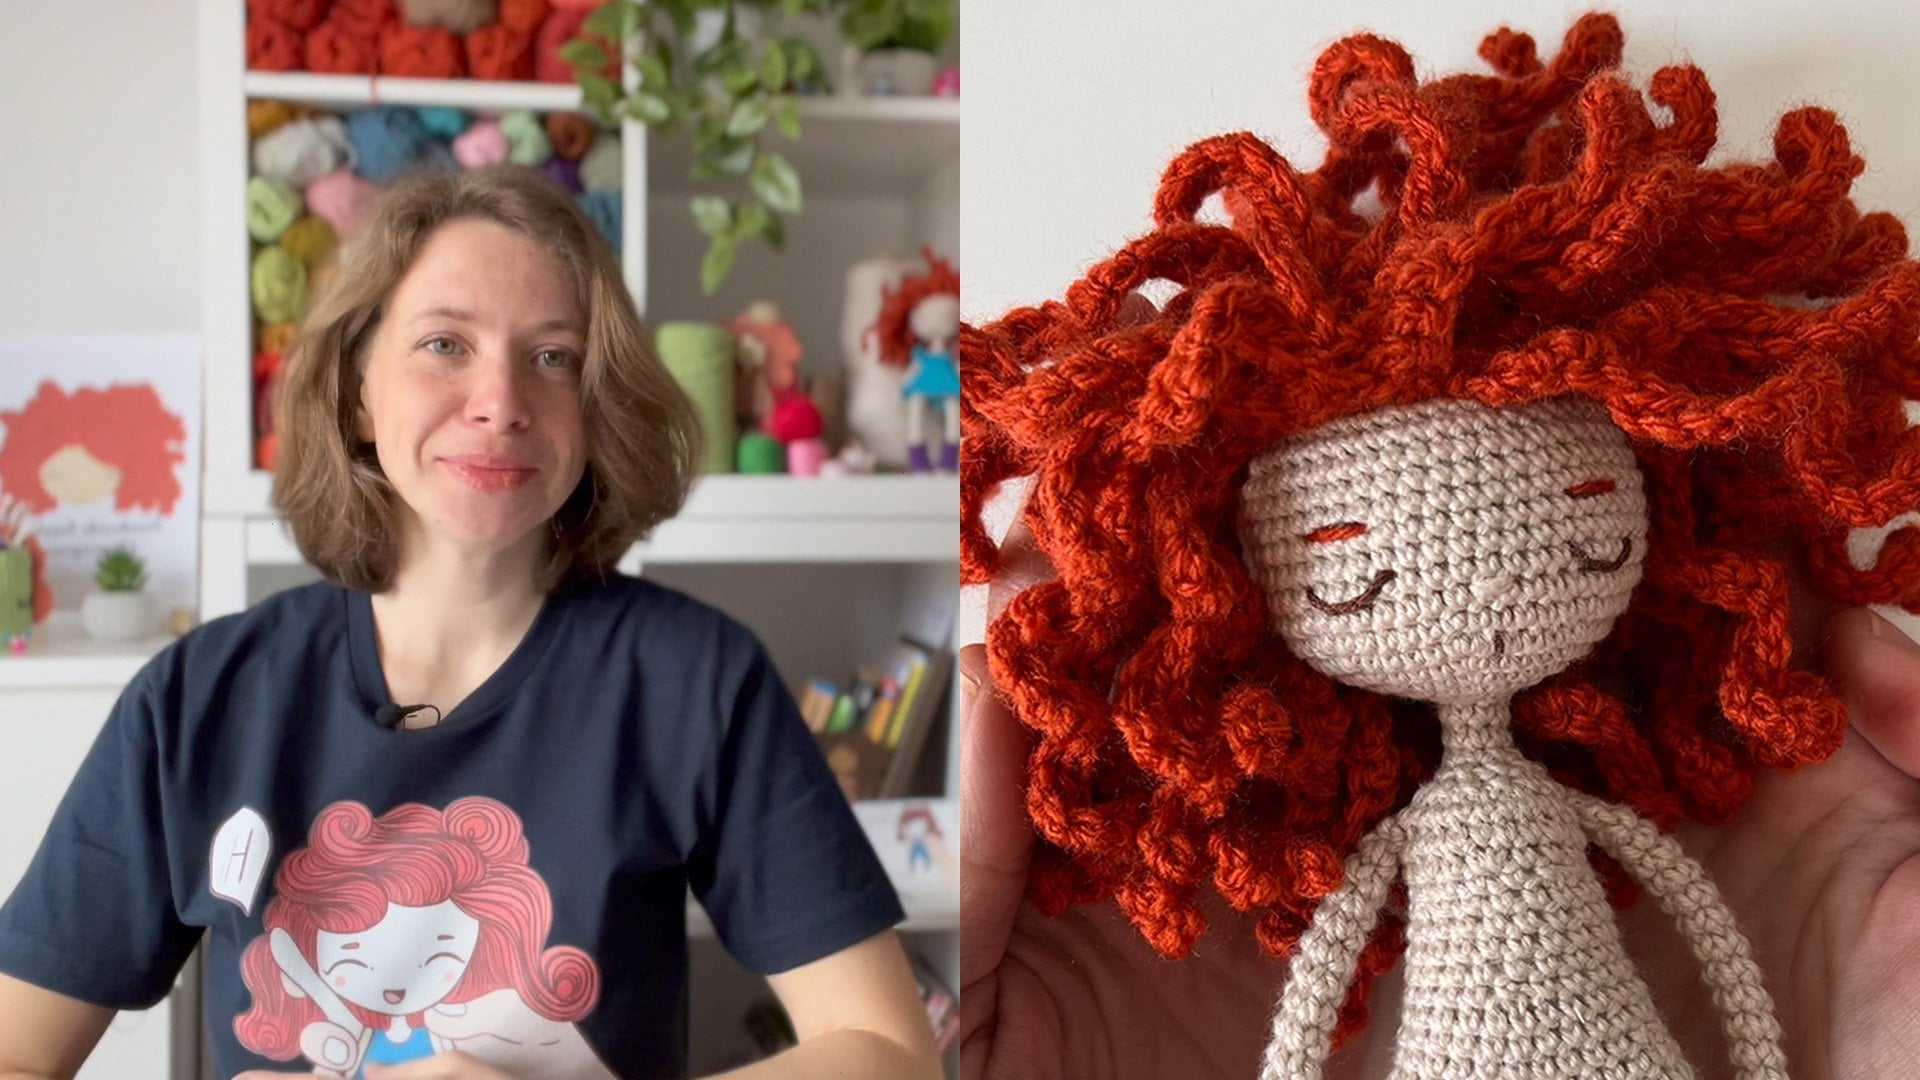
2. About the Class Project: In the class, we will embroider the face of amigurumi doll. I will show you different styles of eyes, mouth, eyebrows, so you will be able to combine different styles of the parts of face and create your own unique expression
of the character. You will need some simple
materials and tools. Amigurumi dolls body. I will use the doll's body
from my class as an example. However, you can apply this technique to your
own dolls or toys. A bit of yarn of the body
color to embroider the nose. Needles suitable
for your threads, sewing thread,
embroidering thread, all super fine cotton yarn, a bit of yarn which
you're planning to use for the hair to
embroider the eyebrows, or you can use the same
thread as for the eyes, yarn for the lips, scissors, a stitch
ripper and pins. First, I will show
you how to position the parts of the face
to make it cute, I will show how to emproider the nose and it will be
the base of the face. We will learn how to
secure the thread. Then I will show you how
to make cute sleepy eyes. I prefer to run the corners of the eyes to make
the lines softer. Then I will show how to remove the embroidering if you
are not happy with it. After removing the embroidering, I will show how to make
raphine eyes and open eyes, so you will be able to choose
from different styles. I will show different
styles of mouth. You can omit the mouth, but without eyebrows, the
face doesn't look finished. Feel free to share
with me and with other students any step of your process in the
class project gallery.
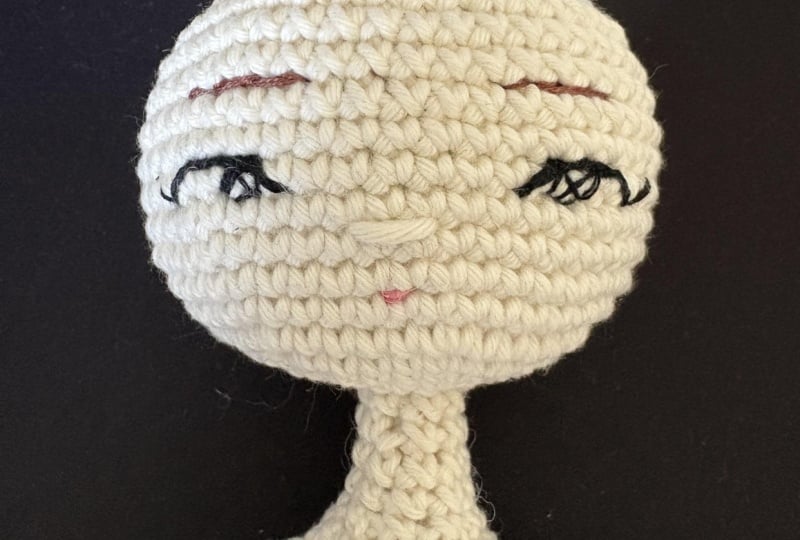
3. What Makes the Face of Your Character Cuter : Have you ever wanted
to know how to make a cute face for your
handmade doll or toy? Do you struggle with
making the face of your integral woman
character more adorable? Maybe you want to try something different than the
plastic security ice. Let's see some examples. Here we have an ordinary face. If we put the face on the bottom half of the
head, it looks cuter. If we separate the
eyes, not too much. Now it looks more adorable. I decided to embroider the faces of my dolls using these rules. We can use the nose as
a guide to co-locate the eyes and then add the
mouth and the eyebrows. Just using simple lines
without complicated details, we will have cute
and adorable faces. Each shouldn't always be happy, but if it is possible
of course it can. I have prepared a PDF file with some templates with faces
for your inspiration. Feel free to use
them for your dolls. Also, you can print it and draw your own faces on the
second page of the file. You can download the file in the project and
resources tab. You can have access to the
tab only from your computer. To open the PDF file, it is required to
insert the password. You can see the password
on the screen right now. You can use the
stitches of the head as squares to easily plan the
face of the character. Just remember that normally, the stitches are inclined
to be to the right. Let's start with the nose.
4. Let’s Embroider the Nose: I prefer to make it tiny nose, as you can see on this
doll. Let's start. On the head of the doll, I search for the last round, and I mark with a pin the line after this round
in the center of the face. Here we had this straight
part of the head. Now I count two rounds up from the marked point
and on this line, we will embroider the nose. Now, you can mark with a pin baseline and you
can remove the first pin. Make sure that the pin is
in the center of the face. To embroider the nose, I will use the same yarn is the yarn that I
used for the body. I think it is correct
in the case of dolls, but it can be different for other types of toys or objects. I make a note at the
end of the thread. Insert the needle in the
top back part of the head. In the future you will cover
this part with the hair, so you don't need to worry a
lot about any imperfection. You insert the needle
and you get it out. One stitch to the
left from the pin. Carefully pull the thread to hide the note
inside the head. Normally, after doing this, you have a hole
between the stitches. You can use the
needle to correct it. Now, I insert the needle one stitch to the
right from the pin. We don't need this pin now, and I will pick this
stitch one more time. Then I take the needle out
in the top of the head. On this step, you can fix the position of the
stitches if it's necessary. E.g. if you tied it
too much the thread, you can fix it with the needle. You can make the nose wider, bigger if you want. When you are happy
with the result, you can secure the thread to finish the embroidering
of the nose. Make a note very
close to the head. Here it is. Then
hide it in the head, inserting the needle in the same hole where you
took out the thread. Hide the note. You can repeat this step more times if you want more security. Now I cut the yarn and
the tiny nose is ready.
5. Sleepy Eyes: I will use a simple
sewing thread to embroider the first
style of the eyes. The needle that I
use isn't too short. It is long enough to
pierce the doll head. I'm preparing a long
thread to be able to embroider both eyes without
cutting the thread. If you want, you can embroider
the eyes separately, you can use a shorter thread. This way you shouldn't worry
about tangling the thread. I make a big note at
the end of the thread. Now I will mark the point where I should
take out the needle. I use the nose as a guide. As you can see on the templates, I put the first type, two stitches to the right from the nose and one stitch up. Here I put the pin. I insert the needle on
the top part of the head. It will be covered
then with the hair. If you have any imperfections
you shouldn't worry. Now I just make simple lines with a thread. If you thread is thin, I recommend you to
repeat the stitches. If your thread
isn't too thin you can make this stiff
only one time, or the lines will be two bold. Also it depends
on the head size. If the head is small, if the doll generally
smooth you need to use thinner thread than
the thread for big doll. I think it is better to repeat
the stitches more times, if you see in the crosses that
you need two lines bolder. Now I will repeat the same stitches one more time. Now I want to round the corners to
soften the angles. I just paste the needle
with a thread under already made stitches this
way from bottom to top. Now here one more time, I paste the thread under these stitches from
bottom to top, and the last one
from bottom to top. Now I fix the thread inserting
the needle in this point, and taking it out
at this top point. Now I repeat the same process, but now I paste the thread under the stitches
from top to bottom. The first tie is ready. Now I will make the second tie following
the same instructions. Normally the stitches are
inclined to be to the right, so I count three
stitches instead of two to the left
from the nose. I start stitching. I will speed up
this process a bit. You can always return to the first tie to see
the process slowly. I really love this
size because I think they look
so sweet and make you want to take care
of your character and leave him a lot of love. Look at this face,
isn't it adorable? I always put the yarn as a
hair to try the color that I chose or to choose from
different colors if I doubt. This thread is very thin, so I secure the thread this way. I make several nodes around
the stitches of the head. Remember to make
it on the part of the head that you then
will cover with the hair. I secure it one more time and
then I cut the yarn. These sleepy eyes are ready.
6. How to Remove Your Embroidering: What if you don't
like your embroidery. You can easily remove it
using a stitch ripper. I will show you how I use it. Pass it carefully under the
stitches and push it forward, rotating it a little bit
to cut the threads of the embroidery stitches. Do not hurry, do it carefully. Do not damage the
stitches of your doll If you can't cut all
the threads together, try to cut them one by one. Using your fingers try to remove cut out threads if
it is possible. When you remove all
available threads, tighten the remaining
threads and cut them very near to the head, then press the head with your hands to cut
the rest inside. Now we have a clean face and
we can start to embroider.
7. Embroidering Closed Laughing Eyes: This time I will use an embroidery thread
from DMC to work with. It has six strings. I will separate two strings, and I will leave four more
strings for future characters. I use the same needle that
I used for sleepy eyes. I make a big knot at the end
of the thread as always. I mark the point where I
should take out the needle. I use my templates to know
where I should start to work. If you can tie the knot
inside totally, don't worry. You will cover this
part with the hair. But if your character
has no hair, you should keep it in mind
and hide the knot carefully. Now, I just make simple
lines with the thread. They are almost the same
as the sleepy eyes, but this time I go up, knot down, and I add an
extra stitch as an eyelash. Now, I will repeat the same
stitches one one time. I don't repeat the
eyelash stitch. If your thread is thick or
you want the lines lighter, it is not necessary
to repeat this step. Now, I will round the corners to
soften the angles, as I showed in the lesson
about sleepy eyes. I passed the needle
with the thread under already made stitches
from bottom to top. Now, here one time, I pass the thread under this
stitch from bottom to top, and the last one, from bottom to top. Now I fix the thread, inserting the needle
at this point and taking it out at
the start point. Now I repeat the same process, but now I pass the thread under the stitches
from top to bottom. The first tie is ready. Now I will make the second tie following
the same instructions. As I already
mentioned, normally, the stitches are inclined
a bit to the right, so I count three
stitches instead of two to the left
from the lows, and I start stitching. I will speed up
this process a bit. You can always return to the first tie to see
the process slowly. I use this size for
my dolls a lot, because I think they
look so cute and happy, and make you smile every time
you look at your character. If you want to
finish on this step, you can secure the
thread and cut the yarn. How to secure the thread? You can find in the
lesson about sleepy eyes. Which style do you choose? Share your thoughts in
the discussion section. Doesn't she look cute? Now, I will show you
how to open her eyes.
8. Let’s Open the Eyes: Let's open your eyes. As you can see on the template, I need to make a little square. I'm going to cross
inside of the square. That so, I will keep working
with the same thread. I prefer to make this part using the same color of thread, as you can try to
use another column. Now I do the same for the second eye, they shouldn't be perfect, but try to make them
equal as possible. Lately, I prefer to use the [inaudible] for my dolls.
9. Different Types of Mouth: For the mouth, I will use this
pink cotton yarn. It is fairly thick, so I will need to make one or
two stitches and that's it. If you want to make
a cute character, the mouth shouldn't be very
big or with a lot of details. It is better to make it
tiny or even omit it all. I will take out the thread on this line after the
last line increases. You can make it like this, a short horizontal stitch, or if you don't like it, you can remove it and redo it. You can make a short vertical stitch. You can play with
simple lines to make a perfect little mouth
for your character. You can see more variations
in the file with templates. When you are happy
with the result, secure the yarn and cut it. Only eyebrows are missing.
10. Eyebrows: You can use the yarn that you chose for the hair of the character or you can
use black or brown colors. I think that the eyebrows
are very important, maybe more important than
the nose or the mouth. We can omit the
nose and the mouth, but without eyebrows, the character doesn't
look finished. Mark the point where you
want to make the eyebrow. Normally, I make simple
horizontal lines for my dolls, but you can play with
it in the end of the line to change the
expression on the face. This time I want to make
curved eyebrows like this. You can add freckles or birth marks on the face of the character to
make it very unique. Any questions or comments you can write in the
discussion section. Now I make the second eyebrow. Her face is ready. Which style do you like more? I have some examples
of eyebrows. You can even make them
as a line of points. Share your characters
in the project section. I would like to see
their adorable faces.
11. What can you make with the new skills: Now you can embroider
faces of amigurumi dolls. You know how to make
the face cuter. You can play with
different expressions of the face and make a
unique character. You can try to use different
materials and colors. You know how to remove the
stitches if you are not happy with the result and you know how to secure the thread. You can make custom
dolls and sell them on web pages for handmakers
such as Etsy or Amazon. You can design and make your own patterns and share
them for free or sell them. Now you have a little
character with adorable face. Please share your character
on the project section. Let's make the project section
full of cute creatures. This is the second class of
the set about doll making. See you in the next classes. Thank you for learning with me.
 Olga Bortniak, Crochet designer, dollmaker Olgamigurumi