Transcripts
1. Introduction: [MUSIC] Look at
all these objects, the usual mundane and everyday things that are made into art. Something magical
happens when you really put your childlike
vulnerabilities alive. We are all born with it, but we tend to move away
from it as we grow. But the real magic happens
when we stage childlike curious and vulnerable and
embrace our imperfections. You might think that that's
not needed for the world, but people tend to
really relate to your imperfections and
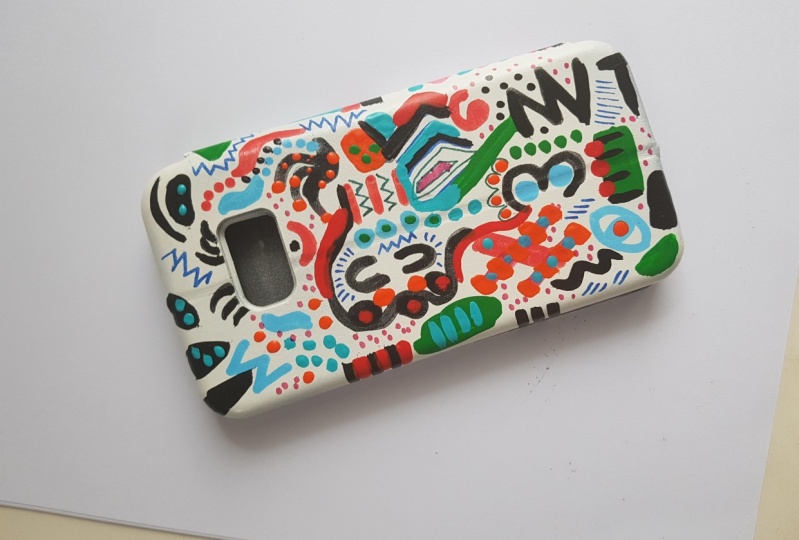
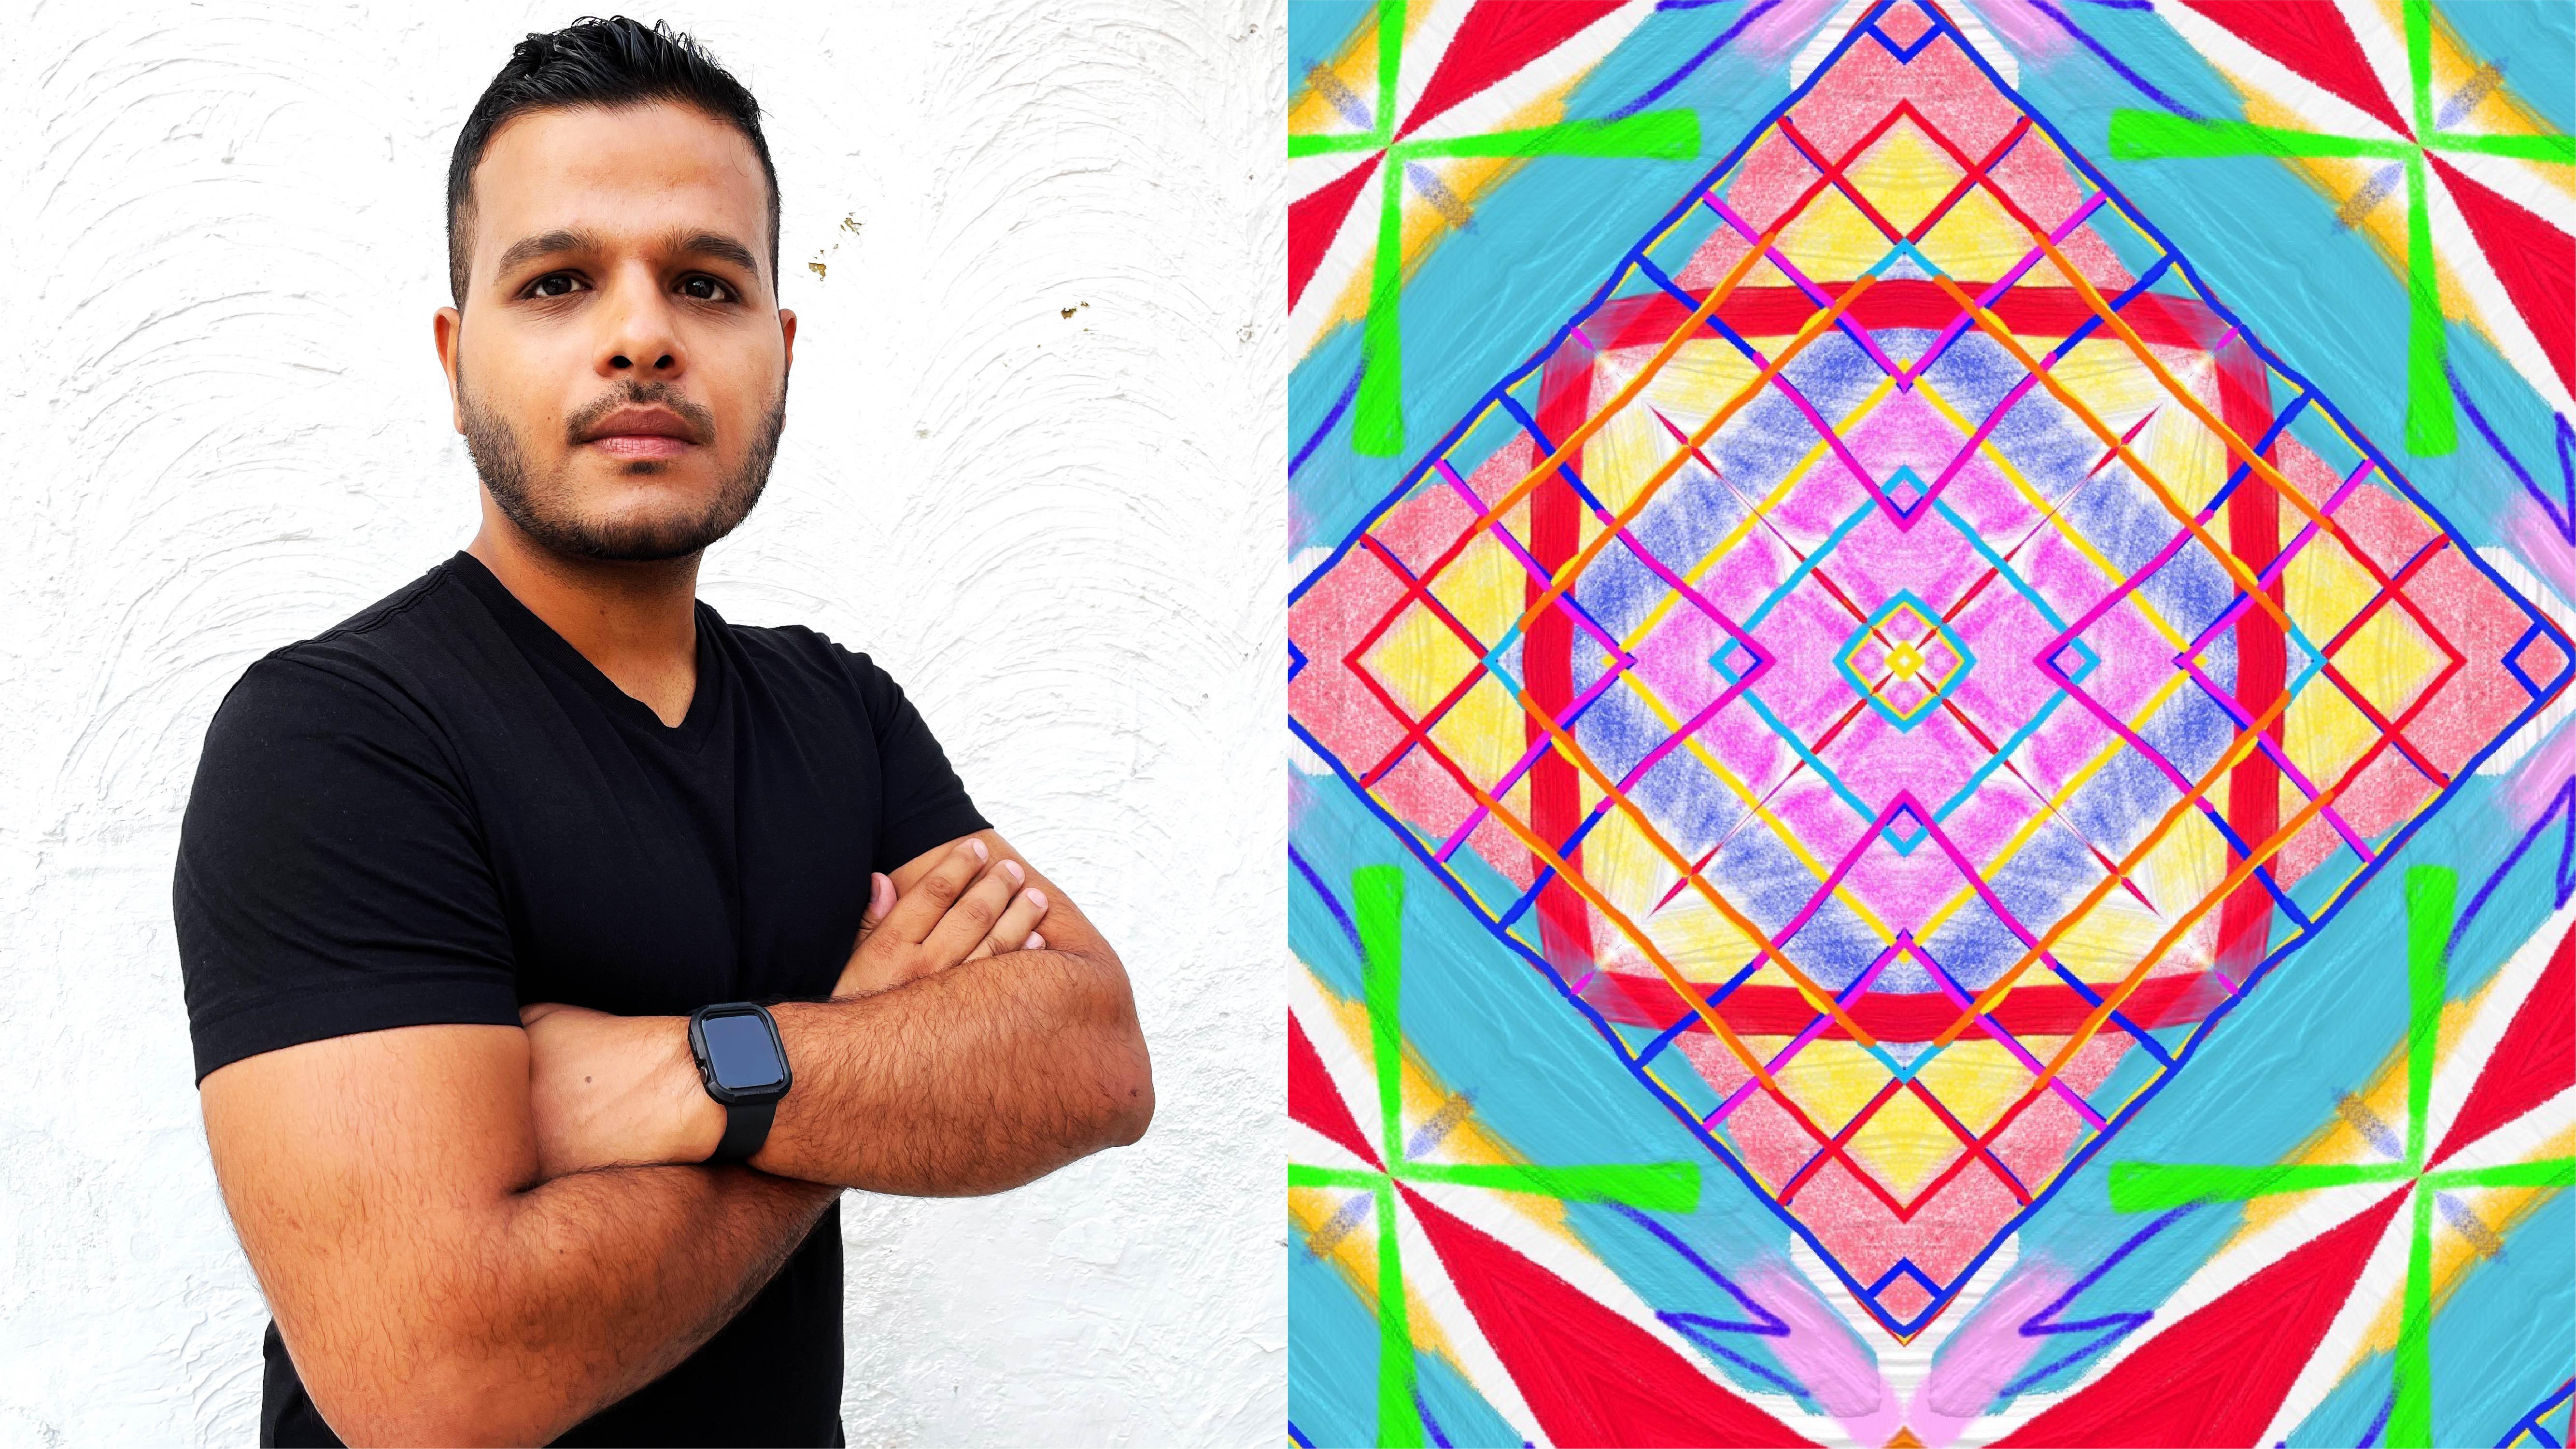
they get inspired by it. Hi, my name is Pranav Bhardwai and I'm a designer and an
illustrator from India. I put my imperfections
in the forms of color, shapes, and patterns into the everyday objects around me. But also I keep my
human mistakes alive in my art because that's what makes the art more unique
human and authentic. Putting your opinion and
point of view in your world is the most important thing
that can happen to your art, but that comes into
play with being comfortable in your own style
and continuous practice. In this course, through
step by step classes, we are going to learn how
to be comfortable within your own individualistic style, right from finding
the inspiration to finding the objects, the tools, and documenting your art and presenting
it to your audience. We are going to learn everything from scratch to the finish. This course might be
for anyone who has the basic tools and the
ideas to express their art. You can be anywhere in
your artistic journey, you can be a pro or an
intermediate or just a beginner, this course has
something for everyone. I cannot wait for
you to be in it.
2. Class Project: Today, we are going to
learn how to transform everyday objects with your
individualistic art study. In the end, you will be able to choose the right object, the tools that are required
to express your art. You will realize all the
things that you need to get inspired by are
always around you, and once you get comfortable in your practice you'll find it fun and playful to convert those objects
one object at a time. Everything we see
is an inspiration, but the problem is that we
tend to look and not see. When we stop and see the
objects and the things around us, everything
becomes inspiration. We don't need any
external source or any new thing to find
inspiration for our art. In this class we will cover how to tap the inspiration
for your ideas. How to find the right
objects for your ideas. How to visualize your art before the start of the project. What objects and tools to avoid for the perfect
execution of your project. How to document your art and present it and package
it to your audience. Let your creative juices flow
in and jump into the class.
3. The Tools You Need: I use very basic tools
to execute my art. I try to keep them at one-arm distance so that whenever the
inspiration strikes, I can quickly scribble
down and execute my art. I try to keep it very uncomplicated and
uncluttered in my head so that I have my facility available with me at
all points of time. These are the very
basic tools that I use to execute my art; a basic sharpie,
permanent markers, color markers are preferred, a basic pencil, postcard permanent markers, these are used for
different kinds of surfaces on canvas, metal, etc. An iPhone. You can have any
phone with a decent camera to document and package your
creation for the audience, and a tripod or a stand to document and record
the entire process. These are the very
basic tools that I use for my practice
because I want to execute my art as soon as
the inspiration strikes. I try to keep it uncomplicated and keep it handy
around me all the time. But you are really
free to choose your own tools as per your
requirement and your space. But it's very important
to know that using the difficult tools and
the tools that require special care when you're starting out is
not a good choice. You can do it once you become comfortable
in your practice. But in the beginning, you have to use
easy-to-use tools to get the idea
done very quickly. Now, let us go forward
to the next class. We will learn how to get
inspired for your project.
4. How to Get Inspired: [MUSIC] The first
step in finding the right inspiration is to trying to learn how to see the things and not
just look at them. Because when we just
look at the things, we tend to ignore the details and take
everything for granted. But when we try to stop and actually see the
things around us, we find inspiration
in almost everything. If you don't get inspired by
your immediate surroundings, just change the setting. Take a walk, go outside, sit in a different room, and allow the brain to
take everything in. This is a really
fruitful exercise to get ideas that can be
used by anyone. Because creating
limitations triggers the mind to think differently
without any effort. It could be a little thing, just like changing the dimension or the orientation
of your artwork. Or asking someone to title the artwork for you
even before you begin, because that alters your
entire thought process. You can even get inspired
by your favorite music or a song by picking
up a lyric or a word. Creating limitations
is fun and it amazes you every single
time with the results. It not only allows you
to think differently, but also tells you that
there are many ways of doing the same things and the
possibilities are endless. Do something that
you have never done. To develop your own
creative, unique voice. You have to try
different things in many different ways
to finally arrive at a point where you
are comfortable in the style that is in
sync with your thoughts, with your life and with you. Do not chase style,
chase purpose. Do not be in a rush
to change your style and to find your voice
very, very fast. You have to try a
million different things to arrive at your own voice. Continue trying
different things, try new things and fail faster. Now that we know
all these tips and techniques to find
the inspiration, we will use some of them to transform an object
into a piece of art. If you're thinking
how to do that, our next class will
exactly tell you how to find the right object before you can begin to transform it.
5. Finding the Right Objects: [MUSIC] Now, since
you have become a powerhouse of inspiration, here we're going to
talk about finding the right objects to
execute your art. These are some of
the tips that I use to find the right
kind of objects. However, you are free to choose your own
objects and go wild, go zigzag wherever that
suits your art and taste. Let's discuss the theme. The idea is to have fun. The first one is finding the
object with uniform shape. There can be limitless
objects that you can find to put your art on. However, the best ones that I find are the ones with
one composite shape. The best ones for
me for examples, are the ones where surface runs without interruptions
of the contours, and bevels, and engravings. I would never work on
something that has a relief texture or any texture, because it will never
give you the result that you want with analog tools. The less complicated
the object is, the more fun your
art would become. Symmetry plays an important role in the execution of your art. You are free to choose
complex objects, but be sure to remember the fact that you
will have to be extra careful and more
hardworking with your tools on the surface. The second important
consideration in finding the right object is flat color. The surface color
of an object plays a vital role in
the whole process. We have to be mindful
of the fact that it's just perfect for the tools and the colors that we're using. I mostly use all white
objects so the plethora of colors that I used
pop out the way I want. If the object is not white, I generally spray
paint it all white. You are free to use any
base color for your art, but make sure that if it's
dark like black or the brown, you're using the markers
or colors that will pop out that dark base color. Obviously, you won't
be using blacks and the browns on the
surfaces that are dark. The colored marker
should be of the quality that pop out of
the darker colors. If your object is multicolored, then you might want to stick to black color markers or
the paints for your art. For this class, I
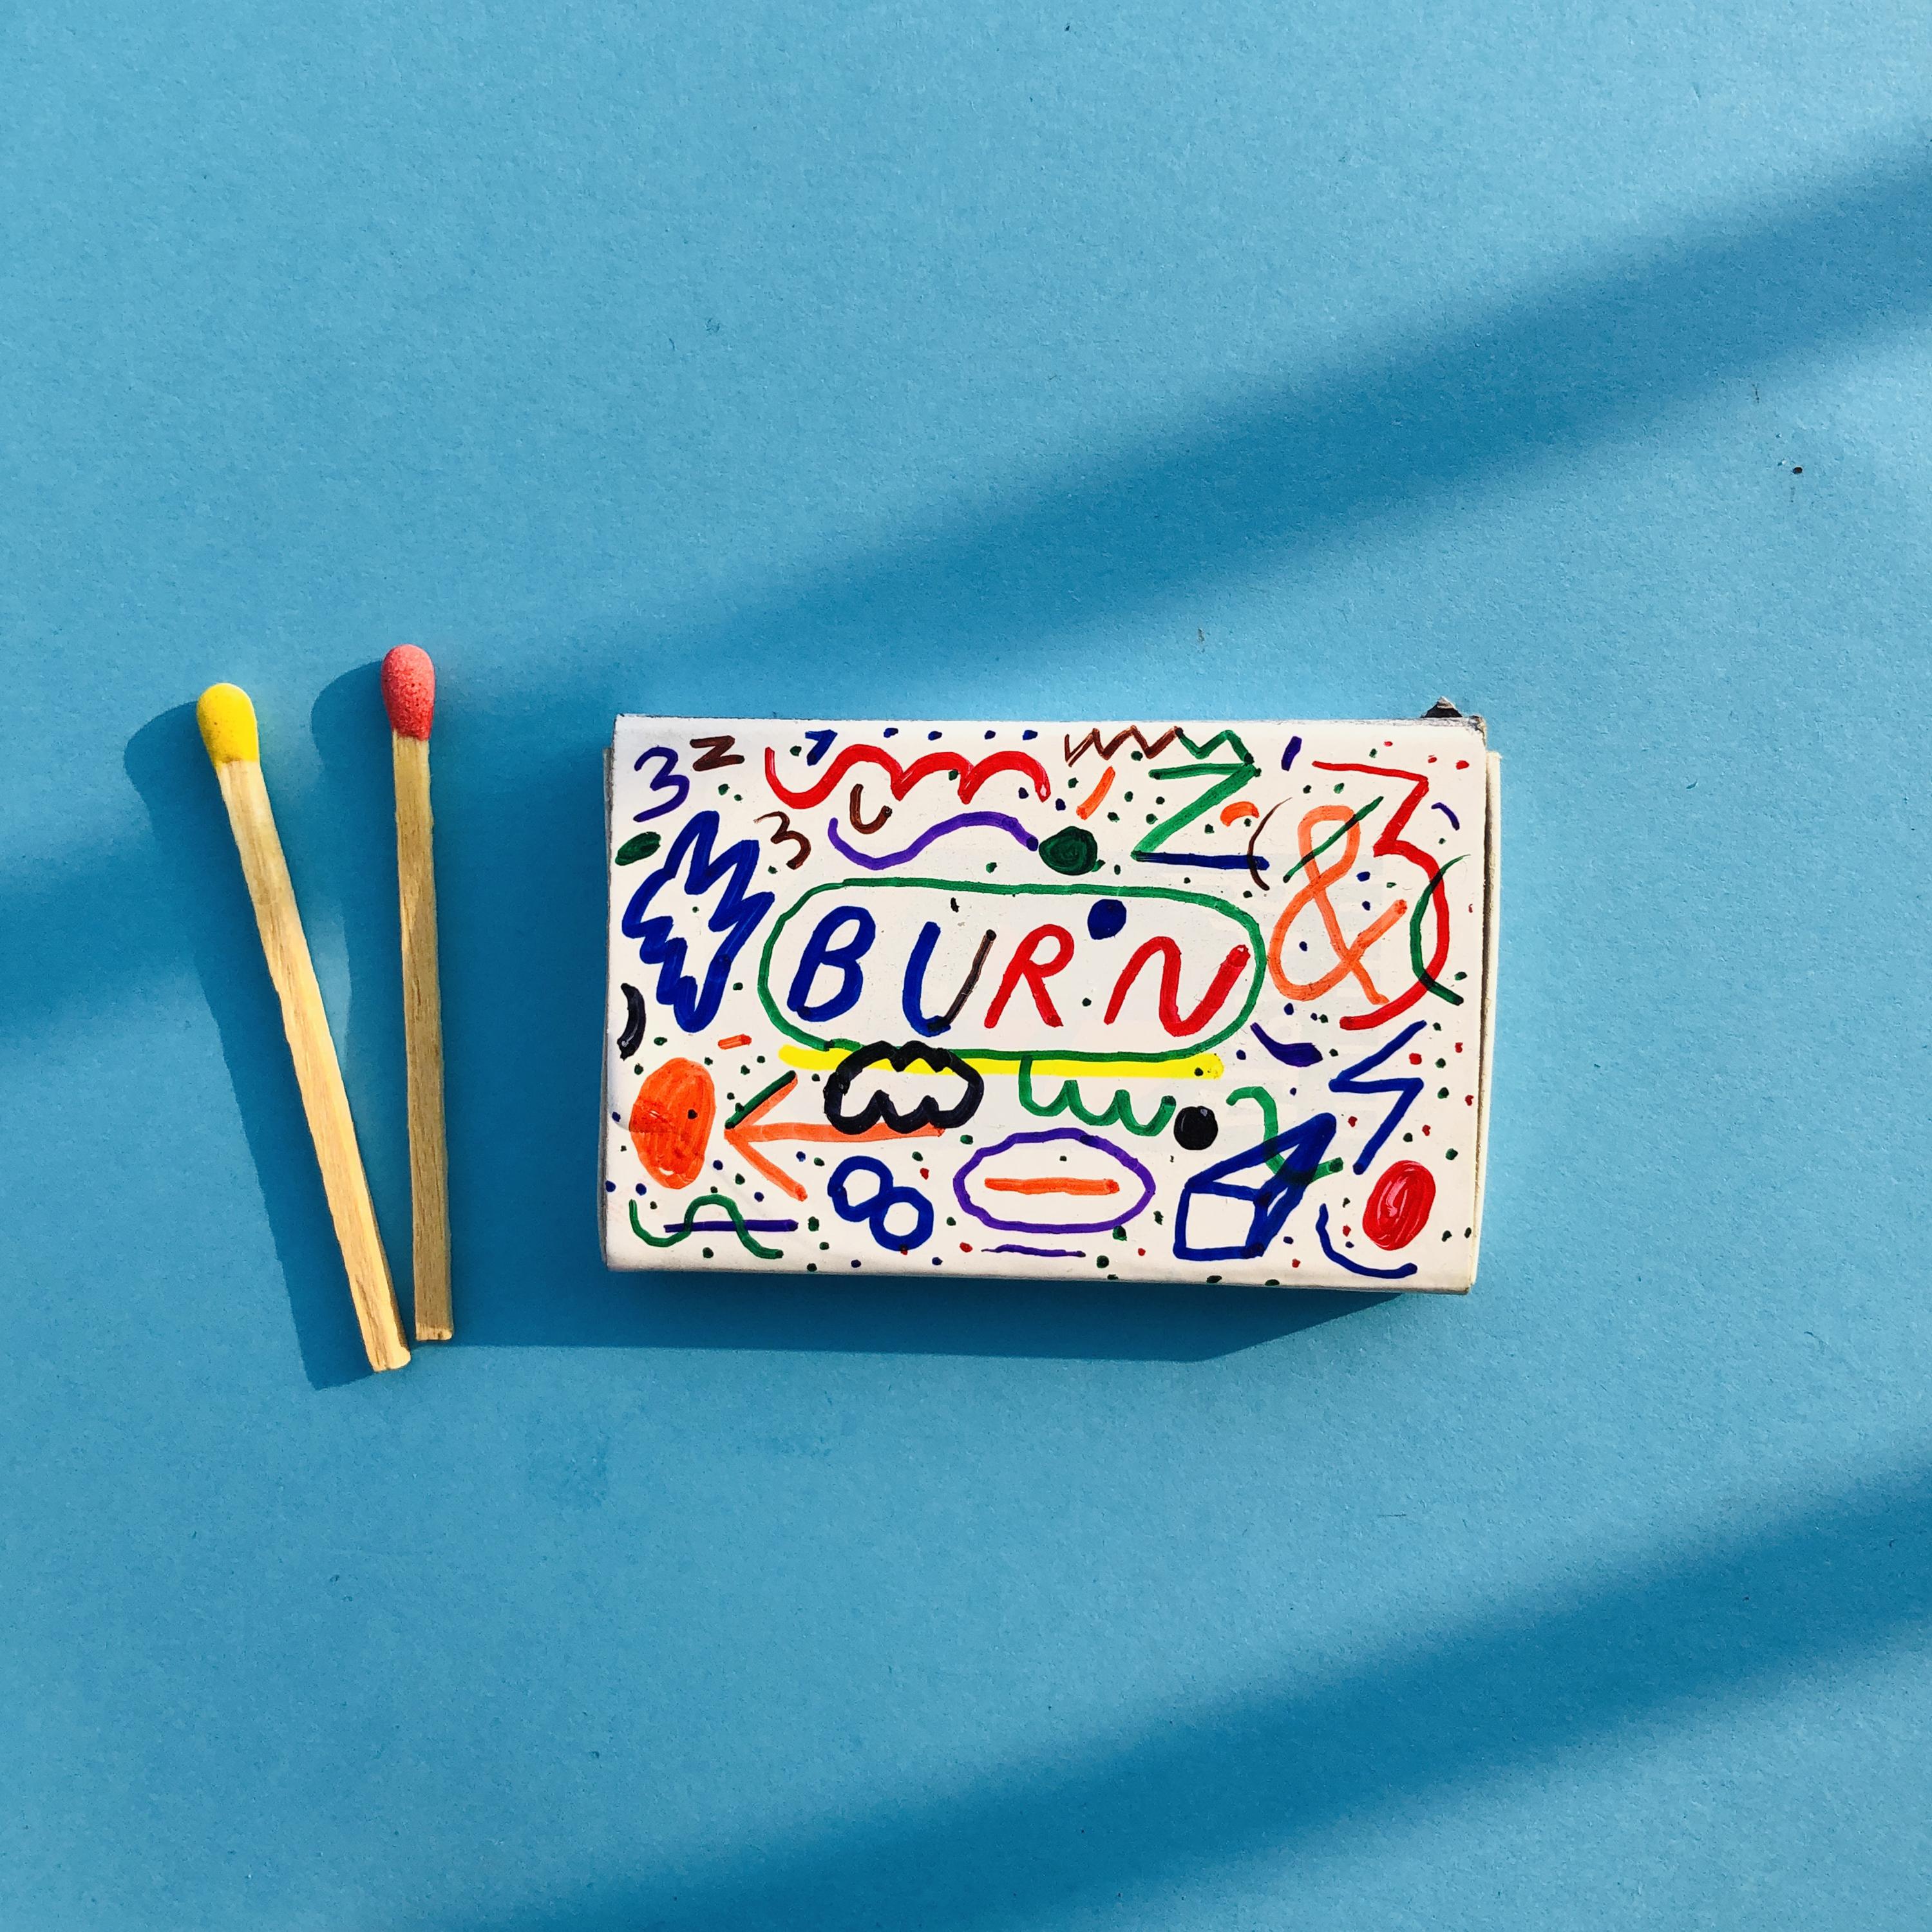
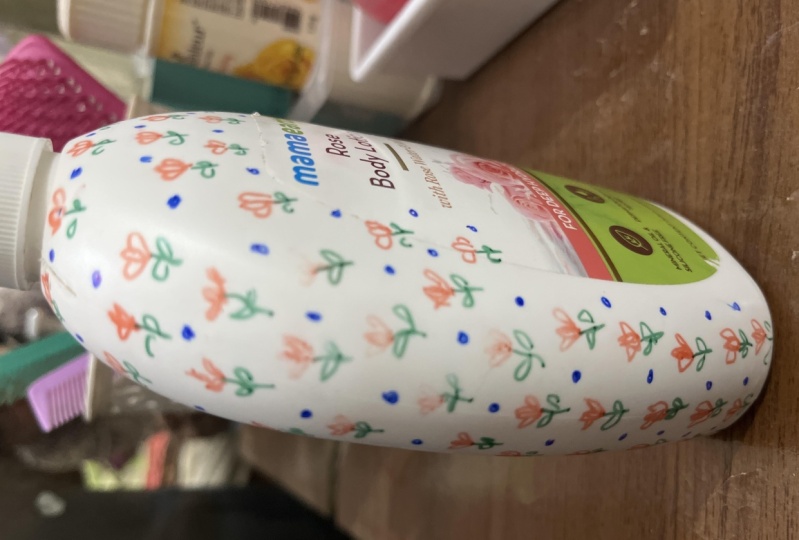
will be demonstrating an Apple AirPod's case transformation into
a piece of art. [NOISE] The reason
why I chose this is because it's a
very smooth shape. You can see it from
all the angles. As you draw it, you can
keep on rotating it. There's a magical serendipity into it that allows you to even make your mistake because it's slippery and it's cylindrical. Not only that, it is very
portable so you can complete and execute your art at the place [NOISE]
of your choosing. It's a great shape
to document as well. There's an intrigue
factor that makes you want to see what's on the
other side of the object. Whenever I document
and I make art on these kinds of
surfaces and shapes, I try to make the stop motion to present it to my audience so that it keeps them
engaged and show them all the size of the art. These are some of
the tips for finding the right kinds of
surfaces for your object. You are free to
choose any kind of object or the surface
as long as it's fun. It has to be fun in
the first place, otherwise it's not
worth doing it. Once you've decided the kind of object that you have chosen
to execute your art, you are ready to move
to the other class, which is the process
where you'll learn how to execute your art
effectively on an object.
6. The Process From Start to Finish: The process is the holy
grail of the arctic region. It is different for
every individual. Some people start with a dot, the other start to scribble, and some people directly
start painting on an object. There can be unlimited ways
of doing the same thing, but before jumping
into the process, let's have some tips that will make your process smoother. Procrastination doesn't help. It is not a new thing to expect procrastination from
creative people, but the bad news is it
doesn't get any work done. Whether it's an artwork or an installation idea
or your big project, it always remains in your head unless you
put it on the paper. One thing that has worked
always in my favor is setting the time aside
for making the art. In the fast paced life
that is constantly interrupted with the
memes, notification, and endless scrolling, it becomes all the
more important to set aside a dedicated time
to complete your art. One way I do it is by turning off all the
notifications for my digital devices
so that I have a dedicated time in
completing the art. Without discipline, you
might not be able to even start the process,
forget completing it. Getting it perfect
is not the goal. Many people remain
uninitiated because they start comparing their work
even before they start, with the other favorite
designers and people who have been doing it
continuously for years. The goal is not to be perfect, but the goal is to continuously practice your art
till the point of time you become so good at it that you don't even
have to think about it. Phase out the idea of perfection
because it will never be perfect no matter whatever stage you are at
in your practice. Building your audience
is a slow process. A lot of people expect
a lot of likes, shares, as soon as they share their art with the people, but the fact is getting the right audience and getting the audience
that is meant for your art takes a lot of
time with discipline so embrace your journey because it will be rewarding in the end. Consistency brings rewards. Doing the work once in a
while and then expecting great results will only
disappoint you in the process. Putting the work every day is what will set you apart
from anyone else. Showing up every day to
respect your art is difficult, but you have to make
it a habit because it will rip you benefits
in the long term. The last thing that will
make your process a whole lot smoother
is to have fun. If you have the element
of fun in your art, that'll make the
process a whole lot easier and less cumbersome. It should not feel like tasks, it should not feel like work, and as long as you have fun, the element of joy
in your process, everything else becomes abreast. Begin with a dot. For me, starting with
a dot always gives my practice a spiritual
dimension into it. Different people start
from different points, some people start
with the scribbles, some people start with a letter, some people start with a word. It depends whatever
makes you feel comfortable and whatever
goes with your line, but the thing is, you have to start so as to get the whole amount
of confidence to complete the entire
piece of art. Free your hands. It is very important to hold your tools in such
a way where you let go all the restrictive things
that are inside your hand. Because when you are
unrestricted and vulnerable, you will make the mistakes and the errors and the
imperfections. They'll make the art
more joyful and fun. Free your mind. Like free your hands, it is very important
to free your mind and not be with the
thoughts that are restrictive and attach to the objective that
does not exist. When you free your mind, you're born with a journey. A journey where you embrace the whole process,
the imperfections, the art that you're painting
without any limits. Use colors. I use a lot of colors in my art. You might call my art
chaotic, colorful exclusion, but the sense of
chaos and the use of different colors when they come together into a perfect sync, it is very satisfying to
me and I strive for it. You might want to use different color
palette for your part. For example, you can use a
monochrome color palette, or you can use a
combination of 3-4 colors. Whatever suits your style, whatever justifies what you want to say you
should be using that. The colors are metaphors
for the language for me and it should be the
same for you as well. Embrace mistakes. Already the fun part
of any art process is making the mistakes
and embracing them. I tried to keep all my
mistakes in my artwork in the final piece because
that's what makes my heart more human,
unique and me. The idea is not to make
your mistakes forcefully, but to keep them and to introduce a factor
of play into it. When it's more imperfect and when the art is more vulnerable, it resonates with
the deep audiences and they can really
better into it. Try to increase your
mistakes. Let it flow. When your mind and hand is free, flow is a natural
state that you will achieve while you're
doing your art. Once you have flow
in your process, your art practice, everything
else becomes a brings. You should strive to
attain that flow by freeing everything
else Include type. This is a very subjective thing. Some people try to improve
the type faces in their art, others may not like it. I try to include it in
my art, this is often, most of the times I do
it instinctively so as to make it a part of
the entire piece, other times I often go with the pre decided word
for [inaudible]. The beauty of it is once
you write something, it changes the whole
meaning of the art piece, so try to experiment
the that as well. Know when to stop. This is generally not a standard
thing and you can't put a timer as to when
your art should stop. It is an instinctive process
that you've developed over a period of time
through continuous practice. I generally put a stop on my art when I get a
sense of balance, sync, and a sense of
imperfect perfection. Revisit your art if you need to. Oftentimes, I revisit
my art to add the touches here and there
to enhance the overall art. You can completely avoid this if your art does not
require to do so. But adding the touch
here and there, and then often
revisiting the art, makes you analyze the art
as the whole single piece, and then makes you take the snapshot of the whole
process in a single view. That was the in depth
view into my process, and you can take
a lot of points, a lot of value additions
that might elevate your own art practice
and your process. That's how I've done it over the years by watching
the designers, the painters, and
the creative people, and taking their value additions points
and applying it to my practice to enhance it and
make it better and better. Now that you know
all the aspects of the process from the
scratch to the finish, you are ready to move
into the next phase to present it and document it
for the right audience. Let's deep dive into it.
7. Documenting Your Art: While making art has
its own phone caution, no art is complete without
the viewer, hence, presenting it to an audience
should be a good job. I generally do it with
very minimal equipment, so whatever equipment
you have and space you have are always enough
to document your art. You don't need to purchase and acquire additional
stuff to do the same. The idea is, do not only document
perfectly the studio finish, but show the process
to the audience. How can you do that in a
completely hassle-free way? There are some tips using basic things
available around us. A camera with a nice phone. You can have any phone with
a decent working camera and enough memory space to
record a high-quality video. You can document the
process in different ways, and even mix and match
for different platforms. Let's talk about each of
the techniques in detail. Number 1, time-lapse. Time-lapse is a
very effective way to document a piece of work that needs to represent
a long process captured in a short time. This technique you
can use to document your entire process
from start to finish, because the finished
time-lapse would generally be one-tenth of the entire time. It's a great snapshot for the audience to take
you to your crime. There's an important
tip you should keep in mind for this technique. Don't let your normal speed get affected in the time-lapse mode. The time-lapse will
do it's own job, so if your natural speed is
very slow or medium paced, be unaffected by what
time-lapse is doing. Number 2, slow motion. Slow motion should
be definitely used often as it captures the
finer nuances of art, like strokes, textures,
colors, light, et cetera. It's a macro view of your thought process in
an interesting execution. It keeps the audience engaged as oftentimes it's intriguing
to watch it till the finish. Make sure you capture all the interesting
aspects in this one. It's highly effective, it's highly aesthetic, and it's highly entertaining. There's an important
for this technique. For slow motion capture
to happen effectively, you need to be in a decent, natural light, otherwise it flickers and you won't
get the right video. Let's move to the
third technique, which is static photography. Static frames are generally an old-school capture technique. It does not apply to any
specific stage of the process, but you can capture statics at any point in time of
your entire piece. Again, you can take
hyper close-ups, wide angles to show your
workspace perspectives, blurred shots and
so on and so forth. Static shots are the
most effective without a doubt for the
last finished shot, a tip for the
static photography. You need a flat surface with a good background and
lighting for this. A busy surface or
a bad light can go against the purpose of
doing static photography. These are very extremely
simple techniques that are used to showcase
art on my feed. I try to keep my approach here also very straightforward and decluttered because I want
my tools to be available, handy, and mobile phone is one thing that I can
carry everywhere. There are some tips
that I would like you to follow before
documenting your art. Tip number 1, try to take as many static
shots as you never know which one will come out slightly better than the other. Tip number 2, the backdrop
against which you are taking the final static shot will make your aesthetics over a period of time for your audiences, so choose consciously
as to how you present that final
shot to your audience. Because that's what
they're going to remember when they
think about your work. For example, I use colored backgrounds to
take my final shots, yours could be
anything that goes with your aesthetics and style. The final tip, try to work on a stable or flat surface to
begin with so that you won't have any problems in handling
the tools and making your product look stable
throughout the entire process. I stick to my wooden desk
for all the creations as it gives me the stability and the area to populate
my stuff on. Now we have learned
a great deal about documenting the
creation to perfection. Cutting out the
unnecessary parts out of the raw
footage or a photo is an essential
bit that will make your creation look
finally finished. Let's learn how to make
your raw videos or shots slick and 100 percent finished to share it
with the audience.
8. Editing Your Work: [MUSIC] As we discussed
in the last chapter, that documentation
would not be enough for your art to be presented in a right
way to the audience. After recording your
videos or photos, we must cut the undesired parts, edit it slightly in
the phone if required. Give it the right crop for the platform we will be using, and then share it
with the audience. How to do it for the video. I edit the video in
my phone itself in the basic default editor
that comes in the phone, that makes it quick and
instant as per my requirement. We often record the parts in
the beginning and the end of the video that are extra
and are not required. It's good to cut them out before sharing it
with an audience. How to do it for this static. In the static shot, we must adjust the shot in the correct framing as per the
composition of the shot. Again, it depends on how exactly you want to
communicate your idea. Sometimes we want
to show the teaser. In that case, your crop
would be much more macro. For the full final shot, I like to keep the object
back in the center against a colored background and
close enough so that all the details are
captured in one look. There are some basic tips
for editing your work. Whether it's a video
or a static post, the crop and the framing of the creative will define the piece. We must be very careful as to what exactly we want to show. Of course, if you know the
basic framing techniques, it will help you
immensely at this stage. Tip number 2. We can
announce the video or audio with the filters
provided to us in the phone or an Instagram app, but one must not
apply the filters to an extent that the image
loses its authenticity. I generally do
minor contrast and brightness and saturation
adjustments, and that is it. But if you think you need
filters, use it sparingly. After you are fully
satisfied with your product, after all the adjustments
and applying techniques, you are ready to share it with the audience on your platform. In my case, it
will be Instagram.
9. Final Thoughts : Bravo. You have made it
to the end of the course. Give yourself an applause. This was amazing. We learnt everything
right from the scratch, from tapping the inspiration
to finding the right object, finding the right tools, and a step-by-step
process to execute your own art style to transform
the objects around you. I really hope this class leaves you with the
confidence to be comfortable in your own skin and art style and
transform the objects, one object at a time. I hope this class gave
you enough further to get inspired and to tap inspiration to start your own
artistic journey. I cannot wait to see what
you have come up during the course and I would love to see those wonderful creations. I hope you really
enjoyed this class. If you did, do leave a review. I had so much fun in
creating this class for you, and I wish you the
best for the future. Hopefully, I'll see
your work around. Thank you so much.
 Pranav Bhardwaj, Artist/Designer/Illustrator/Writer