Transcripts
1. Welcome: Why Text-Based Editing Changes Everything: I love a workflow, and I love being an
efficient creator. And while fancy
editing is fun, right? It can make things look
visually interesting, sometimes you just need
to get the video done, and editing can get
in the way of that. Now, in my years of
refining my systems, there's one feature that really, really changed the
game for me in my video production efficiency, and it's text based editing. And we didn't have that
when I started editing, and you guys do not
understand how lucky you are. You can do this in so
many different programs. Text based editing uses a
transcription from your video so the video editing programs can do the pre editing for you. I primarily use this to quickly
take out any filler words or spaces in my videos so I can get to the
fun stuff faster. If you're someone who
is more familiar with editing written word
in a word processor, if we still call it
a word processor, you guys know what a
word processor is? Google Docs or your Notes app. If you're better at
editing text down, this could be the bridge that will help you get
to editing video. This tool is in so many
different programs. It shows up in so many
different ways and even more ways to do this
pop up all the time. But I'm going to show you how
I use it in Adobe premiere. One, because it's already part of that program,
it's built in. You don't have to
have a plug in, even though there
are plug ins that kind of take this feature
to the next level. But it's also because that's the video editor that I use when I'm at my computer because
basically Adobe raised me, and we're family and nothing
else feels quite the same. But you can find this in
other programs, as well. You to learn this, we are
going to record a one take video with filler
words, with spaces, and then we're
going to edit that down quickly and efficiently using the tech based editing
feature in Adobe Premiere. And when you learn
how to do this in whichever program
you choose to use, then you'll have no excuse
but to make your video. Right. Right. Right.
2. Your Class Project: Record & Share a Talking Video: In order to use this
feature in a video editor, we need a video to edit. So we're going to
record something. Here's what you
need to do in order to record your OT video. First, first, first, first, we're going to keep it simple. This is just you
talking to the camera. And you can use any
camera that you want. You can film on
your phone, you can film on an external camera. You can film on your computer. You can use a
microphone. You can use the audio that's built in. That doesn't matter. We just need you to have a recording. Of you talking with your
face, video and audio. And it's totally okay
if you have notes. The way that we're
going to edit, it's going to be okay if
you need to look away, look at your note,
and come back. That's something that
I do all the time. I'm always, let
me take a second. Let me go look at my notes, come back, say the thing. Don't worry about that so much. And if you stumble,
just take a breath. Say it again. It's okay. And when you're finished,
I want you to play back the video to make sure
we can see and hear you. And then finally,
you have to get this footage onto your computer, however you do that for
whatever device you're using. Now, to do it the way that I'm going to walk
you through it, you need to have Adobe Premiere installed and have an
active subscription. If you do not have Adobe
premiere right now, you are very much not going to use Adobe Premiere.
That's fine. You can still utilize the way I'm going to have
you record the video, and you can look up
Auto Cut or text based editing in your
editing software of choice. Most have some version of this or some plugin that you
can add in order to do this. And the recording that I'm going to explain to
you how to make, you can use that in
other programs as well. But for this class, we're
going to use Adobe Premier.
3. Getting Started: How Text-Based Editing Works in Premiere: For your video, you
are going to answer the question in
30 to 60 seconds. If it goes a little
over, that's fine. But I want you to
answer the question. I want you to tell
me what's a book, a TV show, movie, some form of entertainment
that you have been absolutely loving
lately, and why. And part of that is
a little selfish because I want to know
what is good out there. So I need you to tell me
what you're watching, what you're enjoying,
what you're reading. So I can obsess about something. I want you to format
it like this. First, you're going to answer the question with the question. That means if someone
were to say, Hey, what's your name, you respond
with My name is Mary Lou. That's my name.
If somebody said, What's your favorite
food, you would say, My favorite food is pizza, right? Answer the question
with the question. So you would start with for this a TV show I have been really enjoying is
fill in the blank. A movie that I always love
is fill in the blank. Cool. So that's
what we're starting with is answering the
question with the question. Then you're going to
give me three reasons. Reason number one, reason number two, and reason number three. We're going to keep
it really short and sweet and to the point. And then you will wrap it up with who else would like this. For example, if you're someone who really loves crunchy tacos, you probably are gonna love nachos, if we were
talking about food. If you're someone who
loves spooky season, you're going to love Wednesday. Something to connect it to
something else so people kind of make a choice on is this something that they
would like or not?
4. Demo: Recording Your Talking Video: I'm going to record my video so you can see exactly
what it looks like. And remember, you
can use your notes. I have my notes here, my intro, answering the question with
the question, reason one, two, three, and then
wrapping it up, and then I'm going
to use my notes, and we're going to record it. And so you know
This is different. We're going to change
the background. Recording my video in three, two, a book series that I have been absolutely
loving lately is Thrown a Glass by Sarah J Moss. The first thing that
caught my eye with this video that
really connected me to this story was that our lead is a strong
female character. She's smart, she's tough. She's competent. She
can make choices. Like, is she perfect? No. But I like her. You know what I mean? The second thing that I really the second
thing that I really enjoy about this book is
that there is romance, but romance is not the
core of the story. There are love interests. There are There are
love interests. There are relationships. There are love interests
There are love interests. There are relationships, but it is not the main
part of the story. Like, I like that sprinkled in, but I don't want that
to be the only focus. And the third reason is
similar to the first reason, but it expands on
that is that there are multiple strong
female characters. They have strengths,
they have weaknesses. They have agency over
what they're doing. All of that making this
a very compelling story. So if you're someone who loves
a story that goes places, you want something that
has multiple parts. There's a lot of
books in this series. If you're someone who
loves rich world building, and you love strong
female characters, then you might enjoy
reading Throne of Glass. Okay, now we're going
to take that video, and we are going to cut it down using a text based editor
in Adobe Premiere.
5. Demo: Removing Pauses and Filler Words: Order to follow along, you're going to need the video that we recorded
from the last video, and you need to
have Adobe Premiere installed and ready on your computer with an
active subscription. Otherwise, I mean, you
can just watch it. That's totally
fine, but to do it, that's what you need to do.
Alright, let's get into it. When you open up Adobe Premiere, you will start a new project. And you do that by
clicking here New Project, and then we will name
this whatever you want. Then it will bring you to where
you can import the media. I'm going to skip this for now because I want to get
right into the project. From this window, there's
a lot to look at, but there's nothing
that we can do because there's no media in
the program yet. You're going to open up the
folder on your computer wherever this is saved
on your computer, for the video file that
we're going to use. And then I want you
to just grab it and drag it and then
drop it into this one, the timeline because
I recorded this in the same take as the
explanation of that video. I need to trim this down. I always like to double click on the Audio Track to make
that bigger because I just like seeing the waveforms, which is these lines that
you see at the bottom. This is where Audio
is happening, talking, noise,
anything like that. That's what these spikes are. And because I changed the
color of the background, thank goodness I did that. We're going to start it here,
so I know where it's at. I'm going to use this tool, which is the razor tool. Shortcut is C. I'm going to click that and
everything before this, I'm going to want to delete. And then let's see
where it ends. I changed the color back.
That's how I know I ended. I'm going to use
that same razor tool here to make a slice at
the end of the clip. Now I'm going to use
the selection tool, which is also shortcut V. Select the part that
I want to get rid of, and then I'm going to press
Delete and then select the part at the end
of the video that I want to get rid of
and press Delete. And then I will grab my clip, and I'm going to drag
it to the front. Now I have just the
take that I need. For this video. Now, as I
was discussing earlier, these are the waveforms. So anywhere where there's
a spike there is audio. When it is a low line or a
flat line, that was silent. That is what text based editing is going to take out for us. What we need to do next
in order to get into our text based
editing is up here, we can go to text, but
if for some reason, yours doesn't look
like this yet, we can go to window, which is up here in the top, and then we can
go to workspaces, and we can actually choose
text based editing. Most of our workspace is
the text base editing now. So we can see here it wants
to transcribe this video. We want to make sure
this is in the timeline. We want to make sure
this is selected, what we want it to transcribe, and then we will let
it do its thing. It'll take a little
bit of time because we did a short video. It
won't take that long. Of course, the longer the video is, the more speakers there are, you can get really
sophisticated with this, but this should be pretty
simple because it's just one person talking for,
you know, about a minute. Aah. Now, amazing. This is our transcript. I mentioned, if you're someone
who is used to working with text and editing down text, like documents and
things like that, you can edit from here. We can select whatever
we want to get rid of, and if we press delete, it's going to take it
out of the timeline. But we're not going
to do that quite yet. Anywhere there's dot dot dots, these are dead space
silences, right? And it gives you,
how long it is. This one was 5.3 seconds. This one was 0.3 seconds. You know, there's various ones throughout the entire video. In order to quickly get rid
of the filler words and the dead spaces without
having to go in and manually delete each one
of these one by one, we're going to go
to this button, which is the filter. And here you can see
there's filler words, there's pauses, there's
speakers, things like that. First, I want you to
go to search settings. And then we are going to expand here where it
says transcript view. And the thing that I always
like to adjust right away and make sure it is adjusted
is the minimum pause link. I want to make sure this is the shortest amount
of time possible. So this is 0.1 seconds. That's the minimum pause
length that's going to highlight anything that
is this length or longer. I also want to make sure
filler words are selected, low confidence words
and the pauses. The speakers and untranscribed
sources, those are fine. You know, we're not really
using those right now, but it's fine if
they're selected. Then we will save that. Back to our filter, I
select filler words, and it looks like I
really didn't have any, which I was supposed to do
it on purpose to show you. Anywhere that you would
have said, Like you know, it would highlight that and
then you could delete it. We're going to go to pauses. It will highlight
it the same way. If it was filler words, it would highlight us the same way. With all of those selected
because we filtered it, I'm going to click on delete. Then it's going to ask if I want to extract or if I want to lift extract is going to pull out those parts
and close the gap, L it's going to leave
all the gaps open. That's not what we want. We
want to close all the gaps. So we're going to extract, and then we're going to delete all. And you can see here it really cut out a lot of the video. So for example, if we play this first part right here,
Hopefully you hear this. When I play this,
this is silence. And then you can see
from the sound meter, I start talking, then that's silence again
and then talking again. When we go in here
and we filter, we go to all the pauses, we go to delete, extract, delete all, you can see
it closed those gaps. It didn't remove the one
at the beginning, I think, to give you a little
bit of leeway to make sure it's not cutting off
too much at the beginning, we can just do that manually. It's not a big deal. Now
that we've done that, I always start with those parts, removing the filler words,
removing the pauses, and then sometimes
just call it a day. But we need to clean up a couple of different things
here because I know that I repeated myself
and I know that I did, like, a count down
into the video. So we see here in the text says Recording
my video in three, two, and then it starts. That is this clip right here. I'm just going to
highlight these words in the text based editor and press Delete, and then
it's going to close that. Actually, this part that's in the timeline,
that's just silent. I'm going to press delete there. And if we select the empty space that's in the timeline
and press Delete, it should close the gap for us. Now we're starting. I can read what I said, read the transcript, book
series. I'm absolutely loving. The first thing
that caught my eye, that's really connected me to this story. She's
smart. She's tough. She's confident she
can make choices. Great. I'm just looking right now for any parts that I repeat. And another thing
you can look at here in this program
monitor window here, you can see this is
our full length of the video right now is 1
minute and 21 seconds, right? We are at the four second mark. That's where the playhead is. The whole duration of the
video is a minute 21. My goal is to try to
get it as close to a minute as possible.
If possible. So we'll see how much I
maybe repeated myself. It's not the core of the story. There are love interests.
There are love interests. There are relationships. Okay,
so I repeated myself here. Remember I did that.
So I'm going to highlight all of that
text and just press Dee. If you want to look at it and see if you like
those takes better, you can my experience, it's 99%. The last take is
the one to just go with and don't think
too much about it. These dot dot dots, which are other spaces, because I like it
to be super tight, I go in and also
delete these as I go along just by highlighting it and pressing Delete
on the keyboard. They are love
interests. They are love interests,
they're relationships. Okay. So again, I
said this twice. So even in here, I can just select those words
and then delete that, and then it'll close the gap. Third reason similar to
multiple strong characters. They have strengths. And again, I'm just
deleting all these spaces, these dot dot dots
as I go along. And I do wish it would let me, automatically have
those removed. It's not there yet, but
maybe one day it will be. They have strengths,
weaknesses, they have agency, and then continuing to just
get rid of all these spots while checking the text and make sure I'm saying what
I want to be saying. If you're someone who loves
a story that goes places, multiple parts, world building, and you live a strong
female character, then you might enjoy
reading Throne of Glass. Great. Okay, so I feel like that's gotten me pretty clean, at least I'm not
repeating myself, and then I'm going to go
back and just make sure I get the rest of these spaces. And if for some reason
we deleted something we need to get it back, we
can always get it back. We can always get it back. Alright. All right.
All right, right. Now we're looking
good. The video is now at a minute and 13 seconds. I'm going to stretch
this out right here where we can see kind of the whole
timeline if we want. If we want to get really close,
we can shrink that down. Similar to when you're
editing on your phone, if you pinch in and pinch out, that's exactly the same
thing that we're doing here. So I'm going to have it
start at the beginning, and then we're going
to play it through Oh, here I repeated myself, right? So I can go back into the
transcript over here, and I see, yes, the second
thing that I really, the second thing
that I really enjoy, this is redundant, so I'm going to highlight
that whole section, delete it, and it
will get rid of it. And then I had a couple
other dot dots spaces that snuck back in.
Okay, let's continue. Now, another quick thing in
Premiere that's helpful is using the Spacebar on your
keyboard can be play and stop. So you can click here. This is where the
play Stop button is is in your program window. But if you've got your
keyboard and really premiere, the whole game with
efficient video editing is learning your shortcuts, which we can get into
in another class. If you're interested, yeah, I'm happy to show
you my shortcuts. I have a little
customizations, as well, based on how I edit, and that's this kind
of stuff that you'll learn once you start
doing it more. But Spacebar is really good. And there's also the buttons
JKL on the keyboard, if you give those a test, if you press J,
it'll go backwards. If you press L,
it'll go forwards, and you press K is
also to stop it. So if you're going
backwards, you need to stop, you press K, you need
forward. You need to stop. You can press K, press press L. If you press L
twice, it'll go faster. Press J twice, more times, you can go one X, two
X, three X, et cetera. Play with that a little bit so you can get
the hang of it, but the space bar is really
the most useful piece. Great. That's our whole video. It's 1 minute, 11 seconds. And I think that is it for me. So if I were to
continue editing this, I would go back and
play through it a couple of times, refine it. I might do some
Zoom in Zoom out. That's a little bit
more intermediate. For you, to get started, I want you to run your
video recording through this process just to get a feel for the tech
based editing. And we did very, very little of actual editing the
video in the timeline, very, very little of that. Most of this we did through
the tech Base editor. Like, isn't that amazing? I used to take forever to
do that kind of stuff, but now you can just make
it happen very quickly.
6. Exporting Your Polished Video: When you're finished in order to get the
video out of here, you need to select
this timeline, right, make sure this
box is highlighted. And then you can go
to File Export Media, or if you're on the Mc, it's Command M, which
will bring you to here, and this is where location you can choose where
this is going to go. Up here, you can choose
the name of the file, and then you can make
adjustments to export settings, I pretty much always have
it to match the source. So it's just as
close to whatever the video came in as,
it'll just be that. And then when you're
ready, down here in the bottom right corner,
you'll press Export, and, you know, take note
of where you set it, the location you want it to
save, and what you called it. And then we will press Export. And while that's cooking, I'm going to see
what this cat wants. Alright, Gizmo. Our video. Our video is done exporting. This is Gizmo, by the way, everybody loves to see Gizmo. She usually comes and walks in front of everything
when I'm recording, so that was a rare moment where I had to actually
get her on camera. Now, our video has been exported once that
pop up is gone, and then you can go to that
part of your computer, wherever you chose to save
it, whatever you called it, and that's where
your file will be. And then you can go post it.
7. Wrap-Up: Next Steps for Your Editing Journey: Once you get that in a place
where you feel good with it, you know the customizations
you want to do, you have your system for
making videos in this style, you can crank out videos so fast because you're
keeping it simple. You're using the tools that are available to you in the
best way possible for you. And then you're just
making a lot of videos, which will inevitably help you get better at making videos. I hope that was
helpful. Please share your text based edited
videos with us here, and I look forward
to seeing them. And let me know what
else you want to learn. I'll show you if I
know how to do it. I will show you.
See you next time.
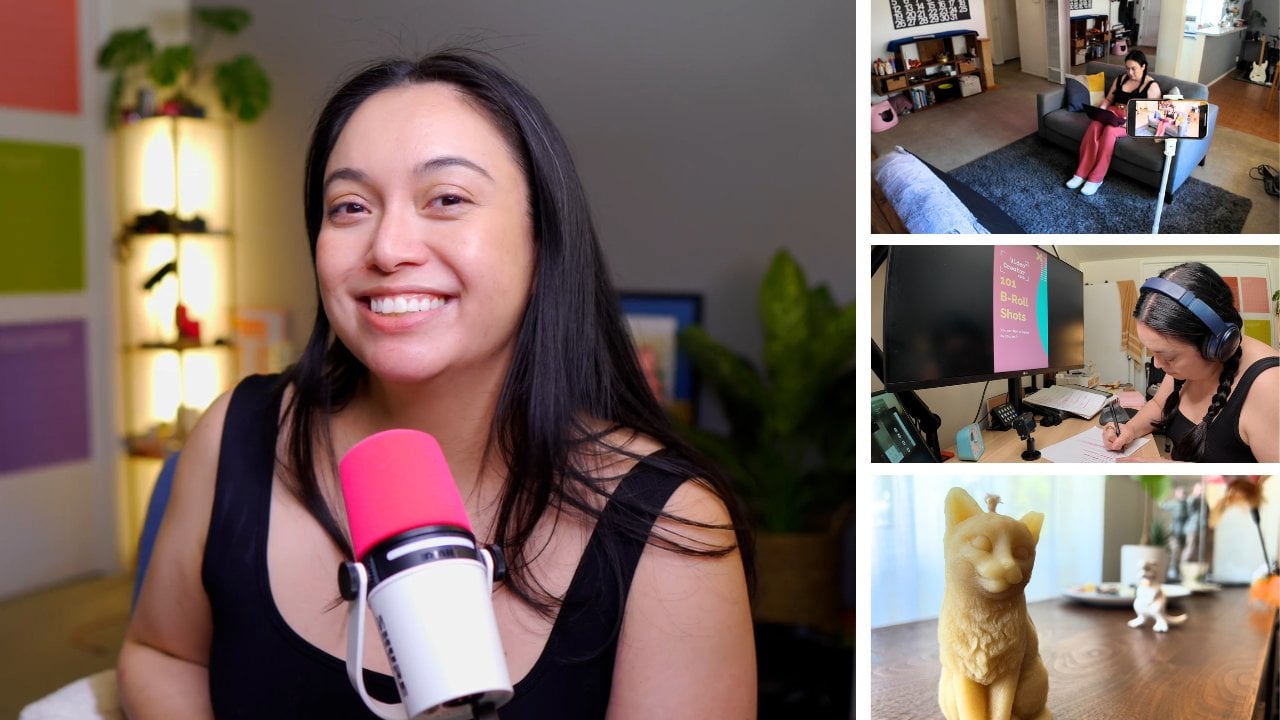
 Marielou Mandl, Video Creator, Content Creator