Transcripts
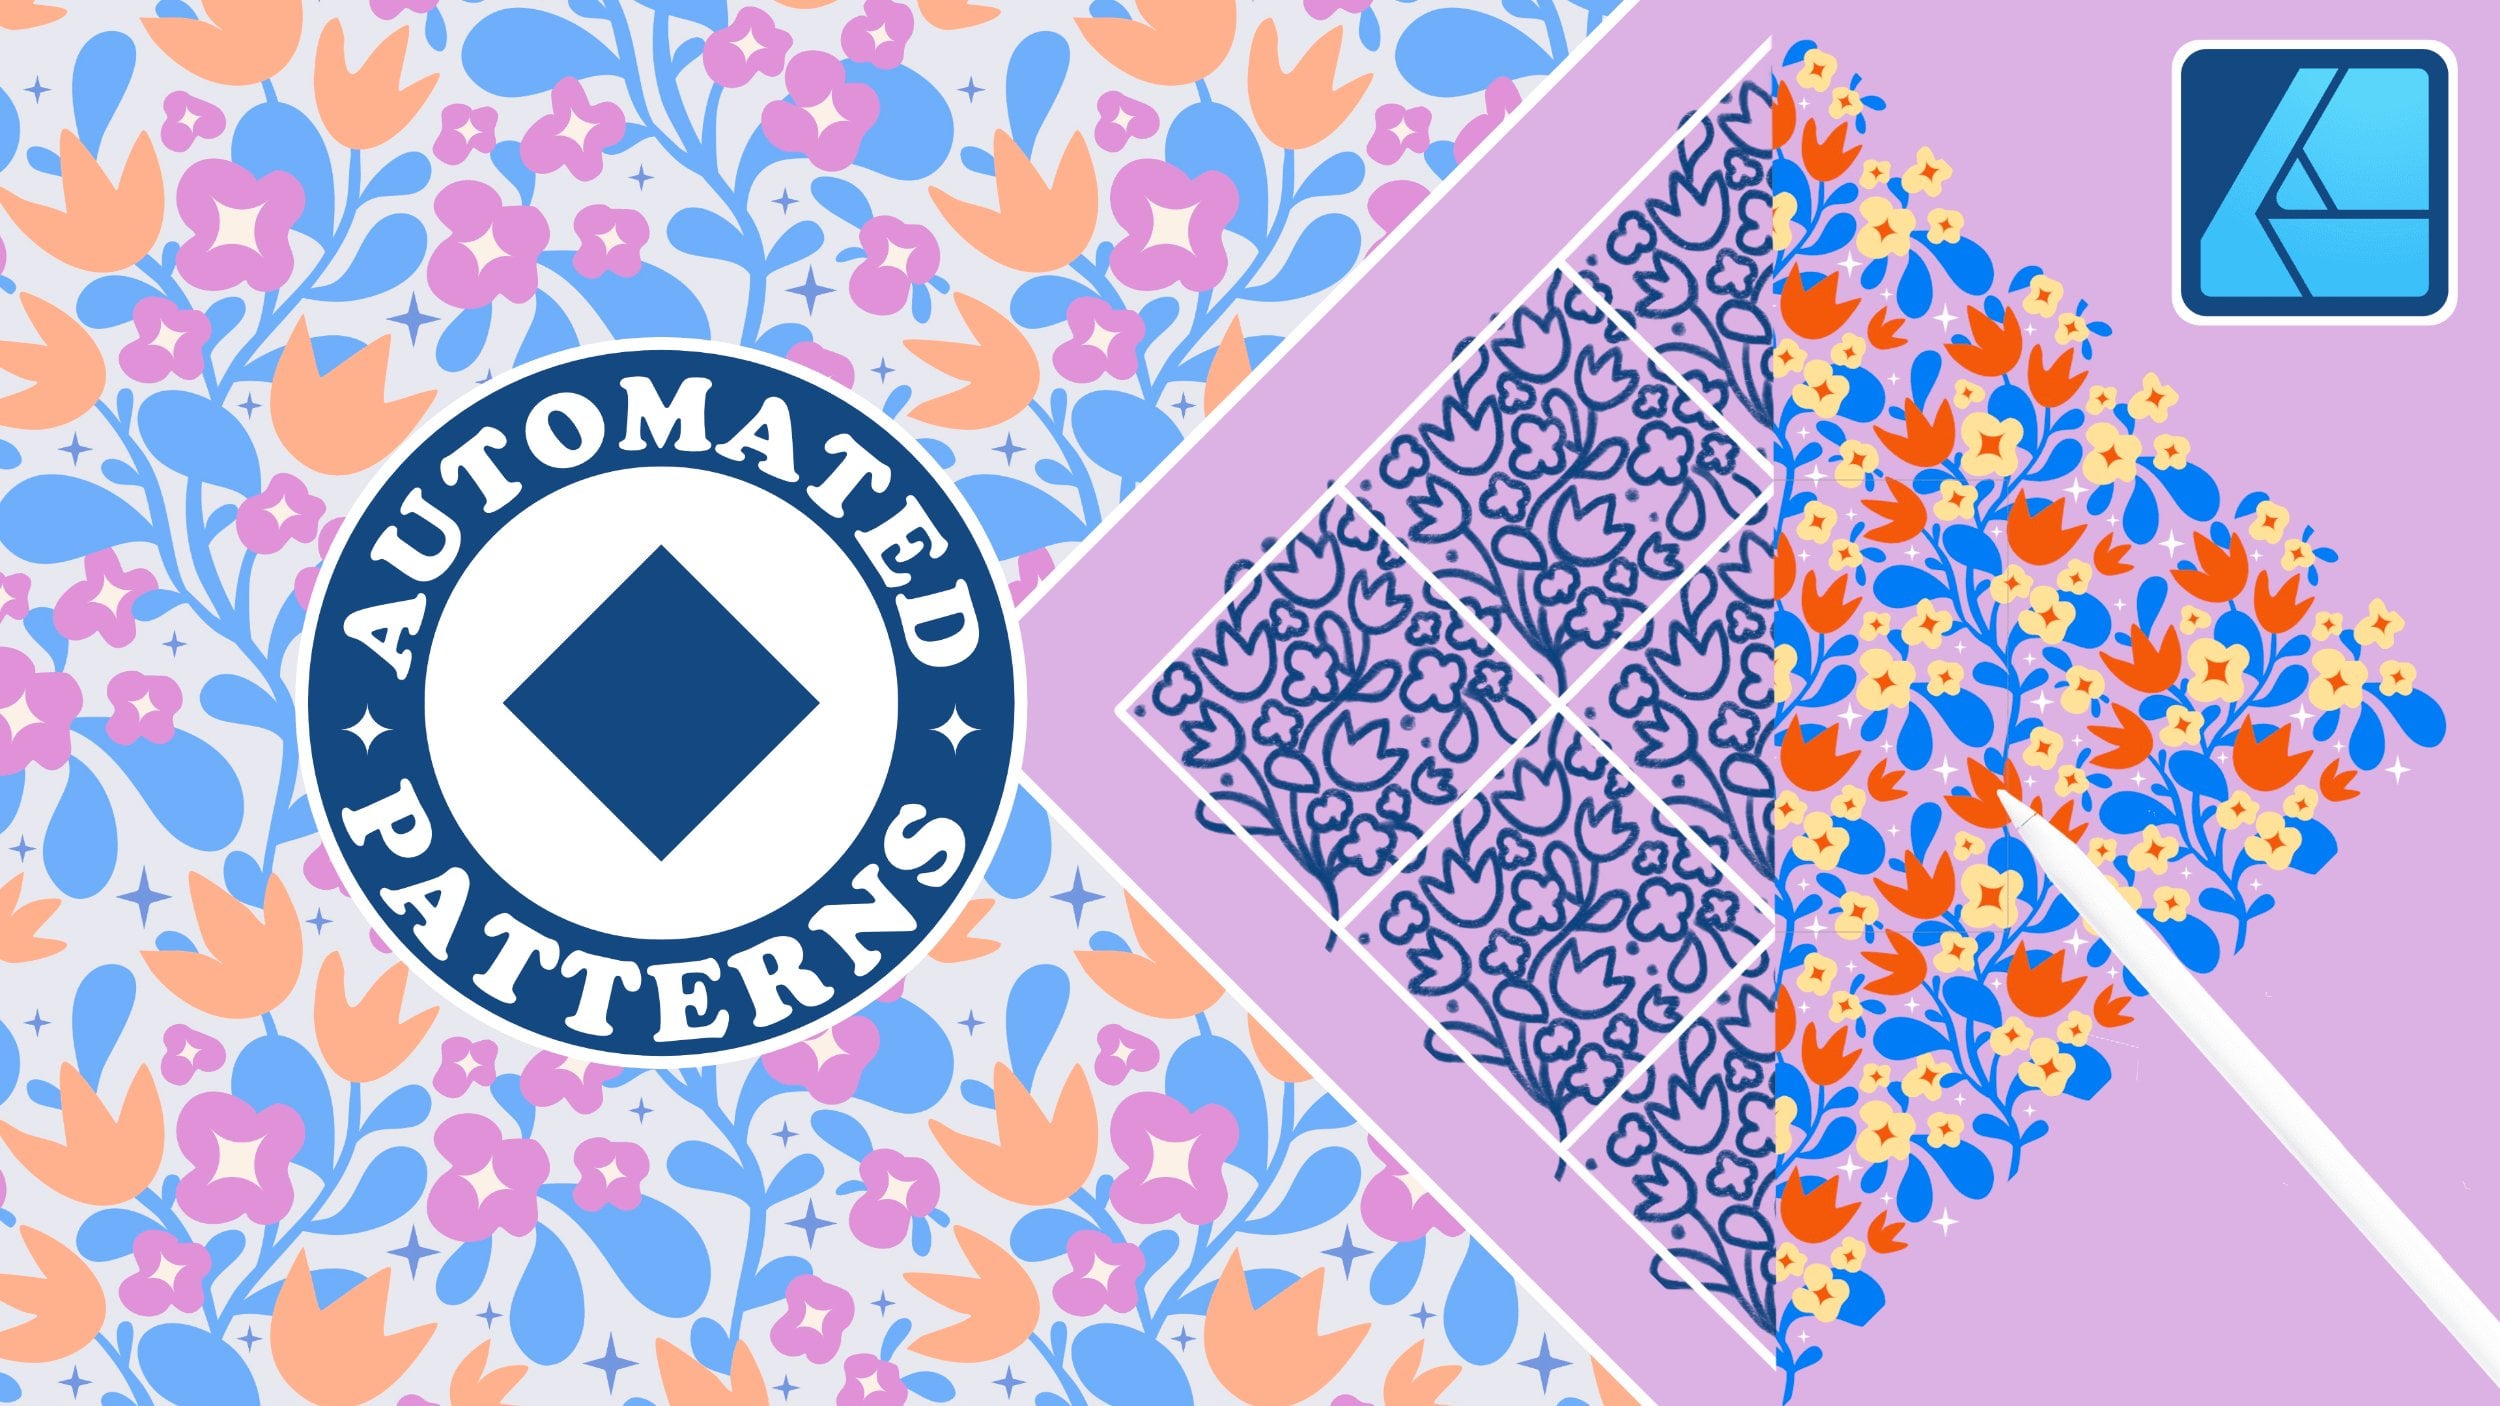
1. Repeat Pattern in 15 Minutes?: Is it possible to create a seamless repeat pattern with an automation in less
than 15 minutes? Yes, it is, and I
will show you how. In this quick and beginner friendly Affinity
Designer tutorial, I will teach you how to set up a fully automated
pattern template from scratch and use it to create endless floral pattern
variations in just seconds. You will learn how to build a reusable pattern
template in affinity. Use symbol automation tools
to make seamless repeats, generate multiple floral
variations of your pattern, and how to quickly
recolor your pattern. Are you ready for the challenge? Set your timer for 15 minutes, grab your iPad, and
let's get started.
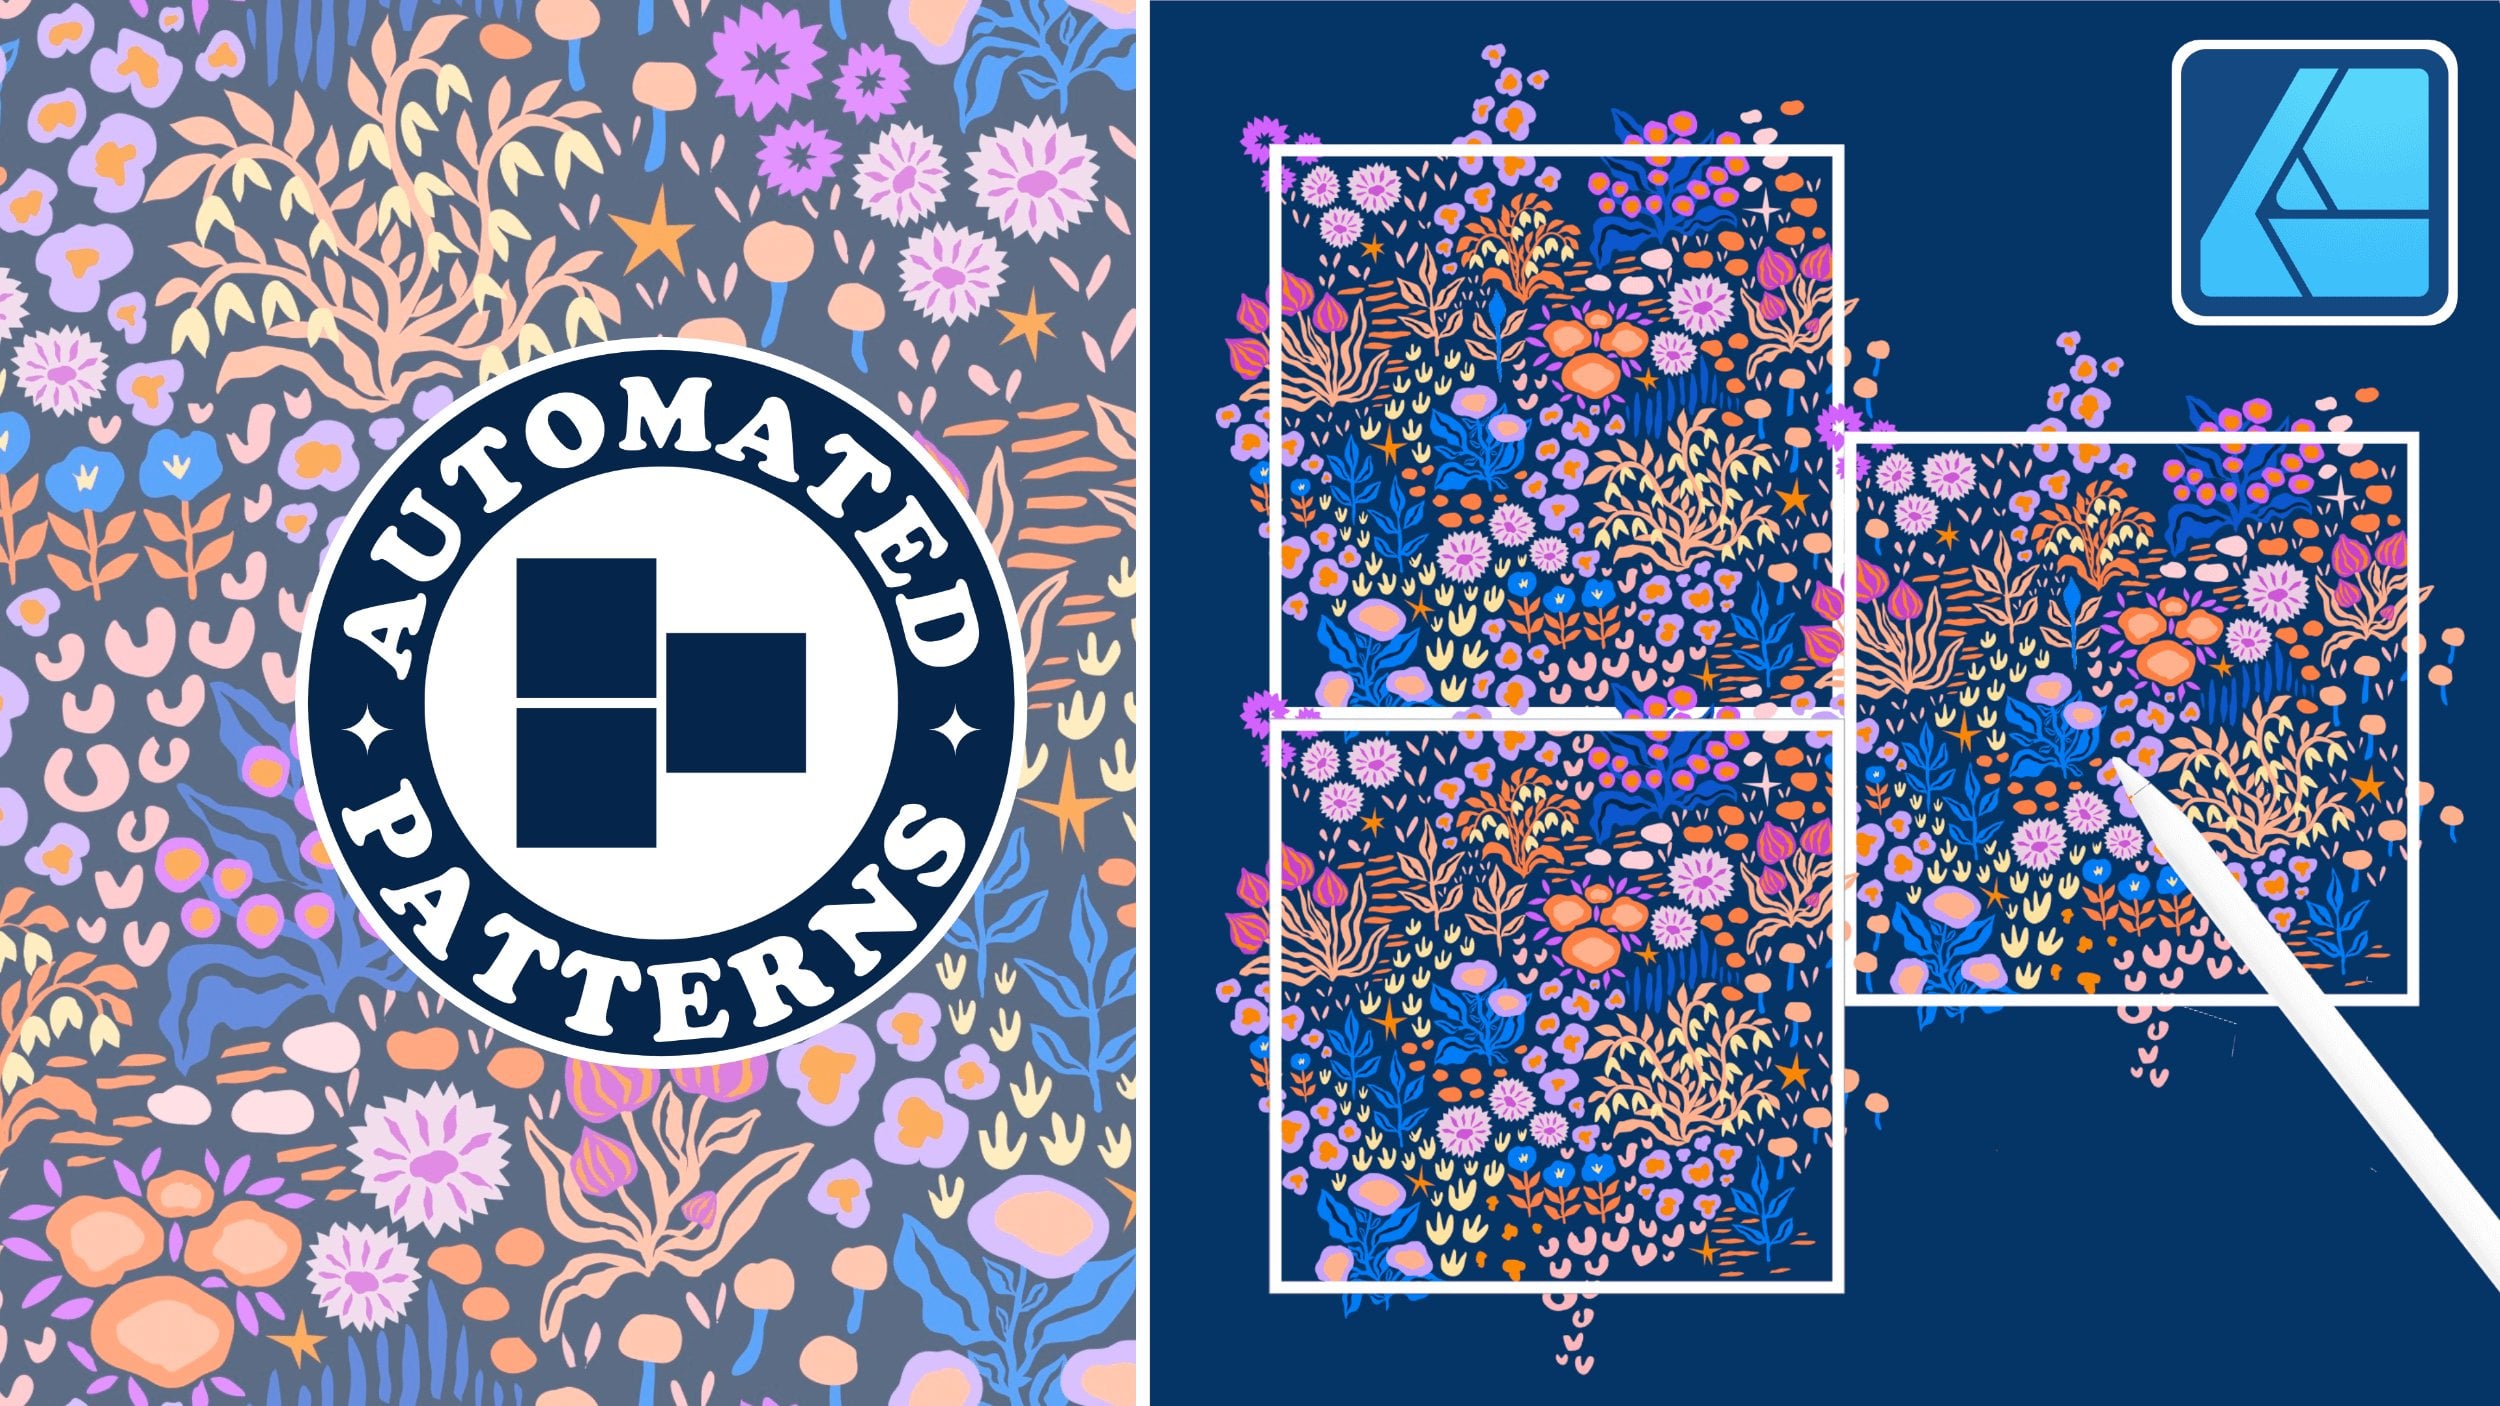
2. Fast Repeat Pattern in Affinity DEMO: Let's create a quick
repeat pattern in affinity designer using automated
templates step by step. In this video, we
will be creating a simple standard repeat
floral pattern on the iPad, and I'm sure that you can try this approach on the desktop
version of affinity as well. I'm also making available
four vibrant color palettes as Vctor assets, which you can get through my
Substack membership or as part of class resources on
Skill Share and on Gum Road. Now let's jump into
Affinity Designer. Let's get started. I created this simple floral pattern
in three color variations. I'm using an automated
pattern template approach to speed up my process, but you don't have to worry, we will be creating this
template together step by step. If you're new to pattern
design in affinity, this is a great way to start without manually
adjusting everything. Step number one, set
up your document. We go to New Document. Next, we choose pixels as our units and we select 4,000
pixels by 4,000 pixels, 300 DPI, SRGB color format, and very important,
we have to make sure that we select
no artboards. Then we click Okay.
Step number two, create your automated
template with me. This template consists of two square symbols and two rectangle shapes,
horizontal and vertical. Let's create our building
blocks first from the rectangle tool and then
assign them different colors. Hold one finger on
your iPad screen to create a perfect square. From the color studio, get rid of any unnecessary
stroke outline. If you're using the iPad, you can use gestures. Flip up the empty circle icon, and this will
deselect the stroke. Let's add in our
color palette from the Asset studio onto
our document interface. I will choose this blue
orange color palette, select Insert and position the
color palette to the side. If you can't see it, you can
go to the preview mode in the upper right corner
and you can make sure that clip to
Canvas is deselected. Next, let's create a copy of this first square
from the move tool, two fingers on the screen, and then you deselect and
let go to make a copy. After that, you assign
it a different color. Now we can go to the Layers
panel, select both squares. Go to the symbol
studio to the right. Hamburger menu, three
horizontal lines, and we choose at
symbol from selection. Choosing two different
colors for the squares gives us the confirmation that our
symbols are set properly. Now when you go to
the layers panel, you can see that a
symbol folder was created and there's an
orange line to the left. Next, let's create
our long rectangle from the rectangle tool, and change its color as you go. Let's build our grid. Magnetic snapping has to be go. This is very important. You can find snapping in the upper right corner
of the interface. Selecting your shape
from the move tool, start with the first square, position it in the
uppermost left corner. The guiding lines will show you that it's snapped in place. You can always zoom in to really make sure that
everything is aligned. Next, you take the
vertical rectangle and you snap it to the right
side of the first square. Then you take our second square and you also snap it
to the right side. Still from the move tool, we take the vertical
rectangle and we make a copy, and we snap it to
the rightmost side, and then we create a
few more duplicates to complete the first row. In our row, we need four squares and four
long rectangles. From the layer panel, we select all the elements
at the same time. One finger on the screen to
keep their proportions right, and then we drag it
and snap it all the way to the rightmost edge
of the pattern tile. Next, we go back to our layers. We select all the vertical
rectangles. We group them. And we drag them to
the bottom edge. Next, let's take our horizontal
rectangle, one of them, and make a copy,
change its color, and drag it out of the group. Rotated by 90 degrees. One finger on the
screen to rotate by exactly 15
degrees increments. Then you can position it under
the first row of squares. Make sure to snap
everything with care. Temporarily group all
the symbol squares. Make a copy of the whole
group and then drag it to row number two and offset it by one square
to the right side. You can zoom in to
really double check that everything is
aligned properly. You should actually see
the guiding lines as well. Now you can zoom out, take the last square in the row and position it in the
missing spot to the left. Zoom in and look at your
guiding lines to make sure that everything
is snapped properly. Make a copy of one
horizontal rectangle, drag it and snap it down. Find the first row of
squares in the layers panel, copy it and drag it
to the third row. You can also create copies by
selecting what you need to copy and then go to the three dots menu in
the upper left corner, select duplicate and then
drag and snap your copy down. Now locate the second
row of squares. Make a duplicate, drag it and snap it underneath
as your last row. Complete the grid by copying over our last
horizontal rectangle. Let's do a little bit of good housekeeping and organize
our elements by color. From the layers panel, group all our
horizontal rectangles. Next, select each group with our square symbols
and ungroup them all. Select all orange squares, group them, and then do the
same with the yellow squares. Locate the two squares in the uppermost left
corner and make sure they are the first in the folder for the
respective symbol. You simply open each
folder for each symbol, and you drag them to
the right position. You can also rename the folders. In Wala, our automated
template is ready, and you can also
export it to reuse it. This template will also be available as a downloadable
class resource. Step number three,
create your design. Now we need to fill in each of our squares with an element. The easiest way to practice that is to create a floral motif. I will be also using some of my botanical assets
that I created with my students in our big botanical
assets master class. This course is 6 hours long and it's really
packed with a ton of practical exercises on creating floral motives in Affinity
Designer and in Adobe Fresco. You can find this class on Skillshare and in Mygamod Shop. But for the purpose of
this simple tutorial, let me show you
how you can create some very basic flower shapes in Affinity Designer in no time. First, we head to
the rectangle tool, and we select the Cloud tool. You can start drawing. Make sure to hold one
finger on the screen to fix the proportions,
change its color. You can also adjust the number
of the bubbles to five. You do that from the
contextual menu above. Those so called bubbles
will be our petals. You can also drag the little red dot to adjust
the shape of our flower. Next, select an ellipse shape. Draw a perfect circle by holding one finger
on the screen, change its color and position it in the middle of the flower from the move tool. You can also use
the alignment tool to perfectly center it. Position this new flower above your first square symbol in
the uppermost left corner. Go to the layers
panel and group it. You can also resize
it if need be, and make some tweaks. And now from the Layers panel, open the group with
the first square, our first symbol and drag this flower inside
of the first folder. The folder will glow blue
to confirm your selection. Now you have the following items within your first symbol folder. You have your flower shape
or the flower group, and underneath, you have
your background layer. You can always change any colors on each
of those elements. Let's create another
simple flower. From the rectangle tool, we are selecting, again, the cloud shape, one finger on the iPad screen to
keep its proportions. And then we create another
circular middle of our flower. We can group it right away and position it above our
second square symbol. Next, from the layers panel, drag and drop it into the
second symbol folder. Let me show you
how easy it is to create multiple patterns
with this template. For example, I could recycle
my botanical vector assets. I head to my botanical
vector assets category in the Asset studio, and I select, for
example, the tulip shape. Next, I place it within
the right square. I adjust its color, and I make sure that it's in
the right symbols folder. For my second flower,
I could choose, for instance, this
geometrical flower shape. As you can see, it's super easy to recycle your vector assets. I absolutely love creating new assets to my assets library. In this way, you can create
countless pattern variations. You can see how our symbol
is working beautifully. If I move my element, it moves across all the
other copied symbols. And if I, for example, change its color, it will also change across
all the symbols. In this way, you
can quickly make changes to your pattern tile, and you can create different
color variations very fast. For all the remaining
elements, for example, the rectangle lines, you can change the color on the
entire group level. That's why we started everything by the end color, so to say. That's it. This is a fast
and very effective way to quickly create repeat patterns in Affinity Designer
on the iPad. In this way, you
can really create lots of pattern
variations which you can, for example, upload to your POD shop such as Red
Bubble or Spoonflower. If you would like
to take more in depth pattern design tutorials, check out my full
courses. Happy designing.
 Weronika Salach, Art with MAGIC