Transcripts
1. Intro for Skillshare videos: Hello, and welcome.
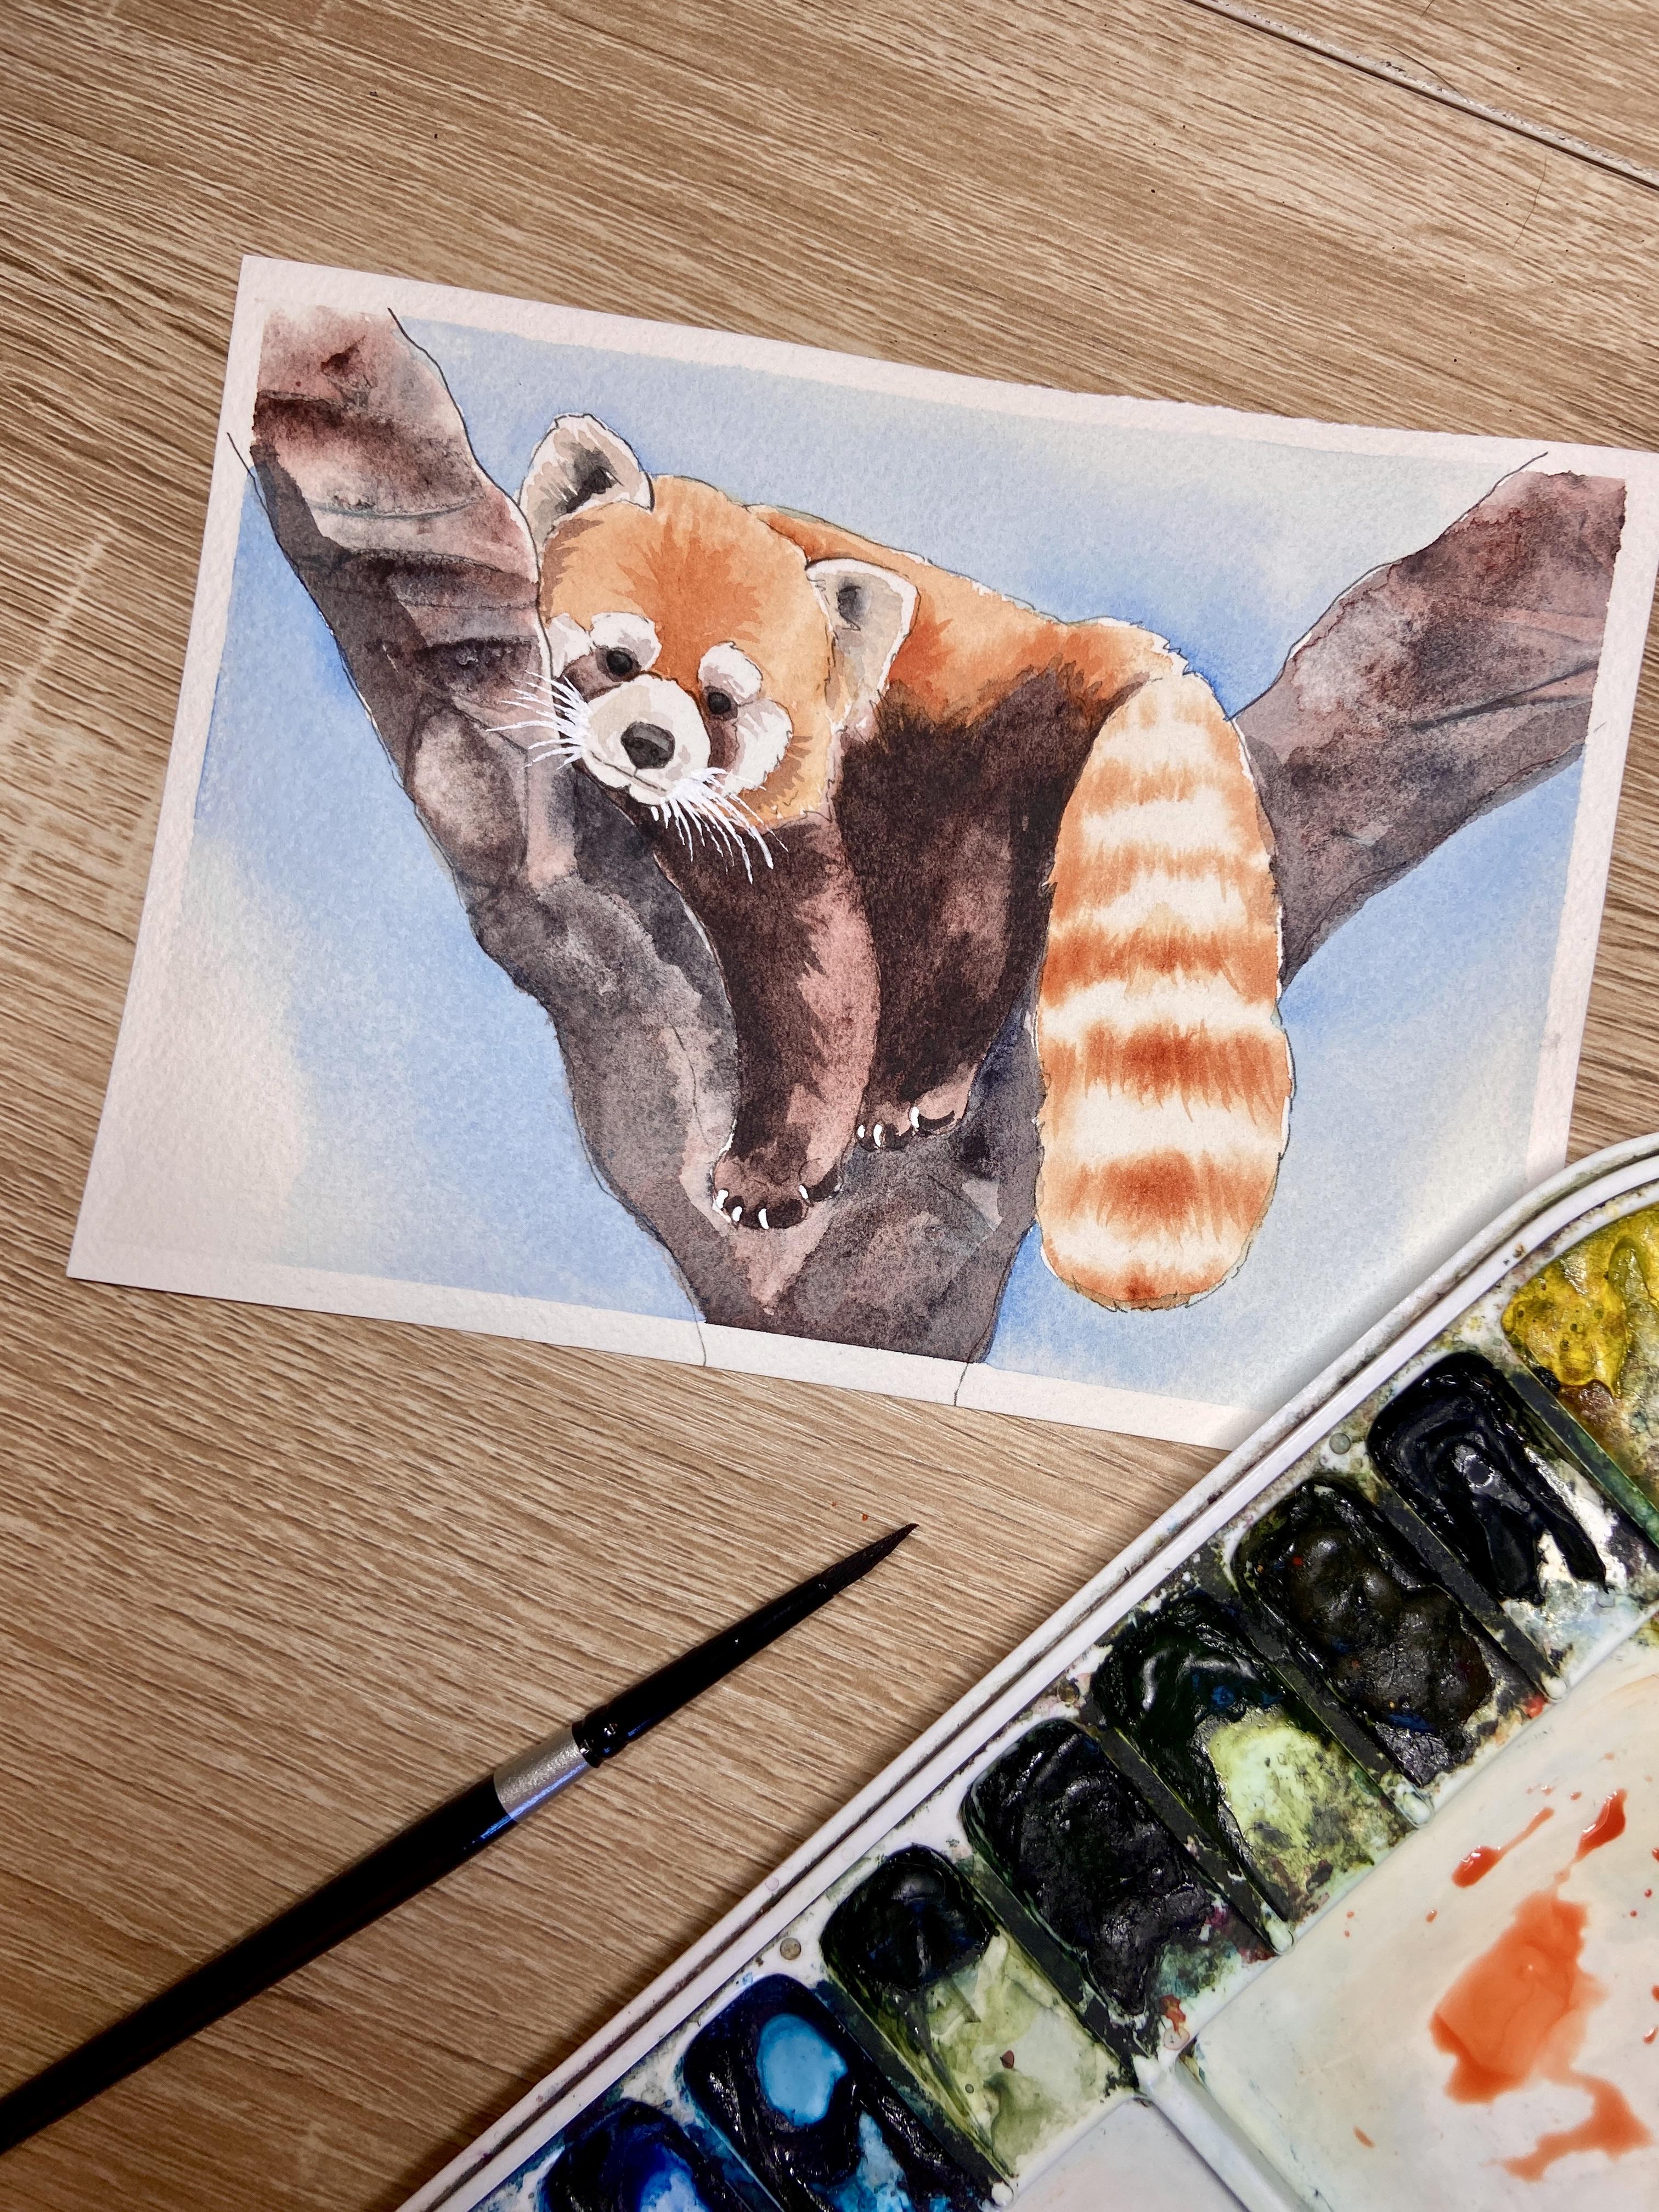
My name is Emily, and I'm an artist and instructor based in Madison, Wisconsin. In this skill shirt tutorial, you'll learn how
to paint Bandit, the red panda that was previously at Henry
Vilas Zoo in Madison. We'll talk about wet-on-wet
techniques as well as using plastic wrap to
create a wooden texture. We'll finish it up
with a colorful splash and some white details, and your red panda
will just come alive. You'll have access to a tracing template
included in this tutorial, as well as some color
reference photos and printout instructions that will teach this
tutorial step by step. So grab your
watercolor supplies, and let's get started.
2. Supplies: Before we start
with the tutorial, I wanted to make sure everybody knows that the
background color that you use behind the red panda
is completely up to you. So I wanted to share a few
examples of past student work and the colors
that they chose to paint behind their red pandas. Alright, before we get started, let's talk some supplies that you'll need for this tutorial. So for painting our red panda, I am using arches,
140 pound paper. This is 100% cotton. I do have it cut down into five by seven inch
sheets of paper. You're more than
welcome, though, to paint on a slightly
larger size of paper. I do like to tape my five by seven inch paper down onto these corrugated
plastic boards. I'm using any type
of painter's tape. You can use a watercolor
painter's tape such as Kiwi Hub. You can also use
a green frog tape or a blue painter's tape. Any of those will work well. I want to make sure
that my tape is even all along all four edges so that when I peel it
off at the very end, I have a really nice clean edge. You can trace Bandit, the red panda onto your watercolor paper using
the template in the tutorial. Or you can also
freehand sketch it or print it onto your
watercolor paper as well. There are instructions on how to print on your
watercolor paper if you have the correct printer. Once you have your paper
ready and your sketch ready, we can talk about our
watercolor paints and brushes. So for your paints, you can use whatever brand of watercolors
you have at home. I will be using mainly a
quinacradone burnt orange, that is a Daniel Smith color. I'm also using piamintite
genuine that's a warm brown that has a
lot of red tones to it. That's also Daniel Smith. I'm using a little bit of lunar black and shadow violet for some of the darker shades. That's also Daniel Smith. And I'm using a thalo
blue for the background, which is also Daniel Smith. Like I said, feel free
to adjust your colors, use any kind of tone down
burnt orange color for your panda and any sort of gray or black for
the nose and eyes. For brushes, you'll
notice that I'm using mainly one brush for
the entire tutorial. That's a round size four, silver limited
black velvet brush. Any round size four, size two, size six, anywhere around
that size will be great. For the majority
of the tutorial. You can always use a smaller
detail brush for the eyes, nose and mouth, something like
a size zero or one round. And then for the
branches and for the colorful splat of
paint in the background, you can use a slightly
larger brush. You can use a quill
brush or a mop brush, anything that has a slightly
larger capacity to it. Of course, you'll need
your cup of water. And then specialty supplies that you'll need for this class. Aside from your normal
watercolor supplies. We will be using plastic wrap. You can use whatever plastic
wrap you have at home. You will need a scissors
to be able to cut it into the size of
your two branches. And at the very end, you can also add a
few white details using either a white gel pen. I'm using a Nibal
Cigno white gel pen. Or you can also use
a white gouache, such as doctor PH Martin's
bleed proof white. This white we're
gonna be using for our little whiskers and for
the little claws at the end. This, of course, is optional. Once you have all your supplies
ready, let's get started.
3. Wet on Wet Fur and First layer of face: Alright, so we are going
to start by painting our first layer of
fur wet-on-wet. So I do have a little bit of my quiacron burnt orange
that's mixed with water. It's sitting up
there on my palette. I'm going to start,
though with fresh water, and I'm going to
paint each section of my red panda using water first. Now, I'm starting
with the head here, so you'll notice that I just painting with water, the head. I'm not painting
the ears quite yet. The ears are mostly white. And then there's also
little eyebrows and little white sections off the cheek that I'm also
not painting with water. So remember that
our water is going wherever we want that
orange pigment to go. And so any of the
white sections, we have to keep clean
from the water. Alright, so I'm going
to start by adding my quinacrodon burnt orange to the darkest
section of the head, and that would be the forehead. So I'm using
vertical tally marks just to give it a
little bit of texture. Now, I'm painting these tally
marks into my wet section, and so it's going to
automatically spread slightly. But I'm using these
tally marks to kind of give it a
form and a structure. Don't need to have that orange go all the way up to
the edge of the head. I'm just going to add it to that middle section
of the forehead. And then after I add the color, I'll wash my brush and dry
it and use a dry brush to lift any sections that
got a little bit too dark or to kind of adjust
some of the coloring. I'll do the same step
over again this time moving on to another section
of my red pandas fur. I'll wet it first using water, and then I'll drop in that
quinocrdone burnt orange. Now, here I'm going to
drop in that orange, and then I'm going to drop in a more concentrated burnt orange towards the lower section
of the back here. All right, and I'll do the
same process now on the tail. So I'm avoiding the legs for now just because the legs
are much, much darker. If you had wanted to, you're
always more than welcome to paint that first layer of quinocodon burnt
orange on the legs, as well as kind of the
underlayer to the darker brown. But just for the purpose of timing for my classes,
I did not do that. So for the tail, once again, I'm going to paint just
water on the tail. And now I'm going to be taking that quinacodon burnt orange
directly from my pan, so it's more concentrated. You noticed I didn't brush
I didn't wash my brush off, so I have minimal
water on my brush, and it's mostly pigment. So this is really
important because if your brush has too
much liquid on it, if you're washing your
brush in between, grabbing that quinac
burnt orange, you're going to have
that burnt orange spreading too far in the water. So I'm painting these
vertical dash marks in different stripes
on the tail, and I'm trying to keep the darkest sections on the
outer edge of the tail here. I'm getting the
color down first, and then I can always adjust
the color by either adding more once it starts to spread
and disperse in the water, or I can change that
color and lighten it up with a dry brush. Alright, so now we'll grab a
little bit of shadow violet. Since we can't paint anything
around those wet sections, I can't paint the legs yet
because the tail is still wet. So I'm going to go into the face and start adding some details. So I'm grabbing shadow violet. You can use Pain's gray as
well, if you would like. I'm adding dark beads to the eyes and a first
layer to the nose. Now, you just want to make
sure that you can still see the outline of the nostrils so that it's not dark too dark. For this first layer, remember, we'll do a second
layer on the nose. And then for the ears, I'm going to add a few
little outward strokes using this gray from the
center of the ear outward. I'll drop in a little bit more of that shadow
violet directly at the upper part of
this ear just to kind of help that get
a little extra shaded. Alright, next, we'll grab
some pyominite genuine. This is a brown, but it's a warmer brown. So I am mixing it with
a little bit of water. So I've got more of a
medium transparency using this pyominite genuine. And then I'll start painting the section of the
cheeks that's in between the nose that muzzle there and the white
of the cheeks. If I want to add a
little bit more depth, I can grab a little
shadow violet or my gray and drop it in at the lowest
section of that cheek. So it really feels like it's leaning against the tree trunk. Alright, I'll grab a little
bit more water and dilute down my piamintite
genuine, just a smidg. And then I'm going to use
that pyomatite genuine, which is a little water to add just a little
bit of shadow on the lower section of
those white eyebrows and on the inside
section of the cheeks. Lastly, using that very
transparent gray brown, we're going to add
just a little bit of shadow around the outer
edge of the nose. So I'm just adding a few
little commas there just to help give it shape. Okay. And we'll add a
little bit of shadow to the edge of those ears. They were just looking
a little bit too white. In the reference photo,
it's not really white. It's more of like
a light tan color. So I'm just adding a
little bit of that brown, very, very transparent, just
to tone down the white.
4. Wet on Wet Lower Body: Now that I've given
a little time for the tail and the back to dry, we're going to start
working on the legs of our red panda. So I'm going to do
the same technique as I did for the back,
head and tail, which is wet this section first and then drop in my color. The reason I'm wetting it first, as well as in the
orange sections is I just want to give myself a little bit more time to paint. I also want I don't want
any hard edges here. And so I'm wetting
the section I want to paint first so that I
don't have hard edges, and it'll give me a
little bit more time to drop in my colors. I'm gonna do both legs at once. However, if you're finding that your paper is drying a little
bit too quickly for you, you can always do this
one leg at a time. After I wet both of the legs, I'm going to go in first
with a pyomintite genuine. And I do want this section to be fairly dark, because remember, our first layers, most of
our layers are going to dry a little bit lighter than what they look like when they're wet. Now that I have that first
layer of piamintite genuine, I'm going to go in with
some shadow violet. That's the gray that I've been using for the rest
of my red panda. And I'll add a
little bit of shadow along the left
edge of both legs. So I'm starting in the
center of my red panda. Now, I know that since it's wet, it is going to bleed slightly
into the rest of the brown. Because I'm adding pigment onto a section
that's already wet, that shadow violet, remember, has to be fairly dry. My brush has to be dry. So I did not wash my brush in between the
brown and the gray. I just used whatever liquid
was on my brush already. I don't have my brush
sopping wet because I don't want to push
that brown away. So I've got my semi dry brush adding my gray to the left
side of my red panda. As always, when I finish a
section of what on what, I like to wash my brush, dry it, and then use a damp to dry
brush to blend any sort of edges or so here I'm blending the edge between that
orange and brown. It's really important
that your brush isn't too wet when you try
to blend this edge. If you have a drop of
water on your brush, it's going to push that brown away instead of blend the edge. Since we need to
let those legs dry, I'm going to go back to
working on the face. I'm grabbing some black. This is lunar black. You can use any black
that you have at home. I'm adding an extra
dot to the eyes, and then I'm also adding a little lower V to lower
section of the nose. I'm trying my best to keep a little bit of a highlight
at the tip top of the nose. So I've got my lower V, and then I have a little line
along the top of the nose. And I'll just drop
in a little bit of extra black in the ears and along the cheeks there where the face is
pressed up against the wood. Alright, time to add a second layer of
color onto the fur. Now that the orange
section of my fur is dry, I'm going to mix up a still
semi transparent brown and orange and paint a second
layer wet-on-dry this time. Now remember that
your second layer wet-on-dry should
not be too opaque. It should still be
fairly transparent. Our goal is to add texture,
not overwhelming contrast. So I'm starting out with this semi transparent
brown and adding a little bit of brown details around the outer
edge of the head. That's going to help give
it a little bit more shape. And now I'll come in
with my quinocran burnt orange and some water. So it is still semi transparent. And I'll add some hair details to the back and to the forehead. Now, on the forehead, I'm going to paint
a little marking in the center of the forehead, and it's gonna be a
little bit of a fountain radiating from between the eyes. I started out a little
too transparent, so I grabbed a little
bit more color. Like I said, I do want
there to be contrast. I don't want to blend
out those edges. I want those edges to be hard, but I don't want too much contrast where it
looks a little childish. Now, if the little rings in your tail are not
detailed enough, you can always add a few extra
linear hairs to that tail. I would suggest keeping them in the center of the
tail so that there's a little bit more definition instead of on the outside edges. Now, when I did this, I'm
noticing that these hairs are a little bit
too intense for me, so I'm going to soften them up with a little bit of water, especially on the
upper and lower edges. I want to keep some
of those hard edges, but I want that tail to still look really
nice and fluffy, so I am softening it with water.
5. Using Plastic wrap to create a wood texture: To add a little bit of
texture to our tree, we're going to use
some plastic wrap. So right now I'm
cutting a little bit of saran wrap or
plastic wrap to fit on the two branches that the
red panda is hanging on to. Before I even add water
or pigment to the tree, I want to make sure
that the sizes are more or less correct. It doesn't need to
be the exact size. I do want there to be
a little bit of extra, but I don't want that plastic wrap to be the full five by seven
inch size of the paper. So I'm going to start by
wetting one edge of my branch. I'm going to do the
left side first, and then I'll do the right side, and then I'll add my saran wrap. I just don't want
these sections to dry. I'll add water first, and then I'm going to
drop in my colors. The colors that you
use can be really any colors that you
find on trees or bark. So I'm using browns.
I'm using grays. You can add in a little bit
of green if you would like, or a little bit of blue, if you want to add a
little bit of extra color, perhaps a little bit of purple, if you want to add a
little extra color, but we're wanting to
keep these earthy tones. Then after I add
my blobs of color, then I'll add the plastic
wrap on top of that. So I started with my
piaminiteGenuine, and now I'm going to add
a little bit of shadow violet onto the branch section. Now, I don't need to add color over every
piece of the branch. I can leave the water to do the work for me and kind
of help it spread out. The saran wrap actually is also going to help to
spread out, as well. Alright, so once I
have some nice shadows around where the red
panda is leaning against, I'm going to grab that one
section of my plastic wrap, lay it carefully on top, and then squeeze inward. It's important you're
squeezing inward and not pushing the saran wrap. We just don't want that color to expand outside of the branch. You might have that
happen a little bit, and if it does, we're gonna be painting the
background color. But you do your goal is to have these little creases
in the saran wrap, and that's where
you're going to see the texture once it's
dried and you take it off. Alright, once again, we'll place the saran wrap on top
of the wet section. It's really important that
these sections are still wet. When you place the
saran wrap on top, make sure that it does not dry. It won't work if
the branch is dry. And now we're going to let
it sit for a little bit. You do not need to set it overnight before you take
the plastic wrap off. You can just leave it for maybe around ten
to 15 minutes to allow a little bit
of drying time before you peel the
saran wrap off.
6. Second layer wet on dry and Final Details: Alright, so now that we've let the saran wrap dry a little bit, I did peel it off, and I'm left with this
really nice texture. And now I can add a second
layer onto the legs. Now, you might need to
wait a few more minutes if the tree trunks are
still a little damp. Um, you'll know by touching it if it's still a little bit
too damp to paint the legs. I'm going to add a
little bit more shadow along this left side of the leg. I added some pigment, and now I'm pulling
some little hairs out from that pigment. I'm using pyomintite genuine, just a little bit more
pigment than water here. And I'll do the same
thing on this inside leg. So the sections between the legs is going
to be the darkest. And then from that kind
of pool of darkness, I'm going to pull some
little hair strands coming out from those legs. Don't be afraid to
go too dark here, especially on the second leg. It is going to be
overall very dark. If you need to
lighten it up at all, you can always lift a
little bit of that pigment just to create the tiniest
of highlights in between, or you can wait until
it's dry and then use a damp brush to lift a little
highlight there as well. Alright, so I'm not
liking how hard edged that highlight
on the back leg is. So I wash my brush,
dried it slightly, and now I'm using
a damp brush to just kind of smooth out
those edges a little bit. I still have a little bit
of a highlight there. It's a very, very minimal highlight on that
thigh, that hind thigh. And now I'm going to
do the same thing and use a damp brush to blend a little bit of those edges that dark brown edge with
the orange edge. Alright, so I do want to add a second layer to
my tree trunks. I think the wood is a little bit it's dry enough
at least to add some shadow. So I'm using some shadow violet, and I'm using the large edge of my brush to create
two shadows here, one immediately
under the red panda, so where the head
is leaning against, and then another shadow
along the bottom of the branches along both sides of the
bottom of the branch. If in any section, you're noticing that these edges are a little too hard of edges. You can use your paper
towel and lift up. You can also use your brick
paintbrush and lift up, but sometimes using a
paper towel on things like trunks and trees will actually give it a little
bit of extra texture, and it'll look pretty cool. Alright, so I do need
to let those shadows on the tree trunk dry before I do the colorful
splash in the background. So I'm going to add
some white details. I'm using a white gel pen. It's a Nibal Cigna white gel pen to add a little bit of
highlights to the nails. And I'll also use
this pen to add some white whiskers
coming out of the cheeks. Now, if you don't have a
white gel pen at home, but you have white guash, something like a PH Martin, doctor PH Martin's
bleed proof white, you can also use a brush
and white gouache for this step um just anything to add some white
whiskers on top. Alright, so we are ready for our background splash of color. I'm switching to a slightly
larger capacity brush. I'm still using more
of a rounded brush. This is more of a wash brush. I'm going to paint in
section by section, and I will paint
this wet on wet just so that I avoid any hard edges. I'm going to wet the section
that I want to paint first. I am going to add water all the way to
the edge of the tape, but it doesn't mean
that I have to add the pigment all the way
to the edge of the tape. I'm going to try
to keep my darkest of pigment closest
to the branch. I can either bring the
pigment all the way to the tape or if I want kind of this little
soft vignette look, I'm just going to bring a
little bit of the pigment into the white section
and then stop. And the water is going to
blend those edges for me. It gets too dark and I want just kind of this subtle effect, I can always lift
a little bit of that blue that got too intense. You can always do
multiple colors at this step where
you drop in, say, you wanted to add in a green in certain spots to make it
green and blue or purple. You can always do
that. You can also play around with dropping
in a little bit of salt in these sections if you
wanted to add a little bit of firework like texture
to the background. Et your background dry completely before you
peel off the tape, and your painting is all done.
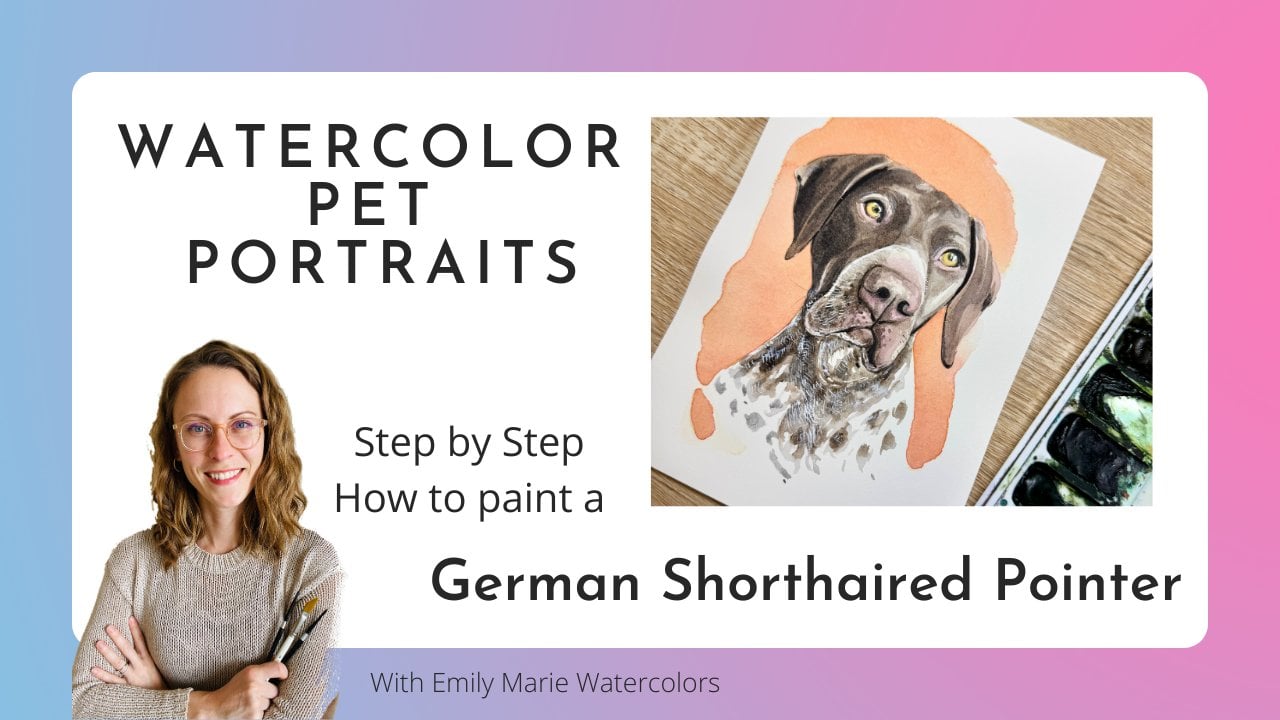
 Emily Marie Watercolors, Watercolor Artist and Dog Lover