Easy 3D Mockups for Graphic Designers with Substance 3D Stager
 Eveling Salazar, 3D Designer - Graphic Designer
Watch this class and thousands more
Watch this class and thousands more
Lessons in This Class
-
-
1.
Intro
2:19
-
2.
Class Project
2:09
-
3.
Easy Navigation in Stager
2:59
-
4.
Import and Place Your Design
5:37
-
5.
Lighting and Simple Materials
3:55
-
6.
Render & Export to Photoshop
3:13
-
7.
Convert Your Render into a Mockup
4:23
-
8.
Final Lesson – Conclusion
1:47
-
-
- --
- Beginner level
- Intermediate level
- Advanced level
- All levels
Community Generated
The level is determined by a majority opinion of students who have reviewed this class. The teacher's recommendation is shown until at least 5 student responses are collected.
19
Students
1
Project
About This Class
Want to create stunning mockups without learning complex 3D software? In this class, you’ll learn how to use Substance 3D Stager to design premium-looking mockups—no modeling, rendering, or prior 3D experience required.
Whether you're a graphic designer, brand strategist, or exploring new ways to present your ideas visually, this course will help you.
By the end of this class, you’ll be able to:
- Build realistic mockups using Substance 3D Stager
- Import and position assets like magazines, books, and packaging
- Apply lighting and materials to create polished, professional scenes
- Export high-quality images for portfolios, presentations, or social media
- Work confidently in a 3D space—even if you’ve never used 3D tools before
Why You Should Take This Class:
If you're tired of flat mockups that don’t reflect the quality of your design work, this class is for you. You’ll learn how to create dimensional visuals that impress clients and elevate your brand. The best part? You don’t need to be a 3D artist. I’ll guide you using a simple, intuitive workflow that’s perfect for designers who want results fast.
This class is designed for:
- Graphic designers and brand creatives
- Content creators and visual storytellers
- Anyone curious about 3D but intimidated by technical software
Materials/Resources
To take this class, you’ll need:
- Access to Substance 3D Stager (free trial or subscription)
- Basic design assets (PSD, images, or branding materials)
- Optional: Templates provided in the class
This class builds on the skills covered in Design Your First 3D Abstract Composition: A Beginner’s Guide to Adobe Dimension and Advanced Techniques in Adobe Dimension: How to Create a 3D Scene. Those courses introduced Adobe Dimension as an intuitive 3D tool for creating realistic scenes without technical complexity. Substance 3D Stager follows the same user‑friendly interface, making the transition seamless, while adding more advanced capabilities such as a modern rendering engine, enhanced material controls, and professional lighting options for high‑quality results.
- With this continuity, learners familiar with Dimension can apply their knowledge immediately and take advantage of more powerful features without starting from scratch.
- New users starting with Substance 3D Stager will find it clear, accessible, and results‑driven—perfect for creating impactful mockups and images in less time, without the steep learning curve of traditional 3D software.
Stay Connected + Access Resources:
Want to keep learning and stay inspired? You can follow me and explore more content here:
- Instagram: @eve__3D
- TikTok: @eve__3D
- Behance: behance.net/evelingsalazar
- Website: evelingsalazar.com
You’ll also find Free exclusive resources—like mockup scenes, lighting presets, and procedural materials—available on my Gumroad store:
🔗 gumroad.com/evelingsalazar
Meet Your Teacher

My name is Eveling Salazar. I'm a Peruvian 3D Designer and professional Graphic Designer.
I love to create and reflect everything I love through abstract shapes in 3D and experiment with new design methods. The inspiration for my work centers around emotions, music, and Peruvian culture :).
Currently 3D designer at &Walsh
Watch the classes completely free! Here for sign-up for 30 days free trial.
Visit my new web! www.evelingsalazar.com
Let's be friends on: Instagram - Youtube - Tiktok - Tumblr - Twitter
Free C4D Files: Project files & Assets
Free Mockups: PSD Mockups
Free Images: Abstract renders images
Work inquiries: hello@evelingsalazar.com
New 3D C... See full profile
Hands-on Class Project
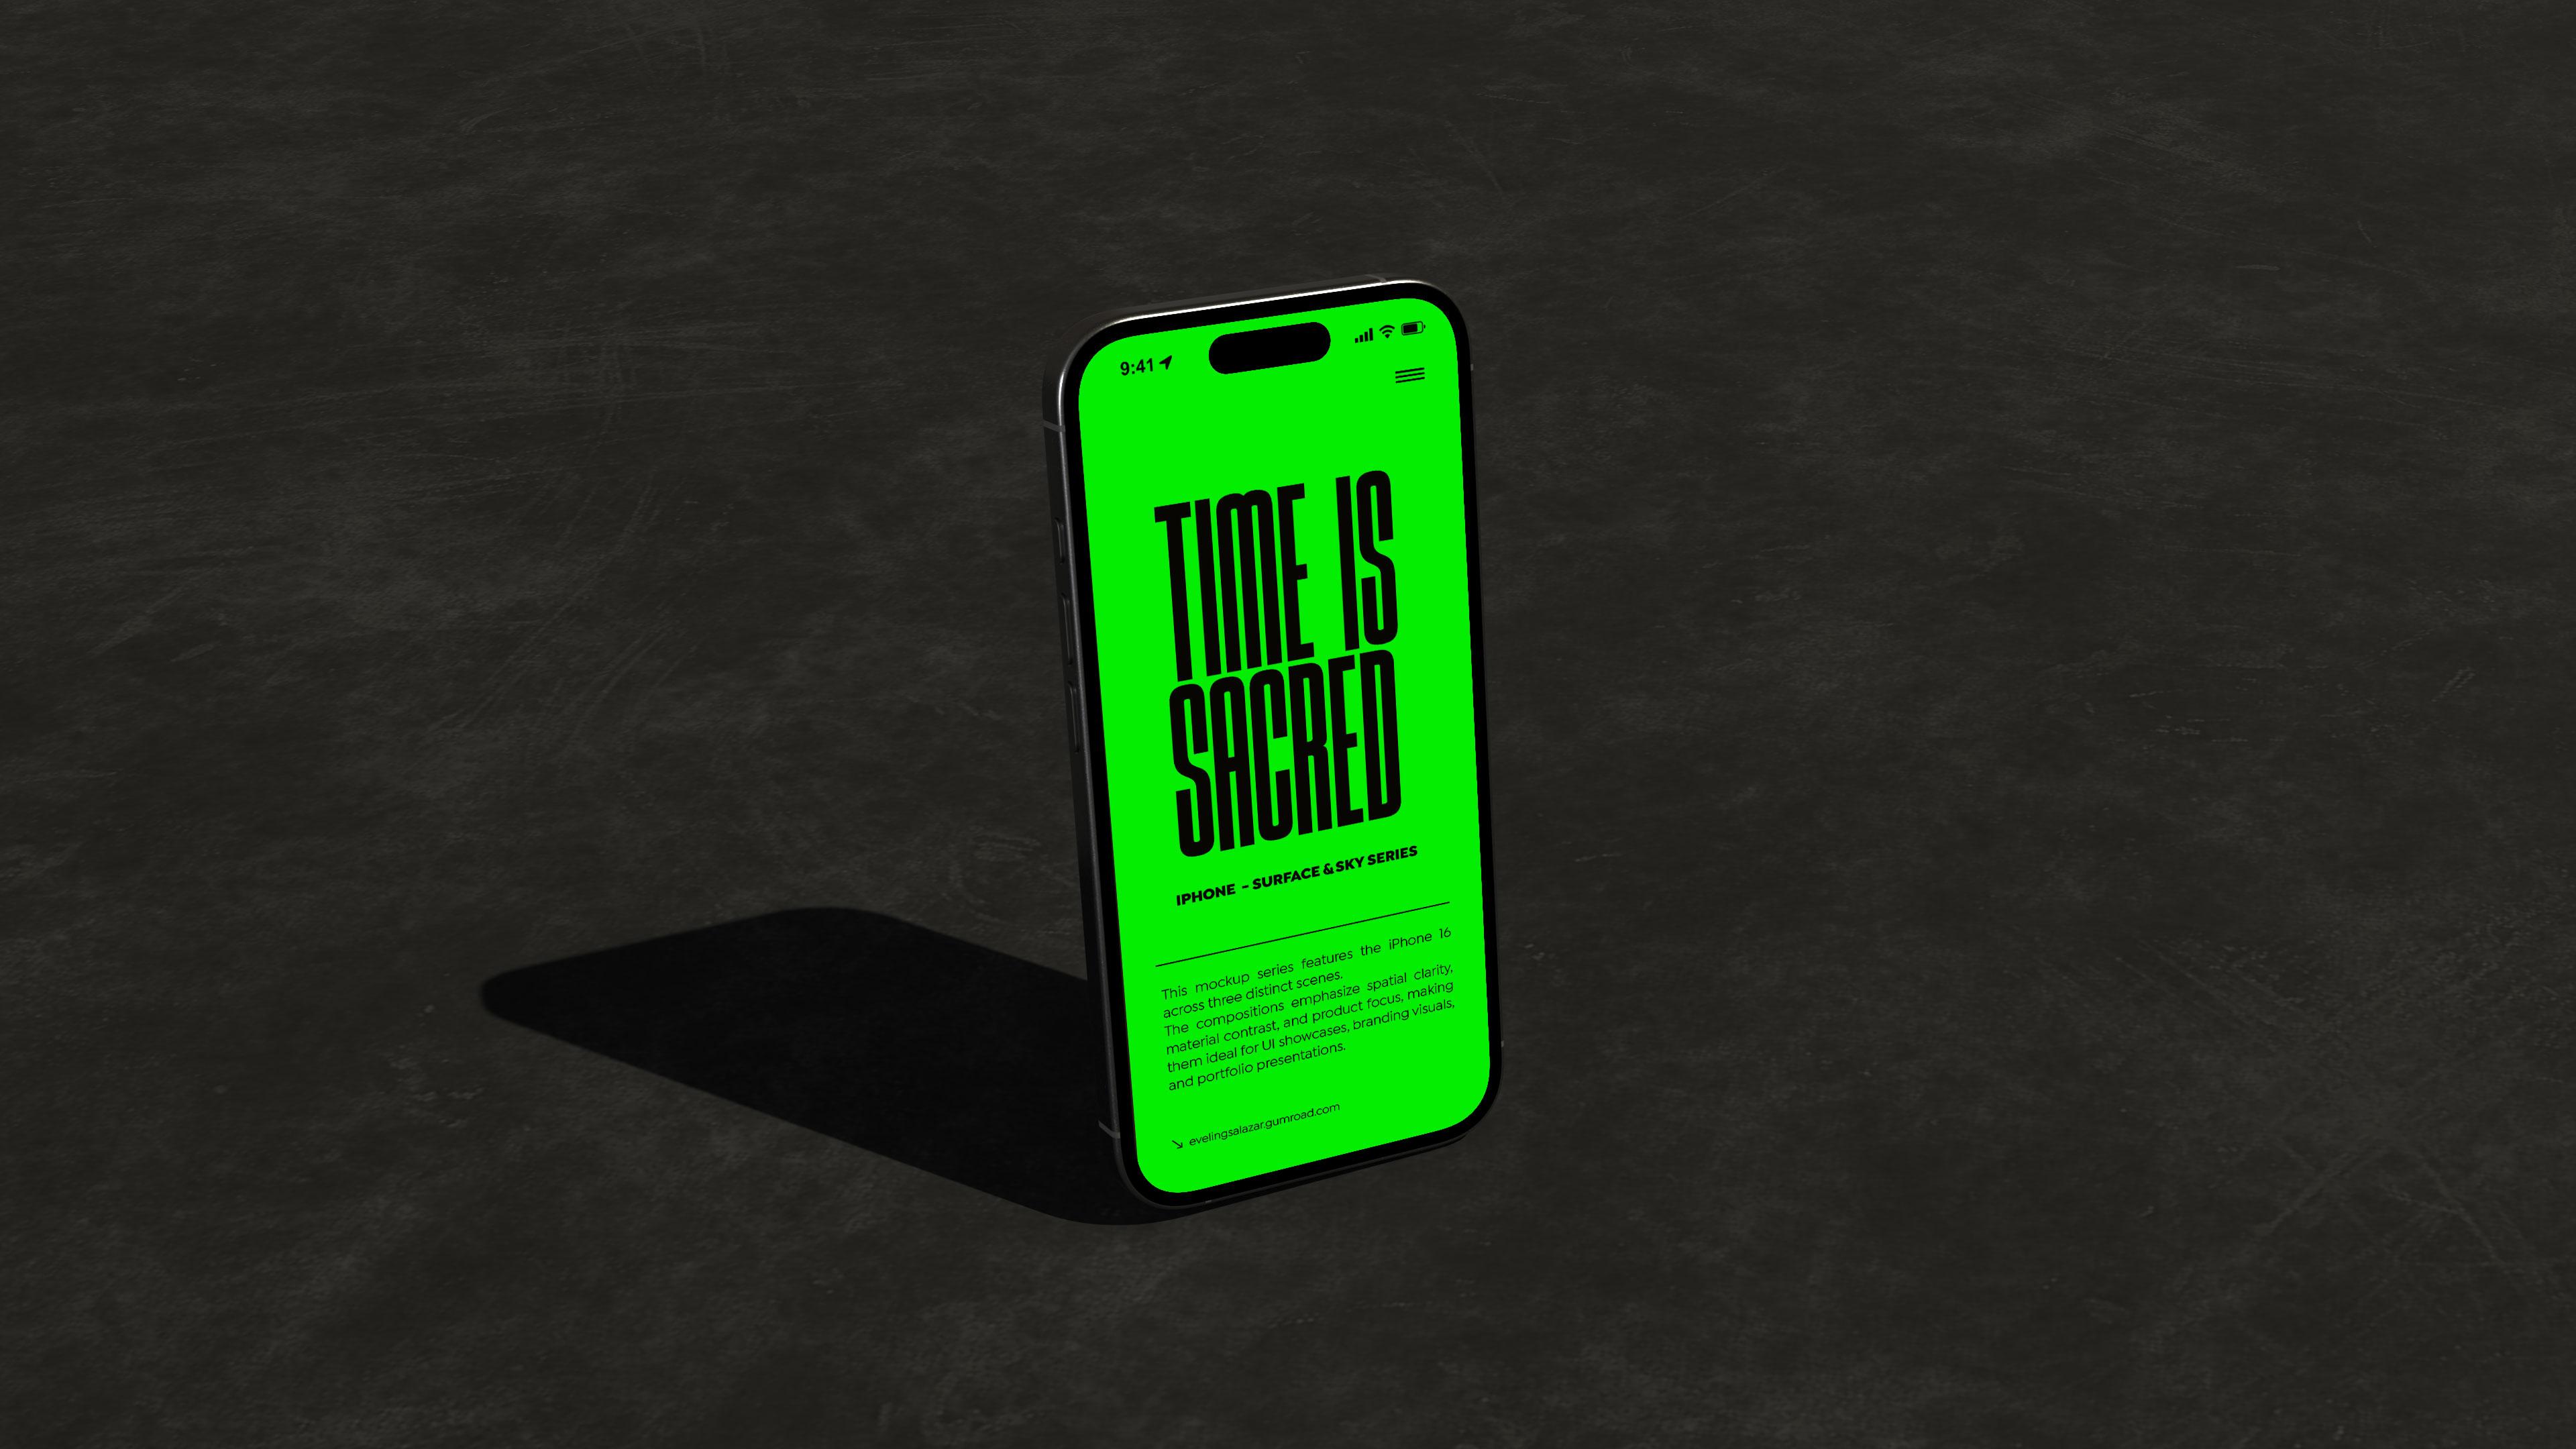
Project: Create Your Own 3D Mockup Using Substance Stager
In this project, you’ll design a professional editorial mockup using Substance 3D Stager—even if you’ve never worked with 3D tools before. The goal is to create a branded, client-ready image that showcases your design in a dimensional and polished way.
Steps to Complete Your Project
-
Choose a design asset
Select a visual piece you want to showcase—this could be a magazine cover, book layout, packaging design, or any editorial material. -
Set up your 3D scene in Substance Stager
Import your asset, choose a mockup template or build your own layout using basic shapes, and position your elements. -
Apply lighting and materials
Use built-in lighting presets or customize your own. Add realistic materials to enhance the visual impact. -
Render your final image
Export a high-resolution render of your mockup. -
Refine in Photoshop
Add branding, text, or layout elements to make your mockup presentation-ready. -
Upload your final mockup to the Project Gallery
Share your work with the class! Include a short description of your concept and what you learned.
Final Deliverable
Upload a high-quality editorial mockup image that reflects your design style and branding. You can include:
- A single final render
- Optional: a before/after comparison or a short explanation of your process.
Model resource for the class:
In my previous classes — Design Your First 3D Abstract Composition: A Beginner’s Guide to Adobe Dimension and Advanced Techniques in Adobe Dimension: How to Create a 3D Scene. — we explored how to build realistic 3D compositions using Adobe Dimension’s accessible interface and intuitive workflow. In this project, we make the leap to Substance 3D Stager, which keeps a similar interface but adds key improvements in materials, lighting, and rendering for more professional results.

Class Ratings
Why Join Skillshare?
Take award-winning Skillshare Original Classes
Each class has short lessons, hands-on projects
Your membership supports Skillshare teachers
Learn From Anywhere
Take classes on the go with the Skillshare app. Stream or download to watch on the plane, the subway, or wherever you learn best.