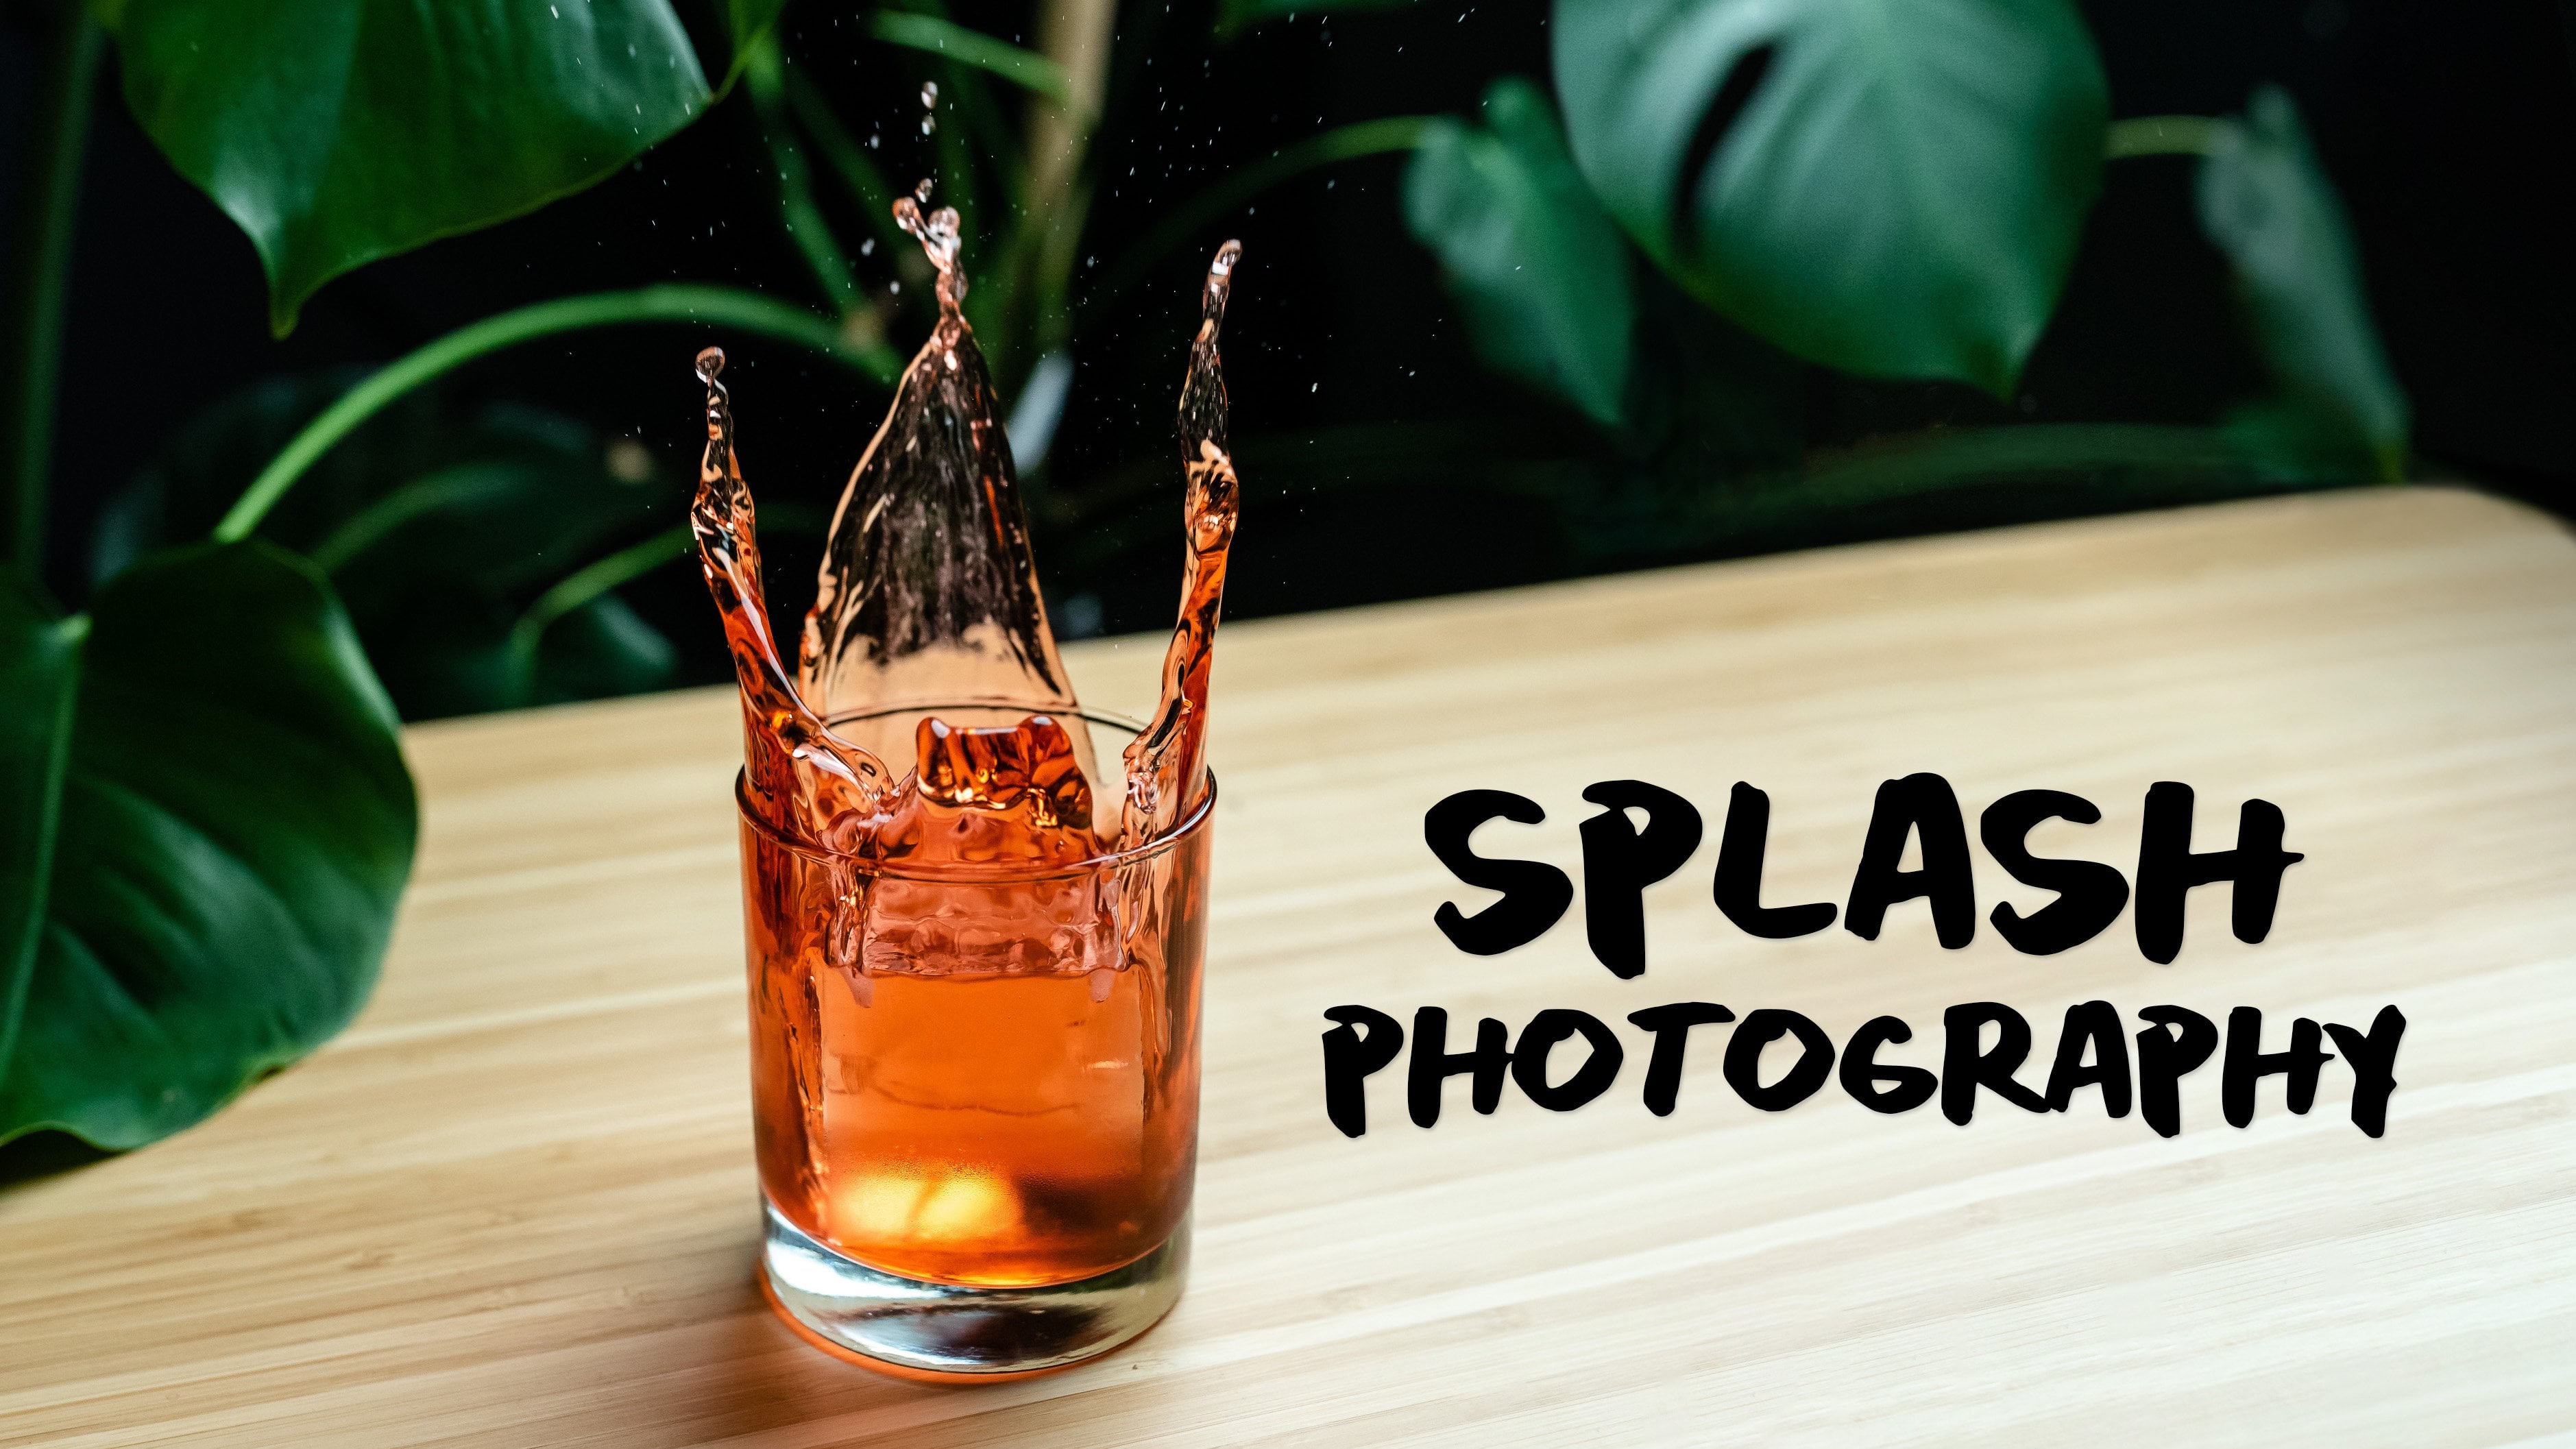
Transcripts
1. Introduction: Hi. I'm Tabita. And in this photography class, we are going to be making and
shooting a cozy cup of chi. I'm going to lead you through two different
photoshoot examples, a level one where we're
focusing in all on just the texture and the
surface of the drink, and then more of a
level two where we incorporate some
lifestyle elements and use visual depth to create an image that is really
polished and put together. This kind of image is
great for adding something beautiful to your Instagram feed or improving the look
of your portfolio. This would be perfect for a
recipe blog or a cookbook, or maybe you just want to
get better at photographing beautiful moments of
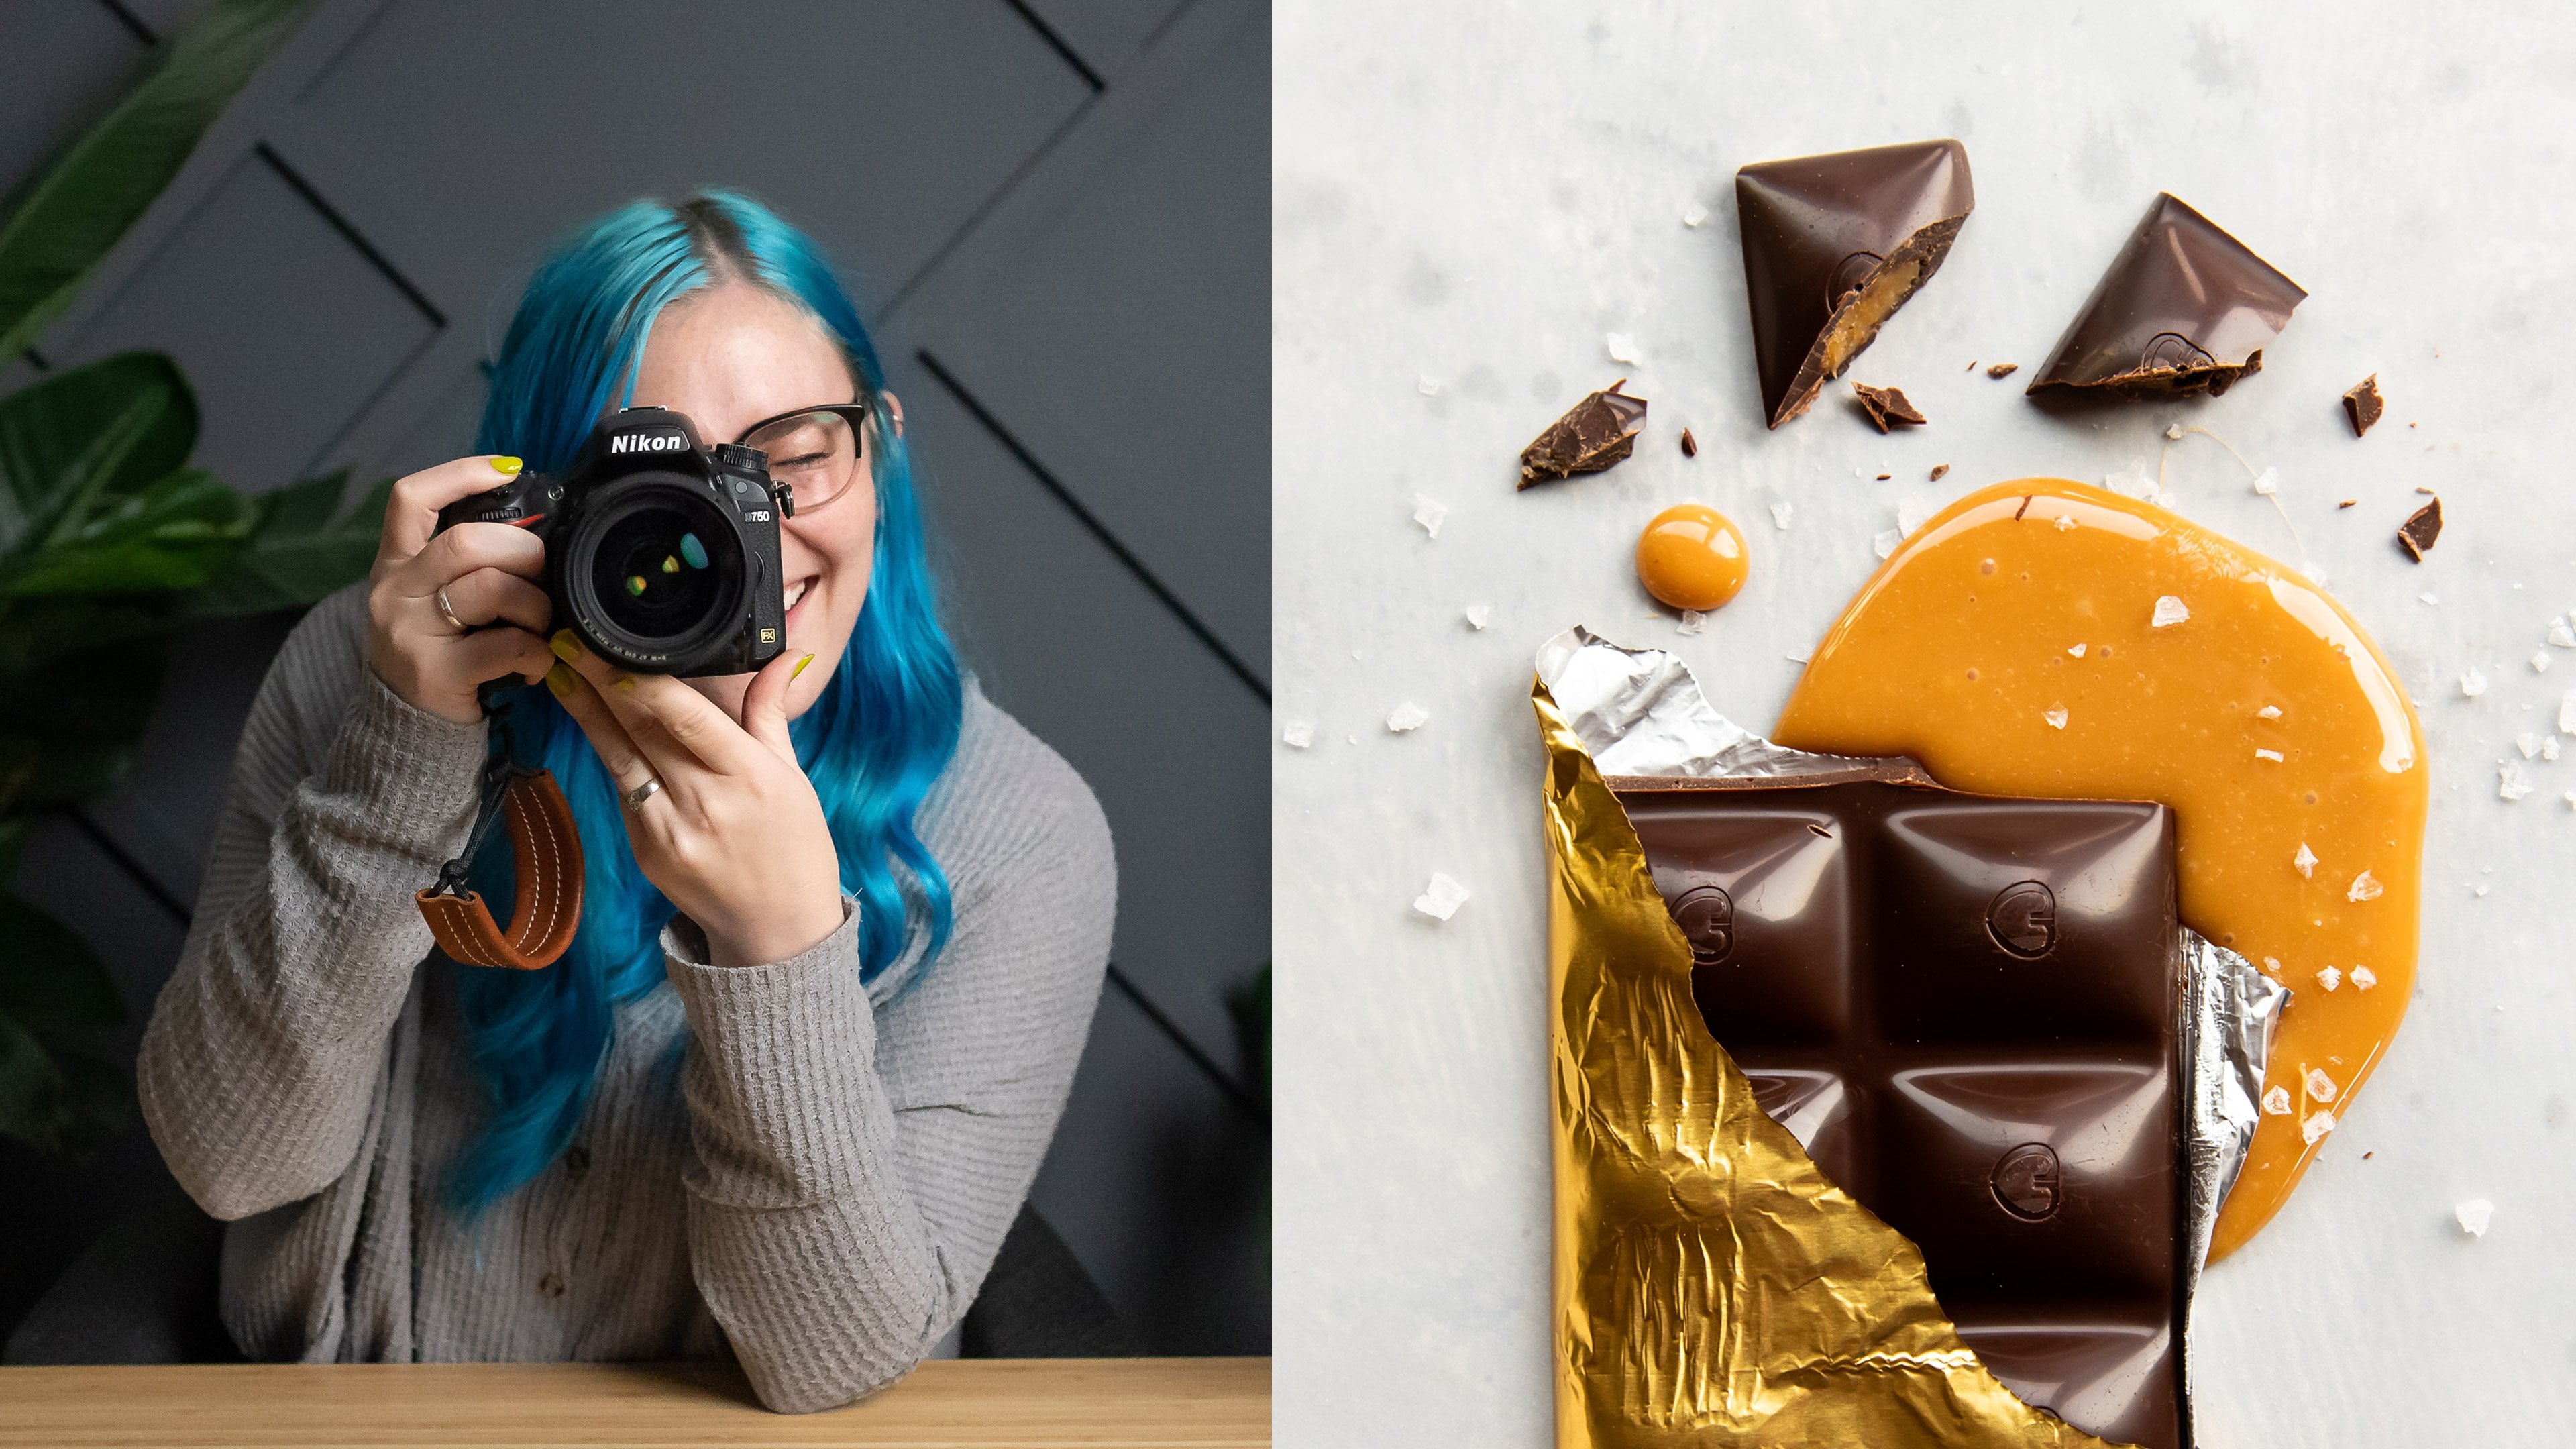
your everyday life. My name is Tabatha. I am a lifestyle product and food photographer and
teacher here on Skill Share. I've been doing
this kind of work for over eight years now, and I'm really excited to share everything that I've
learned along the way and give you an
opportunity to splurge in a tasty little bevy that you can photograph and share online. So, let's get started. Oh.
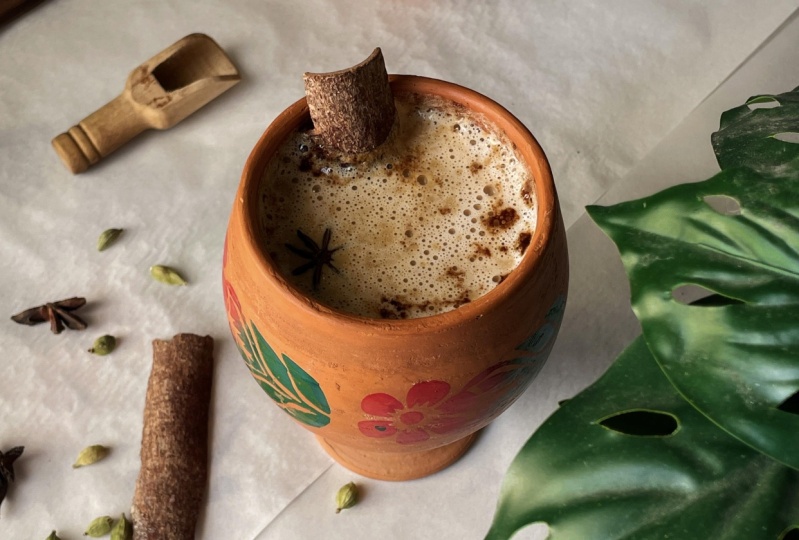
2. Prep Gear and Make Chai: Thanks so much for joining me. For the class project, we're
going to be photographing a cozy hi or hot
cocoa or a latte, something warm and cozy. To get started, we are
going to need a camera. I'm going to be using my
Nikon D 750 with a zoom lens. It's a 24 to 120 zoom on it. I found that I really like
the like 50 to 85 range. I tried a 35 millimeter lens when I was testing this shot, and it felt too wide. So really get those
higher focal ranges for best success in composition. Going to be shooting on
a Canvas roll backdrop. This is just a very
simple, clean texture, and we will be for
the first shot smoothing it out with
some tracing paper. For my light, I have my aperture 120 D two light dome situation. This is a continuous light that I love to use for filming, and it also is great for photography because what
you see is what you get. Very similar to this
would be a bright window. That's indirect, like the
north side of your home or maybe direct light with a piece of tracing
paper to diffuse it. Both of those are going
to give you pretty close to what I'm getting here, and it is pretty attainable. I've positioned mine
so that it will be kind of northwest
across my scene. Like, if I'm looking
down at a compass, it's coming from this way, 45 degree angle backlit is the approach that I will
be taking with my light. And then lastly, for our
drink and our props, you'll want to pick
a mug that you love. This one is ceramic, it's
handmade. I made it. So it's pretty special to me. I just love this top rim. I feel like it's nice
and thick and beautiful. It looks handmade, and
so that's going to be really fun for me to photograph. For my chi, I went ahead
and made a hi concentrate. I'll link the blog posts that I followed in the project
description section, so you can do the
same if you choose. You can always just make
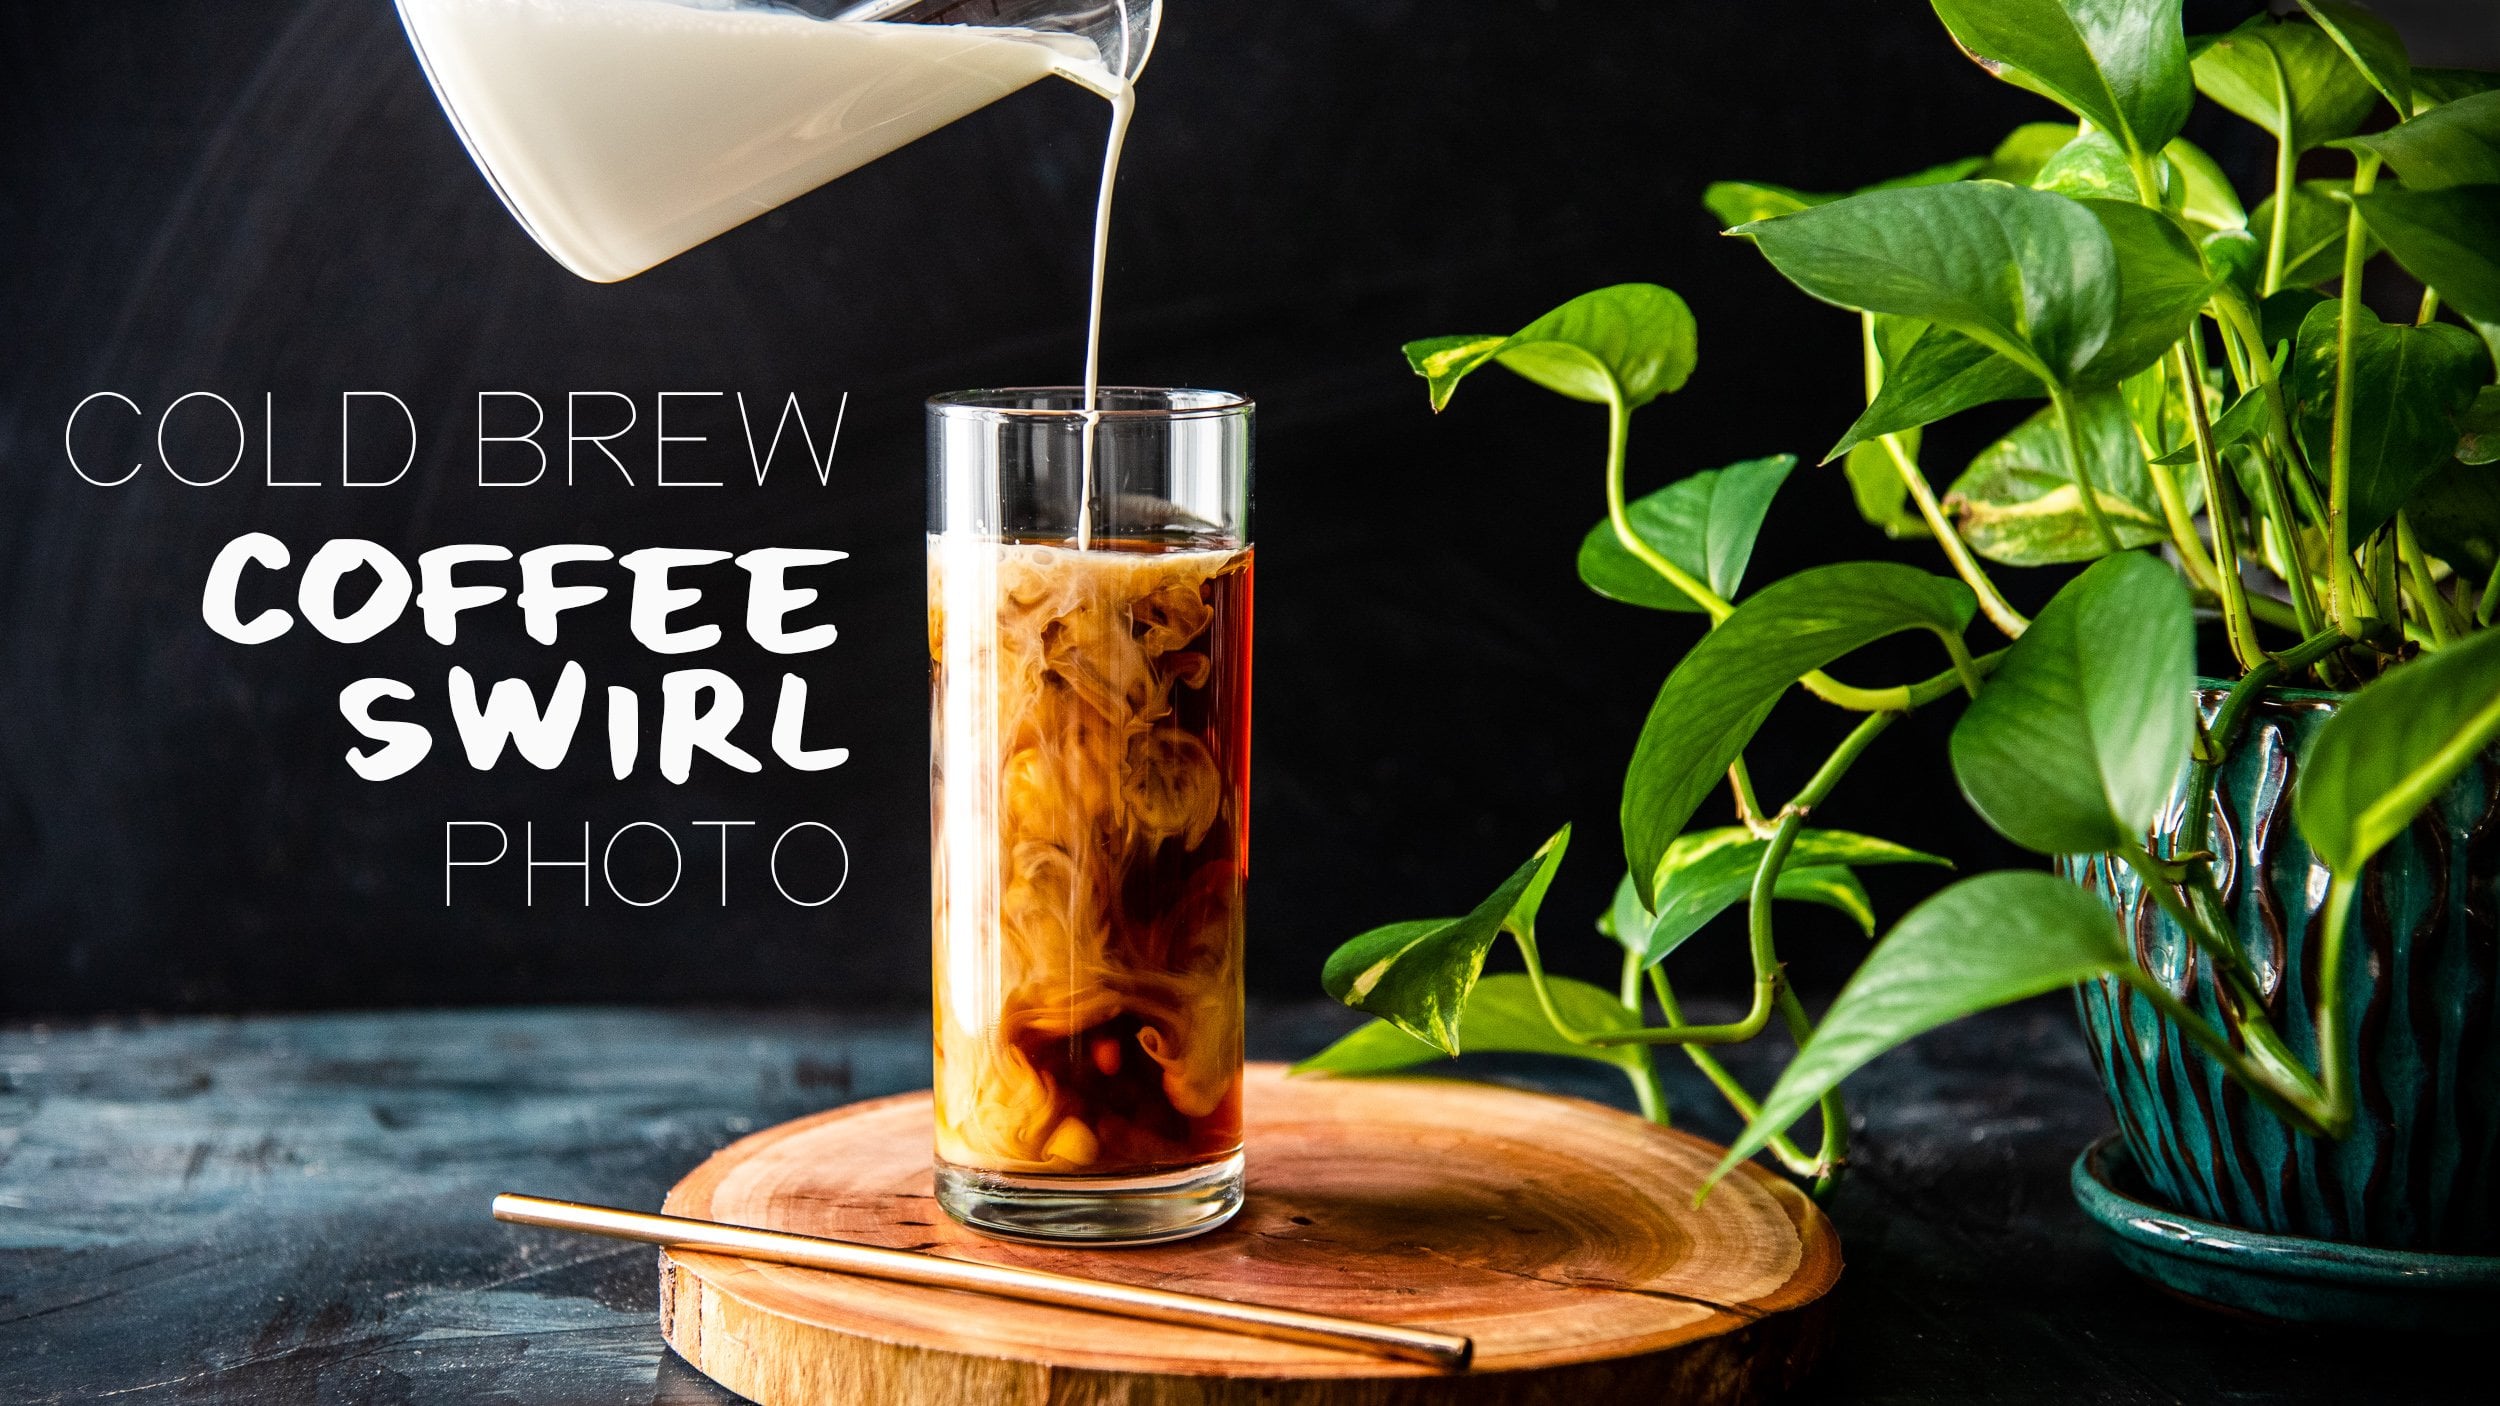
chi using tea bags as well. And then we'll put milk
and cold foam in it. To make a cold foam, you want to add a teaspoon of sugar to a glass and about a
quarter cup of heavy cream, and then use a milk frother and just roth it up
until it's, like, not whipped, but, like, definitely thicker, so
you can still pour it, and it'll create
a beautiful cloud on the top of our warm, cozy drink that we
can garnish with cinnamon and spices and
make it look so yummy. So let's make some try. Okay. That looks awesome. Still pourable, but
really, really thick. This is y concentrate, about half a cup, so I'm
going to start there. Go ahead and pour that right in. This is boiling
hot steamed milk. I'm going to pour it till I
can get my liquid level up. I'm hoping it doesn't
drip all over the place. Actually, you know what? Taste it drips all
over the place. Totally what have. We're
going to pour this over the top and this should
float on the surface, perfect, just what we like. Awesome. And I kind of like
when it drips a little. I like when it looks a little
messy and, like, lived in. For some styling options, I have ground
cinnamon and nutmeg, some cinnamon sticks,
and some starni. Let's see what we've got in
the cinnamon world here. This cinnamon stick
is very classic. I might just like
kind of sink him in and see if It's meant to be. I don't know how that's staying. A touch of nutmeg across
the top and this. I'm like, I want to go high so that it doesn't
go all in the same spot. But I also want to be
pretty light with it. I don't want to have a crazy
amount of nutmeg here, but I'm focusing on one side
of the mug cause it's art. And then we will garnish
with A star and nes, did I have one or I do. I picked one out that
looked really cute so that I could
position in the shot. We might lose our cinnamon. We'll just try to work quickly
and hope for the best. I might do just like a
little piece of a star. It's like A little.
Change your mind. I like this. Yeah, we might lose We might lose
our cinnamon stick. I'm just doing just a
touch more cinnamon on the surface here because it's granular in a slightly
different way. There we go. Okay. And I spilled some on the table,
which I think adds. So now that we have
O try put together. I will see you in
the next section for taking the picture.
3. Photoshoot: All right. To start, I wanted to tackle a very
clean and simple shot. The main focus here
is going to be this gorgeous cloud surface that we worked so
hard to achieve. So, I'm gonna grab my camera. I'll put my settings
on the screen so that you can see where I'm at and using live view so
that I can see from above, we're going to get a directly overhead flat lay
shot of this drink. Ooh. It's looking good. I really want really
shallowed up the field. So I'm going to go
as wide open as I can so that I can get that really kind of dreamy,
soft background. Oh. It's so pretty. Oh. Okay. I don't know
what that sound was. I'm going to get a shot at
45 degrees so that you can see where the cream has dripped down the
front of the glass. This adds just a
little touch of, like, lived in lifestyle feel, and I feel like it can be
really, really effective. This is a good opportunity
to play around with your focal length. So if you're oing in a lot, you can get a completely a
somewhat different crop. Feeling your frame versus zooming out pretty far
and then coming in close. Depending on your lens, you might not be
able to come in as close for quite
the same framing, but I'm just going to lean to the side a little bit here to get some more backlight. And I'm really happy with
how this is looking. I wish my cinnamon stick
wasn't so he's sinking. That was risky. I retrieved our cinnamon stick
so that I can try to put him more visibly,
like on the surface. I think it looks good.
That was a very No. Okay. Cold foam. Take two. We're just going
to pour that over the surface. Nice and tall. It's actually, like, really
bubbly and beautiful. Gently, a new star nis on there cause that last
one Maybe was cursed. No, I'm just kidding.
We're gonna do a new star nis cause the other
one has cream all over it. And then we'll accent with
this, like, partial one. I really love the idea of trying to incorporate
a cinnamon stick. So we're going to try
it one more time. And I might just set
it across the surface. Didn't realize this was going
to be so finicky today. Oh, my gosh. Okay. So I don't
know if you notice. I kind of stepped to the
side a little bit so that my light was more from the back. I love the way that
this adds drama, because you are photographing the dark side of your subject, and the light is able to catch on anything
vaguely reflective, really helping the
contrast stand out here. This angle, I can see how much, cold foam I spilled
on my backdrop. Another pro for
using tracing paper. My canvas is still clean. So for our kind of
Level two shot, now that we've got this clean, classic, very simple, all
about this top photo, we're going to bring in
a lot of cozy stuff. So I need to move this guy so I can ditch my tracing paper. And pivot if we need to. Okay. To make the shot look cozy, I want to bring in a blanket. This is mostly just going to add some texture
in our background. I like to grab a corner and just kind of it into the frame so that it feels like
it's part of the family. There we go. Cute. Next, I'm going to bring in just some accoutrements,
some little texture. This is a log slice and a spoon I made a
wooden carved spoon. It's the same color
as the Starnes and the cinnamon,
same with that. So I've got very
neutral tones here. We've got creams and
whites, a tiny bit of gray, and then I'm also
going to be wearing just the sleeve of this sweater to give my hand in the shot. This is one of my
favorite tricks. Because usually when
you're working, you get a little sweaty, you don't want to wear But yeah, just the one sleeve in here
bunched up a little to add my human hand into the shot. So, yeah, I mean, since
I'm already here, I'm moving the spoon so that
it's not behind the mug. Oh. If you had an
overhead tripod, that would absolutely make
this easier or an assistant to touch the mug while
you're Taking the picture. Ma Zoom out just a little bit. Painted by nails
for the occasion. Ooh. Okay, that's super pretty. I want to add an extra
layer in the foreground. So I'm just going to drop a plant in and try to
shoot through the plant. For this shot, I don't think I'm gonna be able to shoot
through the plant. And keep my hand
in the pictures. So we're going to just
do one thing at a time. We're getting the
idea of a plant, but it's like, obviously not
the most important part. It's just adding a little
bit of character here. I want to be composing
through the camera. So this might look strange when you're looking at
it like standing here. But if you are constantly looking through your camera,
when you're composing, you'll find that a lot
of times things need to be a little bit more you know, close in or adjusted
slightly so that they're not touching each other in
the frame, and so E. Don't be afraid to
kind of peek through the leaves or whatever you
have in your foreground. This adds a really fun out of focus blur to the
edges of your frame, which is kind of a
natural vignette, and it really helps draw the eye in or make
it look more like, you know, I just
snuck this picture. I just suck in here
and took this picture. It wasn't completely staged. This is just, like, a
glimpse of my real life. Anyway, I really love
the two images that we got here is the first one
before and after editing. When I edit, I just punch up the contrast, the sharpening, and I really try to make sure that those
colors are right on, very neutral and beautiful. And then here is our final shot, where we have all of the
elements in the edges of the frame before
and after editing. And I really feel like this came together very effectively. So thanks for joining
me on this photoshoot.
4. Final Thoughts: And that's everything. Thanks so much for
taking my class. I hope that you enjoyed it. I hope that you feel
inspired to dive in and create a cozy warm
bevy pick of your own. If you do, please post it here on
Skillshare so I can see. If you share on Instagram,
you should tag me. My handle is Tabitha Park. I love seeing what you create. If you enjoy this class, I have over 36 classes at my Skillshare profile that range from making
your own backdrop, to photographing doughnuts
and coffee and chocolate. Basically, anything
that sounds fun to me, I'm going to just
make it into a class. You have something specific that you'd love to see me teach, feel free to drop a line
in the discussion section. I always love to hear what kind of photos you want to
learn how to take. So yeah. Thanks so
much for joining me, and I will see you
in the next one.
 Tabitha Park, Product & Food Photographer