Transcripts
1. Introduction: Hey, everyone, I'm Karen, a k a. The warp spinster. In this class, I'd like to show how you can easily draw snowflakes, simple or complex ones using features in the procreate app, we'll set up a feature called Quick Shapes, then learn how it works and how we can use it to our advantage with our snowflakes will set up the canvas to use drawing assistant as we make our snowflakes. Then we'll start drawing snowflakes, starting with simple shapes and moving on to more complex pieces. I should warn you now it's very addictive. I'll show you a few examples of other snowflakes that I've drawn and how I've used them. Finally, I'll take just a few minutes to show you how I would prepare the snowflakes for printing physical stickers to use in planners or journals. I hope you'll join me for the class and let's make some snow flakes
2. Quickshapes : way before we get started withdrawing assist and during snowflakes. I want to show a couple of features appropriate that I find very useful when I'm doing snowflakes or any drawing and procreate and that is called quick shapes it to make sure that that capability is turned on in procreate. I'm going to go up to the wrench or spanner tool tap on that that I'm going to choose preps and then gesture controls. Two opens up this menu and from the left hand side, I'm going to choose quick shape, which is about halfway down and then over on the right hand side, I'm going to turn, draw and hold on. That's off and it's on. The quick shape feature means that I can draw a rough shape like a circle that is in a very good circle, which is what most of my circles are. And if I hold down my stylus, my apple pencil, when I finished drawing that shape, then it will perfect that shape for me. It will perfect occurs. It will make a circle for me. Um, if I do a line, it will make a line straight, etcetera. The delay for this is the amount of time between when I finished drawing the shape and then I stopped toe hold my pencil in 0.47 seconds. As I haven't said here, it will fix that shape. Perfect. That shape for me, that delay is the 0.47 seconds is fairly arbitrary for me. It's long enough, but not too long for me. You may want to change that. You can play around with that if you find that this doesn't work well for you works really well with my apple pencil. If you find it doesn't work well for you or you want to use something different, some different gestures and then you have choices here as well. I don't usually have the four finger taps elected, but I want to show you how that works as well. If you find you don't like the draw on hold, so I'm going to turn that on. And with any luck Oh, remember to show that to you. All right, so let's go back to our canvas home. I've got the model line brush and blue here, and I'm going to try to draw a straight vertical lines. So I'm drawing a line. It's not very straight. But if I hold down when I finished drawing it, then it straightens that line for me. As long as I keep my pencil whole held down, I can change the length of the line. I can change the angle. Were it around completely as soon as I let up on the line, Then the line is set. Now, this isn't a perfectly vertical line. I purposely made it a little off, but I ordinarily can't get a perfectly vertical anyway. So what I'm going to do now is to draw the line and I'm gonna exaggerate again the angle a bit so you can see what happens. So now I've decided this is the length and I think that's about the right angle. But I'm not sure now I'm going to tap with one finger on the canvas, let up on my pencil, and now it's perfectly vertical. And this also works for horizontal. So I draw. One would make a little less than whores are a little greater slope and tap once, and it snaps down that is set up to do 15 degree increments. So if I draw this line, for example, and I tilted quite a bit off vertical. If I tap it, then it's going to snap to the nearest 15 degree point. All right, so that squares line Sorry. Now let's try some square. So I'm going to draw this very roughly, very badly. Hold it and it straightens out the lines. Move my hand ups. You could see it. It straightens out the lines. But it's not a parallelogram. Those sites aren't parallel. If I tap it with my finger and let up, then it gives me a square, and it's parallel to the sides of the canvas. Now, if I want to do a rectangle, then I have found that you have to really do a rectangle if you want to use the one touch. If you do anything close to a square, it's going to make it a square. I can go up, and now I can't because I tapped All right, if I do something, that's kind of a rectangle, but not really, it's not quite sure what I'm doing. Hold it, tap it and it's going to make it a square. So if you want a rectangle, really make it a rectangle and no for a circle could do a circle really bad circle, which is about how we make them. And now it creeps in the lips. If I am close enough to be new Circle, it will create a circle for me. If I keep my pencil down, I can change the size. I can rotate it around However, I want to do it. If I tap once, it creates a circle for me. Alternatively, I could do a circle. I don't want to do the one tap thing. Then I can go up, lift up my pants local up to add it shape and choose circle, and it will create a circle for me. Now, I also want to show you that this works with the razor Tool is well, so let me back up on this and let me just make a box and fill it. Gonna make a square. I looked. I shifted it when I was, um did my tap. So it made it to crooked. But that's alright, because what I want to show you is I've got the eraser. Now. If I the race and I want to erase a perfect circle, I can do that tap once, and there it is. He raced. And then that gives me the outlines for a purple really perfect circle erased. So then I could go in and fill that in. I could also do it, of course, with a larger brush for the eraser. Do that tamp it, make it a perfect circle. And then I can do that negative space in there, the circle. And I find that I use this sometimes if I've done a lousy job drawing a line or a circle or something when I'm making a snowflake or drawing and I want to clean it up with him, So those are the gesture controls the quick shapes. So let me show you any lips while we're here. Sorry. If you draw it really exaggerated oval. Then it's going to create in lips. Hit the circle again and you get in the lips. If you really want in the lips, then you can go to edit shape and leave. It is in the lips. If you tap that, you're gonna get a circle out of it. All right, So is gonna create the oval, and again I can rotate it, Move it. Whatever I want to dio. Here we go. That's quick shapes. Now let's go on and set up our canvas for doing the drawing assist in radio.
3. Canvas Setup: that way Let's do the canvas set up to dio our snowflakes. So again I'm in procreate with 2000 by 2000 pixel square on the canvas monoline brush and blue again Any of those air adjustable they aren't exactly random, but there's no particular reason why it has to be 2000 pixels square, for example. All right, now, this time I'm going to go up to the wrench tool again. And I'm gonna choose canvas this time and I'm gonna turn drawing guide on and you'll see that it turns into a grid on the screen. And I don't want a grid. I want to do, ah feel a circular Mandela kind of thing. So I'm going to edit the drawing guide. And now I have lots of choices down here for how I want to be assisted when I'm drawing. The first thing at the top is a color spectrum, and that determines what color your lines are good lines or whatever assistance lines you have. So if you're doing, say, I'm going to be doing blue snowflakes, I probably do not want to have what I could do Blue guides. But it's more difficult to see that way, so I might want to do a fairly contrast in color like a hot pink. So I'll choose that I have a choice of two D grid, which I have here I selector isometric perspective and symmetry. We want symmetry. We can choose the thickness of the lines are drawing assist lines, and we can choose the opacity so we can make them think her or make them darker. I'm cranking mine all the way up on both of those just so you can see it as I'm doing the demo. I have a sister drawing on, and I want to use rotational symmetry. That's what's going to give me. Um, rotating kind of look so vertical is one of the choices that I have for how it's going to be mirrored in this case. It's going to be married vertically, so it's is if I was flipping it, horizontal will flip it on. The horizontal axis quadrant will give me for, and radio is going to give me eight lines radiating lines. So we're finished with that. We're all set up and next we'll start doing some basic snowflakes
4. Drawing Snowflakes Pt 1: So let's draw Snowflake. First thing I will do is to go to my layers panel and make sure that the word assisted is under the name of the layer that I'm going to be working on. And the reason for that is if I don't have assisted on, and that's in the menu when you tap the name of it. If I turn the drawing assistant off when I draw a line, it's going to draw just one line, and that isn't what I want. It doesn't take, does make use of that future of pro creates. So I'm going to tap on it and click on drawing assist. And now it's ready to go. Usually I do. Ah, just a base eight pointed star kind of effect. I'm going to line it up along that line is best. I can then tap it because that's going to lock it there. It's going to snap it to it, and I can let up on my pencil if I try to do that exactly myself, I always slip a little bit and it's not quite right. So make use of that tap tool if you can. Now I want to demonstrate if I were to continue drawing on this layer, say I want to do just some basic lines. It was a very bad line, but yes, I want to do that basic line. And I decided that I like that and I want to duplicate it. So I go up to my selection tool the lasso tool, and then go to move, tool and say, I want to copy and paste it. Then you can see that I'm moving that center part of it, too. Now that may help you to keep on track. That's a possibility. But if you're doing a different kind of shape, then I always think it's easier just to have everything on a separate layer. So I am going to undo that and try to remember to keep doing new layers as I add new elements to this. So I'm going to add a layer and you'll see that it doesn't have assisted under it, and I want it to be assisted. So I'm gonna tap on the name and then tap on drawing assist. The drying assistant is tied to a layer, not to any particular element or to your whole drawing. It's tied to a layer. So now I'm going to dio just some basic lines and I wanna tap it there and then do another one up here and you'll see it's doing all eight as I go, not exactly being consistent, and it's one way or another. And there you have just a very basic snowflake right there for the center, often like to do something in the center. Makes it look more cohesive, like Snowflake could actually hold together. So you could do just something as simple as a straight line. You could bring it out and make it kind of a star shaped like that, or you could do a curve, I think is kind of nice. When you're using a thick line, you have to be careful a thick breastroke. You have to be careful where you start and stop it. Otherwise, you get that funky kind of overshot looks so could go in here and bring that in. And it will create the ark for me so I can get if I let me try to in it really exaggerated thing here. And I don't do it quite right. If I hold it down, I can shift it around and again. I missed that up. But if I hold it down, then it's going to create that art for me. So I've got a narc. I could do a quadrilateral, but I don't wanna quadri lateral lateral. I just want that shape so it creates the ark for me there, and I could do another one. I could echo that, for example. And I didn't do that very well. You will probably be better at this than I am, but I tend to just the undue is my friend. So I keep going back. I try something. I don't like it. I undo it and try something else. So that gives the snowflake a little sturdy or look as if it really could have things radiating out from that center. And that's just a really basic snowflake. You can start adding all sorts of things to it. I did not keep adding layers, did I? So my bad do as I say, not as I do. So let's go ahead and turn off those layers and try another snowflake, see if we can do some other things again. When I create the layer, it isn't assisted So I go to drawing assist and let's do a little narrower lying here and again. I'm going to start with this line just what I call the basic eight. But I have this area in here, and that will also I held it too long. That's that. I held it for longer than 0.47 seconds that will also duplicate itself. Eight. You can see this would be really good for doing flowers and Mandela's etcetera to, but this is another place you can go to add in some shapes. That's kind of interesting, almost right in the center there, and I can create that sort of flour look in the center of it. And then another common thing that I do on snowflakes is to just do the shapes. So do that line, and then I'll do one that I try to get right angles to that and the same lengths. So I draught straight down. I could actually tap it to make sure it gets vertical. I overshot that line, something I do all the time, and and I can do another line here, tap it to make it perfectly horizontal, and then the others will the other seven will fall in line, shall we say, All right, Still not perfect, but it's a snowflake, and this is probably going to be quite small. If you are going to do a large motif snowflake, then you will want to be very careful in how you do those lines and make sure they're exactly as you want them. So let's back up here. And in fact, let's do a new layer. Can we have to make sure that the drawing assist is turned on? And let's try doing those lines again and will be a little more precise, So I'm going to stop their tap it so that it's perfectly vertical and pick up this one tap . It looks a little long compared to the other. Tap it to make it perfectly horizontal. I didn't start it in the right place, So if this is going to be a large motif wherever you're going to use it, you're gonna want to take more care than if it's going to be shrunk down to a pretty small motif. Now I'm just going to draw some more here. Hoover shut that again, as usual, and then maybe at the end here. We want to do something else. We could do a, um, diamond kind of shape here, which is not All right, let me do it this way. Uh, here's what I want to do. All right. So this one I will bring down so that it's vertical. And then I will actually, let's just make this a square kind of diamond tap that to make it horizontal. And I've overshot this and not corrected it because I want to show you something here and then is that one? Which means I did not make this long enough. Make that Okay, now I overshot it up there a little bit. I undershot it here, and I could just go in and add that end, but I overshot it a bit up there. Now I can erase that and hope that I still have the oops raisers wage a big hope that I still have that rounded edge there. And it's OK if does pretty well, but it's not quite rounded, so I can use my eraser tool. And remember, I can get that Get it to also do that art for me. So I could he race here, make a narc. Hold it. And it will create that rounded bit for me so that I can keep that around it edge. So that's a possibility. I can also take a lot lips Gonna go back to a pencil. I can take a line here and let me actually tap on that and make it hit the nearest 15 degrees. And I moved it. Tabin let it go. All right, so now I've got 15 degrees there, but I didn't do this one. Exactly. Right, So there we go, and I'm going to put some circles on here. I'm gonna draw a circle, but it create the circle for me and then fill it, Ian. And then I will do another one. Make sure that's a circle and fill it in. It's a lot of trial and error and or like the look of that. I don't like the look of that. And then let's do something like that shape here. It's kind of around. It bit kind of like now, this is looking a little skimpy because I've got filled in areas there. I could fill in the center here. I don't think I'm gonna like that, that I could, um oops. Expect my blue and drop it lips. Sudden. That is not a closed shape, apparently. Oh, I might not. On that later, it's on the wrong layer. All right. Now I can go back and fill that sheep, and that balances out a bit. But I really like the look of that center being open. I think that extra star there in the center is kind of cool. I wonder what would happen if I went in and if I took my eraser and win in and he raced in the middle here. That's a kind of a cool look. And then I could do the same thing. Maybe on you see where my circles air on my circles here, No would be smarter to and and he raised in there. Not sure I'm going to like that. But that's an option. I might center it a little better next time. I could also here where I've got that line extending up into the box. I can either find that layer and he race it. Pact where that starts a little bit of around a bit there, or I could have extended it all to the end Let's try adding on. I'm going to do that exactly here. And then I'm going to do maybe some straight lines across here. That's a possibility. I didn't start a new later again. Not doing so well on that am I or I could do some more deeds. Oops. Don't have dryness, Sister. On there, Ryan, Assist. And now I could do, say the right there and then maybe a circle. This is basically doodling if you want to know the truth and I love to do it also and I might or might not. Let's try filling those in. It all depends on the look you want. You want it lighter. Do you want it to be a good, solid snowflake? Not sure that I like that. Oops, We're my circles. There they are. Then I could fill in those squares if I wanted to, but I think on this one I won't. Now the other thing you can do is to let's just start anyone here and
5. Drawing Snowflakes Part 2: we're gonna do a drawing assist. And now I'm going to do a basic aid here. And instead of doing the V shapes, I'm going to do an inverted V and see how that looks. I'm going to go up here like this. Kind of like little birds feed, aren't they? And maybe I want to bring those down here, see how exaggerated I want that curve to be. And that's a good start for a snowflake. Don't have to. He needs up a bit. If this were going to be a large snowflake, that's a pretty good start. But I would want to do something here then that might connect those to you. So let me do this then, that, you know, I'm not sure about that, but I could do something like and art here. And then again, I'm just doodling. You can tell. Maybe I want to connect those up. It was occur. So let me kind of continue to curve of it, then want here? Yeah. I don't know if I like that. Actually, what if I connect thes? It's a little bit different. Kind of look. I can also tell it's a little bit crooked. so if I wanted to do that, I would definitely want to clean that up a bit. Make that a straight horizontal line over 15 degree line, I guess. Okay, so now I've created a circle kind of look, which is sort of cool, But then I would definitely want to extend these lines a bit to add some more on here and now I might do the these. You can see this is a totally different look for this snowflake. Even though it has the keys in it, as the other one did. It has quite a different look, too. And of course, you can always change your brush size in the middle of it. If you were again, If you're going to be doing a fairly large one, if it's going to be shrunk down, you're gonna lose a lot of that detail anyway. I'll show you some examples later of how I use thumb and the detail just would not have worked. Now, you can also add circles just about anywhere. So I'm gonna add a circle in here and see what happens and make that a circle. It has a little something to it, and I could. I don't like them, especially with the a larger brush. Since we have circles going on here, let's try doing a circle that determine its there, which I could fill in or not, as I liked. I could also start only not to take my brush size down here. I could also two lines across the V's, so I mean, I left myself enough room there, and that gives it more detail without a lot of intricate drawing things. And I would be more careful again if it was going to be a large snowflake, and you just keep going and going and going or leave it simple. What happens, for example, if we do this here, well, I would want to take those two lines out. I think, if I did that, so I'm just connecting points here to see how things look. I do that and that's kind of fun. Then I could connect these points as well, which I actually don't like, but you might like perfectly well. And I'm thinking maybe some circles on the ends of these I'm gonna do just a small circle so tiny it didn't know what I wanted it to be and another small circle here and fills at in . So that's a completely different look. As you can see, the whole point of this is actually to have fun. You can have a lot of fun with it, but you can try all kinds of doodles and shapes and see what you can come up with. See what happens if I do this. That isn't even close to spectacle it. Let's do that and that. Well, that's kind of a fun shape, too. Go back and perfect those curves a little bit, but that's kind of fun. That is a very, very sort of snowflake. You could also, of course, go in and fill that. If you want a sturdy or snowflake, you could go in and fill in bits of the center there. Give it a little more beef. So we've got oops you could feel in, say, every one of those or all of those, yeah, kind of remove some of the design part of it that I like. I could go in and add in more. Mine's in here so I could add more circle in there or I could do it in just one point of it . I could double that up and add more to it. I could put a circle in the middle of that circle. Um, they're just all kinds of things I could do. I could draw a line up here and add more things to it. Say, I'm just going to do this quickly. If I wanted to add in some the shapes to that so I could go on forever. Let's not do that. I like that line up through the middle there. Sometimes they start to look more like flowers, which is okay. Flowers, air. Good. And you can, of course, see how you could do some flowers for this is well, so next I want to show you a few examples of some other snowflakes that I've done.
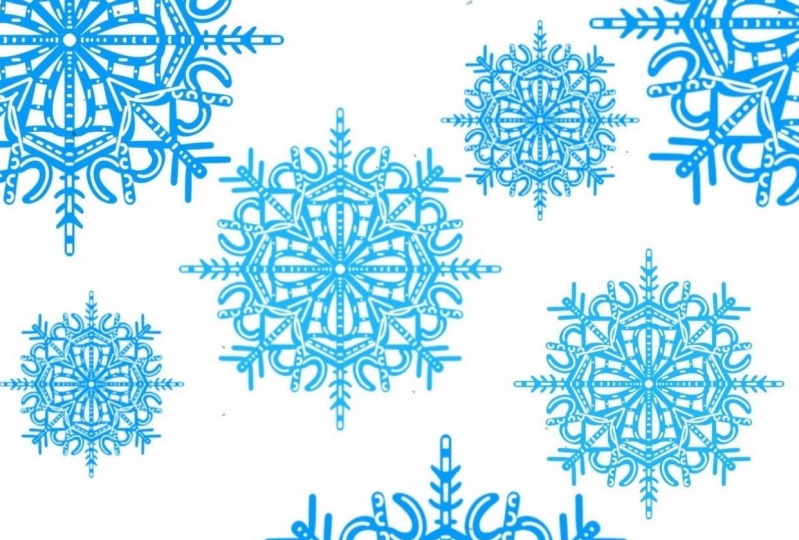
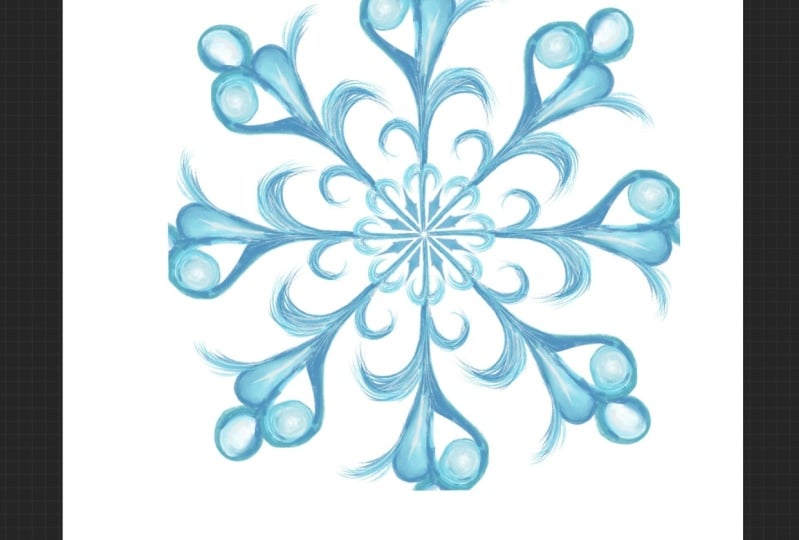
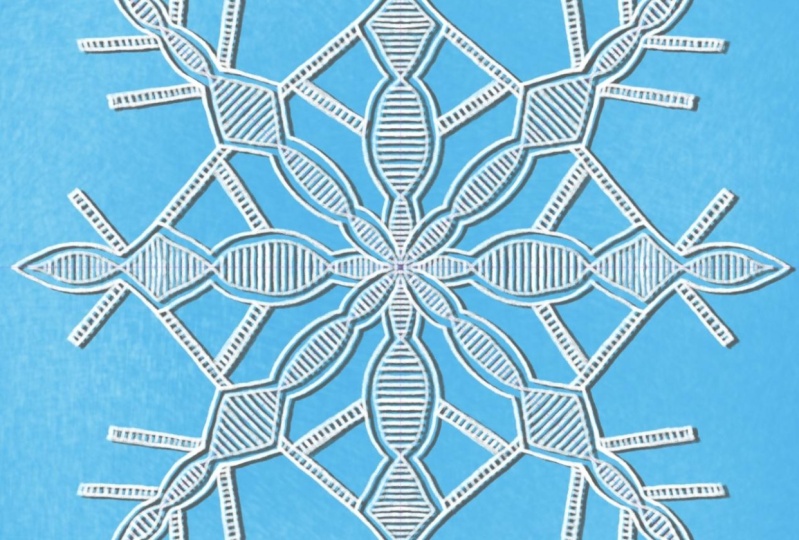
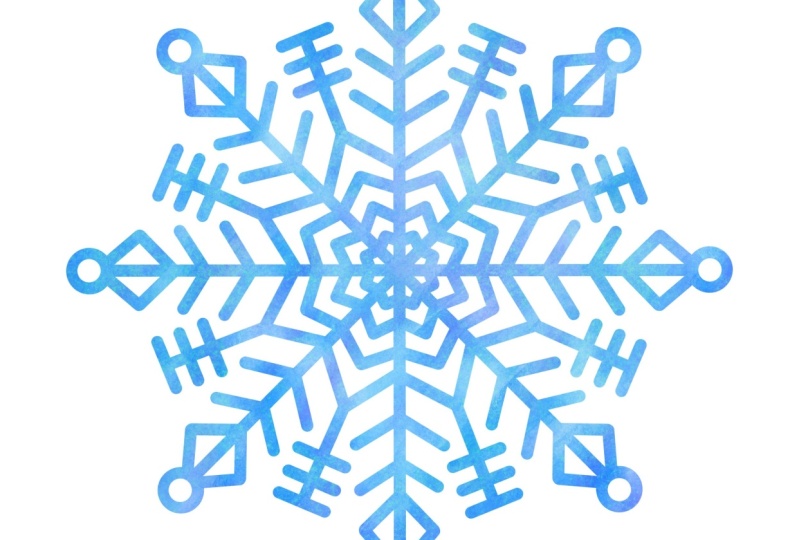
6. Snowflakes Examples: Here are some other snowflakes I have done off camera, different types, different way to the lines, different numbers of intricacies. This one is using a very delicate brush. I think I was using a technical pen for that, and it has a lot of curves. And it it's mostly it's all curves now that I look at it and it gives it a really delicate sort of shape. If you were going to make small snowflakes, this is probably going to be too difficult to see if you shrink it down, but would make perhaps a lovely, even a background snowflake that doesn't overpower what's going on in front of it for an illustration. This one has a bolder lines, and it has all curves, too. Now that I look at it except for the basic eight here there, I do have the basic eight, but you have this sort of star flower. Look here, I've got concentric circles there, and I've echoed these lines. I have two lines that echo each other, and then, instead of doing these have done curves there and I've just started connecting points together. So I've got the basic eight. But then I have this in the center of those which makes it 16 points. And then I've done things on either side of that as well. And here this is not my favorite one for myself, but it has some effectiveness to it. I think it's just got some different shapes. So it has that sort of Jewell shape here, and the center is a star, and it has filled in circles and triangles at the terminal points. This one is with a little bit bolder line, so it's kind of a delicate design. If this were the lines were not so thick, then it would have a much more delicate look than it does now. This one I've really done the what I would call the 16. So we've got the basic eight that we started with, and then the ones in between here which make the 16 points and then in between those I've dunmore. So they're actually 32 points going on here, and I really like that and I also like this sort of almost looks like a spire there, and apparently I like circles is terminals, and then this one is much simpler. It's curves and the V shapes with circles on the end, and then, with some of the V shapes, I've connected them back into a sort of swooped down back to the center stem. And then the center here is, um, just 16 lines that go out. So that's variety of things you can do. I'm sure you can come up with some really gorgeous, beautiful, intricate ones or some some beautiful fund simple ones. So I hope you will have a lot of fun making snowflakes, and I'm dying to see what you put up in the gallery. I would love to see what you have created. They're quite addictive. So, um, if you want to post a lot of him, I'm good with that. If you want to post one, I'm good with that, too. But I do hope you will post them next up. I want to show you a few ways that I've used some snowflake
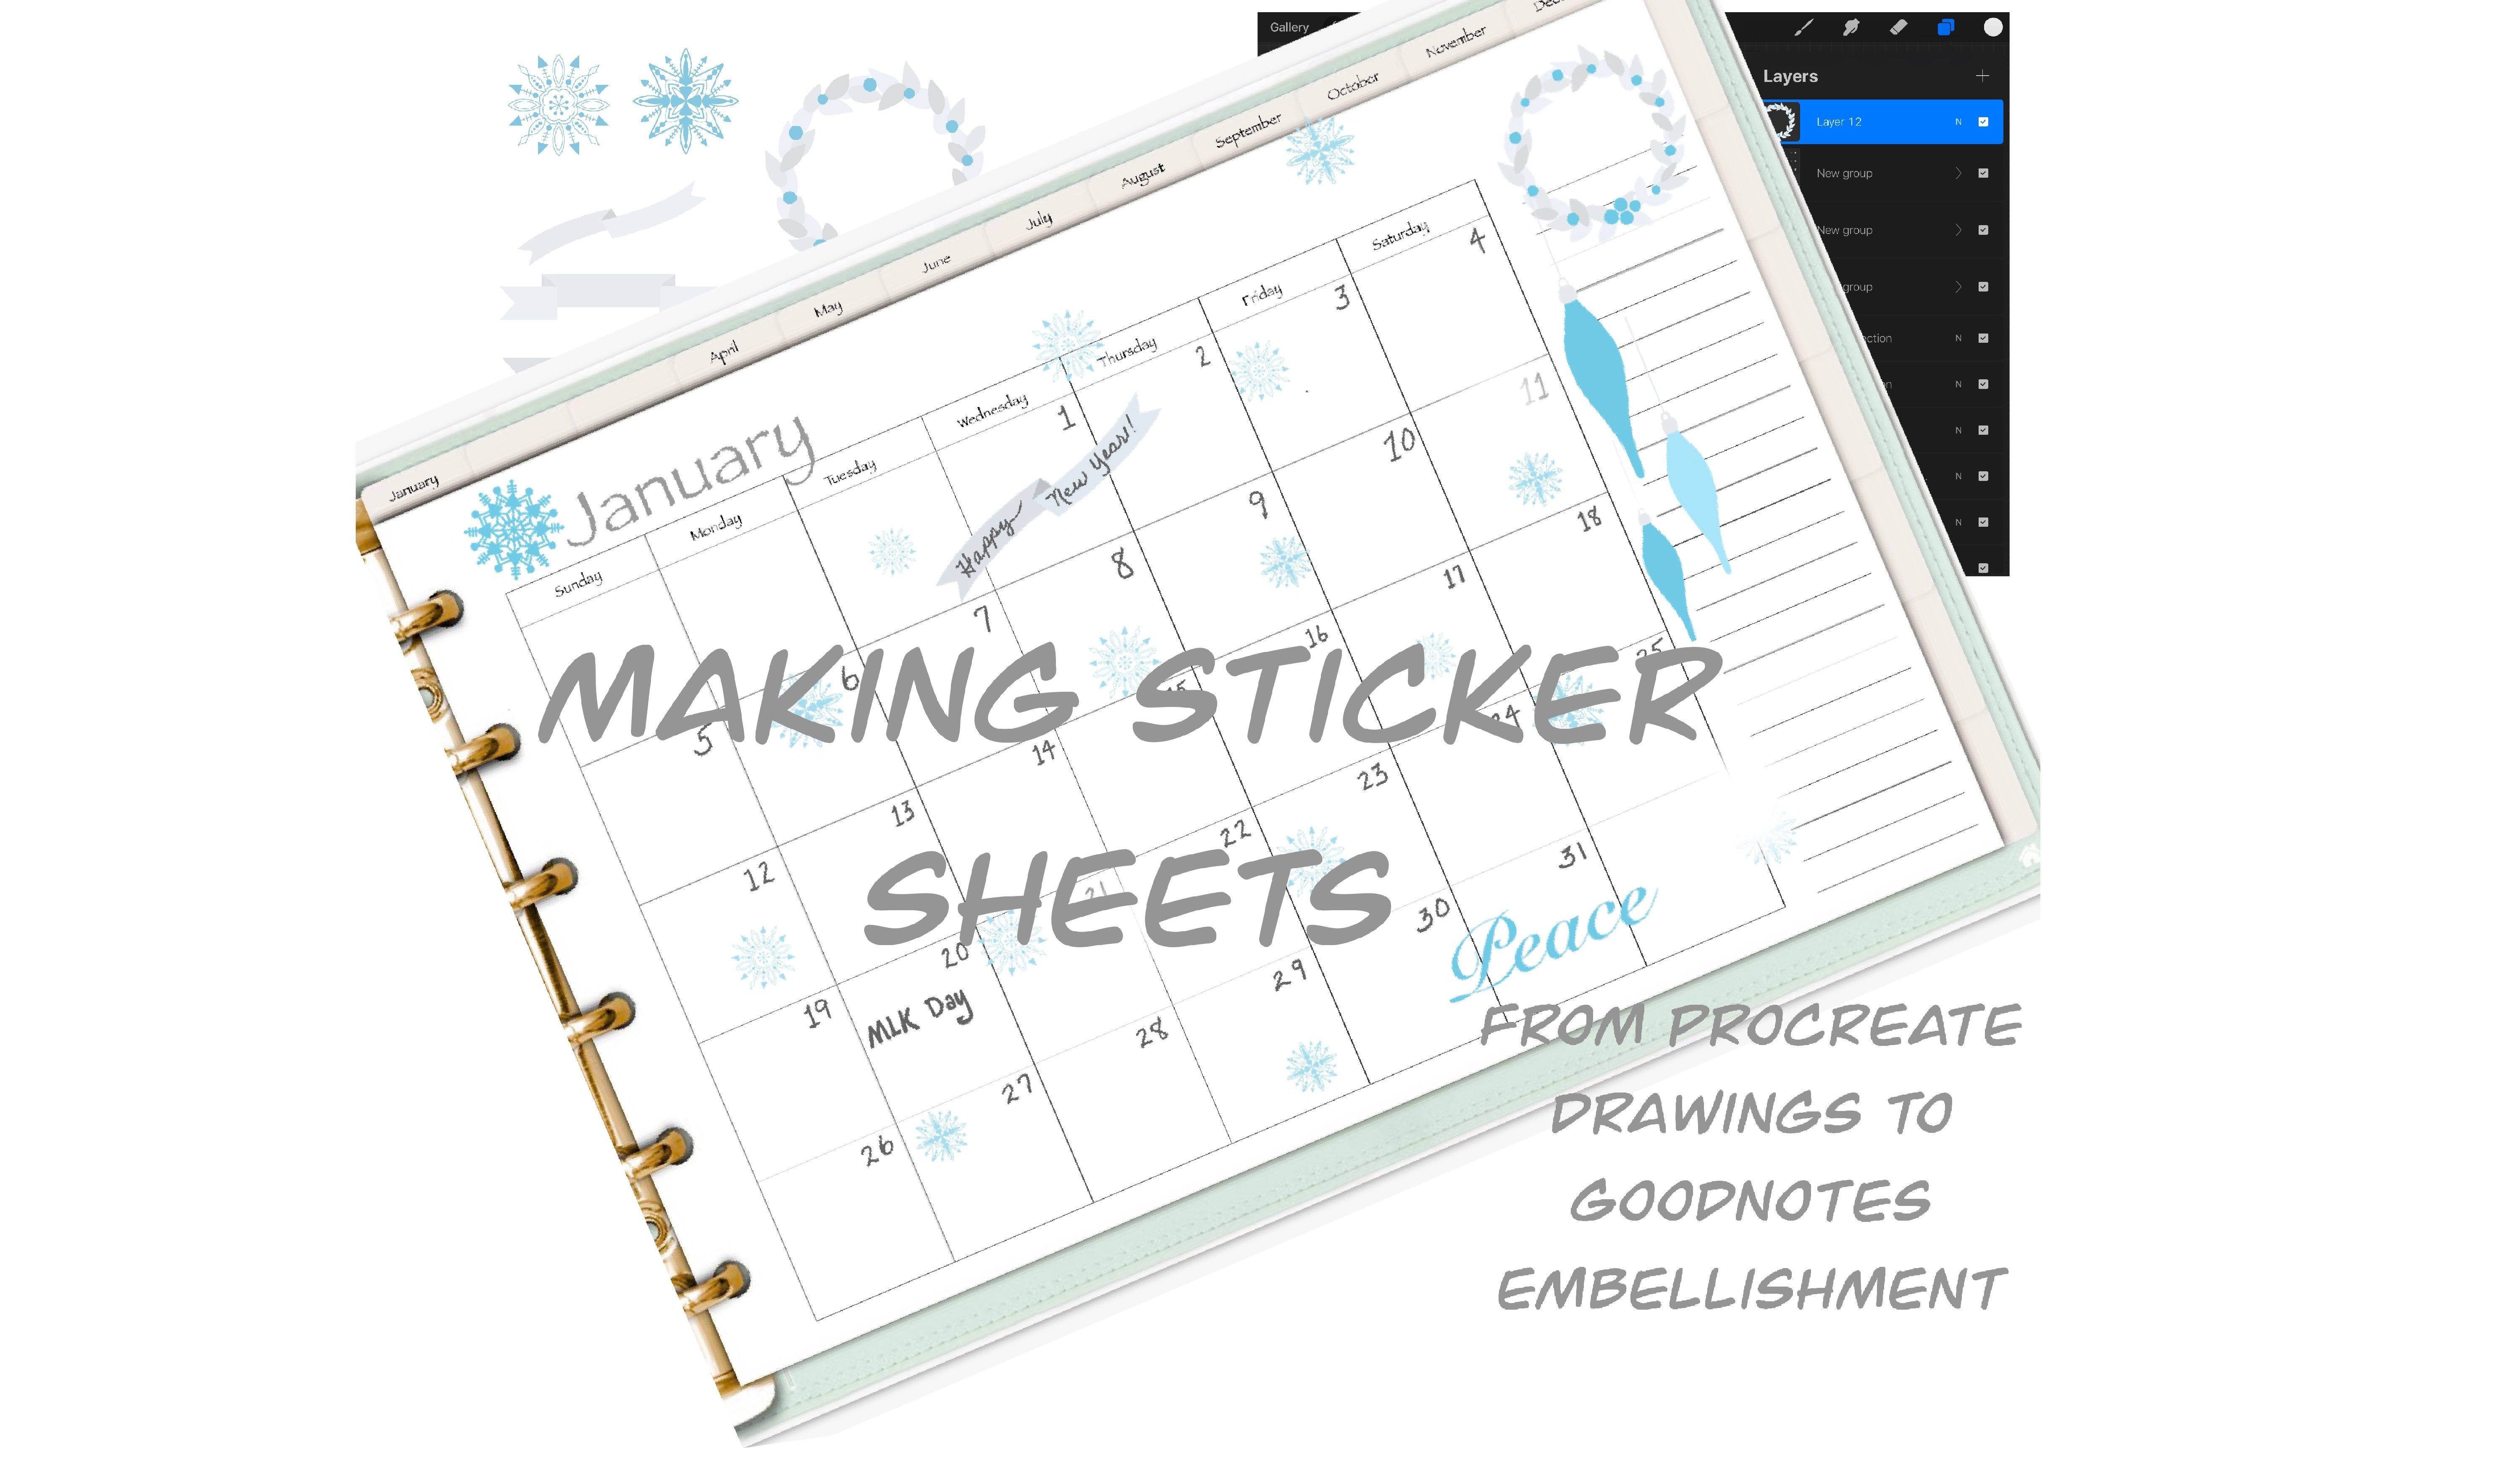
7. Some Uses of Snowflakes: Here are some motifs that I created for to use as stickers in a virtual planner or journal or calendar or whatever. I do have a class on how to turn this set of motifs, this page of motifs into stickers for a virtual calendar and good notes. But this it shows some of the snowflakes that I developed one of them. A couple of these are actually the same snowflake just in different sizes. And let me show you that in my good notes then. So here's my sticker book, and I have created thes, made them into individual stickers. And then, well, let me just move one over. So now in my planner, I'm working on a spread for January, and I can just paste that in. So I have snowflakes falling across that I could use small ones for bullet journals, whatever. So this is using them as stickers in a virtual planner. I will show you in a little bit how I would go about creating sort of the white margins, the bleed area for stickers. If I were going to print them out and cut them on my cricket machine, which I will be doing eventually. But I want to show you a couple of illustrations first that I've done that have some different snowflakes on them that are simple snowflakes because they're small enough that any intricacies on it would really not show up. Anyway, Here are some spot illustrations replacements that I created Winter Wonderland Winter Woods , I guess, and each of these four creatures up here have different snowflakes on them. So if we start out with the little deer here, you can see that the snowflakes are quite simple because they're pretty small in the illustration. So I use bold lines and made them small, are more simple so that they would still show up and you could see all the pieces of it. So I've just done the basic eight added in a couple of lines to make that a sort of star look in the center, then some circles that I filled in and then some endpoints that looked like a little old fashioned Christmas tree bulbs. If the color is not showing up perfectly correctly here, it's probably a little brighter than it actually is. Here's another snowflake that again has a star in the center. It's the basic eight plus. Then something's added in in the centres. So I like that where it crossed their. And then I filled in some circles there. I did well there and then added some just some circle outlines there and different terminals Mr Fox has perhaps the simplest of all his are just these basically and then the triangle on the terminal again. I like that star in the center, obviously, and I also like to add those circles in a lot of them filled in just because I think it adds some, um, have to the design, and you could see it better than when it's small. If I had a really intricate pattern when it is that size, you probably wouldn't see it. So it depends if it were going to be a card size. They were gonna print this on a card that I could probably be a little more delicate with it. And finally, let's see what our songbird has here. And this is really a very simple one, because I'm just using V's here with circles on the terminus and for the center of just on shorter V's and then large of these going up This is a very large pen, nib brush size and you can see it isn't perfect, but it still reads really well as just a sweet, little simple snowflake.
8. Bonus: Drawing for Physical Stickers: So let me show you what I am going to be doing as I turn some of my snowflake designs into physical stickers that I'm gonna peel off a piece of paper and put onto a physical planner or calendar to do that, I'm gonna use by cricket cutting machine. And I want to have a white margin around the design so that when the machine cuts, if it happens to be a little bit off, it will cut off some of the white margin and not the design. Now my crickets pretty accurate, so it's probably not going to to do much of that. But it also on a delicate design like this. If I tried to peel this off a piece of paper, then it's more likely to tear because it's a pretty small, um, narrow kind of shape. So I'm gonna add a little margin to it. I'll be using white and again I'm going to be used in one of my model line brush. If I'm going to be painting with white on a white background, I'm not going to be able to see it, so I can either change the color of the background to be a good contrast, or I can turn off the background color, which I think will be easier for you to see. So that's what I'm going to do now. There are a couple of ways that I can do this for both of them, though I'm going to want to add a layer and move it below the snowflake that I'm working on . And I want it to be assisted because I wanted to do exactly the same thing on all of my pieces here. I only want to do it once instead of eight. So one way I can do it is to just trace outside this. Just draw that margin around it. And depending on the size of my snowflake elements, I may want to make that larger or smaller or depending on my machine. My cutter, for that matter and I would be a little more exact about that. Of course, what I would do actually is increase the size would be smart, wouldn't it? Again, I can do a line, make it straight, do a curve, get that straight, fixed that in a minute, do another line, straighten that out, then I would go in and around that out of it, OK, so that's one way to do it. That's not much of a margin there, so I probably go in and do another line. Here we go now, as I get down to lines that aren't spaced very far apart, particularly as I have in here, it may be impractical to cut that that way, so I could always just fill that in and make it a solid white. It will also make it a little sturdy or than pulling it off the page and the closer your lines get to each other, of course, the more likely it is that they're going to start running into each other, and at that point you can just decide if you want to sort of put them together or you want to make it a more solid piece. So I could, for example, just connect that I don't like the looks of that. So I would probably leave it like this so long as there was enough to has some physical integrity is that was trying to take it off the page, or so that I was sure my machine could handle the cutting most cutting machines are pretty accurate. All right, so that's one way to do it. To just go through and make sure that I got a margin around all of them there. The other way that I could do that is to, um, take my brush. Size should just started with a new layer of that right, huh? And increase the size of my brush with same brush, but increase the size now. Naturally, if you started at the top size, the largest, boldest line you could to begin with this method won't work. But I'm able to increase my brush size here so that when I draw this line, it will give me that margin. And I find this easier to do if you can get enough of a difference in your lying size. And I can always go back in and do see me racing there if I want to. I just think this is This is easier for me. I was. This shape gets pretty bold. I may want to. That's probably a little bigger than it needs to be, because I was trying to outline it, not follow the line so I can just keep doing that and that will potentially give me a large enough margin there that I don't. I have to start connecting many things there. However, again here in the center. It's probably just not gonna be practical to do that, so I could just fill that in. This is very rough because I'm not taking the time to do it while you're watching me, but you could then make this meter. Or maybe that's just to style you like is to have a now outline for those things a larger online. So that's how I would approach doing a physical sticker.
9. Final Thoughts: I hope you've had as much fun making snow flexes I've had making them and showing them to you. Please share the results in the project page on skill share. Everyone would love to see what you're doing. And if you branch out into flowers or Mandela's or stars or doodles, feel free to share those as well. We'd like to see everything that you are doing with this radial symmetry tool. Thanks for joining me. I hope to see you in another class soon.
 Karen Burns, The Warped Spinster