Drawing Made Simple: Trace, Simplify, Create | Milan Glozić | Skillshare

Playback Speed


1.0x


  • 0.5x
  • 0.75x
  • 1x (Normal)
  • 1.25x
  • 1.5x
  • 1.75x
  • 2x

Drawing Made Simple: Trace, Simplify, Create

teacher avatar Milan Glozić, Painter, illustrator, Designer

Watch this class and thousands more

Get unlimited access to every class
Taught by industry leaders & working professionals
Topics include illustration, design, photography, and more

Watch this class and thousands more

Get unlimited access to every class
Taught by industry leaders & working professionals
Topics include illustration, design, photography, and more

Lessons in This Class

    • 1.

      Welcome to Drawing Made Simple!

      1:26

    • 2.

      Simplify the Human Form Through Tracing

      5:30

    • 3.

      Trace, Simplify… Now Create!

      5:01

    • 4.

      Your Turn to Create and Share

      1:23

  • --
  • Beginner level
  • Intermediate level
  • Advanced level
  • All levels

Community Generated

The level is determined by a majority opinion of students who have reviewed this class. The teacher's recommendation is shown until at least 5 student responses are collected.

53

Students

1

Project

About This Class

Drawing made simple, fun, and truly yours.


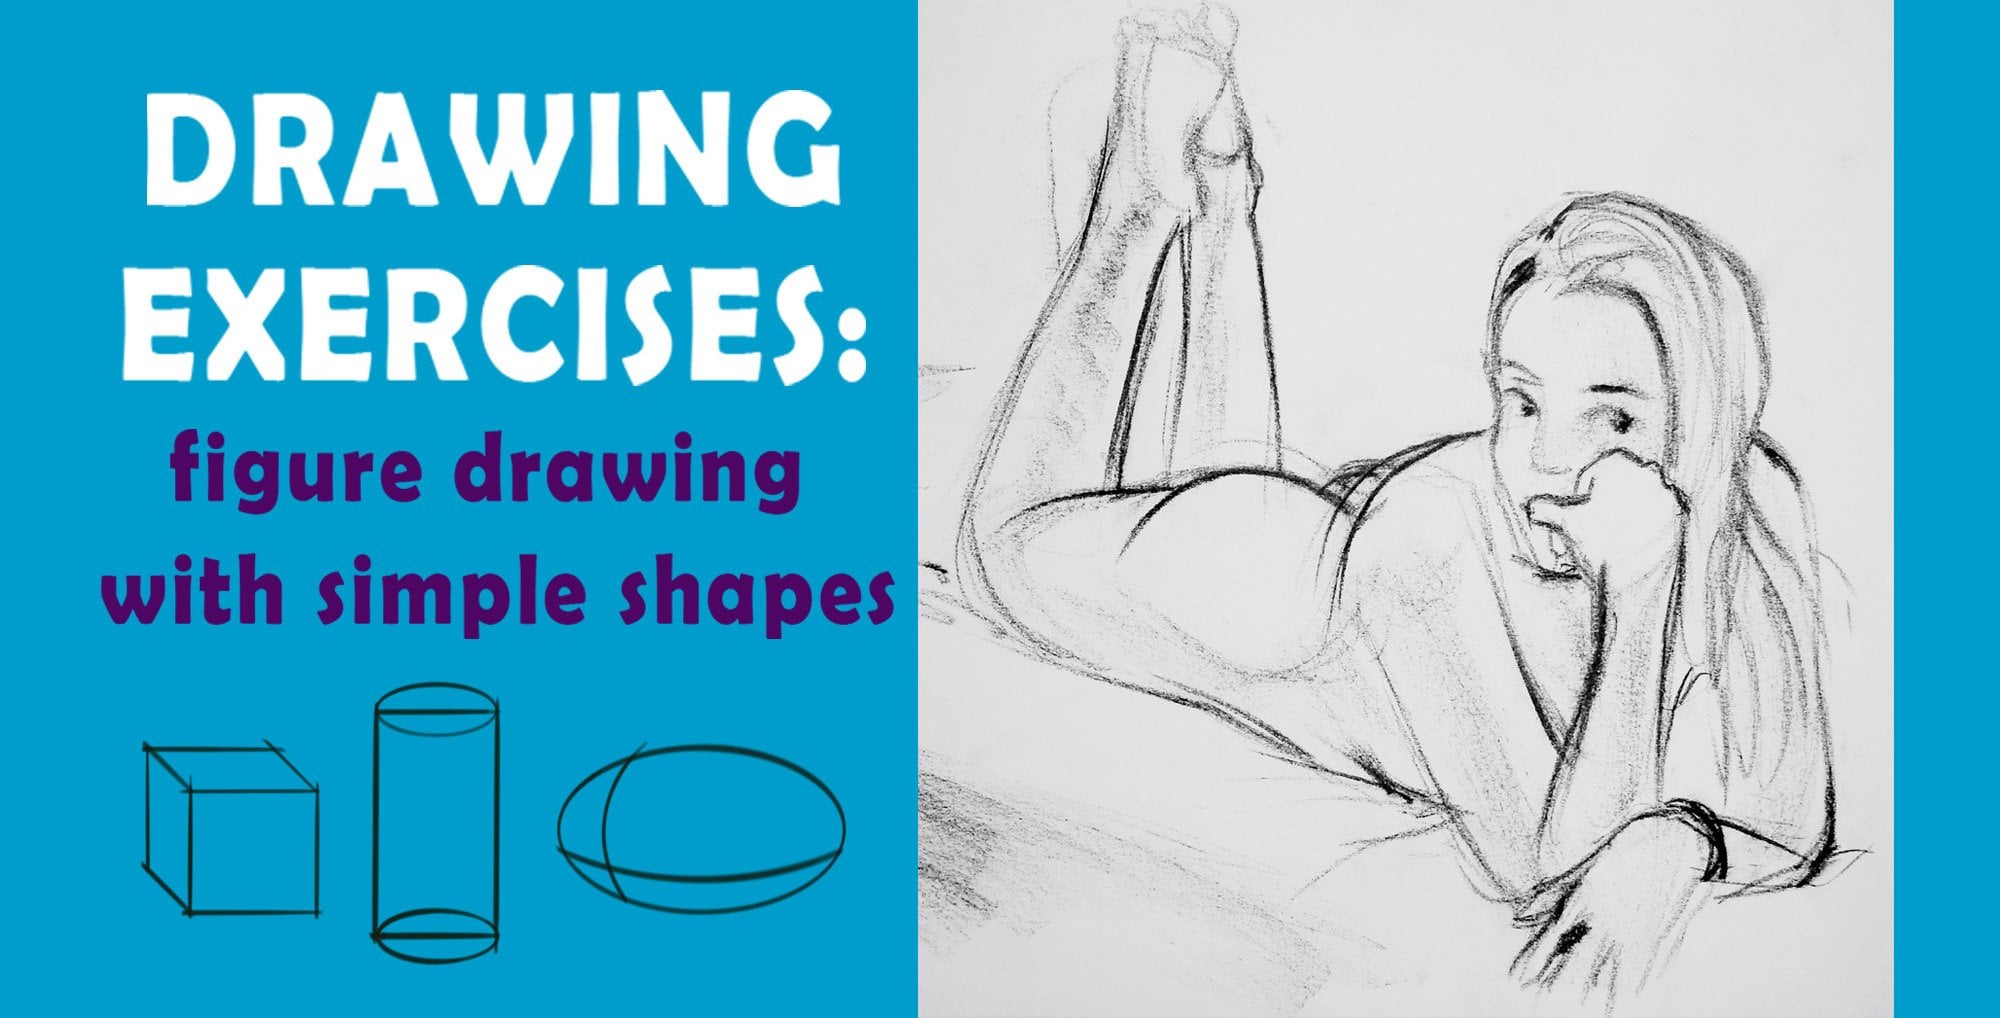
Drawing doesn’t have to feel complicated or intimidating. In this class, you’ll discover a simple, hands-on method to break down figures into their most essential shapes and then transform them into brand-new drawings.


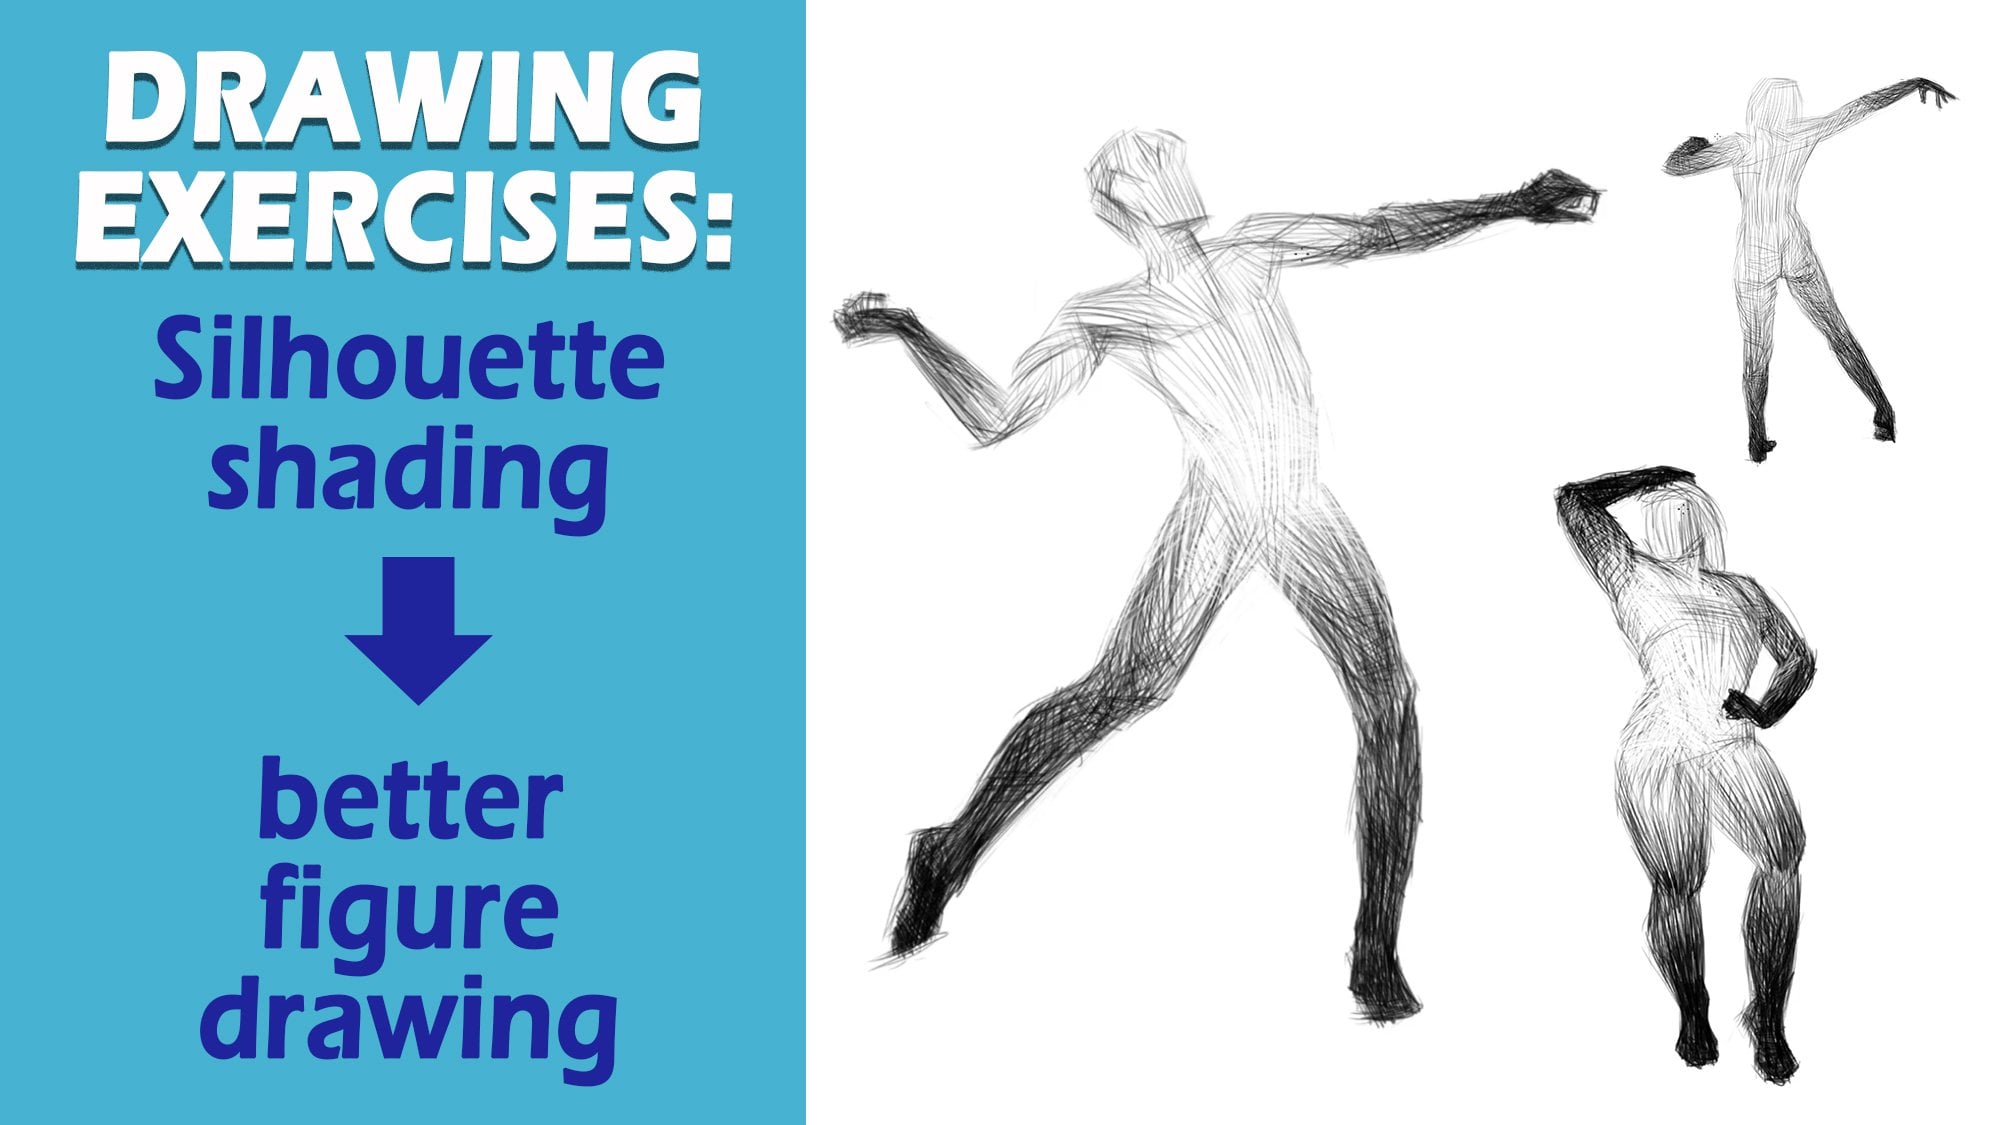
We’ll start with a playful technique: using baking paper to trace figures. This step helps you train your eye, simplify what you see, and focus on the lines that matter most. From there, you’ll use your traced sketches as references to create original drawings — moving beyond copying and into creative exploration.


This class is perfect for:
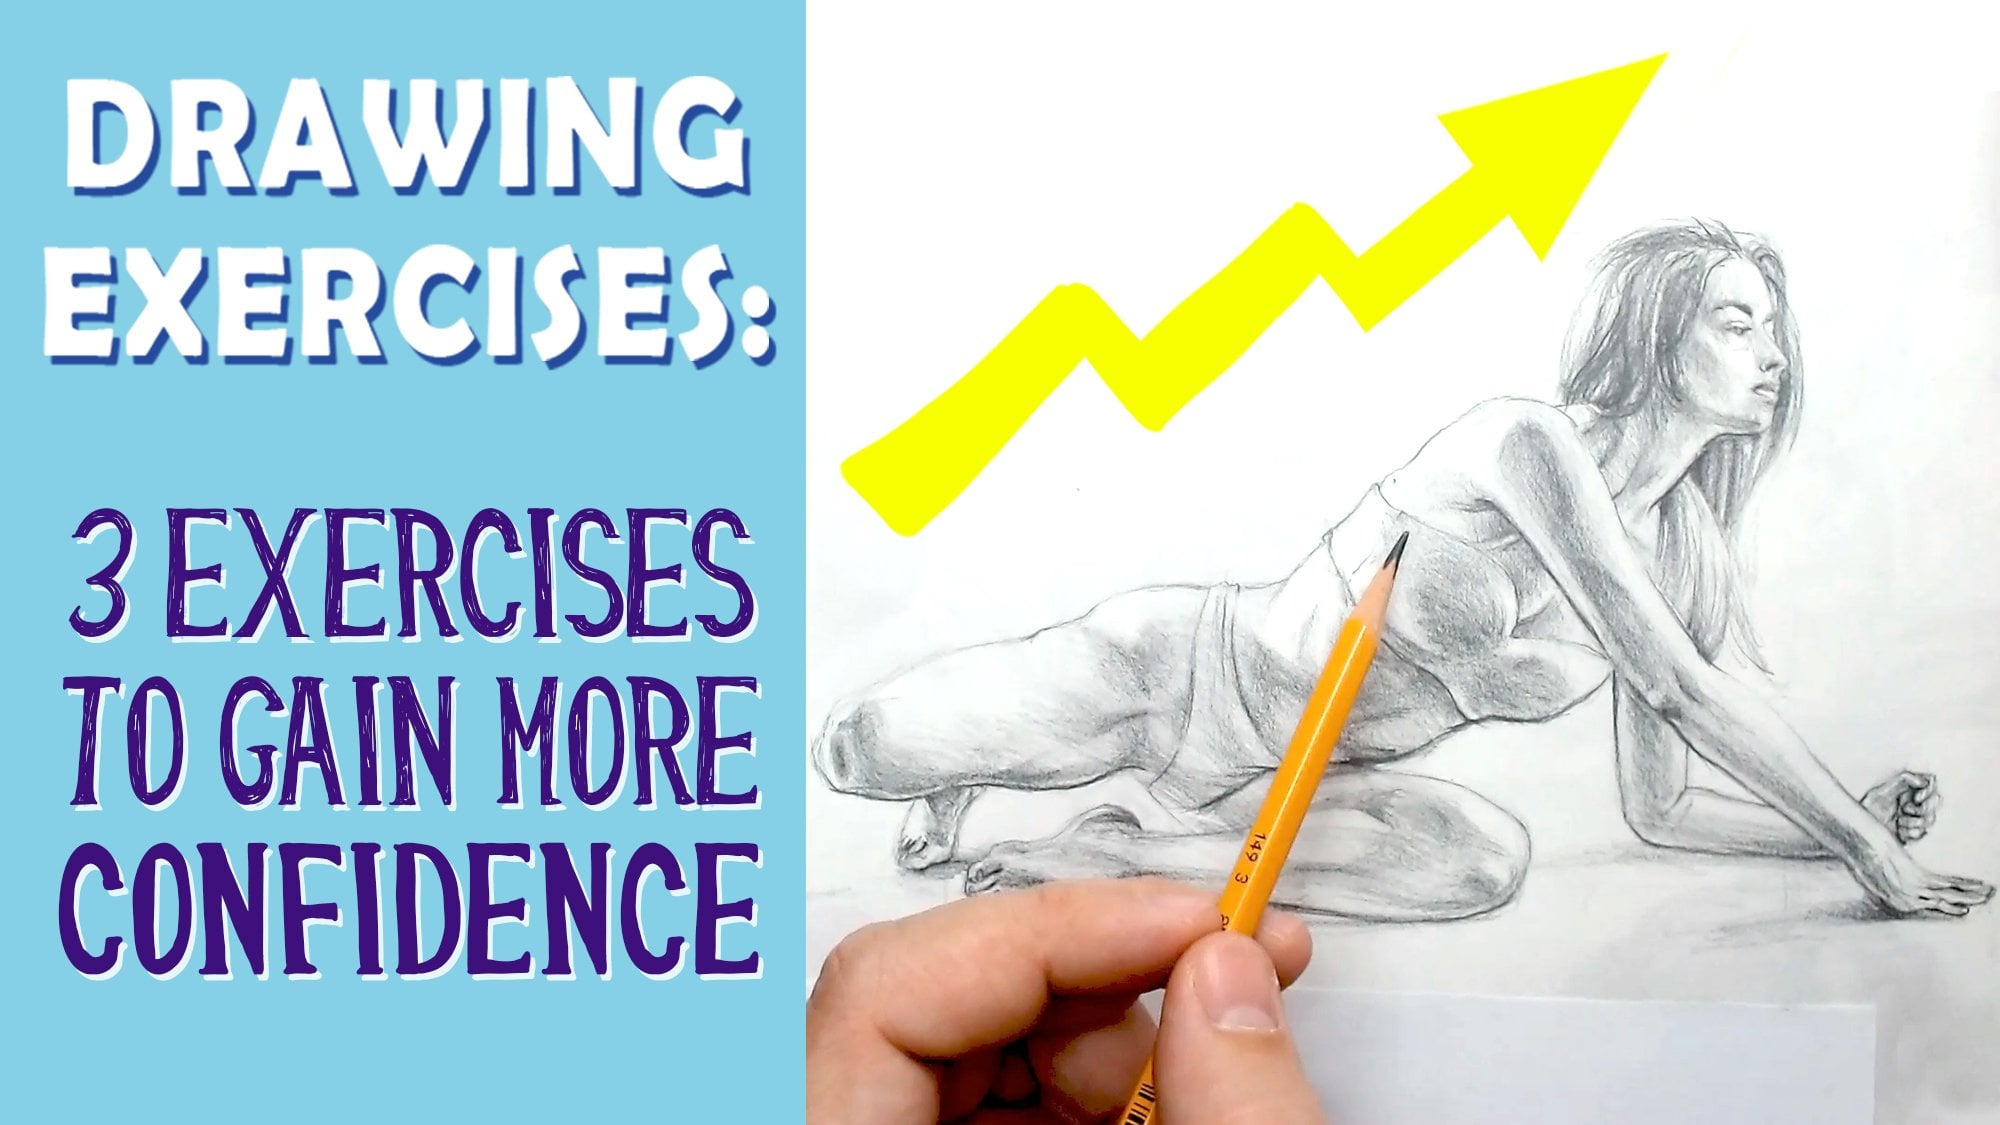
• Beginners who want to build confidence in drawing
• Artists looking to loosen up their style and simplify their process
• Anyone curious about turning everyday observation into creative expression


By the end, you’ll have a collection of traced and original drawings, plus a practical method you can use anytime to spark creativity.
And don’t forget — the final project is all about sharing! You’ll create at least 10 traced drawings and then a few new ones inspired by them. Upload your work to the project gallery so we can learn from each other and celebrate your progress.


If you enjoy this class, be sure to visit my profile page to explore more of my drawing and creativity classes.

Meet Your Teacher

Teacher Profile Image

Milan Glozić

Painter, illustrator, Designer

Teacher

Milan was born in Pozarevac, Serbia in 1979. From a very early age, he got interested in drawing comics, painting nature, and inventing games that he could then play with his brother and sister. He graduated from the University of Fine and Applied Arts in Belgrade in 2003.

He works predominantly in the medium of traditional painting, but his art includes digital illustrations and book covers. He has had solo and group shows in Belgrade at the Progress Gallery, the National Gallery in Pozarevac, "In the Face Labyrinth" exhibition in Amsterdam at Arps and Co Gallery, and many more. Also, he is a Top-level designer at the 99Design platform where he made various book covers and illustrations for publishers and clients across the world.

and here you can read rev... See full profile

Level: All Levels

Class Ratings

Expectations Met?
    Exceeded!
  • 0%
  • Yes
  • 0%
  • Somewhat
  • 0%
  • Not really
  • 0%

Why Join Skillshare?

Take award-winning Skillshare Original Classes

Each class has short lessons, hands-on projects

Your membership supports Skillshare teachers

Learn From Anywhere

Take classes on the go with the Skillshare app. Stream or download to watch on the plane, the subway, or wherever you learn best.

Transcripts

1. Welcome to Drawing Made Simple!: Hello, everyone, and welcome to my new drawing class. The goal for this class is to help you see drawing in a fresh, simpler and more approachable way. In this class, I'll show you a fun technique. Using vapor to trace figures. But this class is not about copying. It's about simplifying complex shapes into their basic forms and learning from that. By tracing, you learn to simplify what you see, focusing on the essential lines and proportions. Once we created those simplified sketches, it's time to go a step further. You'll use your trace drawing as a reference to build brand new illustrations and drawings. This process will help you go beyond just reproducing what you see in front of you, but instead start creating with confidence and imagination. Whether you're beginner who feels intimidated by drawing or someone looking to loosen up your style, this class will give you practical tools to improve your observational skills and spark creativity. And by the end of the class, you'll not only have a set of drawings you're proud of, but also method that you can use anytime you want to simplify or imagine what you see. Grab your paper, grab your pencils, and of course, baking paper, and let's dive into the art of drawing made simple. 2. Simplify the Human Form Through Tracing: Welcome, welcome, welcome and thank you for joining the class. I hope it will be interesting and you will get good exercises from this class. And without any further delay, like I promised in the first video of this class, I said, we'll be using baking paper to get better at figure drawing. So one of the most important parts of using the biking paper is because it's so thin, and that's why we'll be using it to create drawings like this. And those are just for observational purposes and for learning. This is simply traced images from something that I like and what I like in this example is a comic Mobius or you maybe know him like Jean Jura in C. And what we are interested in this case is to see how to deconstruct this, let's say, this drawing. Because when you look at it in the face of things, it might be difficult to draw it like he did because he's a master and you see how his linework is simply incredible. But what we can do is to learn from it and learn from the masters. So what I did I put the paper and then traced the image. I didn't want to trace the entire thing. I just wanted to use these three little shapes that are best friends in drawing, triangle, square, and circle to find out how can I simplify this shape here. And as you can see, the more I do, the better thing it is. So what I did is that I went over this comic and found parts that I think had an interesting drawings. So I tried to deconstruct them and see how it go. And this was my first drawing, and you see how the line is stiff and I feel not so confident, but that's the beauty of working. The more you do, the better you get. So I didn't trace the thing entirely with all the details. I just went on to simplify and take just the basic forms that make this pose. I did it for other I think one, two, three, four, five, six, seven, eight, nine, ten, 11, 12, 13 drawings in total and use different methods. And you probably can see that on your screen right now to make these drawings. Like I said, I started very stiff in the beginning, but more I drew I try different approaches, tried with triangles, squares with circles, circles and shapes that overlap each other, try to figure out what are the basic shapes that are behind these beautiful drawings. And that is what I recommend for you for this first exercise. Find the thing that you love and like to draw. Be that comics, photographs, anything that goes that has figure that has probably some interesting motions and poses. And if you find the pose you say, Oh, I would like to see this pose deconstructed. Let's see how we can simplify it. That's great. So you go for it, use baking paper or whatever thin paper that you have at your disposal and go over it. Try to do at least ten, the more the better. And when you've done that, we can talk about the second part. The thing is what you'll be using if you don't mind, you can use these markers, marks that you have at your disposal. I, in this case, used a charcoal pencil, and that worked very well for this kind of paper. And you will see why I say, you draw more than five. As you can see, these are first drawings. And the more I did I feel more, let's say, free, I felt and confident into making quick lines. Because this is not about precision. This is about exercise and doing things as quickly as you can, but paying attention on the overlaying principles and overlaying shapes and finding these shapes while you're drawing. So that's it basically for this video and see you in the next one. 3. Trace, Simplify… Now Create!: Welcome to the main part of this class where you will be drawing making your drawing based on your traced drawings from the previous exercise. And you will see me here do just that I'll start the same way, basically making those drawings, and I will not be looking at the original drawing that I traced, but the traced drawing that I did in the previous exercise. And you are free to make any kind of changes that you like. Because now in this step, now you know how to divide and simplify the original drawing, and you have that freedom to explore and make something of your own. I used one of those 13 drawings and decided to create a slightly different kind of figure. So it's encouraged that you can even change some things. And you can see, I already changed the position of the hand that I'm drawing right now because both of those hands in the original drawing are held high above he said, and I decided to do a little change and put it a bit lower. And you are even, like I said, encouraged to do that, make those changes because now that you traced those images, you know what are their main parts and how to deconstruct those. Let's say, more complex shapes into simple ones, and then you have all the necessary tools to make the drawing that you would like. So that's what I'm doing here. And this video is a little bit sped up. It was like 17 minutes or so long. And in order to create this short class, I decided to spit up this part of the class. I think you see enough of the drawings, and to give you a way how you can approach that. So in the first part, you just make those shapes like you did in the first exercise, and then you can even change some of those to fit whatever you feel like doing. So now that you have that, you are free to do that. I encourage you to do that for your own projects and make something new. Whether that be, like I said, drawing some comics or some photographs, stuff like that. Is portuguese figures and see how you can add a little bit of yourself into these drawings. So I've added like you see here, another type of tattoo band on his arm, made some pants and other details that were not present in the original drawing. But it's easier for me now to make all these changes because I know how to approach the entire figure. I can also change the shape of his ears and stuff like that. Maybe add a little bit more hair on the legs like I'm doing here. It all depends on where you want to go with your drawings. Also, the fingers and stuff like that. So this, I think is more enjoyable part of this exercise because you can experiment and be free from the reference image because you're not looking at the reference image. That reference image is now way, so it doesn't give you ideas to be as close as possible to the original, but to explore and see what you can do with this drawing. And like in the previous exercise, the more you do it, the better it will be. So don't just stop on one drawing, try to do multiple as much as you can. So very soon, we'll see the original drawing and how much I change that for my work, as you can see here. So in the next video, we'll talk about your assignment and go from there. 4. Your Turn to Create and Share: Thank you for watching all the way to the end and I hope you found this class useful and helpful. Now it's time for you to start drawing and created what you learned into your own projects. Here's the challenge. First, watch through the lessons, which you already did, the first part of this project is over. Then create at least ten trace drawing using baking paper. This step is all about simplifying shapes and sharpening your look on the world. Next, take those sketches and transform them into a few brand new drawings. This is where you get creative, building something original from the foundation you practiced. Don't worry about perfection. This class is about experimenting, practicing, and finally sharing your work. So when you finish drawing, go to the project section of this class and upload your work because sharing is how we inspire each other and help grow all the way through our drawing journey. If you're hungry for more, head over to my profile page that you find more of my classes on drawing and creativity. So once more, grab your paper, grab your pencils, grab your baking paper, and let's go. I can't wait to see what you've come up with for this class. So let's make drawing. Fun, creative, and truly yours. Bye bye.