Transcripts
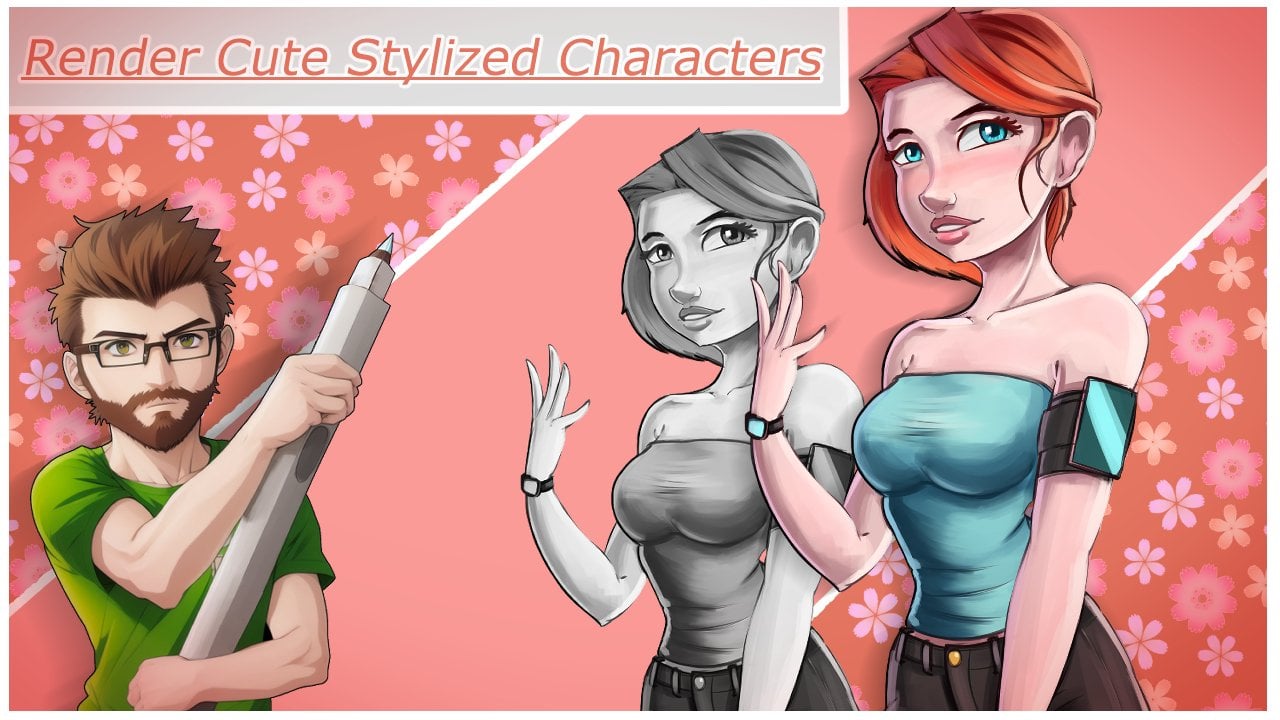
1. Class Trailer: Hello Skillshare users. Thank you for checking
out my class. My name is Sam or Sammy. And today I'm gonna be teaching a beginner to intermediate class and drawing characters
from imagination. To start. I'll explain the order will draw
the characters, and then I'll demonstrate with three full length
character drawings. For taking this class, I
would recommend having some simple understanding of human anatomy and perspective. By the end of this class, you should have a good
understanding of how to draw characters
from imagination. Once done, please be sure
to participate by drawing three characters at your own and posting them in the
project section. This sounds exciting to you. Stay tuned for the first lesson
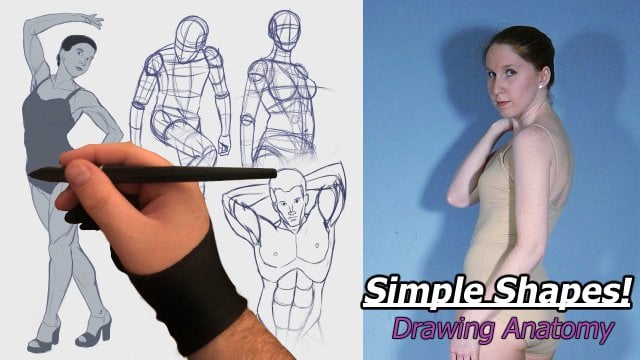
2. Lesson 1: Drawing the character from Imagination: Alright, before
we start drawing, I'm gonna go ahead and explain the order that we're going
to be drawing these. And so when it comes to drawing a
character from imagination, because we don't
have the ability to rely on a reference for where
we should place things, but instead we're creating
this form from our minds. We wanna go ahead and have an easy and consistent
way we can do this. For this reason. We should be drawing our
anatomy and knees order. First, we should draw our torso as I have
outlined here in red. Secondly, we should draw our legs and our arms
and then our head. Now the reasoning that we do
it in this order is because at a point that we may want
to change up our pose, this gives us the most notice. It's having the torso. The first thing we draw, we end up wanting to
make changes to it. We're able to do so easily and without disrupting
more that we've drawn. So if we have our torso here, but then we want
to move our torso, maybe extend the back wall. You have more of a
twist in our pose. If we were to do
so at this point, we would then have to
redraw our arms, thus, having wasted what we drew before and creating more
work for ourselves. Additionally, this
can go for the legs. If we then take this here, we decided we're gonna go
ahead and pivot it up like this and move to more
of a sitting pose. Whereas we've already
drawn our legs here, will now have to erase them. Start over. Once again. This goes for our head. Just like last time. We will then have to
start over next our legs. Now the reason we draw
the legs next instead of the arms has to do with Alan's. So in this case we
have a character who's got good balance here. But if we were to draw
a character right here, say we got torso
and then we drew in our arms and we start
trying to put her legs. We realized that by the way, we've put our character
and just no balance, maybe legs end up killing. This is stuff. Phone Can we need to
move around the torso but to make sure we
get that balance. Well, then again,
we're wasting some of the time we've put into
putting on our arms. And we'll have to redraw it. Now with only our arms
and our legs left. So our arms in our head left. We have to choose which one of these we're going to put in. Now, when it comes
to these pieces, it's actually a lot
easier to say, well, I'll just draw the head
first and then the arms. However, I still recommend
drawing the arms next. My reasoning for this
mostly comes from not having interference
from the head. Or if when drawing the
arms we truly fine. We need to move the torso again that we're not disrupting any head
that we've drawn. This also gives us
a chance to add any finishing touches once
we do finally at the head. So an example of that, we have our arms in
place or torso leg. And in this example we have our character kinda
looking down, could be condescendingly,
are loving depending on the facial
expression we put in. But what if we actually
decided we want our character looking this way? Kind of experimental around with different effects
through simplicity, difference in how
we draw our head. Something that won't
be possible if we haven't drawn our arms yet. So for that reason,
I go ahead and say draw the head last. Now with that, let's go ahead
and actually go into using these examples that we've
created this to the order. And actually creating
some characters
3. Lesson 2: Character 1: Alright, using the steps that I taught in the
previous lesson, we're going to go ahead now and construct our first character. Should we do this? We're gonna go ahead and
start with the torso. We'll go ahead and
start by adding in a bit of a direction line. It just sort of defines the front of the character for
the torso and kinda twist. We got kinda my plan is to
have a character with one arm on her hip and
another arm reaching out and do it from a front view. Go ahead. Sketching for starters
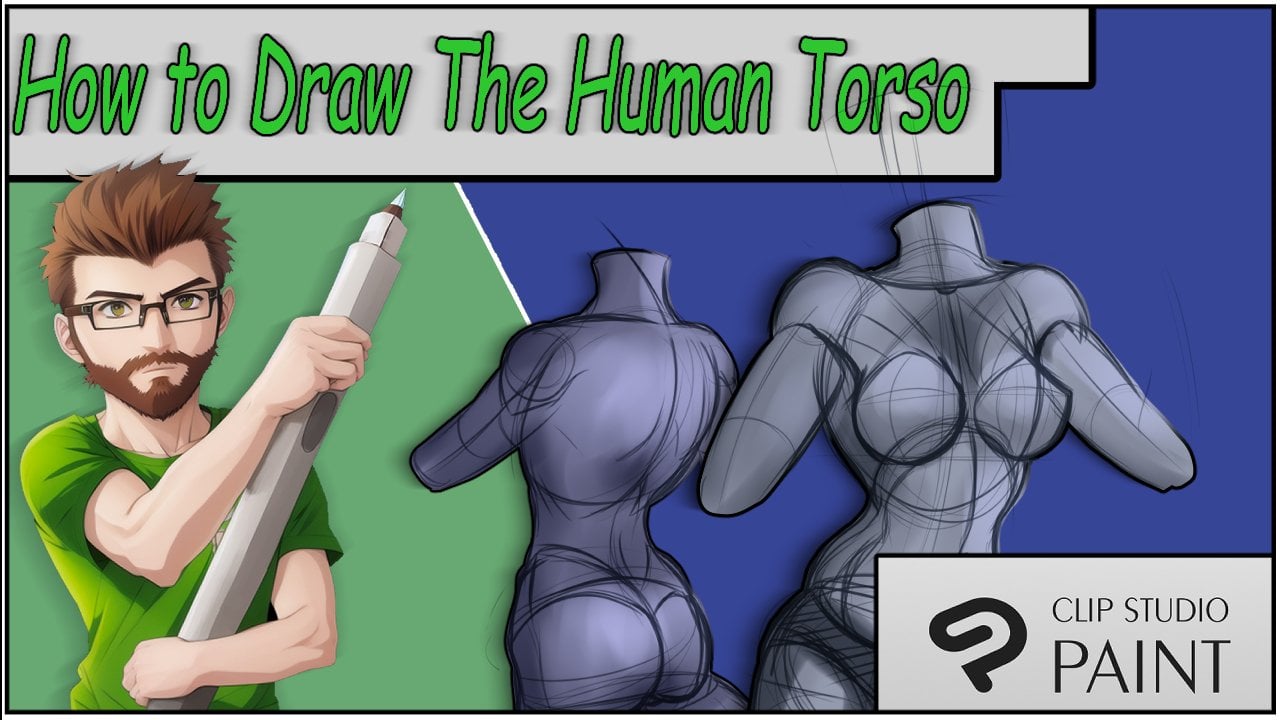
the simple ribcage and then the pelvis. Now, I won't be
going into a lot of the anatomy in this class here. But if you have interests, I will be creating
more videos that'll go deeper into some of the
anatomy of the torso, legs, the arm, head,
face, and feet. All that lovely stuff. Main thing to know
for right now. So you don't have to do spheres. Some people like to do more structured
shapes such as this. Even sometimes I'll
use weren't QB shapes. But right now, let me go ahead
and use spherical shapes. I'll go ahead and find the ribcage by adding
the ribcage cavity. Go ahead and start
defining more of the direction characters facing. So we're going to have a bit
of a side view right here. And we'll put the shapes
and as placeholders for shoulders, which the step, the arms will define
these a bit more, but this is where they'll be there that have
this shape here of the back and a bit of the
front down to the pelvis. Now, I generally draw the
pelvis as part of the torso. Some people will wait until
the leg stage to draw it, but I think works better here, since it connects
really nicely here. What I'll do defining where
central line is right here. I'll go ahead and
create almost like an underwear looking shape. Kinda like this. Make sure we have a nice
curve for the hips. I'm, I'm thinking of
drawing more of a kind of short feminine but like
curvy type character. So we're gonna go for a nice like hourglass
shape with her. It's like this. And I'll go head dry down here. What will be the
start of the legs? Okay. From here, I'll go ahead and
sketch in my legs a bit. Now the important thing to, to kind of establish when we're
drawing our legs is snow, at least a general
idea of which we want our legs facing when
we start drawing them, this will help us
define what sort of curvature we should
use for the legs. So for instance, because I'm gonna have
these legs both be sort of front legs
kinda like this. We'll use a sort of like
the curve for the leg. Just kinda like this. You do the same
for the other leg. Now from here, we'll go ahead. From here. I'm going to select to turn my canvas
upside down to get a nice curve and the legs just sort of follow the outline. That be the other
side will go for a much less curvy line here. She knew the leg. Right here. We'll have it kinda
connect down to the ni mere outs little bit to define the
calf and then back down. Just like that. Now, when I draw characters
as a general rule, at least when I'm in this stage, I like to add just some
simple contour lines. Just Help define the direction
everything's pointing in. It doesn't necessarily add a
bunch of benefit right now. But I find, once I get into drawing the details
of the character, start drawing the close. This ends up becoming
quite helpful. So it's in no way necessary, but I do recommend it. Especially if you're a beginner, kinda getting started
with this anatomy, it can help to add
that 3D shape to it. Now from here, go
ahead and do the same. Follow that curve down. No more connected
on the other side. Again, we're gonna
go ahead and add these nice contour lines. Premiere will go ahead and
add in, zoom in a little bit. I'm just gonna make this
a real simple foot. Now sweat, I'll create a
triangle shape right here. Now I'll just add in these
really simplified toes. Now this isn't the kind of foot I'd put in
a finished piece. But when we're just
kinda designing out what our pose
is gonna look like. This will be a great way to put a nice place holder in there. Now we're gonna go
ahead and move on to the arms looking at this
because of the kind of pose I one think I
actually want to give the torso just a bit
more of a twist. So we'll have a bit more
arch in her back, like this. Nice more defined
front right here. So go ahead and start with
the arm that's going to be on her hip to the side right here. Tunic draw just a
real simple hand for her first right here, just come on her hip. Like that. Now I'll draw the line
for the arms will be then similar to the legs. Just draw some cylinders
that connect them. Again, I'm adding in these
nice contour lines to help define what they should
look like in 3D space. If you find yourself struggling with adding some of
these contour lines, figure out where to draw
them, things like that. I'd highly recommend looking into some classes
on perspective. Good book that can
talk some into this is drawing comics,
the Marvel way. However, any book on character perspective
shaped perspective, anything like that should
give you enough to draw these simple forms is about as simple as perspective gets. So I wouldn't sweat it. Alright, for the other arm. So when I have extended a bit, thinking if ever having a
reach out like this though, almost like the idea
for hand reached out like this because
you can kinda look down on them here, which just seems really cool. So we'll go ahead and do that. So it's kinda getting nice. Shaping the shoulder. No head. I'm going to connect a cylinder here right in
where the armpit would be. There'll be just under
that shoulder muscle here. And then from there
we would have the breast connect in like that cell from here and go head. Lead that nice cylinder
around the shoulders. To be like, perfect. All right, and then we're gonna do the classic like
a kiss my hand. Take poems that maybe she like
royalty deal or something. It's going to keep
the hand real simple Now, lastly, is the head. Now the reason we do the head last is because once
you've drawn the rest of this pose has a slightly
larger arm, isn't no noticing. Once you're done the
rest of this pose, we can really draw the head and whatever direction we want. So we could go for kind of pose where it's
like I'm looking down on you. We could have her sort of
looking away and embarrassment, beat him, have her
looking in more of a cutesy way towards the
person She's looking at. A really gives us
a lot of freedom without having to change any
of the rest of the anatomy. So versus if we started
with the head and heads kinda looking this way and we've got the torso this way. The pelvis down here. We're like, You know
what, maybe the torso. We want our character's torso
more of a front on shot. Set it to the side. Well now we'd have to erase our head and then draw it here. That's what we're going
to draw the head last in your own methodology, feel free to do it
however you want. But personally, I recommend when coming up with poses
from imagination, especially if you're not
quite sure what you wanna do, you're designing it as you draw, is to do it in this order, torso, legs, arms,
and then head. When I go ahead, start placing in the neck. The neck just about here. And then I I do
think we're going to have for kinda looking down. So I like to start instead
of defining the Chen first, defining first historian of a base plane for
where things are. Just real simple
shapes like this. Now from here, start
to actually add in more of the cutesy, not quite animated,
quasi enemy shaped head. Chin like right here. Side of the face is hears
the EarSketch land here. In Connect neck. Finish. Adding in. Cranium. Then feel free to add in any other guidelines
you like to work with. I like to divide my face up with sort of the
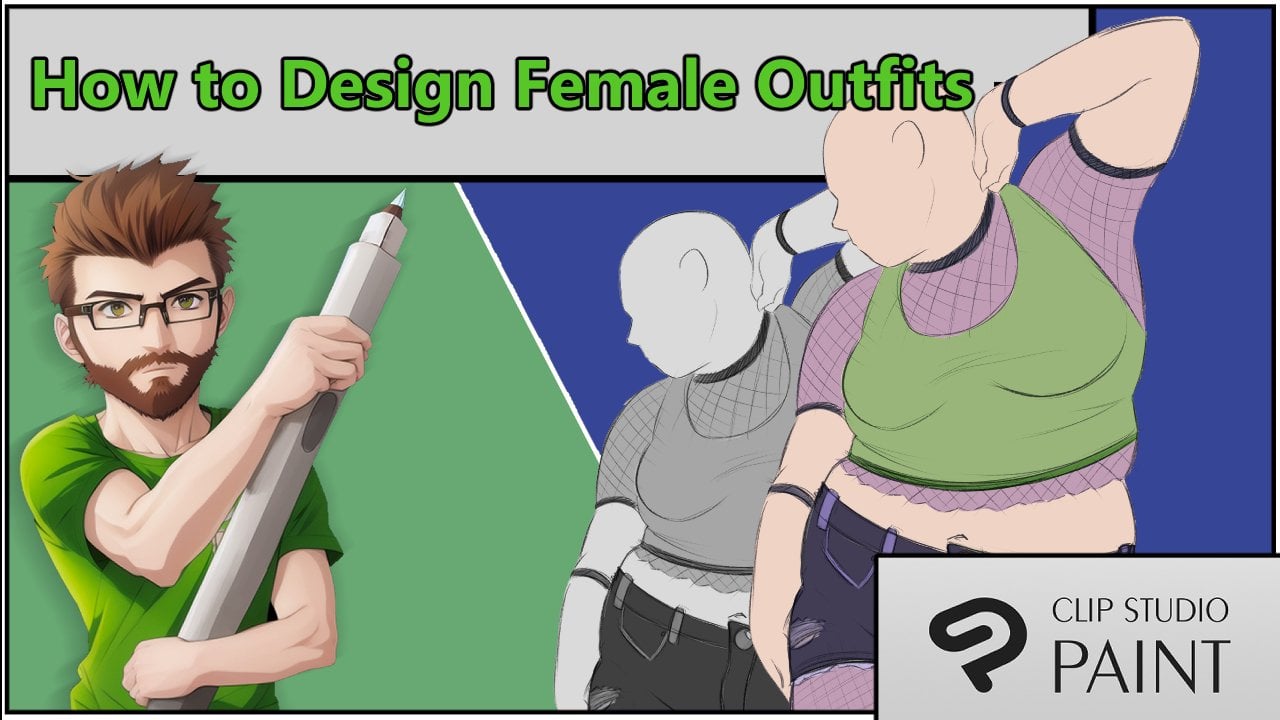
side of the head. And then add a spot. That'll give me an idea of why should we placing the eyes. Now, what I would normally
do with a character from here is I would then lower
the opacity on this sketch. I create a new layer. And then from here I'd start adding their clothes
and everything. I won't be doing
that in this class. But if you stay tuned, go ahead and move on
to the next video. I'll go ahead and create
our second character. So please stay tuned for that.
4. Lesson 3: Character 2: Alright, thank you for tuning in for the second character. This time we'll be
doing a male character. You go for a muscular
character, just over. Q. So like last time, we're gonna go ahead and
start with our torso. And we'll move two legs,
arms and then head. So I'm thinking of doing
character facing this way. Elvis here for more of
a muscular character. So I'm going to go for
that nice arching back. Then. Now this just about time. Like last time we're
gonna go ahead and place in the shoulder placeholder. That nice arch of the back
leads us down to the pelvis. Now, for our male characters, we still want to make
sure they have hips. Abruptly ends right here. It's gonna look weird. We want to make sure we
do this in a way that still looks more masculine. Now, this is going to vary
depending on body type. This video, I'm more going into our muscular
character's body type. But generally I'll go head. Just have the muscle right here kinda stuff through down here, which defines sort of where
abdomen comes through. That. Like our previous character, I'll bring down a little bit of extra shape here,
like you see here. We'll use that. Connect the legs. Now, moving back up here, then define the
front of the shape. To find where the rib cages. We'll go ahead and
put a contour line down here to the
fine kinda where the halfway point of the sort of where we're starting
to get a bit more. The side of our character. Perfect and our shoulders
to be just right here. Alright, so from here we'll
go ahead and do the legs. Go ahead. Scale this torso downward. Definitely going for almost our Hercules
style body type or Arnold Schwarzenegger. Maybe not quite that extreme, but with more of a V-shape
or character's torso. Now, I'm thinking
we'll go ahead and do one leg down here. But column right here. And then I'm actually
going to go ahead and do one leg kind of extended
upward. Like this. Like it's on something
like a box or something. He's got his leg up on. Extend that out
just a little bit. Alright, perfect. Now, go ahead. The cylinder like shape. The line. Again kind of more flat on this side and more curved
on our curves side here. The knee. I won't be defining in a lot of the muscle this time round. But we would have about here nice muscle, fat and simplicity. And again, more of a
curve on this side. And while there's still a
bit of a curve over here, it will remain
more or less flat. Then from here, go
ahead and put in a simple foot placeholder
like last time. Then we'll add some nice
contour lines which we can use when adding more
detail to our character. Go ahead and add in Second leg. Again, last time we'll
mostly be flat here though, curve out just a
little bit here. Are some of the
buttocks connects. Right? And then for here,
have the calf connect. A nice curve. Here. Actually be more of a flat,
almost curving inward. The calf here. Just like this, we'll put in a
foot place holder. Then add some of our fancy contour lines
that I love so much. All right, perfect. From here, we'll go ahead and
move to the arms. Scale my character
down again once more because I'm running
out of Canvas room and I want to fit one more
character in the middle here in our third character lesson. So when start here. And I haven't
extended an arm out. We'll do an arm. Yeah, I like that. Alright. So coming out of the
armpit a little bit, have Autumn part of the arm which is where
the tricep would live. And the top part of the arm. We'd have our bicep,
mostly profile view. Then the elbow bone here. And the arm will extend out this way to here
in just a moment. We'll add. First we're going to go ahead
and get this arm in place. Again. Arm's going to extend out from the armpit
and the shoulder. Now and just connect right here. Then this arm will actually
overlap this one a little bit as it comes forward here. Just like that. Now let's go ahead
and place our hands. Go ahead and have him kind of an extended hand like this or maybe he's
pointing this hand for it. Like I don't know why he's pointing forward with his
finger like that, but he is, he's just like alright, perfect. And then in this
hand, Let's go ahead. Actually have them
holding a glass. It's kind of cool. It's kinda like
raising his glass. Maybe it's a martini
glass or something. You want to toast. That's kinda fun. Stomach come up here. Rest of his fingers. We
extend around this glass, the exception of his pinky will, which will have him extending. Perfect. All right. Now, like usual, I
draw extended arms. I drive them to
somebody go head. Shorten this arm a little bit. Perfect. Alright. Now lastly, we're gonna go
ahead and draw in his head. Now for this one I'm thinking hotel sign for you. Like this. I'm not gonna go too
far into the anatomy. We'll define out just a little
bit of or maybe that, no. We're not going to go
with a nice simple curve. Okay. Cranium should be
just about here. The Joshua connect
just down right here. Then our ear should
be just about right and do some touch ups now. So like it's tad large in comparison with
the rest of the anatomy. And shrink that
just a little bit. We'll add in a bit
more definition here. Or some of these muscles are at one muscle definition down here. Then we can add some nice
contours on his arms. Forgot to add those.
Alright, perfect. We'll go ahead and
scoot them over. Make way for our last character. And here he is. And
all of his glory. Thank you guys so much for
staying tuned for this video. And I hope you'll
stick with me for our third and last character. I'll see you there.
5. Lesson 4: Character 3: All right guys, thank
you for joining me for our third and
final character. Go ahead and just
jump right into it. We're going to go head and
do a female character. We're gonna try to do
nice and dynamic pose. So like always,
we're gonna go ahead and start with our torso. Try to go for like a fun twist. So rib-cage. Andean about here than Elvis. Alright. Now, like always,
we're gonna go head, fall back down and
connected here, pelvis. Go and start creating that
underwear type shape. Just kinda like this. Then I think I'm gonna go ahead and add some lines here to define where the
top the torso is. Going put into our placeholders
for the shoulders. With that, let's go ahead
and get into the leg. So go ahead and do an exaggerated
V-shape here. Then. You can like kinda like this. Fetal be here. Alright, let's go ahead and
work on connecting those. The rest of our
character so legal, extend out from here. The knee. The other side, follow that nice B curve down to the knee. Go ahead and add fence control. Right from here. Go ahead and add in the calf. Then go ahead and add in the
calf and the other site to, once again following
that nice curve. Then from here, again, add in our placeholder
feet, like that. And like fun contour lines. Perfect. Now from here, go ahead
and scale this down a little bit and we'll work
on adding in our arms. Start, let's go ahead and define our shoulders
a little bit more. I'm thinking Something like this. The arms. We'll go ahead for the
next cylinder shape. Contour lines. By now you should
know I'm obsessed with my contour lines. Just like that. We've
got our arms from here. Let's go ahead and add in
just some simple shapes for the hands. Perfect. Go ahead. Now actually let this arm
just a little bit of a twist. Just for a bit more interests. I'm going to add in my
trusty contour line. Okay. Looking at this arm here, go ahead and just shrink it
down a little bit. Perfect. Now lastly, we'll
move on to the head. They don't want to have I said just kinda
looking this way. Sometimes when I'm trying
to get a nice curve, I just like to turn
my canvas like that. Just make sure that I'm able to get cleanest curve possible. Okay, perfect. Now we'll go ahead and just
connect body as needed. Go ahead and make small
adjustments for location. Again, when you're not
working with reference and you're just trying to
create poses from imagination. Oftentimes your
anatomy can just vary a bit from accurate.
Don't worry about it. Just make the
adjustments needed to correct it and move on. Sooner you are able to capture
these issues the better. But for the most part, you're not going to make a horrible mistake in the anatomy that it can't
just be quickly week, whereas a small
transformer liquefy. Then once again, go
ahead and just add in any construction lines
you like for the face. Now, once again, I'm actually going to
scale down the head just a tiny bit more. Perfect. Alright, there we go. There is our third
and final character. Again, at this point, normally I'd lower
the opacity and I'd start adding more
detail to the character, giving them will
outfits, all that. But we won't be covering
that in this class. Do have interest in that. Feel free to check
out my other classes that I have now if
I don't have it, let me know that you're
interested in the lesson on that. And I'll go ahead and
teach on that subject.
 Samuel Ben-Ezra, Artist and IT Technician